 DigitalTQ
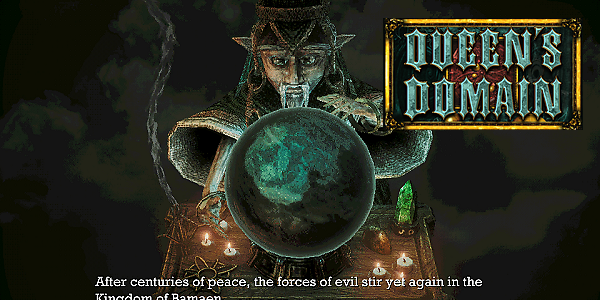
Welcome to the first part of our Queen's Domain Walkthrough! The first part will guide us through the beginning stages of the game, helping us to find the Endu Shrine Key and then take on the first boss.
- The Beginning
- Unlocking Throwing Knives
- Endu Shrine Key
- Unlocking the Endu Shrine
- Shrine Guardian Boss Fight
- Holy Sword Endu
Make sure to check out our full Queen's Domain Walkthrough and overview of this adventure game!
In this section we come across the following items:
- Rusted Short Sword
- Rusted Spear
- Wooden Club
- Life Charm
- Holy Sword Entu
The Beginning
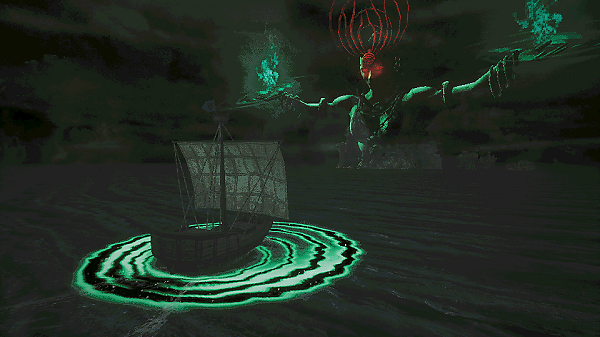
You start Queen's Domain on the Island Of Neasied, where you've washed ashore after your ship has been caught in a terrifying storm. You'll start with no weapons or items, so you can't attack anything just yet.
There are lots of hidden items scattered around the Island, and you can find your first Dried Herbs to the right of you on the rocks.
Dried Herbs: This item will heal you when consumed. You can assign it to your quickslot to use when in a tricky situation.
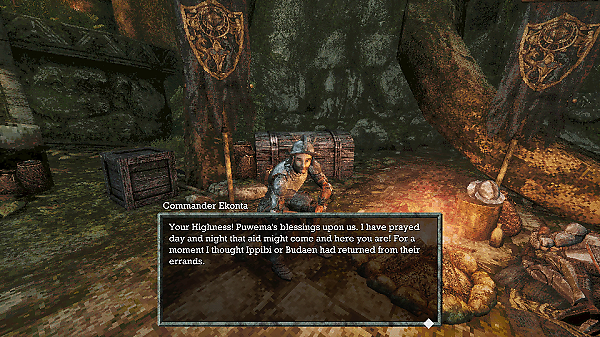
Head up the narrow path and you'll come to the Knight's Encampment, where two of your fellow soldiers are sitting around a Campfire. Talk to Commander Ekonta.
He will hand you your first weapon: a Rusted Short Sword. You'll need to equip it first before you can use it, so open up the menu and select the Rusty Sword. You can have up to 3 weapons equipped at once and cycle through them in combat without having to open the main menu.
Commander Ekonta says your father and a group of soldiers ventured into the Deimpo Mausoleum but haven't returned. He tells you to go out and search for the other knights.
Pick up the Dried Herbs on the log stump next to the fire; if you head towards the well on the left, you'll also find some Dried Herbs next to the closed doorway.
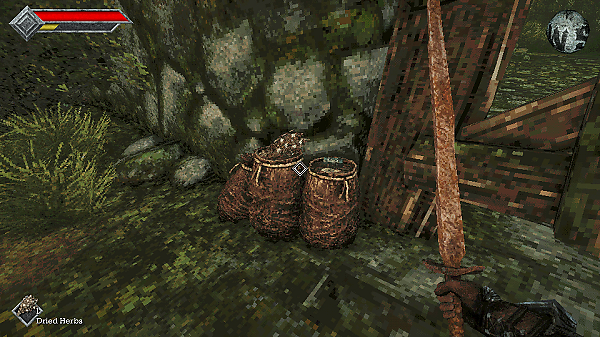
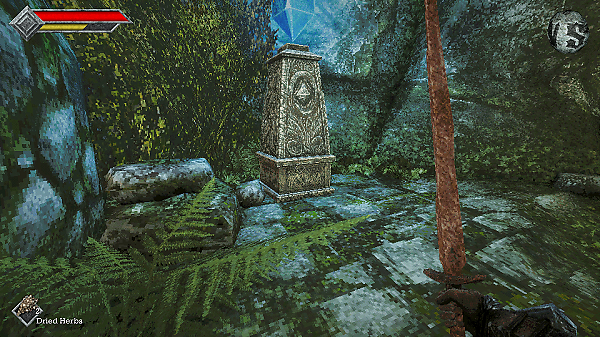
Turn around and head towards the gate. Use your newly equipped sword to smash it down (it'll take several goes). You can also pick up some Dried Herbs sitting on a barrel next to it.
Once you've broken through, you'll come to your first save point.
Save Points: Save Points allow you to save your game. There is no auto-save in Queen's Domain, so you need to make sure you're saving regularly. Game Over will restart you from the last known save. You can also Rest up here; this will give you a free full-heal, but will also respawn all enemies on the map.
Unlocking Throwing Knives
To progress further, we need to find ourselves some Throwing Knives. This will require us to traverse the Island a little.
A Note On Resources: You can obtain resources such as Dried Herbs and Ancient Coins from Mobs, pots and other areas. If you Rest at a save point, you'll respawn all enemies, allowing you to farm them. This is also useful for leveling up your weapons and yourself.
From the save point, head up the hill, past the wooden lift until you come to a cliff-edge. Either side of you you can find an Ancient Coin.
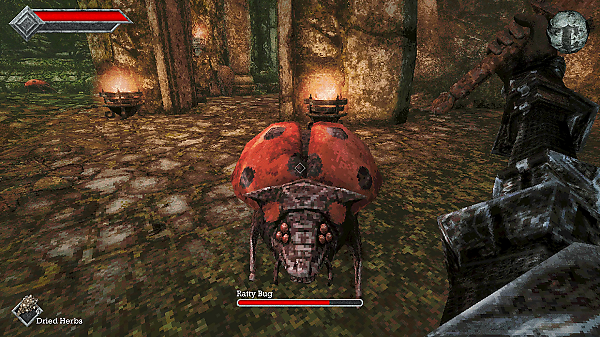
Jump down from the cliff and you'll find an area with several Ratty Bug monsters. We'll call this area Site A.
Ratty Bug: Try to time your attacks by waiting for it to spread it's wings, jump back and then unleash a charged hit.
On the tree you'll find Forest Eye monsters that shoot out lasers at you; you can't defeat them just yet so you'll need to run ahead. You'll come to a forked path; the path on the right leads upwards, but you should take the path on the left to the shore.
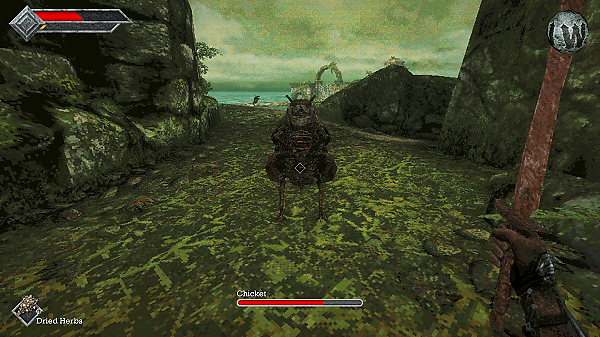
Here you'll come across several Chicket mobs.
Chicket: These are a lot faster than Ratty Bug, but still easy to dispatch. Just wait for them to jump-attack you and then move in with a slash.
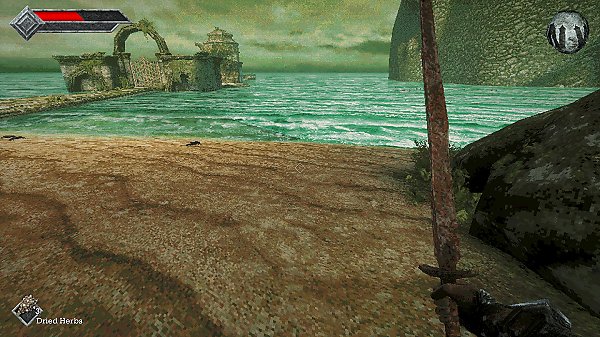
Head past the Endu Shrine on the water's edge; it's currently locked. (To the right of the Endu Shrine, you can find an Ancient Coin on the shoreline.)
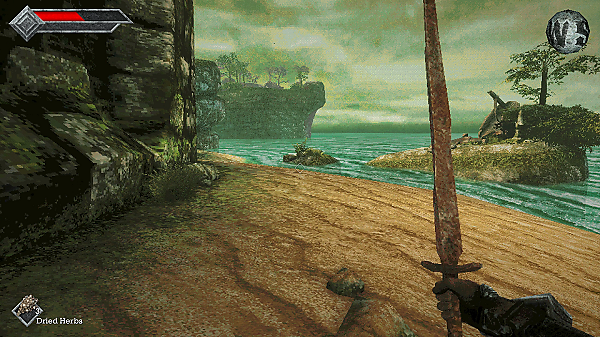
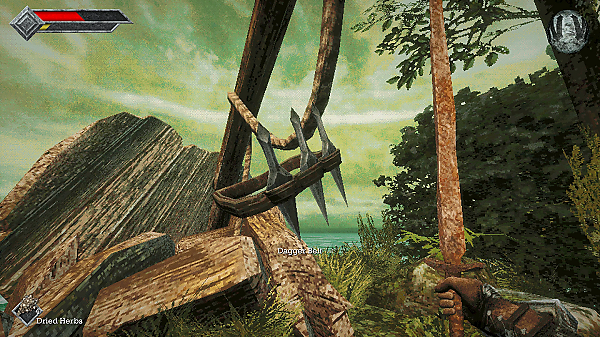
Past the Endu Shrine, you'll notice two small islands in the water. Jump across and here you'll find the Dagger Belt, which comes with 3 Throwing Knives.
Throwing Knifes allow you to hit enemies from range; they regenerate over time so you can safely use them at will. You are better off getting up close and personal with your weapons however, so that they Level Up and deal more damage.
Endu Shrine Key
You now need to return to the Site A Area, where you first fought Ratty Bugs. You can either follow the coastline up (which will allow you to revist the Save Point and Heal up) or turn back on yourself. It's up to you!
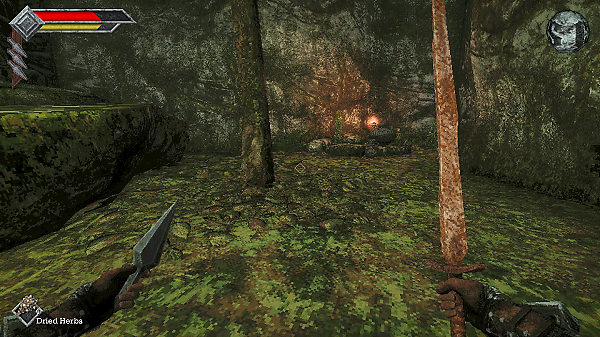
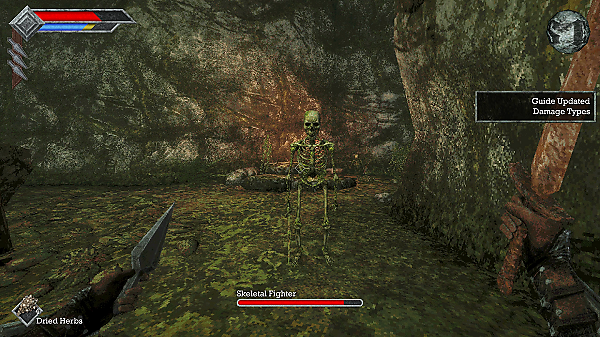
At Site A, use your Throwing Knives to take out the Forest Eyes. Towards the right of the area, you'll find a Skeleton on the floor with an Ancient Coin (near some rocks). Walking across the skeleton will summon a Skeletal Fighter, and then you'll need to patiently dispatch it.
Skeletal Fighter: These mobs will resist your Rusty Short Sword attacks, so they take quite a while to take down. They have two attacks: a small slash in front of the them, and then a larger thrust attack. To defeat Skeletal Fighter's, you need to get your timing right by triggering their attacks, then moving in with a charged attack. You can also use your Throwing Knives, but you'll be there a while.
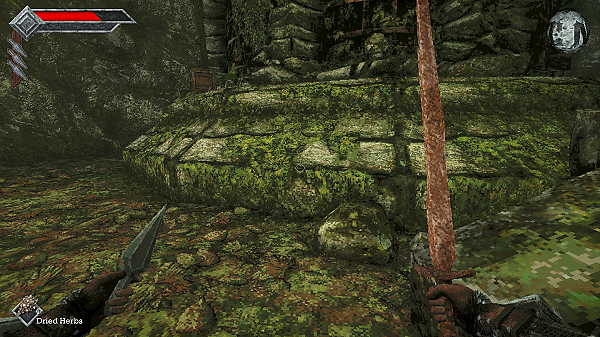
In the same area, you should see a Wooden Crate. You can open this up by delivering several charged attacks to it. Inside you'll find:
- Elixir
- Ancient Coin
- Fresh Herbs
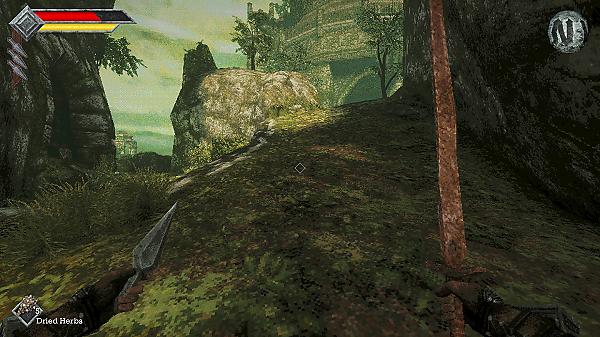
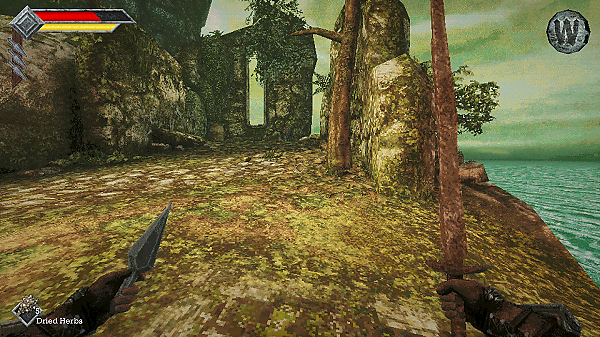
And quickly, head up the forked path; you'll come to a broken bridge. On the left you'll find a skeleton with some Fresh Herbs and another Barrel that you can break (Ancient Coin x1, Fresh Herbs). Be wary though, you'll likely summon another Skeletal Fighter.
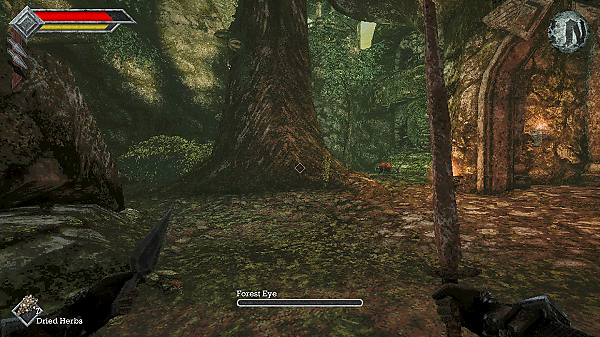
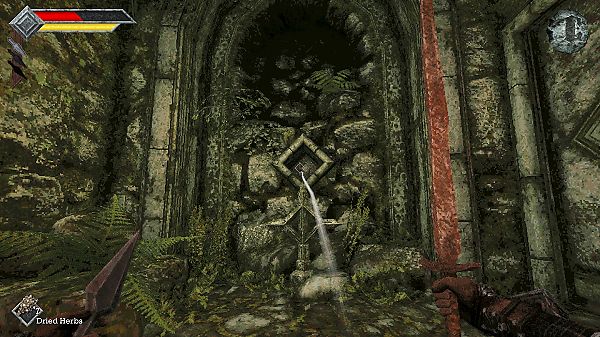
Okay- now it's time to get the Endu Shrine Key. Head back to Site A and you'll see a small entrance with two fire pits outside of it. Head inside and you'll see it's blocked off.
You need use your Throwing Knife to open the door; throw it directly into the window hole just before the door. Now take the newly opened door on your right and head down into the dungeon.
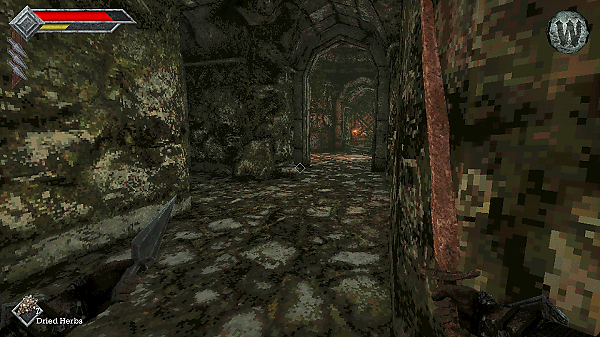
Here you'll come to a corridor; the room to your left contains a Ratty Bug and several Barrels to smash containing items (Fresh Herbs x2, Ancient Coin). Follow the Corridor along, taking out the Ratty Bug and Meganeura.
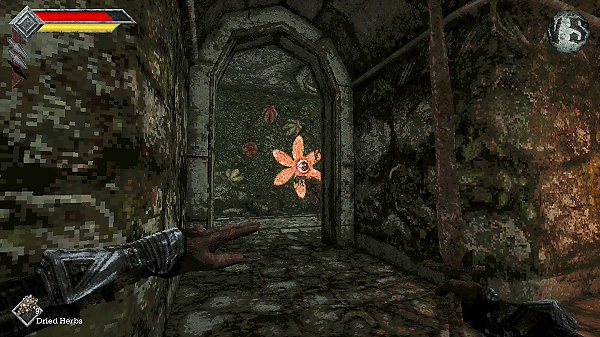
At the end of the corridor, if you look to your left, you'll see a wall with several Forest Eyes; take them out with your Throwing Knife. Then dispatch the Chicket.
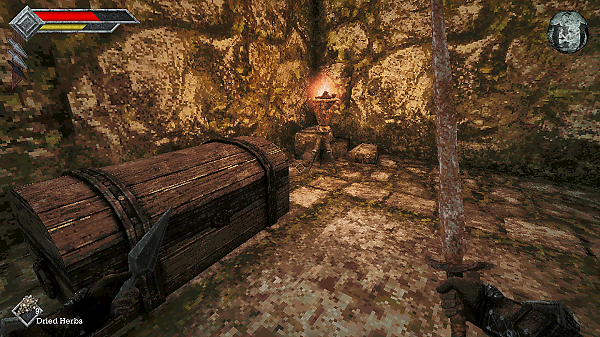
To the right, you'll find a Treasure Chest. Take out the mobs and inside it you'll find a Wooden Club.
Wooden Club: This weapon is slow but heavy-hitting. It's VERY useful against those pesky Skeletal Fighters.
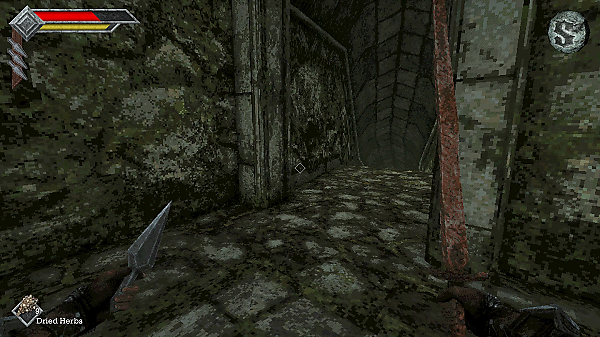
Now head back to where the Forest Eyes were on the wall; take the Ancient Coin sitting on the right and then slowly descend further using the tunnel on the left.
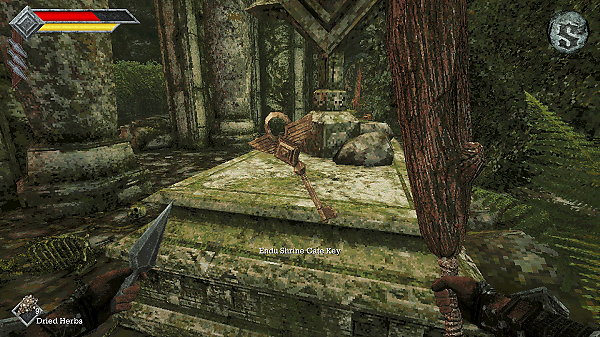
Here you'll come to a room full of mobs; ahead of you you'll see something very shiny: The Endu Shrine Key!!!
But before collecting it, take out the mobs one by one. There are several Skeletal Fighters in this room also.
Once you have the key, make sure to also open the Treasure Chest on the left-side of the room as it contains a Life Charm.
Life Charm: Like weapons, you can equip three Accessories. They all give some kind of boost or buff when equipped.
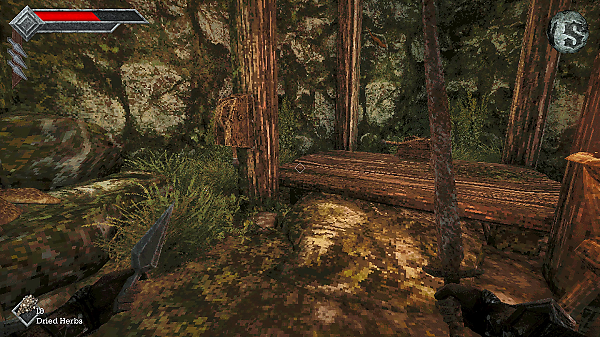
Time to exit the tomb; head down the corridor and you'll come to a wooden elevator (on your left you'll find 2x Ancient Coins); hit the crank and you'll be lifted up.
You'll come out at the area just above the first Save Point; take out any mobs and save.
Unlocking the Endu Shrine
Now we've got the Key, we can enter the Endu Shrine (just off the coast of the Island) and take on the boss.
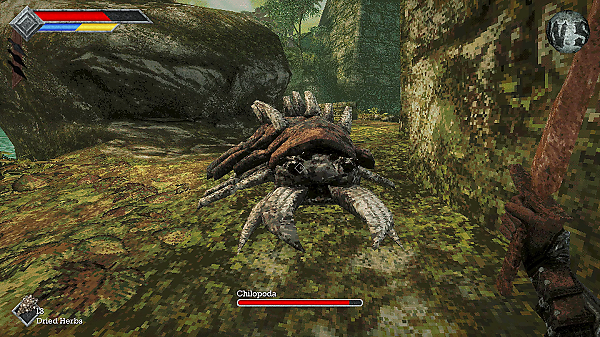
Before that though, just a few little things to get! If you head up the stairs above the first Save Point, take out the Forest Eyes and Ratty Bug, you'll find a Chilopoda.
Chilopoda: These annoying mobs can poison you; use a Panacea if you have any in your Inventory, otherwise you're going to have to wait for the Poison effect to wear off.
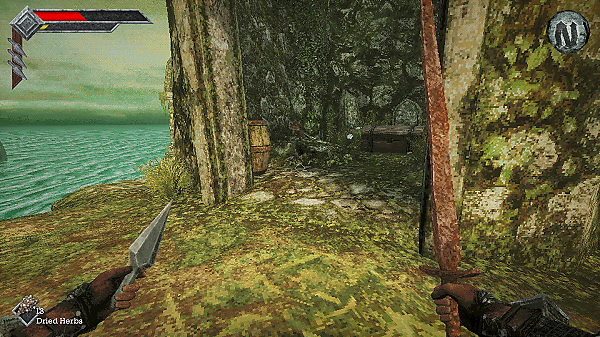
From the area where the Chilopoda spawns, you can find a Treasure Chest inside a stone turret. It contains the Rusted Spear. (Behind the chest you can also find an Ancient Coin).
Rusted Spear: Has a bit better range than the Rusted Short Sword, but you'll probably end up replacing this weapon sooner rather than later anyways, so no point leveling it up too much.
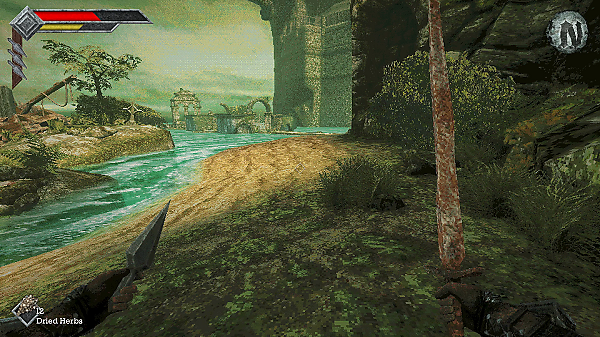
Head down the coastline and towards the Endu Shrine. Use your key to unlock it.
Shrine Guardian Boss Fight
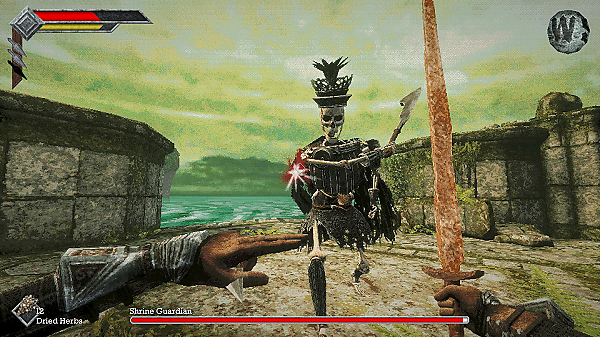
Before taking on this boss, you'll want around 4-5 Dried Herbs for fast healing.
The Shrine Guardian Boss has two attack to be aware of; a close-ranged swipe attack and then a heavy-hitting charged attack.
Overall, the boss is relatively tame. You'll want to attack directly after the Shrine Guardian swipes at you; use your Throwing Daggers whilst dodging attacks too!
I'd stick with using your Rusty Short Sword as by now it probably has more Level Ups to give a nice damage boost than your other weapons.
Reward: Stone Duck Figuring
Holy Sword Endu
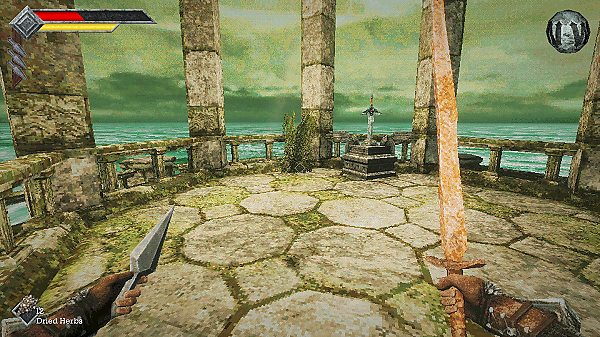
After dispatching the Shrine Guardian, head further up to find the Holy Sword Endu. Immediately equip it by replacing your Rusty Short Sword.
Holy Sword Endu: This sword gives you the ability to glide. It has Wind Gems equipped to it, which allow you to glide over long distances.
Head back to the first save point to save and rest; you'll also be given an introduction to Umbada's Trading Outpost.
Umbada's Trading Outpost: This is where you spend your Ancient Coins. There are several useful weapons and items in his store, so check it out! You can access Umbada's Trading Outpost from any save point.
And that wraps up part one of our Queen's Domain Walkthrough! Hopefully you've found this useful; let us know if there is anything we missed in the comments and if we can add some more screenshots to help the guide feel more intuitive.
Discussion