
Yum-Yum Desert is World 2 of IdleOn and becomes available after you have defeated Amarok World 1 Boss. Yum-Yum Desert introduces a host of new gameplay mechanics, several new skills and a new world boss to take down.
Our World 2 Guide will serve as a homepage hub for all activities available in Yum-Yum Desert and also give you a decent guide of how to progress through it. Whilst World 1 was quite simple, World 2 adds plenty more complicated mechanics to master.
In World 2 you'll also get to job-advance your basic IdleOn Class. You'll have a choice between two different classes to choose.
Yum-Yum Desert
Once you defeat normal Amarok and obtain the Desert Topaz from him, you'll be able to access the Yum-Yum Desert.
The following areas are available in World 2:


World 2 Progression Guide
You can consider World 1 as the introduction to the game and World 2 is really where IdleOn starts to shine.
Like all worlds in IdleOn, the way to the next world is locked behind maps and a boss. You'll want to start grinding your way through the Yum-Yum Desert maps to reach Efaunt.
The boss is a little more trickier than the previous because there are several 1-hit KO mechanics you'll need to watch out for. You'll want to start grinding your way through the Yum-Yum Desert maps to reach Efaunt.
You can continue to use Amarok Gear in World 2 since crafting the World 2 gear won't give you too much of a boost.

You do want to make sure you've unlocked Anvil Tab 2, as you'll need plenty of the items in this tab for unlocking various mechanics, upgrading your Inventory capacity and progressing your character.

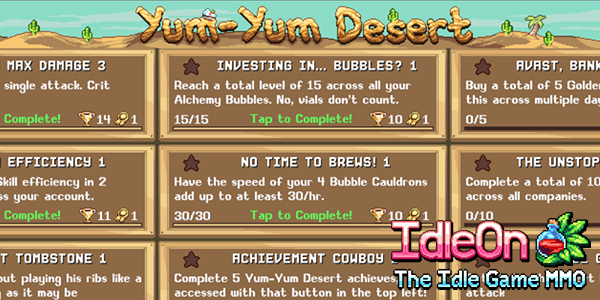
The first mechanic of World 2 you get introduced to is Alchemy. Alchemy can be quite confusing to first-time IdleOn players as there are lots of moving parts to it. Use our Alchemy Guide to get a better understanding.
Alchemy is something you'll be working on into end-game. It provides significant boosts to pretty much all areas of IdleOn and neglecting it will slow you down as you start to push those end-game worlds. Start by unlocking some of the early Bubbles, make sure to do your daily Vial attempts and increase the capacity of your Cauldrons as often as possible.
Hopefully by now you have at least 6 characters; you'll want them all assigned to Alchemy Cauldrons and pushing into World 2.
For damage boosts, put as much money into The Upgrade Vault as possible; it will make World 2 Monsters extremely easy to 1-hit.
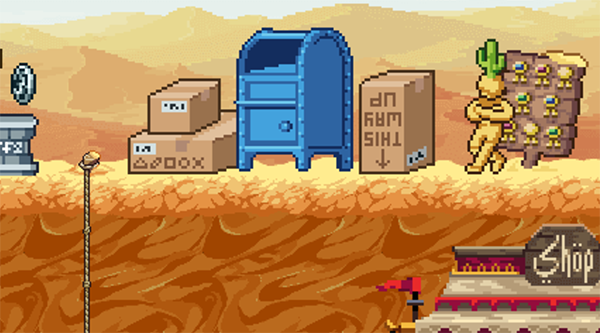
Start working on unlocking The Post Office. It does require some materials that need farming from World 2 mobs, but once you've unlocked it, The Post Office is a daily you can slowly build up and boost your account with.
Killroy's Slaughterhouse and Weekly Battle are areas you don't need to focus too much time on. Do them if you have some spare time. You can't really control the Bonus Ballot either, but vote once per week to get a temporary buff.
If you need some World 2 materials early-on, don't forget about the World 2 Sandstone Colosseum. The Treasure Chests will give you lots of useful items for making new tools, quests and such.
Obols are new equipment drops that you can add to all your characters. Unfortunately, the stats kinda suck- however, if you go back to World 1 and farm Gigafrog for Pop Obols, you can get a decent amount of drop rate added!
If you head to Dessert Dunes (the 3rd map into Yum-Yum Desert), you can do the 2nd Job Advancement and choose a new class. Each job has two branches, and eventually you'll want one of each job in IdleOn. You can currently get around 9 character slots, so you have some space to have 2 of the same class.
World 2 Town Shop
Here are all the items you can find in the World 2 Town Shop.
| Item | Price | Quantity |
|---|---|---|
 48 48 |
25000 | |
| 80 |
25000 | |
 1 20 1 20 |
25000 | |
| 35 |
10000 | |
 1 1 |
1 | |
| 15 |
12 | |
| 8 50 |
24 | |
| 12 50 |
16 | |
| 25 |
20000 | |
| 60 |
20000 | |
| 30 |
20000 | |
| 24 99 99 |
1 | |
| 89 |
1 | |
| 2 50 |
1 | |
| 6 |
1 | |
| 10 |
1 | |
| 1 25 |
1 | |
| 10 |
1 | |
| 50 |
40 | |
| 2 |
2 | |
| 1 |
1 |


World 2 Skills - Catching and Fishing
In World 2, you get access to two new IdleOn Skills: Catching and Fishing.
Every character in Idleon can level up all skills in the game. For each Level Up, you gain 1 Talent Point. Each skill has it's own Level Up system rewarding EXP for that skill by performing the skill.


Discussion