Trapping is a World 3 Skill that allows you to obtain Critters in IdleOn by placing traps in specific locations throughout the world. Unlike other skills, Trapping does not require you to place your character in an idle map, instead you simply place traps!
The best IdleOn Class that specializes in Trapping is the Hunter class.
In order to begin Trapping, you must complete the Lord Of The Hunt quest Pelt for the Pelt God. To unlock other Trapping Locations, you'll need to complete his other quests.
Trapping Overview
Each character in IdleOn can place a trap at any of the Trapping Locations you have unlocked. Depending on the trap you place, you can then collect any critters you have caught once the timer has completed.
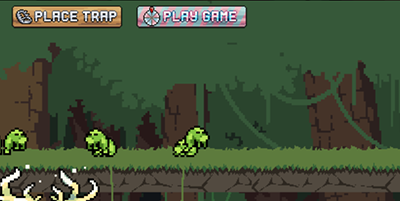
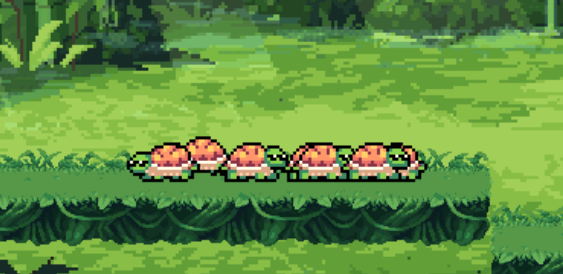
The first trapping area is located in Blunder Hills / Jungle Perimeter, where you can trap the Froge critter. Simply walk to the area where the critters spawn, and the option to place a trap will appear.
Make sure you have a Trap equipped in your Tools section. You can buy the Cardboard Traps from the Frostbite Tundra Vendor shop.
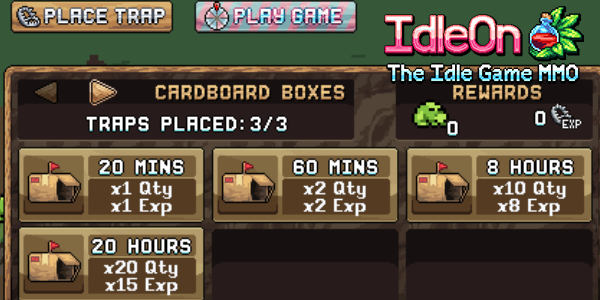
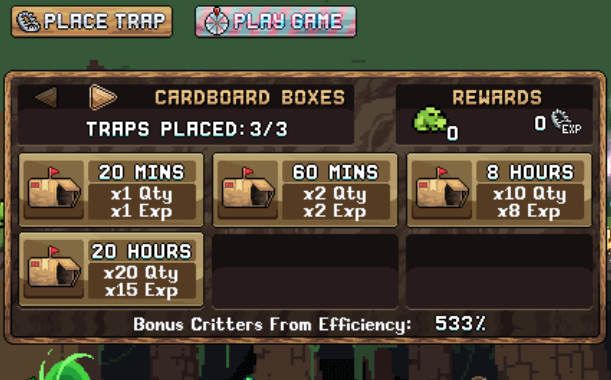
There are several types of traps you can place, each with their own benefit. You can place your trap for a specific number of hours; once the timer has completed head back to the trap and collect your critters, which will spawn as items.
Shiny Critters become available once you have equipped the Silkin Trap.
Some boxes have a higher rate of dropping Shiny Critters than others, so depending on what Critters you need to farm, you will want to place that specific trap.
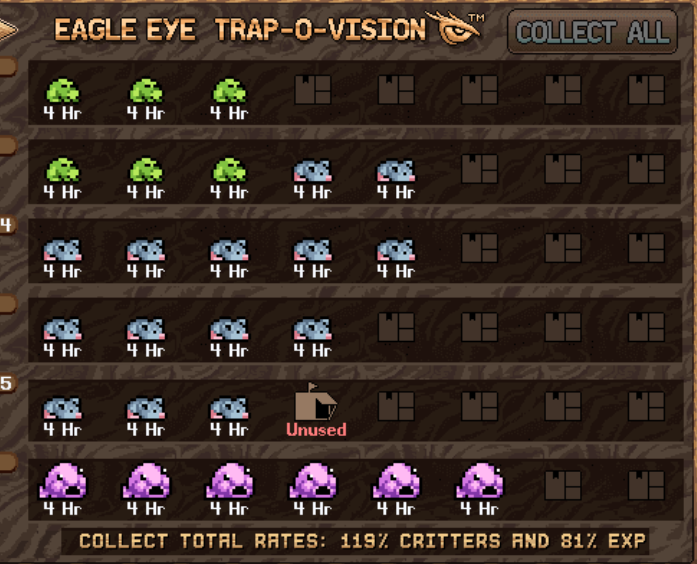
Hunter's have the skill Eagle Eye, which allows you to collect all traps remotely without having to visit each trap.
If you have built the Trapper Drone Tower, you can also change which critters each character is trying to catch without the need to logon to each individual character. As long as you have placed at least one trap in that location at least one times, the location becomes permanently available for the Trapper Drone.
Trapping - Critter Locations
Each Critter Location only becomes available once you have completed the Lord Of The Hunt quest for that specific location.
| Location | Critter | Shiny Critter | Start Quest |
|---|---|---|---|
Blunder Hills / Jungle Perimeter |
Frogecoin to the MOON! [Lord Of The Hunt] | ||
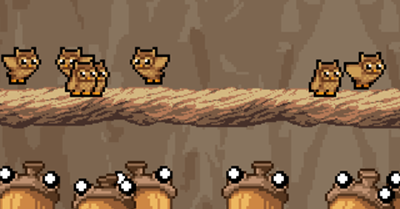
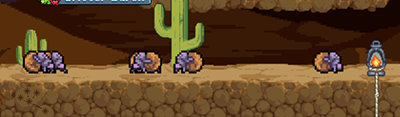
 Yum-Yum Desert / Salty Shores |
Yet another Cartoon Reference [Lord Of The Hunt] | ||
 Yum-Yum Desert / The Ring |
Small Stingers, Big Owie [Lord Of The Hunt] | ||
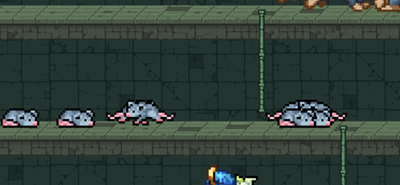 Blunder Hills / Rats Nest |
The Mouse n the Molerat [Lord Of The Hunt] | ||
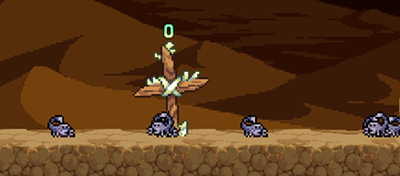
 Blunder Hills / Hollowed Trunk |
Happy Tree Friend [Lord Of The Hunt] | ||
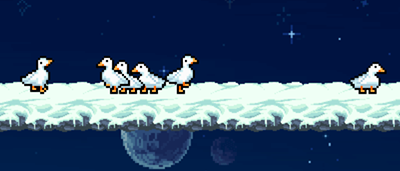
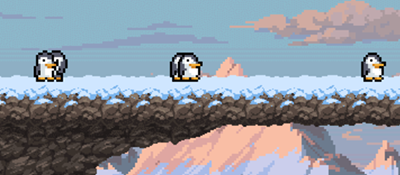 Frostbite Tundra / The Stache Split |
Noot Noot! [Lord Of The Hunt] | ||
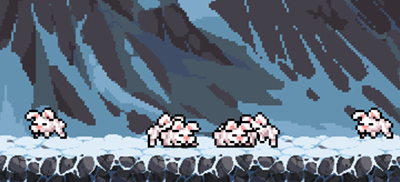 Frostbite Tundra / Thermonuclear Climb |
Bunny you Should Say That! [Lord Of The Hunt] | ||
 Blunder Hills / Efaunt's Tomb (boss room) |
Rollin' Thunder! [Lord Of The Hunt] | ||
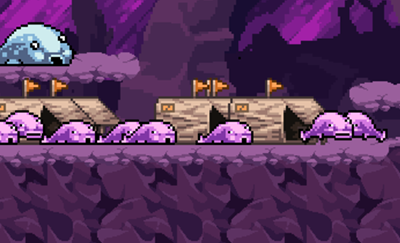
 Frostbite Tundra / Wam Wonderland |
Untitled Quest [Lord Of The Hunt] | ||
 Hyperion Nebula / Cocoa Tunnel |
Glitter Critter [Blobbo] | ||
 Spirited Valley / Bamboo Laboredge |
Unlocked in the Jade Emporium |


Trap Types
Traps are Tools you can equip that unlock specific trap mechanics. Some increase the odds of getting Shiny Critters, others improve EXP etc.
Each trap also gives a number of "slots". Each slot allows you to place multiple traps at a location per character.
The Alchemy Bubble CALL ME ASH will give you +1 Trapping Slot too.
| Trap Item | Traps Amount | Options | Obtained |
|---|---|---|---|
| 1 | 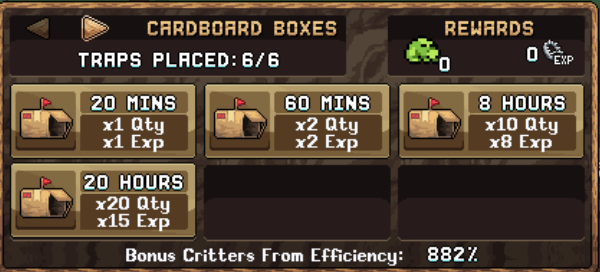 |
Frostbite Tundra Shop | |
| 2 | |
Anvil Tab 1 | |
| 3 | |
Anvil Tab 2 | |
| 4 | |
Anvil Tab 3 | |
| 5 | |
Anvil Tab 3 | |
| 6 | Anvil Tab 4 | ||
| 7 | Anvil Tab 4 | ||
| 7 | Anvil Tab 5 | ||
| 7 | Anvil Tab 6 |


Trapping Mini-Game
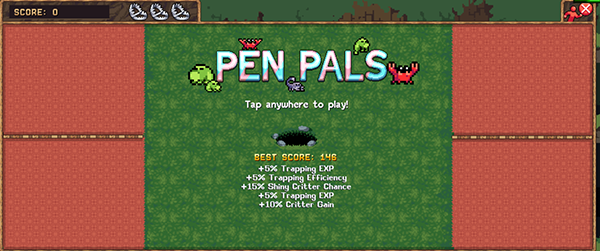
The Trapping Mini-Game will give permanent trapping bonuses depending on the score you reach. You can play this game an infinite amount of times.
The aim of the game is to drag the critters that spawn in the center of the game to their required pen.
If a critter reaches a pen that doesn't belong to them, you'll lose a life. You have 3 lives per game.
You can obtain the following permanent bonuses based on your minigame score:
- 5% Trapping EXP - Score: 25
- 5% Trapping Efficiency - Score: 50
- 15% Shiny Critter Chance - Score: 75
- 5% Trapping EXP - Score: 100
- 10% Critter Gain - Score: 125
- 15% Shiny Critter Chance - Score: 150
- 5% Trapping Efficiency - Score: 175
- 10% Critter Gain - Score: 200
- 1% Skill AFK Gain rate - Score: 225
Trapping Boosts
Extra Boosts
These boosts can be earned from other areas of IdleOn.
| Name | Boost | From |
|---|---|---|
 Shiny Chance |
+%Shiny Chance | [World 1] Arcade |
 Trapping Critters |
+%Trapping Critters | [World 1] Arcade |
 Trapping EXP |
+%Trapping EXP | [World 1] Arcade |
| % Shiny Critter Chance | [World 1] Cards |
|
| +% Shiny Catch Rate (multi) | [World 1] Stamps |
|
| +% Shiny Catch Rate (multi) | [World 1] Stamps |
|
| +Base Trapping Efficiency | [World 1] Stamps |
|
| +% Trapping EXP | [World 1] Stamps |
|
| Trapezoidburg | +20% Critters/Trap, +10% Trap Efficiency | [World 1] Star Signs |
| +Trappin Power | [World 1] Statues |
|
 Critters 'n Souls |
+% more Critters and Souls from all sources! | [World 1] The Upgrade Vault |
| POISON TINCTURE | Eagle Eye Trap-O-Vision gives +% more critters. | [World 2] Alchemy |
 CUZ I CATCH EM ALL |
x more likely to catch shiny critters when opening a trap. | [World 2] Alchemy |
 ENDGAME EFF II |
+ Catching and Trapping Power. This bonus increases based on every 10 Class LVs you are above 500. | [World 2] Alchemy |
 CALL ME ASH |
+% Trapping Efficiency when this bubble is equipped. Also, +1 Placeable Trap ALWAYS, even when this isn't equipped! | [World 2] Alchemy |
| GOOSEY GLUG | + base critter per trap. This is a sHONKingly good bonus, the aren't many others of its kind! | [World 2] Alchemy |
 SLABO CRITTERBUG |
+ Catching and Trapping Power per 100 items found, shown on The Slab! | [World 2] Alchemy |
 SANIC TOOLS |
The following tools give +% more skilling Power than normal: Catching Nets and Traps | [World 2] Alchemy |
 Trapping bonus |
Increases Trapping EXP gain and Worship EXP gain by +54% | [World 2] Bonus Ballot |
| % Trapping Efficiency | [World 2] Cards |
|
| % Trapping EXP | [World 2] Cards |
|
| % Trapping Efficiency | [World 2] Cards |
|
 Trapping Lockbox |
% Trapping Efficiency, % Trapping EXP, % Critters Trapped | [World 2] Post Office |
| Trap Compounder | Every day, critters gained from traps increases by +x%. This bonus is capped at 60 days, and resets back to +0% when a new trap is placed. | [World 3] Atom Collider |
| % Shiny Critter Chance | [World 3] Cards |
|
| % Trapping EXP | [World 3] Cards |
|
 Trapper Drone |
Remotely deploy AND collect traps to and from any discovered critter location! Collect-all is based on Hunter's Eagle Eye Talent. | [World 3] Construction |
 Dementia Set |
+50% Critters and Souls gained | [World 3] Equipment Sets |
 Shiny Snitch |
Shiny Critters drop in bundles of 20 instead of 1. Your Shiny chance is now x15 lower. | [World 3] Prayers |
| % Shiny Critter Chance | [World 4] Cards |
|
 Octodar |
+Base Critters per Trap | [World 4] Pet Breeding |
 Walking Stick |
+Base Critters per Trap | [World 4] Pet Breeding |
 Sea Urchin |
+% Critters from traps | [World 4] Pet Breeding |
 Skill Mastery (Trapping) |
Level 150: +25% Trapping EXP Gain Level 200: +10% Trapping Efficiency Level 300: All Trapping Cards are now passive Level 400: +10% All Skill EXP Level 500: +5% All Skill Efficiency Level 750: +1% Printer Output Level 1000: +25% All Skill EXP | [World 4] The Rift |


Discussion