 DigitalTQ
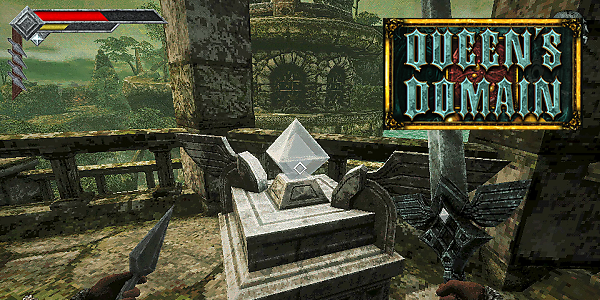
The second part of our Queen's Domain Guide sees us search for the second Wind Gem to equip to our Holy Sword Endu, allowing us to discover new and interesting areas. Plus, we also discover the Azure Torch.
Previously, we defeated the Shrine Guardian Boss and discovered the Holy Sword Endu. Make sure to check out our Complete Queen's Domain Walkthrough page.
The Holy Sword Endu allows you to glide using Wind Gems. By default, you have one Wind Gem equipped, allowing you to glide a short distance. In this guide, we're going to find the second one, discover more secrets of the Island Of Neasied and start work on unlocking The Tower Of Knowledge.
Second Wind Gem
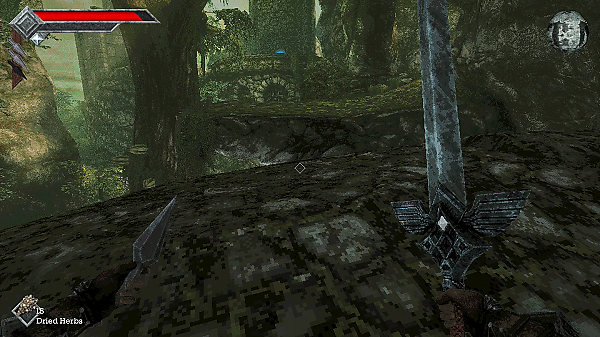
The second Wind Gem will allow us to unlock more of the Island and discover the next important area. Start this part of the guide from the first Save Point at the Knight's Encampment.
Head up the hill, past the lift, defeating two Chickets along the way until you come to the cliff edge. Previously, we wouldn't have been able to make this jump.
But you now can; make sure your Holy Sword Endu is equipped and then jump before pushing the secondary-attack skill button so that you glide across.
Holy Sword Endu: You'll notice the Wind Gems in the sword fade out; they take a short amount of time to recharge so be patient when trying to perform longer glides.
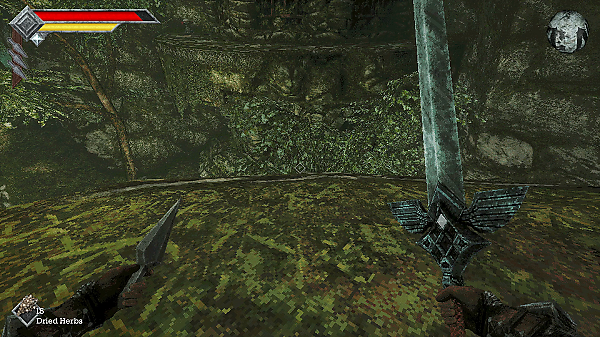
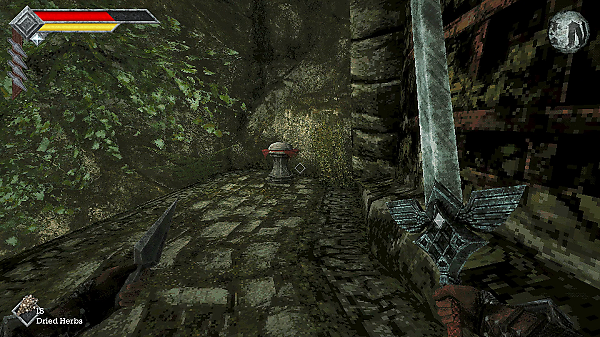
On the new platform, take out any annoying Forest Eyes. If you look across the gap, you can see a podium with a Silver Platter on it. Jump and Glide across to it to find a Roasted Poultry and Meal Ticket. The Roasted Poultry will increase your Max HP (Life Point Up).
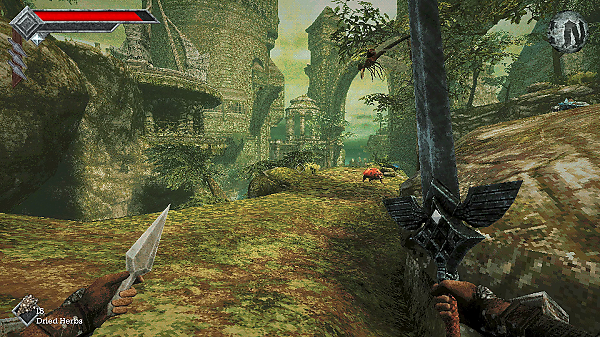
Now jump back and make your way further up. You'll eventually come to a clearing; to your right is a Ratty Bug. On the clifftop, there is also a Star Lizard.
Star Lizard: defeating this will drop you a Filthy Loot Sack that you can sell at Umbada's Trading Outpost. The Lizard will run away from you though, so make sure the area is clear of mobs.
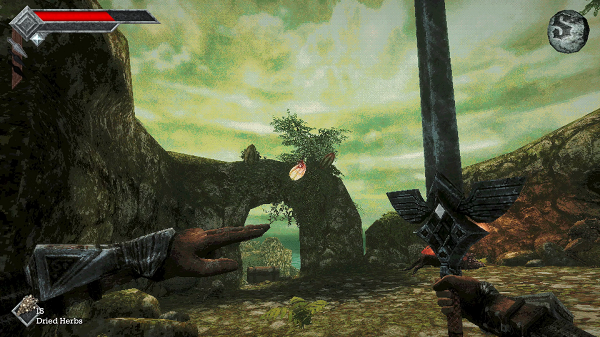
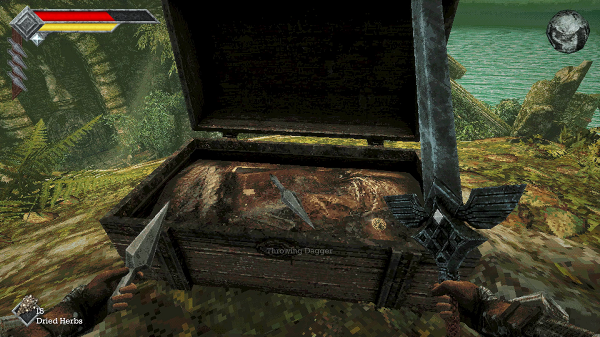
To your left will be some ruins where a Ratty Bug, Chicket and several Forest Eyes are waiting. Take out the eyes first and then the other mobs. There is a Barrel containing an Elixir and Ancient Coin on the left.
Here you'll also find a Treasure Chest containing a Throwing Dagger and Ancient Coin.
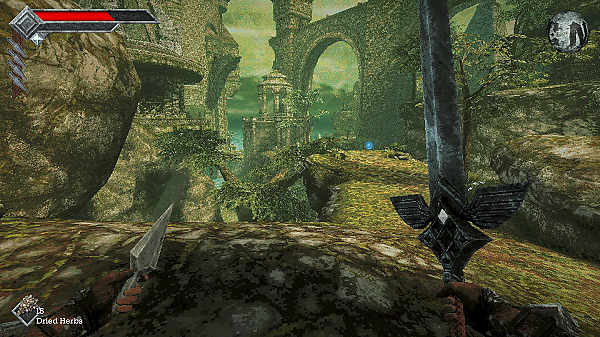
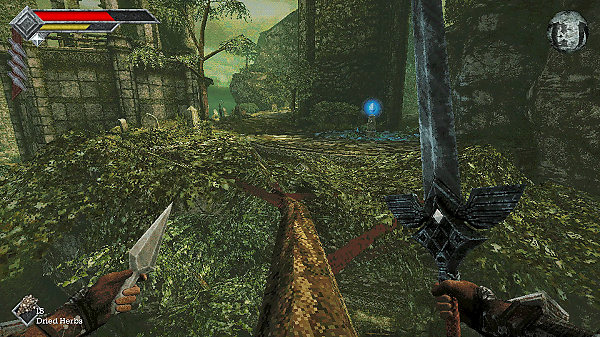
Turn back around and head back towards the second save point. You'll notice the gap is too big to jump across. To get there, you'll need to jump first onto the tree to your left, walk along the branch slowly and carefully, then finally gliding across.
Cemetery Precipice
The second save point is in an area called Cemetery Precipice.
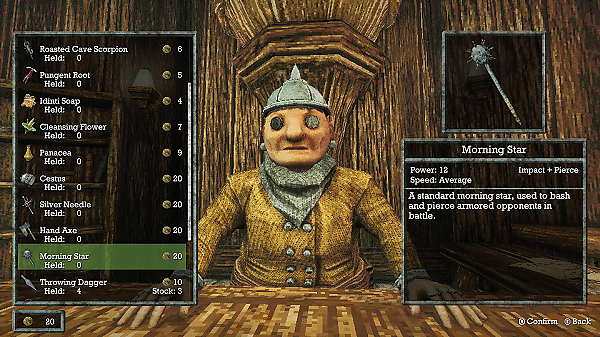
At this point, it's well recommended to go and purchase the Morning Star from Umbada's Trading Outpost. That's because this area is full of Skeleton Fighters, this weapon will help a lot with taking them out. It does cost 20 Ancient Coins, so if you need anymore, try and hunt those Star Lizard minions for their loot which you can sell.
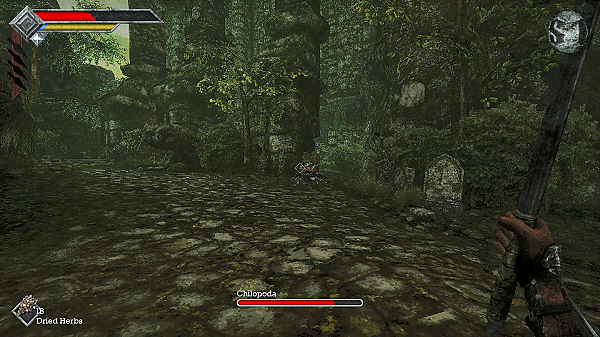
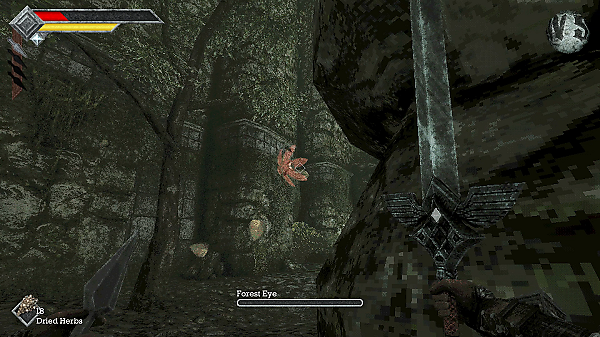
Moving on, make your way past the save post and you'll come across several Skeletal Fighters and a Chilopoda. Take your time with these enemies as they can really wipe out your HP.
Be aware of the Forest Eyes too; this area has several clusters of them on walls!
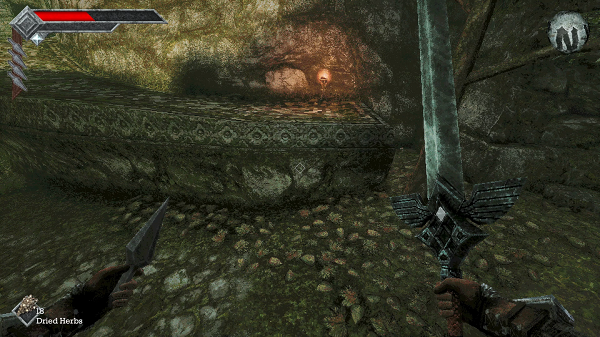
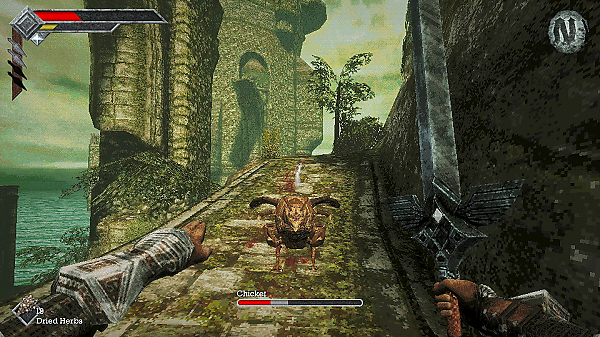
Make your way to the cluster of rocks in the center; jump up onto the small one and then glide across to the platform that runs all along the edge.
At the top of this platform you'll find a Skeletal Fighter and a Chicket. Take them out.
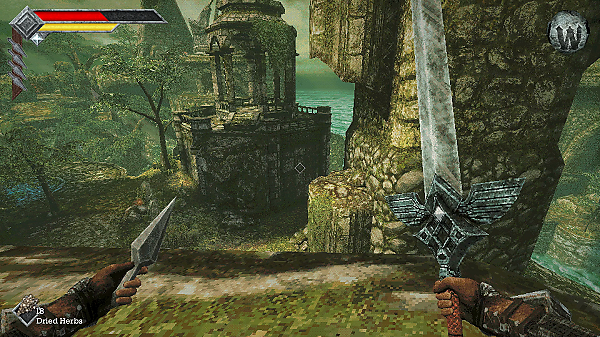
At the top of this platform, look to your left. You should see a small platform below you and a larger one with a shrine further in the distance.
You're going to need to jump + glide to the small one, and then do the same to the larger one. Make sure you wait for the Wind Gem to replenish before attempting to glide again; and also make sure you jump first before gliding as this gives you more distance covered.
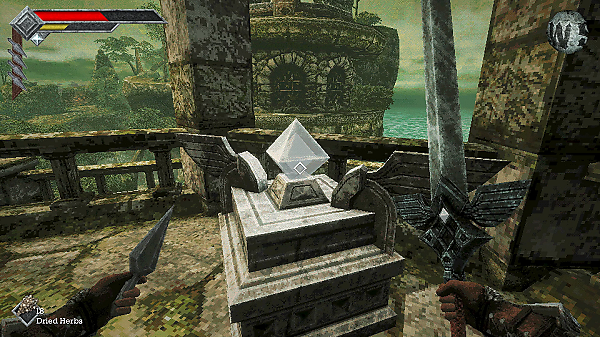
On the larger platform with the Shrine, you'll find the second Wind Gem!
Azure Torch
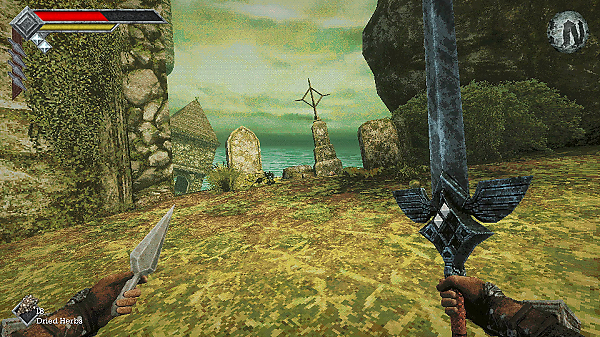
Next we need to get the Azure Torch. Immediately jump down from the Shrine and walk to the edge of the area next to the gravestones. You should see a leaning tower.
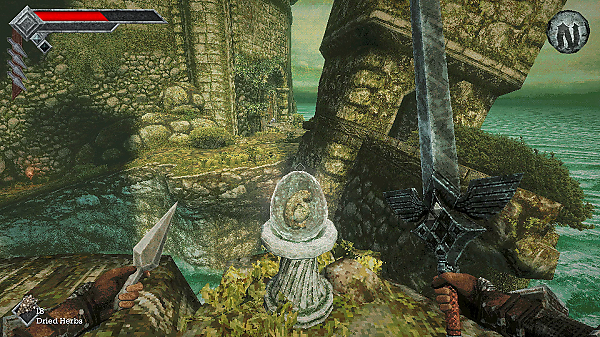
Now jump and double-glide across. You'll find your first Orbewa Egg (you'll need these later on).
Next glide across to the leaning tower to your right; inside you'll find a Crate that contains a Travel Crystal Fragment.
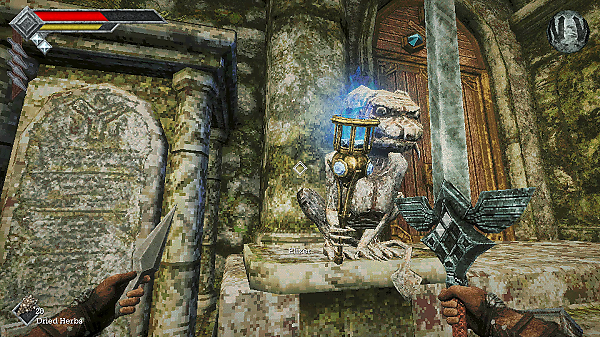
From there, glide across towards the entrance of The Tower Of Knowledge. You should see two stone statues either side of the door.
You can collect the Azure Torch from one of them, whilst the other reads:
Bring azure flames to my brethren who dwell upon the great beacons across the isle.
They will send fire to the braziers high atop the beacons and signal the ringing of the colossal bell of The Tower of Knowledge.
When all three beacons are alight and the bell has rung thrice, The Tower Of Knowledge will be unsealed.
Unsealing The Tower Of Knowledge: Unfortunately, you cannot unseal the tower just yet. There are only two beacons you can set alight in this place. The third one is found in the next area, so you'll have to read that guide part later.
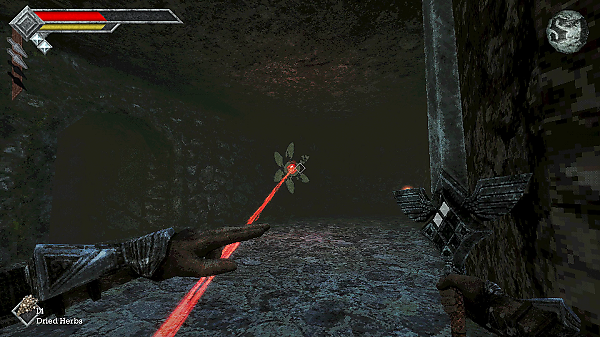
Azure Torch: The Azure Torch deals damage over time. It has a Melee attack where any enemy struck with it will be set on fire. It has also a ranged attack; there are two charges that fire out balls of flame.
At this point, our equipment setup is:
- Morning Star (for skeletons)
- Azure Torch (for everything)
- Holy Sword Endu (for everything)
Now that you have the Azure Torch, let's light the first two beacons on this Island in preparation for entering the Tower Of Knowledge.
First Beacon
Return back to the second Save Point (AND SAVE THE GAME!) at Cemetery Precipice. Head back towards the cluster of rocks surrounded by Forest Eyes.
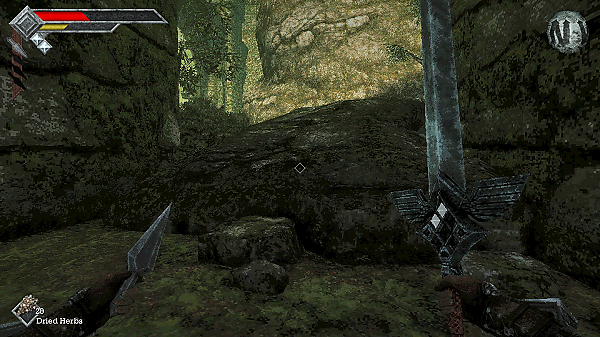
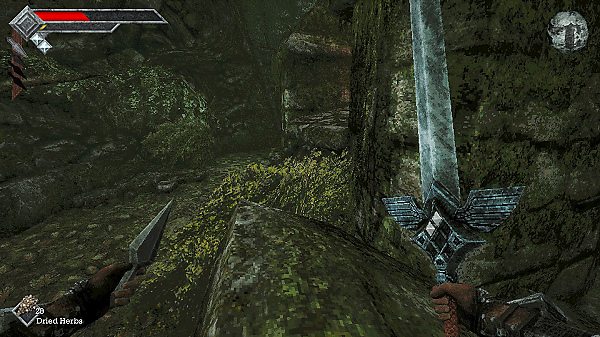
First climb up the ramp, then jump to your right. You should then be able to see a lantern with blue flames on it across the way. You'll need to do a Jump + Glide to reach it.
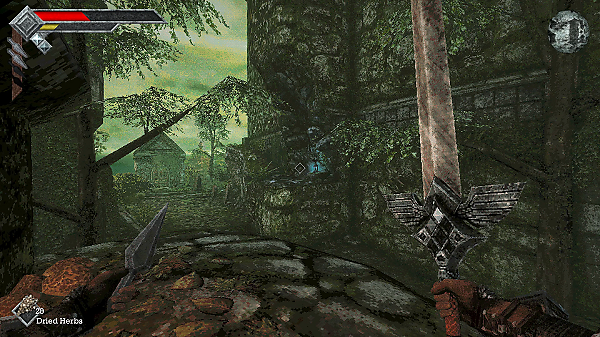
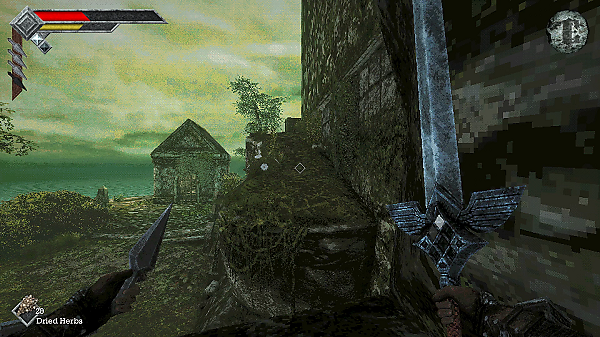
From there, jump + glide across to the slope with the Crate sitting at the top (it contains an Elixir).
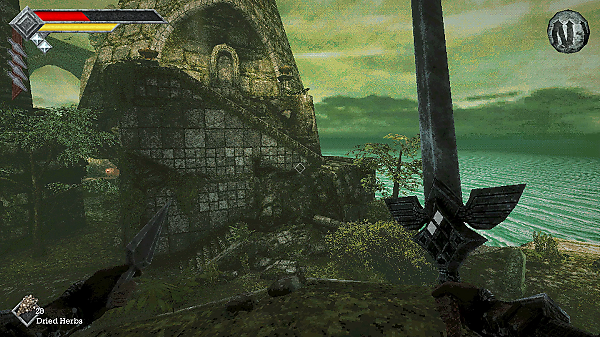
Turn your attention across to face the open area where you'll see some stone steps leading up to a shrine. Here you need to do a jump + double glide to reach the stairs. Make sure to jump first so that you get more distance on your glides.
Climb the stairs; at the top you'll find three Skeletal Fighters so be extra careful! Smash the crate for a free Elixir.
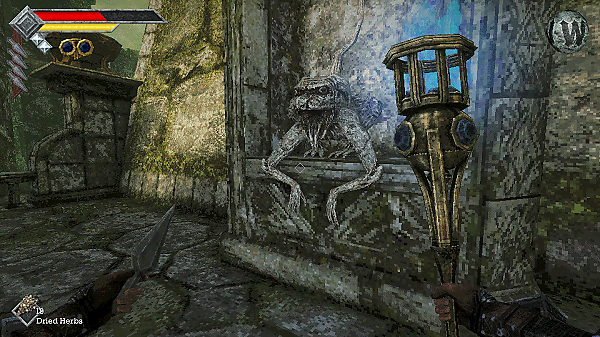
Now, use your Azure Torch and attack the stone gargoyle with it. This will cause the two fire pits either side to shine with blue flame and distant bells to ring out. You've lit the first beacon!
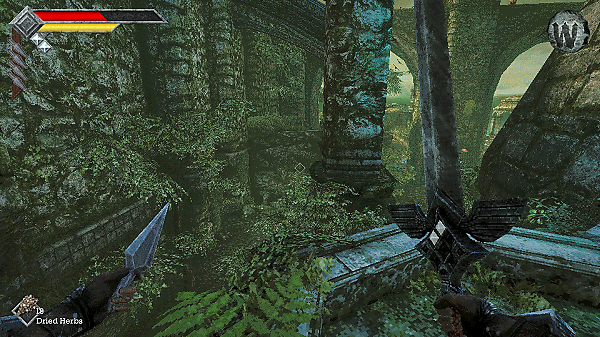
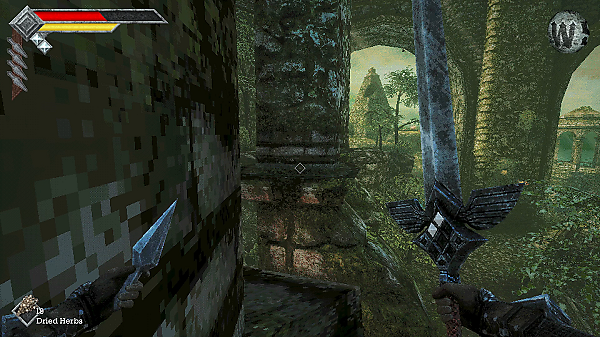
From here, stand on the top of the stairs and glide across to the stone pillar. Walk carefully around it's edge.
Do the same to the next stone pillar, and again, until you reach the new platform.
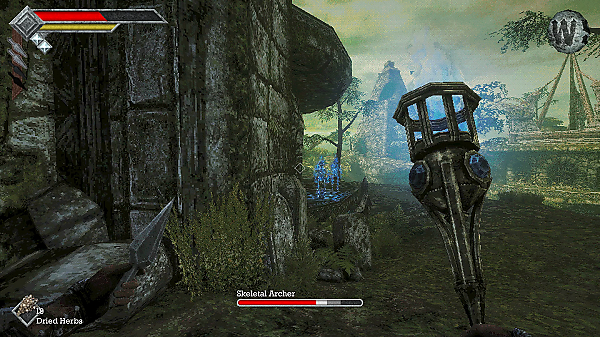
Here you'll find two Skeletal Archers, who can shoot arrows at you. They're pretty weak though, so use your Azure Torch and Throwing Knives to make quick work of them.
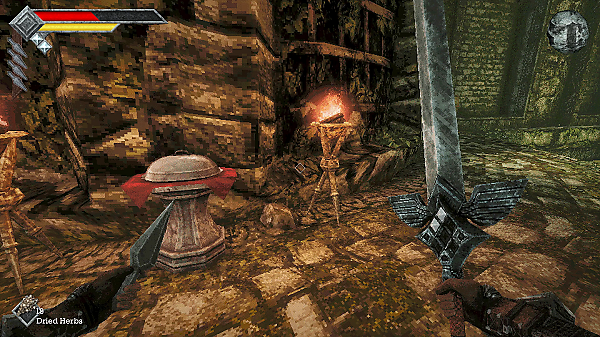
You'll also find Broiled Meat on a platter, which increases your Attack Power. Don't forget to take the Meal Ticket.
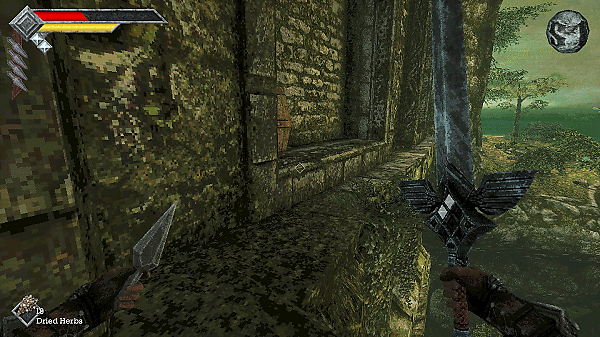
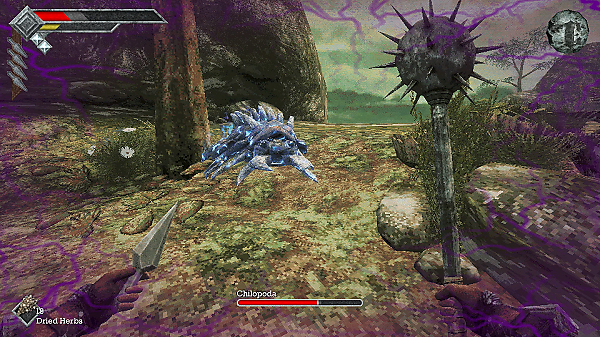
From here, follow the wall all the way around; you're now right above the starting camp. Smash the barrel for an Elixir. Walk along the wall and then jump across to the area where the Chilopoda are.
There are actually lots of Chilopoda here, all hiding in the dirt. You need to be VERY careful as you can awake all of them at once!
They can poison you, which lasts an annoyingly long time. The only way to cure it is to use a Panacea item.
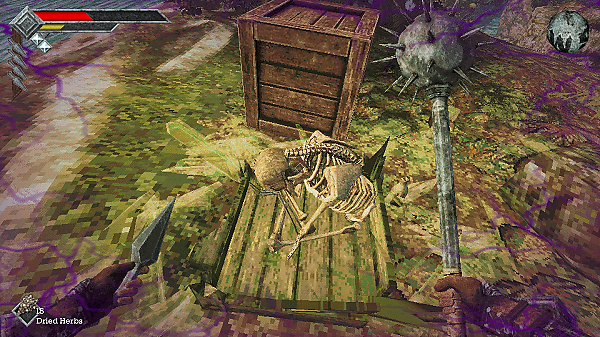
Once you've dispatched the Chilopoda, smash the two crates to find an Elixir and two Radiant Fruit.
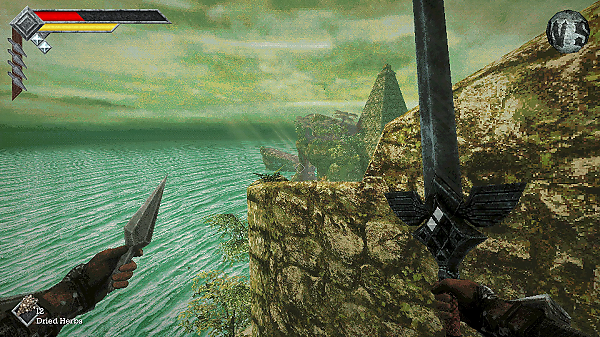
From this area, jump + glide across to the stone wall. Here you'll find a Skeletal Fighter and a Meganeura. You'll also find a Crate next to a tied up skeleton, containing Brawler's Berriers and Iron Pineapple.
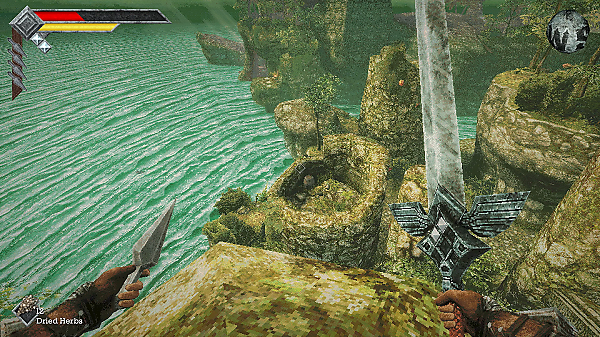
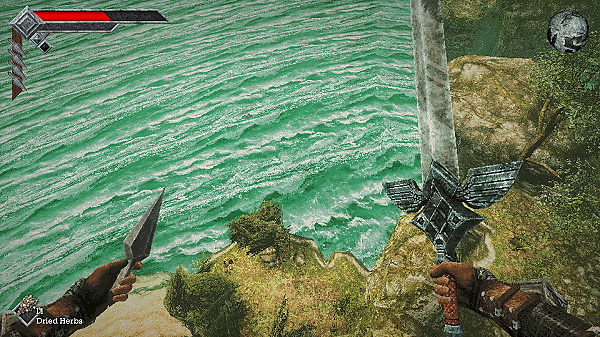
Just before moving on, if you peer over the edge towards a turret, you can make a jump + double glide to find a secret area near the beach where you first start the game.
Here you can find a new weapon, the Jar Club and some Dried Herbs.
Second Beacon
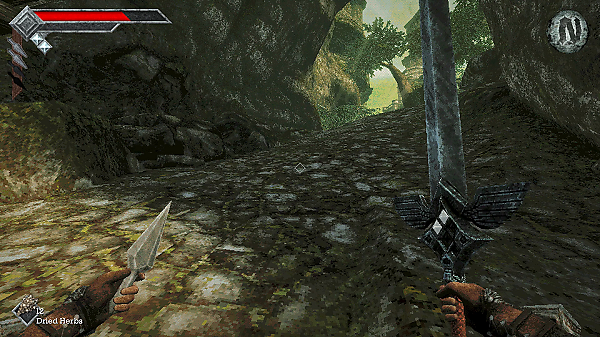
Now it's time to find the second beacon. Start from the first Save Point near the campsite and make your way back up the hill, past the two chickets and glide across the cliffedge.
Make your way further up until you come to the area where you found the Treasure Chest containing the Throwing Knife.
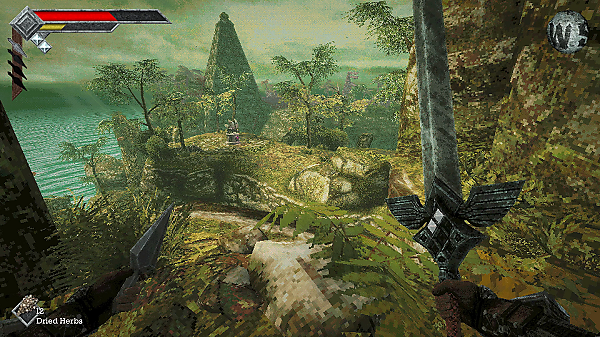
From here, look out to your right. You should see a cliff with a statue on it with a purple gem. Jump + double glide across.
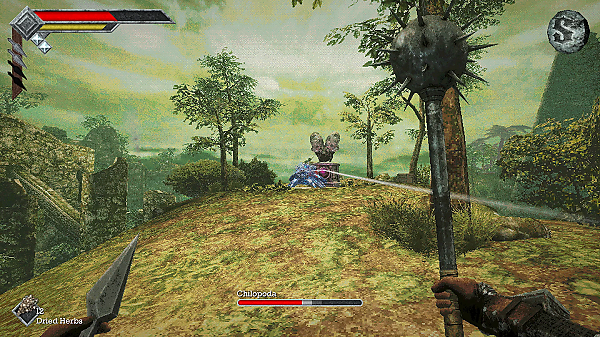
Take out the mobs and then head towards the statue; there is a crate containing two elixirs nearby.
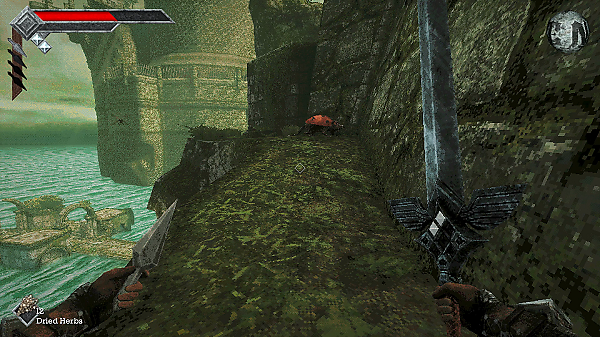
Turn back around and walk past the Star Lizard and Lift. Follow the cliffedge all the way around, taking out the mobs that appear.
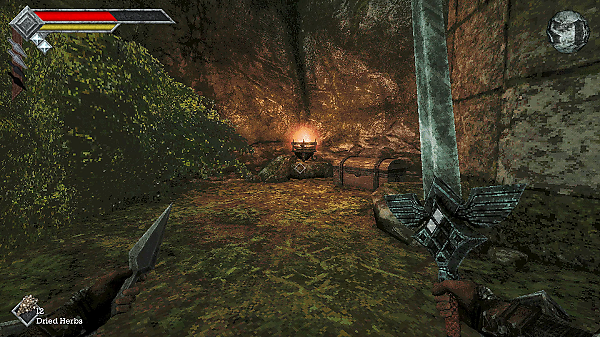
You'll eventually come to some stone stairs with a Treasure Chest at the bottom; DO NOT OPEN THE TREASURE CHEST!
The Treasure Chest contains a Mimic, who will surely decimate you at this early stage in the game. Instead, walk up the stairs to safety.
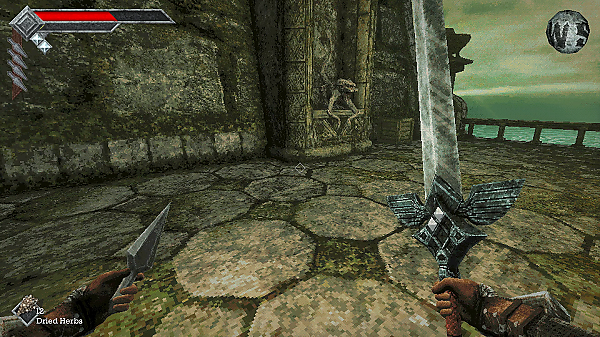
Alas, you've found the Second Beacon. Use your Azure Torch to light it up!
In the crate you can find an Elixir.
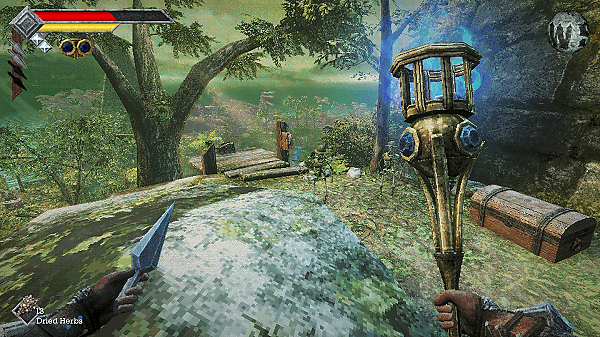
Head left and you'll come to an area with Chickets and more Skeletal Archers. Take them all out.
Next to the Skeletal Archers, you should find another Treasure Chest; open it to find the Chakram Weapon.
Chakram: This is another ranged weapon. It's best used when fighting multiple clusters of enemies as the weapon will slice through anything in it's way. It's quite slow to recharge and return, so using the quick-switching of weapons is a good way to make use of this new equipment.
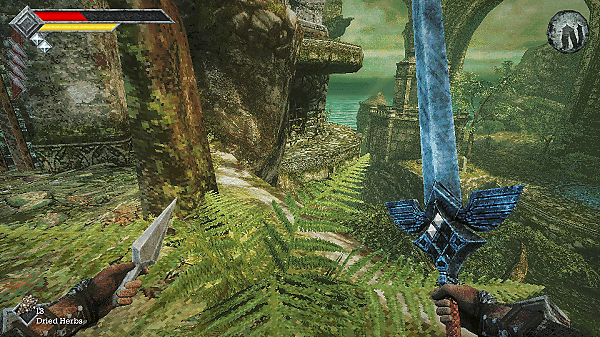
Before leaving this area, look to towards the gated shrine; to the right of it is a platform you can glide across and find a Roasted Poultry + Meal Ticket.
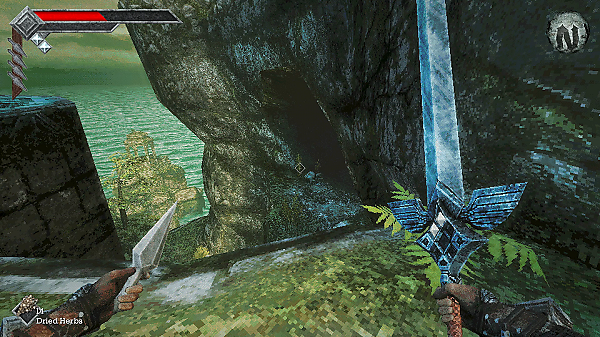
And finally, if you return back to the same area, on the left side of the gated shrine, you can find another cave in the wall. Enter it to find several Forest Eyes before claiming another Roasted Poultry + Meal Ticket.
And that wraps up the second part of the Queen's Domain Walkthrough! Let us know if we missed any hidden secrets or items in the comments.
Discussion