 DigitalTQ
Obmuer Temple is a gigantic underground water temple where you'll need to navigate several hidden mechanics to finally face off against the second boss.
This is the fourth part of our Queen's Domain Walkthrough, previous having unlocked the entrance of the Obmeur Temple by finding the Four Triangular Slate items.
We begin this guide from the Save Point: Cave Entrance - Obmuer Temple.
Trident Key Locations
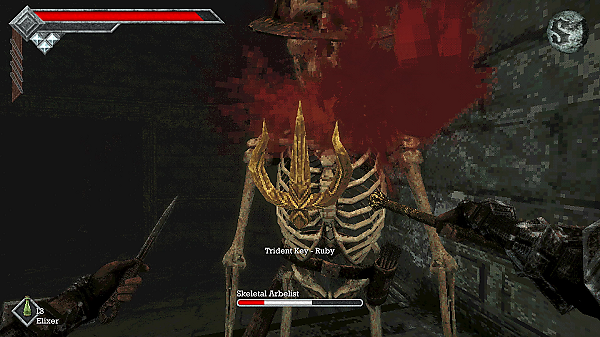
For the next part of the guide, you need to collect the Trident Keys. You actually only need 1 of them to progress, but you can find many more through other areas of the game.
Trident Keys: At this stage of the game, you can collect at least 3 of them. The first one can be obtained by equipping the Trident weapon found in Four Triangular Slate Guide. Get it to Level 5 (by attacking enemies) and it will break, giving you a new Trident Key - Ruby. The other 2 can be found within Obmuer Temple.
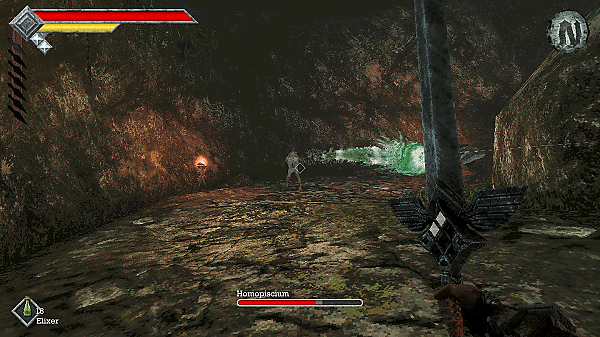
Start by making your way down the entrance tunnel, fighting off several Homopiscium mobs that fire water projectiles at you. Be careful of the Chilopoda too, as they are buried in the ground along the way (use your Throwing Knives to wake them up)
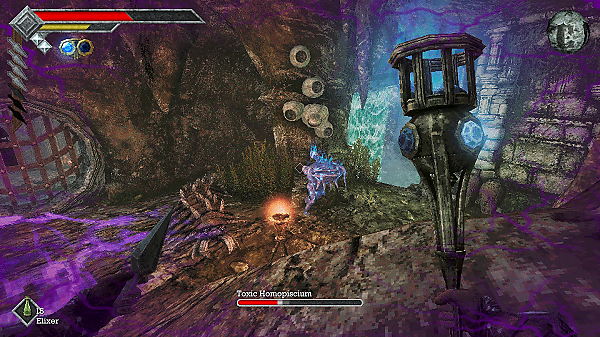
You'll come to an area where you'll find a Barnacle on the wall; take it out first before then proceeding to fight the Homopiscium. There is another buried Chilopoda here and a new mob will jump up from below called Toxic Homopiscium. Both can poison you!
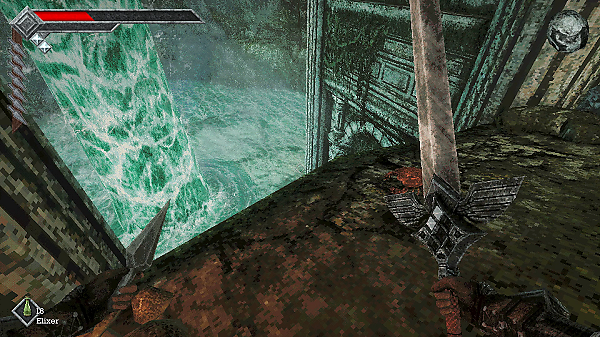
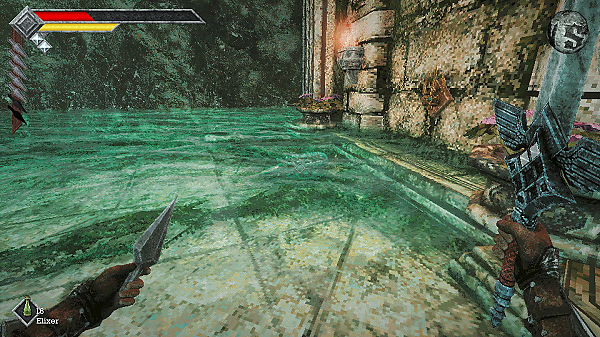
Head to the right to where the waterfall is and jump down into the shallow water. This area contains lots of Glaucusion in the water- so be extra careful when walking.
If you head forward, you'll then find a Trident Key - Sapphire on the wall.
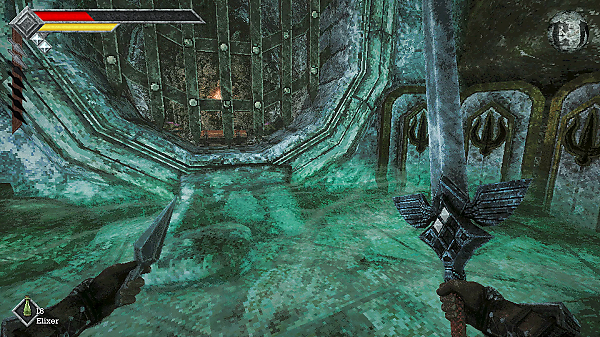
Make your way around the room and you'll notice a closed gate with three Trident Key slots. Currently, you only have 2 (assuming you're following this guide). Move past this area and you'll find another locked door up ahead.
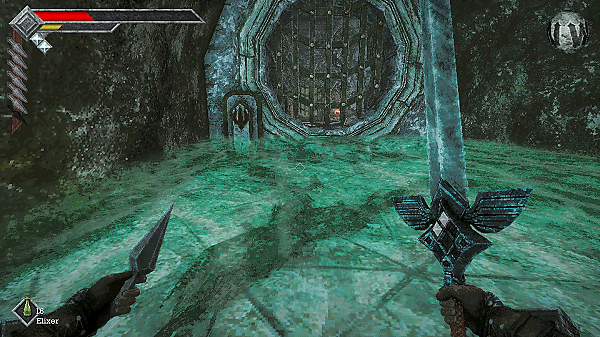
Place the Trident Key into the slot to open it. Inside you'll find a new Save Point called the Sacred Cistern.
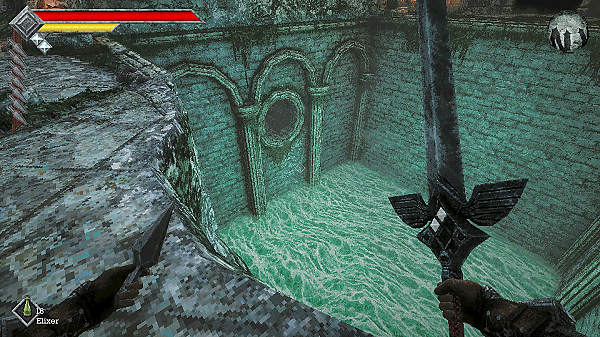
You'll notice there is a huge gap in front of the Save Point, if you peer over the edge and look down you can spot a small tunnel. Use your Jump + Double Glide to land on it.
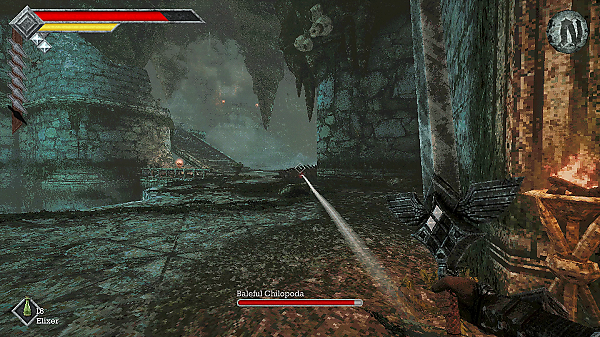
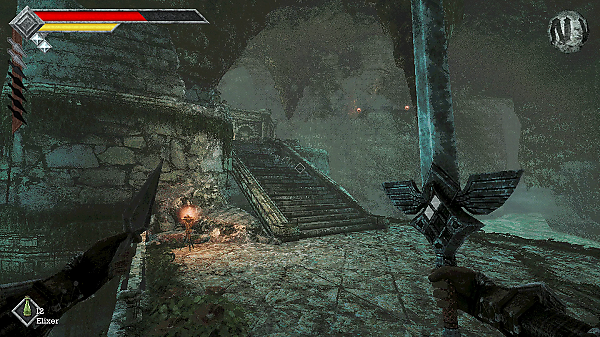
You'll come to a room full of mobs; first take out the Barnacle with your Throwing Knives and then slowly take out the remaining Chilopoda and Homopiscium.
You'll see some stone stairs; behind them you can find Roasted Cave Scorpion and Roasted Ojum Lizard.
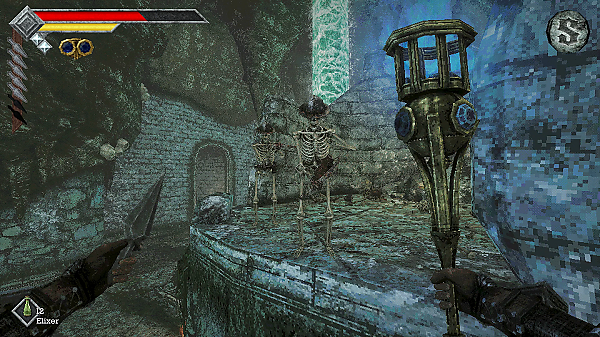
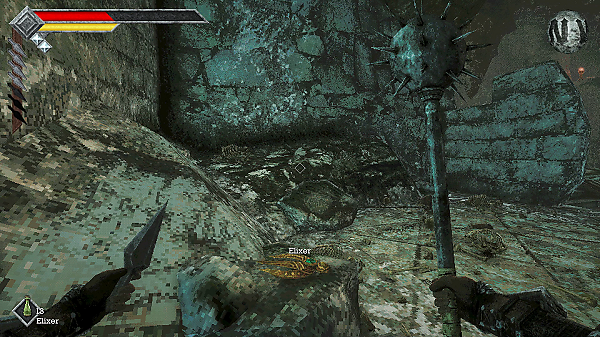
Head up the stairs and defeat the Skeletal Archers on your right. Jump to the area where they were and you can find an Elixir next to one Skeleton and also the third Trident Key - Emerald on a stone pillar.
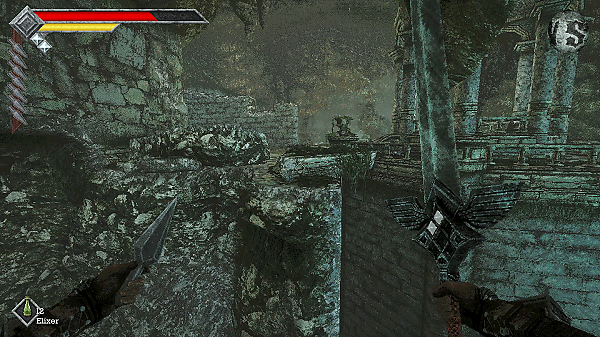
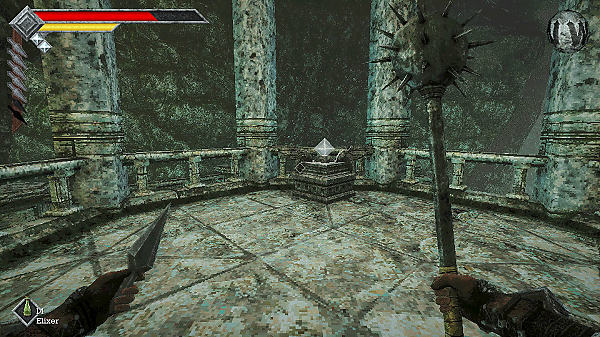
Now head further up and you'll come to a small gap you need to jump and glide across. Here you'll find the third Wind Gem!
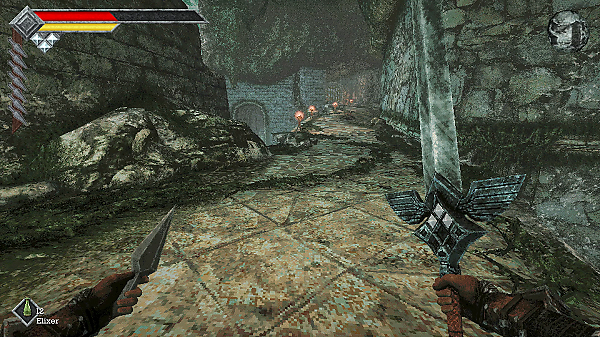
Take out the mobs in this area; again lots of hidden Chilopoda here! Head up the ramp and you'll find more mobs jumping up from the water to battle.
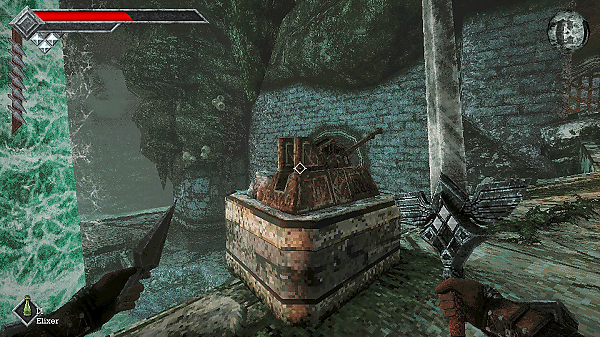
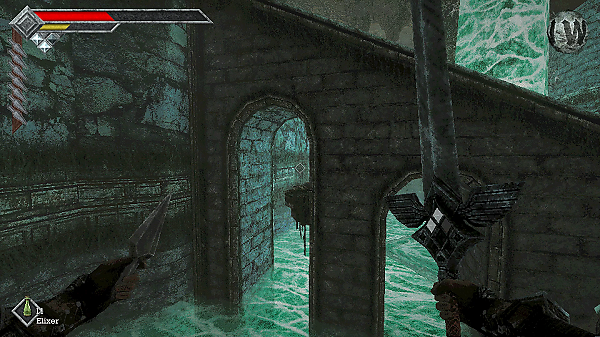
On your left you can also find a lever that will create a bridge below. If you like, you can also jump back down them and glide underneath the bridge to find a hidden 3 Ancient Coins.
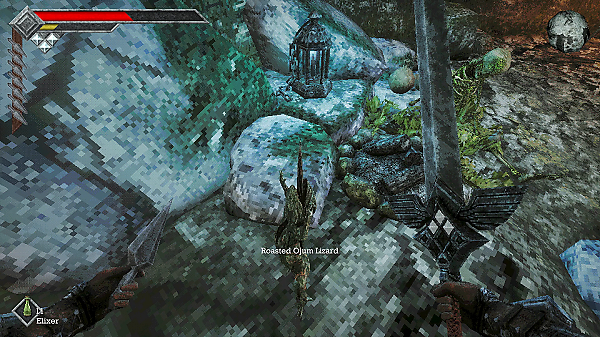
Head up, ignore the locked gate that requires a Trident Key; instead head right into the tunnel to find a Skeleton next to a glowing lamp. Pick up the Ancient Coin and Roasted Ojum Lizard.
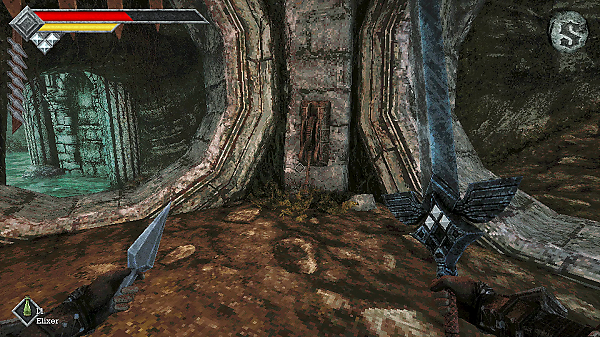
Press the Lever on the wall opposite the Skeleton, and both doors will open. You can now go and unlock the secret door requiring the three Trident Keys. Head through the first door on your left into the shallow water.
You need to get your Trident Key - Sapphire from the door you opened to access the Save Point at Sacred Cistern. Then you should have all three.
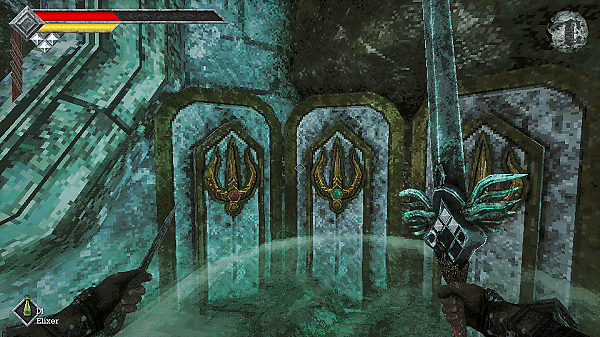
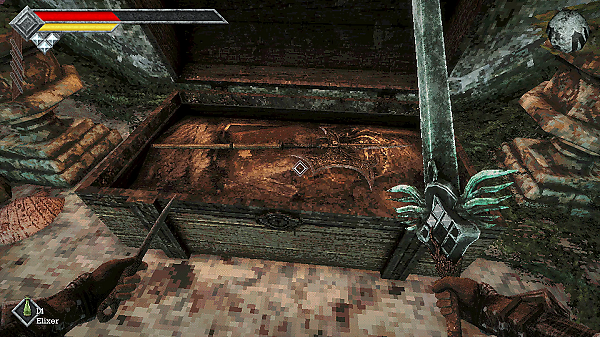
Place all three into the key slots and open the Treasure Chest to find: Engraved Halberd weapon.
Sacred Cistern
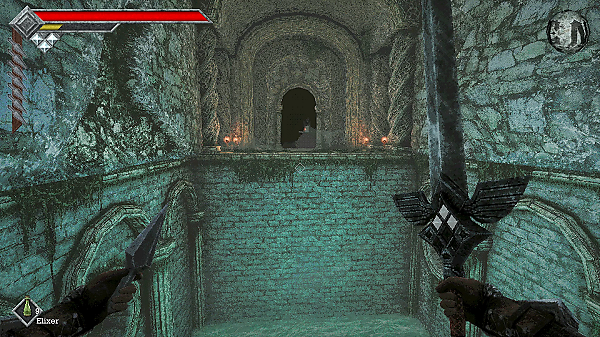
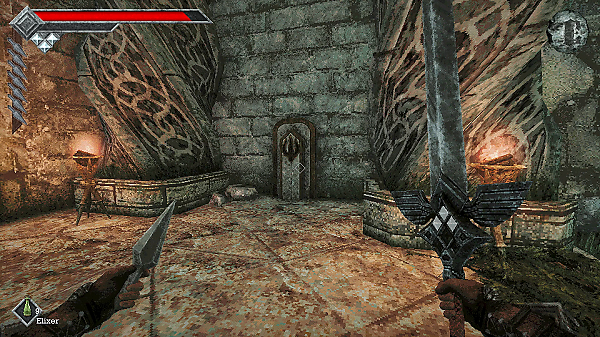
Return back to the Save Point at Sacred Cistern and now perform a triple glide jump across the gap to reach the other side. On your right, you'll find a spot to place a Trident Key.
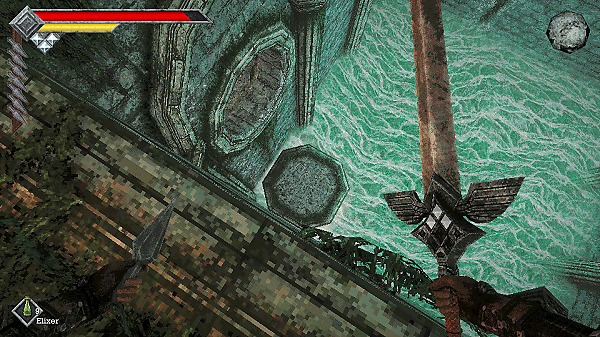
This will cause a platform to rise out of the water, allowing you to then access the tunnel below. Jump down and inside you'll find a Treasure Chest with X.
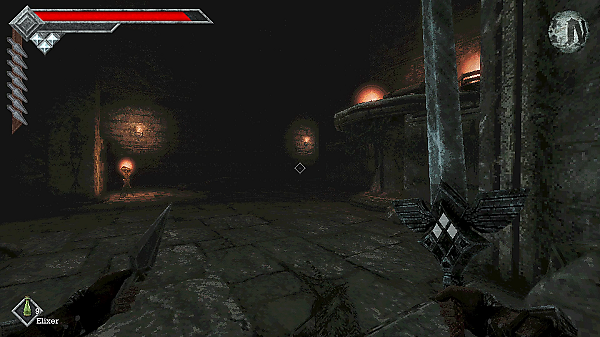
Climb back to the top and collect your Trident Key. Now head into the dark tunnel where you'll find plenty of Skeletal Fighters and Archers. Take them out with heavy-hitting weapons like the Morning Star.
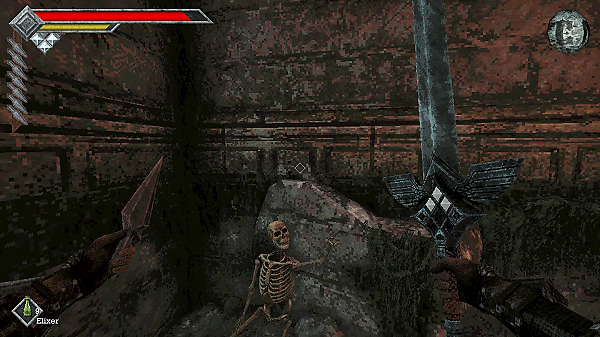
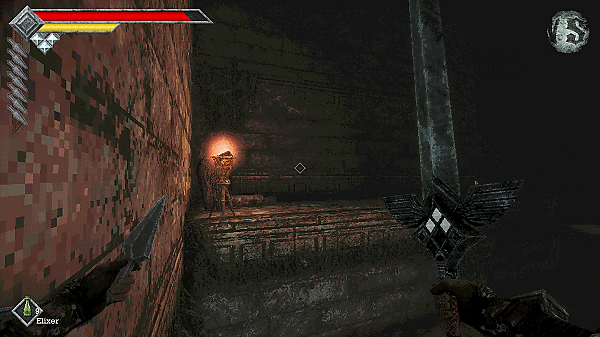
You'll come to a pile of rubble and a Skeleton pointing to your right. Jump up onto the rocks and then perform a jump + glide to reach the edge where the Skeleton is pointing to.
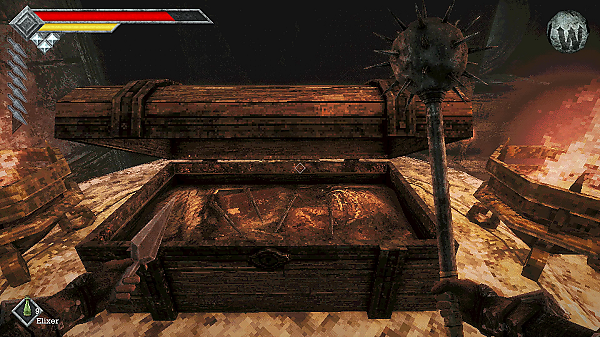
Follow the path around, taking out the Skeletons and then open the Treasure Chest to find four Piercing Needles. Equip them!
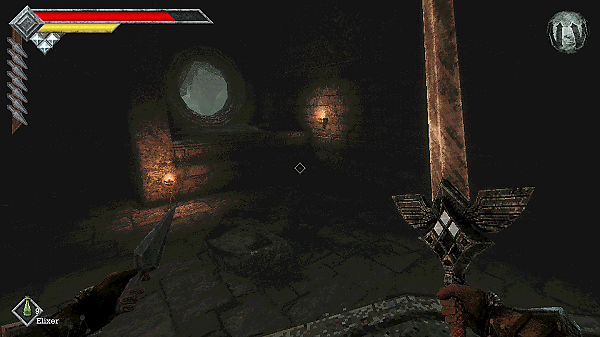
Before jumping off, look across the room to find an open window. Jump and do a double glide to reach the platform. Smash the Barrel to find an Elixir and then jump onto the window ledge.
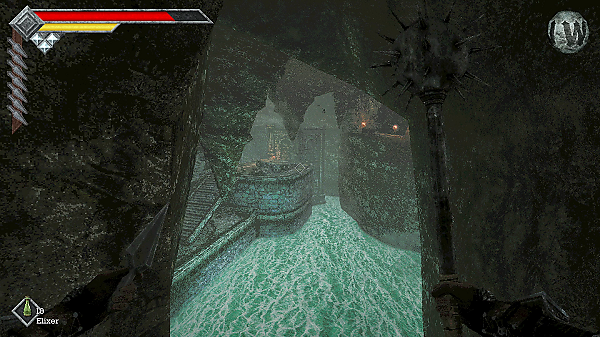
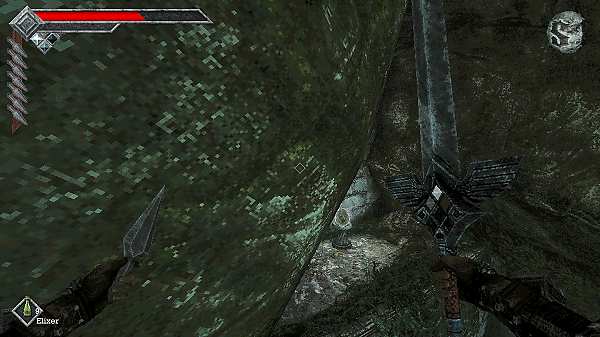
From here, you're going to need to do a jump + triple glide to reach a platform you cannot see yet. You should be able to see the old area from before where we found the third Wind Gem.
What you need to do is jump and then glide to your left. Keep hugging the left wall whilst in mid-air and you'll eventually see a platform that contains an Orbewa Egg. Collect it and the Dried Herbs.
Okay now return back to Sacred Cistern Save Point, glide across back to the dark tunnel room with all the Skeletons in from where we just were before you jumped out of the window.
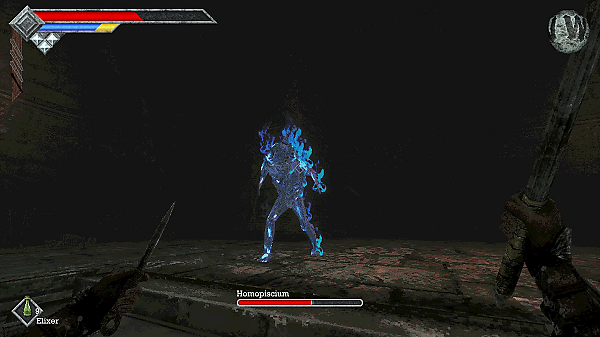
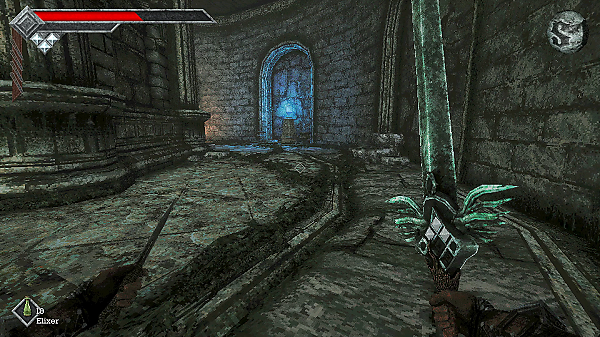
Walk down the corridor, past the pointing skeleton and you'll come to a room where you're flanked by two Skeletal Archers and two Homopiscium. Take them out and then smash the two crates on your left to find 3 Ancient Coins, Roasted Ojum Lizard and a Badu Powder.
Exit the room to the right and you'll come across a Save Point: Prison Corridor.
Prison Corridor
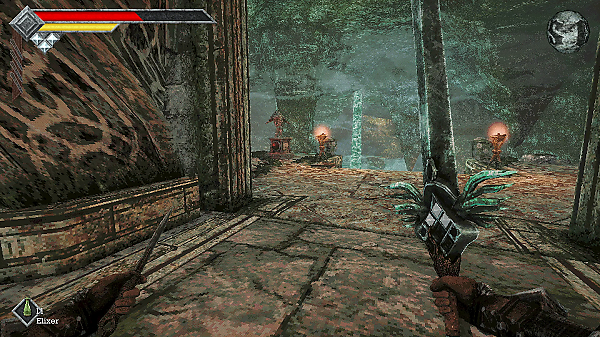
At the Prison Corridor Save Point, you'll notice you can put in the Trident Key items into the various key slots. However, you cannot yet complete this puzzle until later on, so best to skip it for now.
Instead, head up the long corridor where you'll come to a cave with water falling from the ceiling.
In this area, you need to defeat 3 mini-bosses.
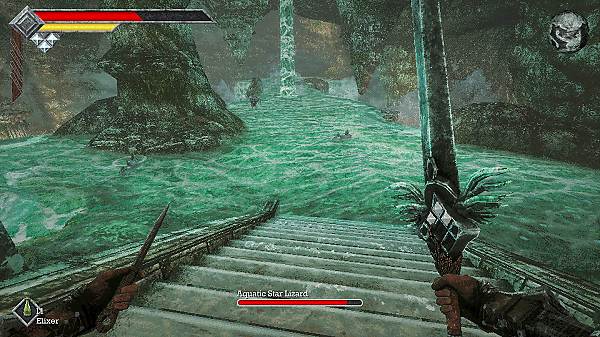
First, take out the Aquatic Star Lizard on your right for a Rancid Loot Sack that sells for 8 Ancient Coins.
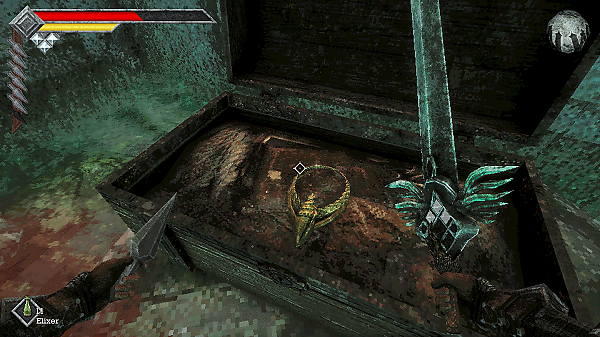
Next head down the stairs and take out all the fish mobs first before moving onto the others. Behind the stairs you just walked down, you can find a Treasure Chest containing Gold Conch Necklace (that you can also sell).
To the right of the stairs you can find a Barrel containing a Badu Powder and Roasted Cave Scorpion.
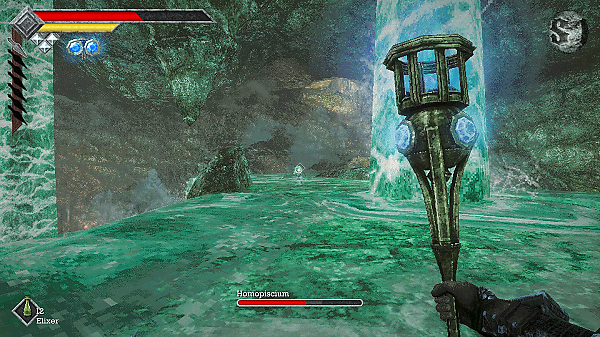
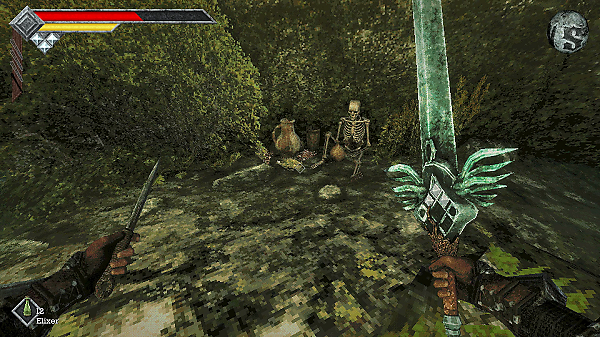
Move along the waterfall cliff until you come to the end; look to your right and jump across to find a Skeleton sitting on some rocks. Pick up the Dried Herbs x2 and Freshly Dried Herbs.
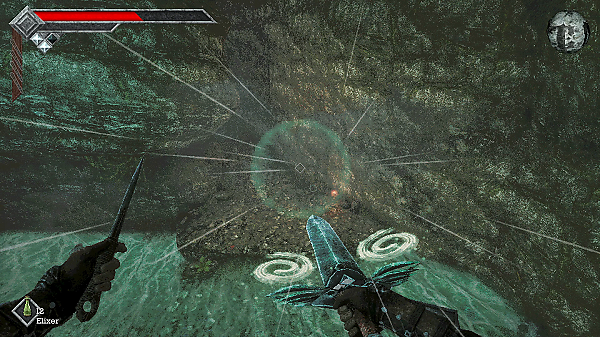
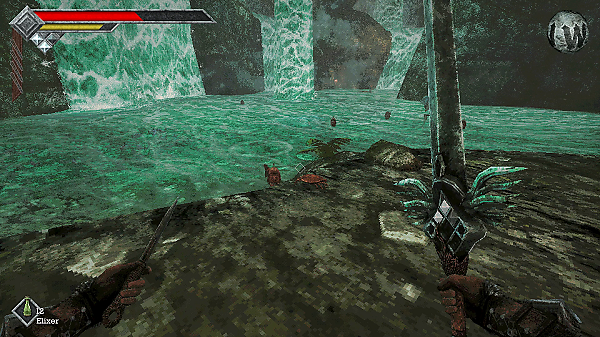
Now head back to the waterfall cliff and look to your left and then do a jump + three glide down towards the platform in the corner. From here you can easily pick off all the mobs, including those annoying Red Nibblers.
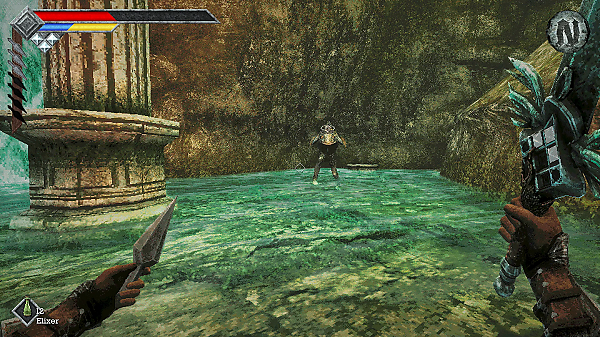
Once the mobs are all clear, jump back into the shallow water and walk across past the three waterfalls. You'll come to an area with two stone pillars; as you approach it you'll summon the first mini-boss: Erda of the Royal Orbewa Guard.
The mini-boss is pretty easy to defeat; use your ranged Throwing Knives and Piercing Needles for an easy time. Once defeated, pick up the Silver Nautilus Crown.
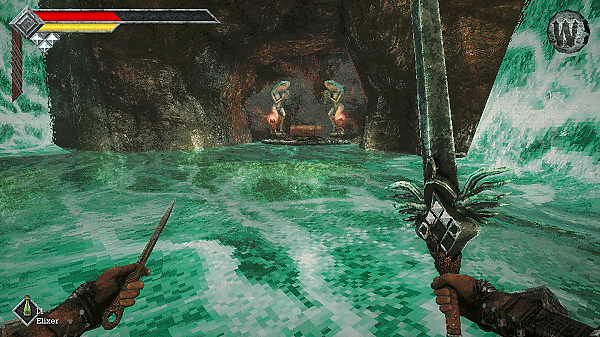
Now from your left, you can jump and glide over to a cave with a Treasure Chest containing a Splash Hammer.
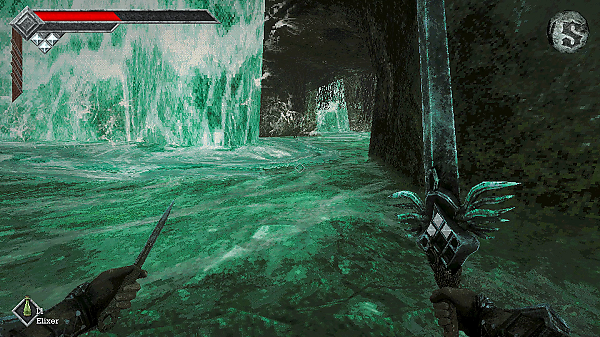
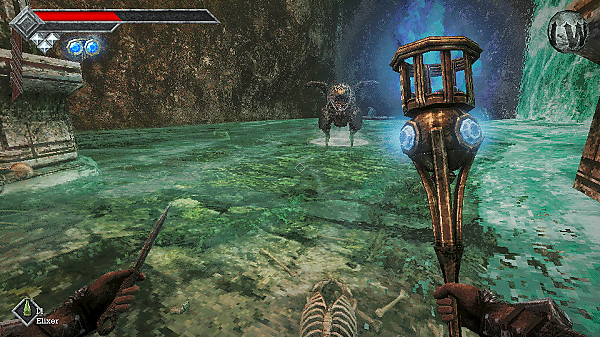
Now head back to the furthest waterfall and walk through it (basically you want to be on the otherside of the waterfall cliff). At the end of the path you'll find two more Stone Pillars, which when you walk through them will summon the mini-boss Yepo of the Royal Orbewa Guard.
Once you take it out, pick up the Silver Conch Necklace.
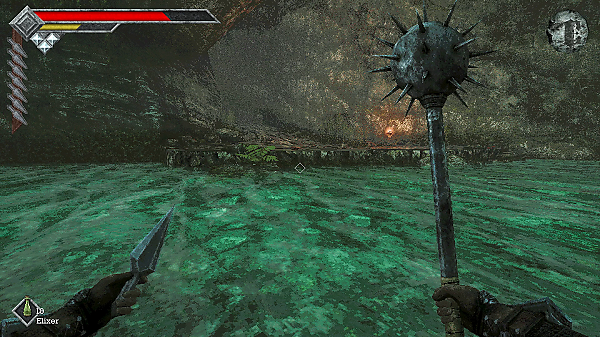
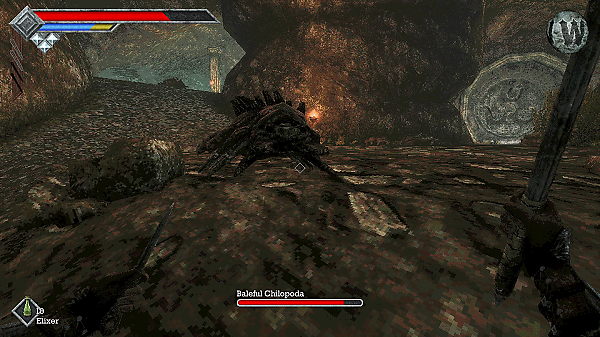
Now head back out of the waterfall and towards the stone platform that you first landed on after jumping from the waterfall cliff. Head up the hill, taking out two Homopiscium.
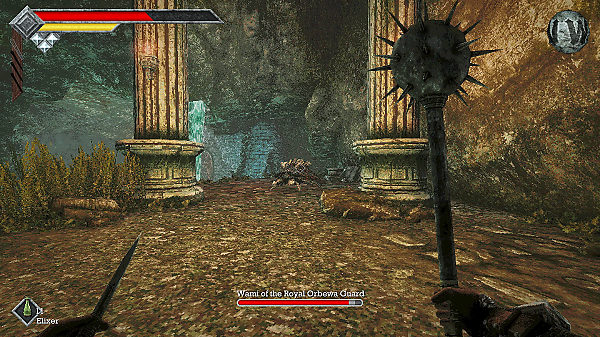
At the top you'll find two paths; take the path on your left. Use your Throwing Knives to hit the piles of dirt to awaken the Chilopoda. At the top of this path you'll find Wami of the Royal Orbewa Guard, the final and third mini-boss.
Take it out to find a Silver Scallop Tiara.
Now that you've defeated all three mini-bosses, you can go on to face the main boss. However, I recommend saving your game first by returning to the Prison Corridor Save Point.
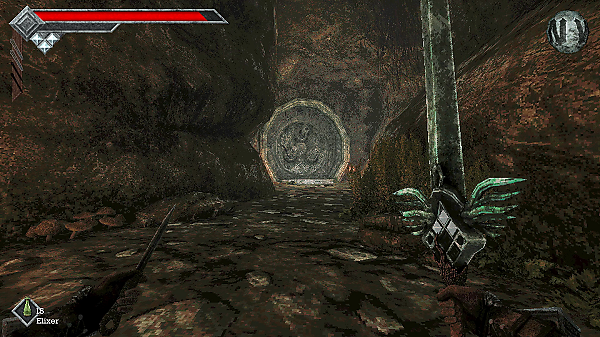
To fight the boss, head up the hill where you fought Wami, and this time take the path on your right. You'll find a stone door, that on approach, will break apart and unlock (assuming you defeated all the mini-bosses).
Jump through to fight the boss...
Dragoom the Sea King
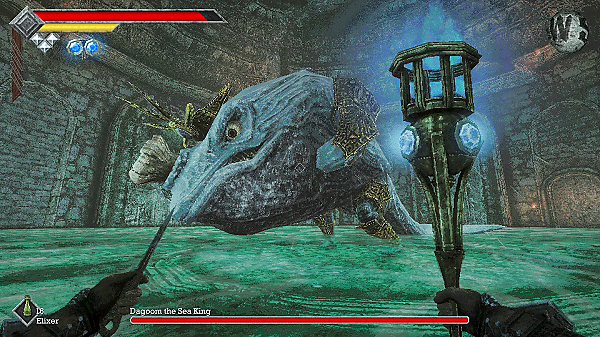
This boss is a lot tougher than the first boss you fought way back at the Endu Shrine.
Dragoon will poison you ALOT, so if you can, stock up on those Roasted Ojum Lizard items that will cure you.
You'll also want lots of Elixirs and Herbs for heals.
The first part of the fight, Dragoom will roar and stun you if you're too close, so attack from a distance to start. Use your Azure Torch to send fireballs at him.
Dragoom will then pursue you relentlessly, you'll want to use your Holy Sword Endu to fly behind him and take a few charged slashes. You can also use your glides to jump out of danger.
Dragoom damages you by stomping it's feet and biting you if you stand too close. So always be on the move.
At around 75% HP, Dragoom will then dive into the middle of the room and summon several Toxic Serf. These mobs can inflict Poison on you so you want to take them out as quickly as possible.
At the same time, Dragoom will roar at the ceiling before shooting out a green blast; you can dodge this by gliding behind him, which is also a great time to get some hits off.
Another move is his green shockwave; you can dodge this by jumping and gliding towards Dragoom.
He'll continue doing these moves and at around 50% HP, Dragoom can then swim around the room, turning the water slowly toxic. This will constantly damage you if you stand in it; you'll want to jump and glide towards the centre of the room where it's safe.
Towards the end, he'll then start shooting out toxic jets and toxic shockwaves, which you can dodge the same way you dodged the green jets.
Reward: Silver Duck Figurine
Exit Obmuer Temple
Congratulations on defeating Dragoom! You can now exit the Obmuer Temple through the door in his boss room. You'll find a new Save Point: Lift Room - Obmuer Temple.
That wraps up Part Four of our Queen's Domain Walkthrough! Next up, we can finally unlock the Tower Of Knowledge.
Discussion