Welcome to the first part of our Alabaster Dawn Walkthrough! The guide covers two stories in Chapter One: The End Of The World and The Lost Lands.
To see our full game guide, check out the Alabaster Dawn Walkthrough page.
The End Of The World

The End Of The World is the prelude of Alabaster Dawn; a fairly short part of the game that didn't really need its own guide.
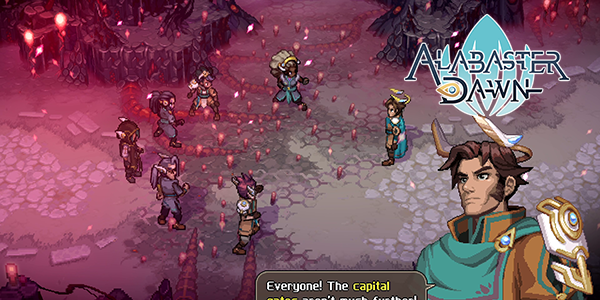
We begin our story with the invasion of Nyx, invading the land with monsters that drain the world of resources.
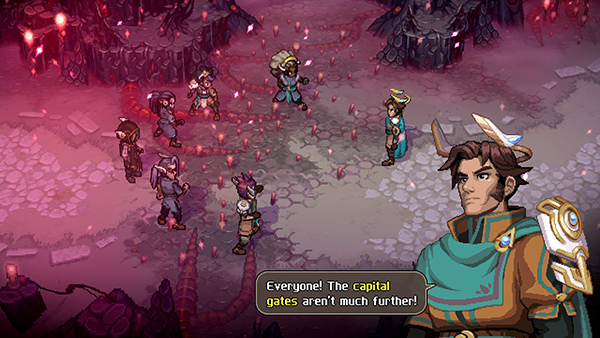
The townsfolk take refuge in a underground Shelter, but a few decide to fight back with the help of divine powers.
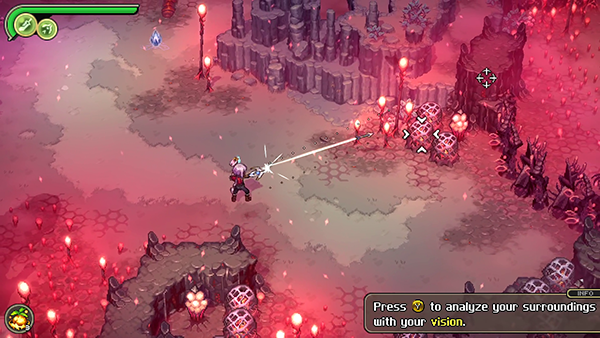
You control the character Dahmon; head north by destroying the Nyx Rot barriers with your basic attack.
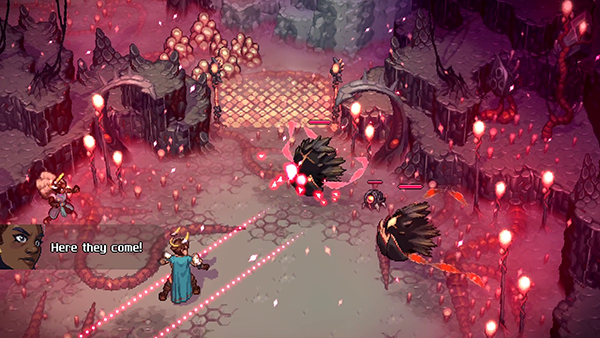
In the next map, head right and you'll begin your first battle: Three Nuemera enemies. You have infinite health for this area of the game, so you don't need to worry much!
Battles in Alabaster Dawn tend to close off areas of the map, keeping you contained within the local area. Many of the enemies give you hints of when their attacks are about to land, allowing you to dodge and avoid.
For your first battle, simply take out the smaller of the monsters, then focus on the bigger ones. Once defeated, a few more will spawn.
Once defeated, the barrier north will disappear and allow you to progress.
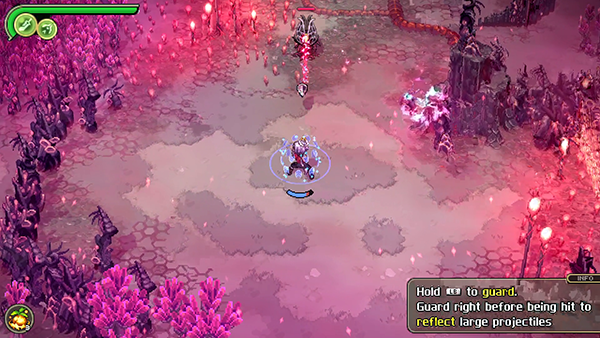
Up ahead you'll find more Nyx Rot to wipe out; in your next battle you'll learn about charging your attacks. Holding down the attack key allows you to unleash a powerful attack that has a wide area-of-attack; very useful when surrounded by enemies.
You'll also learn about using your Block; when an enemy attacks you can block it when timed right- this will usually reduce the damage you take and in some cases stun the enemy.
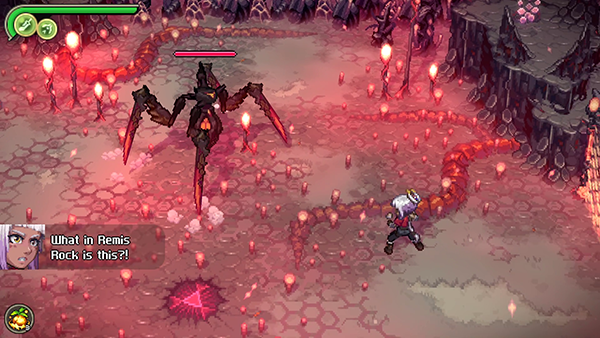
Head further up towards the Nest, where you'll be challenged by a spider monster. This is a sort of mini-boss, much tougher than normal enemies.
However, the fight doesn't last long as your party helps you out allowing you to perform a Divine Attack (you'll come across these later).
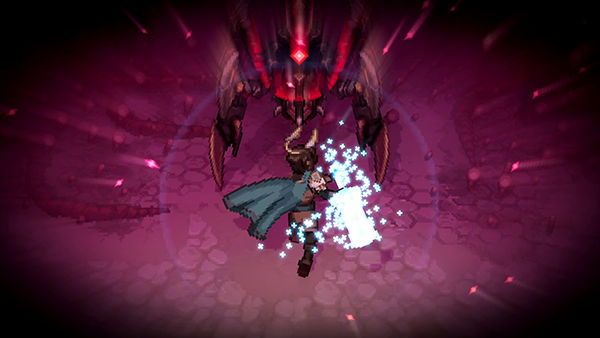
Once defeated, the cutscene continues and just as Dahmon is about to land a decisive blow, the Divine weapons disappear.
The Lost Lands
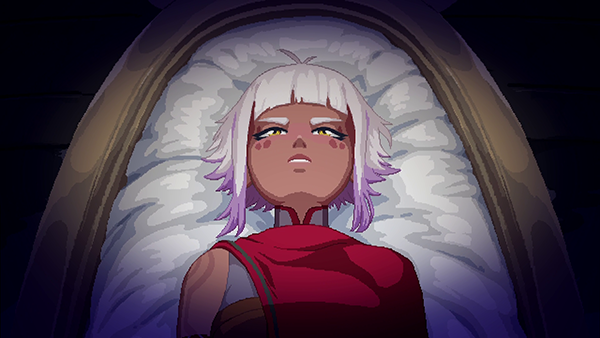
The next story is called The Lost Lands, where you awake as Juno o'Lira, our protagonist.
You're inside a shelter- head south and exit to find the open world, drained of it's natural resources and covered in Nyx Rot.
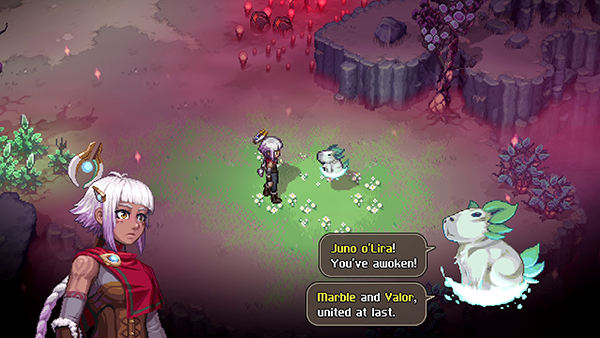
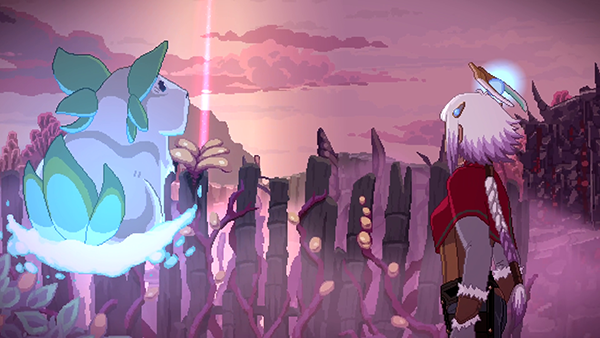
Continue south until you come across a Divine Marble, which turns out to be a Water Pig, that you affectionately name Cabbage.
After some chit-chat, Cabbage restores your Divine weapon: Claio Solas. Take out the tiny monsters that spawn and it will release the barrier on your left.
Head left, jumping across the small pond and towards the next map.
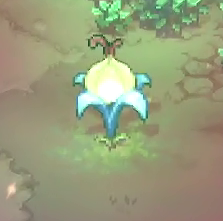
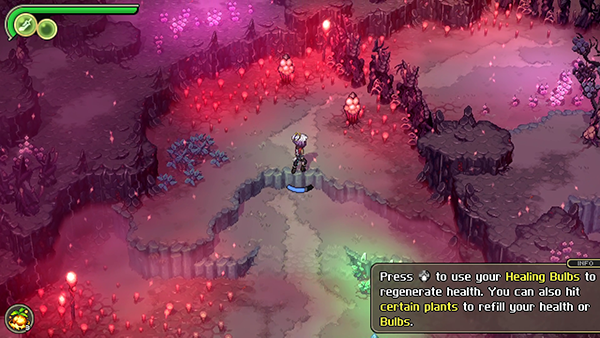
After a quick battle, you'll come across a strange green flower. Hitting these will replenish some of your HP; you can also heal yourself using your own supply of Healing Bulbs; these get auto-replenished when you Rest at save points.
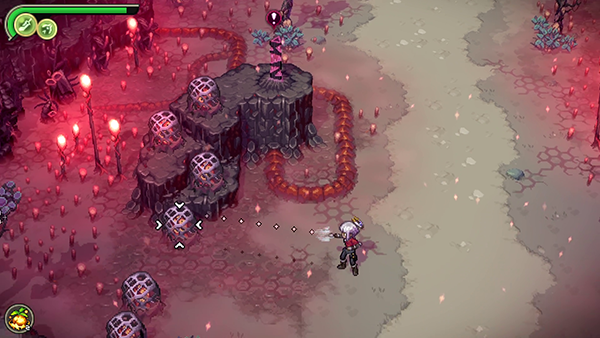
Head north and you'll find two white Nyx Rot posts; hitting both of them will remove the barrier.
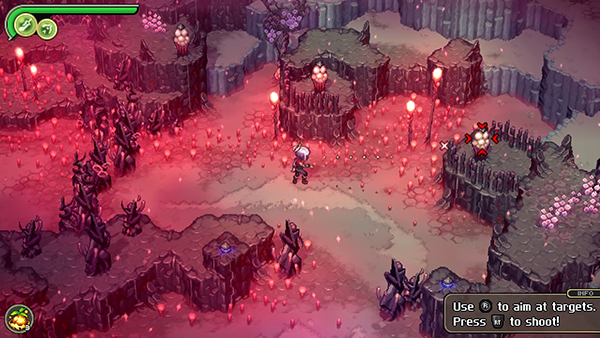
You'll also be given your second weapon: Bogha Solas. This is a ranged weapon, useful for picking off enemies from afar and also hitting enemies on higher ground that you can't normally reach.
Use your new weapon to hit the two Nyx Rot posts to bring down the barrier.
Move forward and now hit the three Nyx Rot posts to bring down the barrier on your left.
Follow the path until your come across a flower-monster on a cliff-top; this can only be defeated with your ranged weapon.
Head left until you come across a cluster of small monsters and two flower monsters; there is also a healing flower on the far left that can heal you. Jump across the river on your left where you'll encounter more enemies.
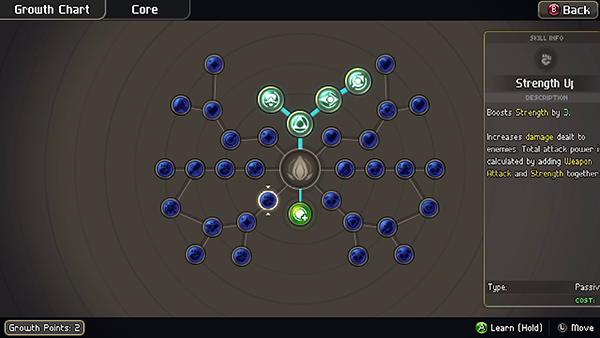
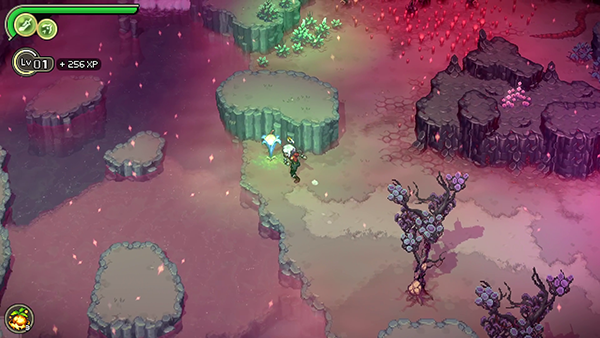
Here you'll get a quick tutorial on your Growth Chart, where you can raise your stats and improve your weapon abilities. You gain Growth Points each time you level up- your choices don't have too much of a big impact on upcoming battles- just remember to spend them after levelling up!
Head left, passing three healing flowers, and you'll come to the next map.
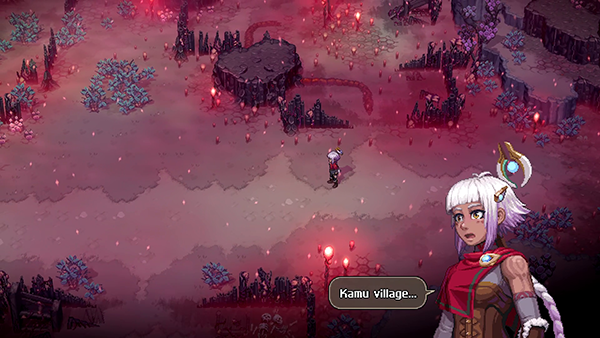
You'll be ambushed by flower monsters; defeat them and continue moving left and you'll come to what was once Kamu Village. After a short cut-scene, head south.
You'll come across a Waysprout; hear you can Rest, which will replenish your Healing Bulbs.
Head right, then further south to find the next map.
Head south, defeating a small group of monsters, until you come to a barrier on your left blocking your way.
You'll need to hit all three of the Nyx Posts using your Ranged Weapon. First hit the two on the raised platforms, before climbing up onto the rocks and jumping across the platforms so that you can hit the third one behind the small wall.
Heading through the barrier, you'll be introduced to a new Wasp enemy; you can take these out easily using your Ranged weapon.
After defeating them, head south until you come to a broken bridge. Use the Healing Flower on your right, and then jump across the river using the rock platforms on the right and take care of the flower monsters on the clifftops.
Follow the rock platforms as they circle to your right; from here head north first where you'll come across a cluster of enemies and a healing flower.
Now head back south, and you'll come across three Nyx Posts surrounded by strange rocks. You can destroy these strange rocks using your Ranged weapon only. Head through the barrier once lifted where you'll come across a slightly tougher battle.
There are several Wasps and Flower monsters; take out the flower monsters first since they have low HP before tackling the Wasps.
Once defeated, head through the southern barrier where you'll come across those strange rocks again that can be destroyed using your Ranged weapon. Keep heading south to the next map.
Here you'll come across the Quickwood Fields; a sinister pink map. Pass the two healing flowers, heading south-west where you'll come across some enemies and another cluster of Healing Flowers. If you're at full-health, you can leave them behind in case you need to go back for them later to re-heal.
Head left and you'll come across a new enemy; this one has high-armor so hitting it normally will take a long time to defeat it. Instead, you'll be introduced to using your Block ability that when timed correctly, will reflect the projectile back at the enemy. Doing so will stun it and allow you to deal normal damage.
Keep heading left, taking out the Wasps and Armored-Plant, to release the barrier. There is a healing flower on your right that you can hit with your ranged weapon.
Keep heading left until the next map.
Head you'll come across a mini-boss spider monster; it has two attacks you need to watch out for:
- Claw swipe that you can Block
- Body Slam that you'll need to dodge when it highlights on the battlefield
When you get it to less than 50% HP, it'll then do a stomp attack that is harder to dodge. It will also increase the amount of times it can use Claw Swipe.
When you get it's Stun-Meter full, this is where you'll want to hit it with as many attacks as possible.
Defeating it allows you to head north through a barrier; you'll come across Lyhamn's Shelter but it's sealed shut. Head left and collect the cluster of healing flowers before heading to the next map.
Head south, where you'll come across all of the enemy types you have found so far; take out the smaller ones first before focusing on the wasps. Some of the flower monsters are hidden behind those strange rocks, which can only be broken with your ranged weapon.
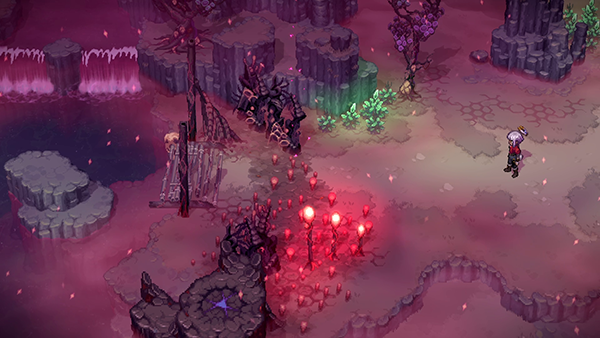
After the battle, a Nyx Vein pops up; destroy the strange rocks with your ranged weapon and climb up the cliff to Weave it. This will release the barrier south.
You'll come across another broken bridge, this time you can jump across it; more mobs wait for you. Defeat them and head south to the next map.
You'll come across Juno's home village, but it's currently in ruins. Cabbage tells you of your mission to get rid of Nyx and head towards the pillar of light.
Head south and take the map on the right of the village.
Follow the map right and you'll come across your first boss fight...
Boss Fight - Inferna Vespa
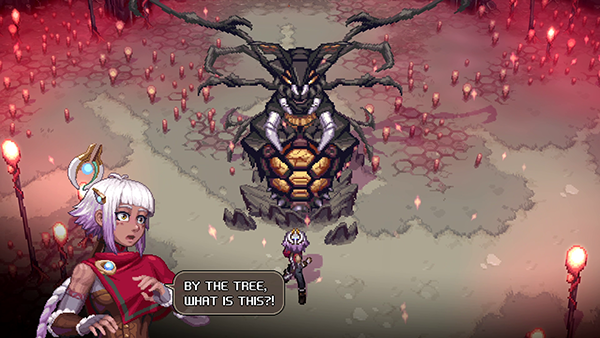
This boss has three phases, with each one getting more and more difficult.
The first phase is rather simple, so it's imperative to not use many of your Healing Flowers if you can.
There are two attacks to watch out for: Venom missiles that home in on you and a stinger-slam attack.
Use your ranged weapon when it's in the air and as soon as the stinger-slam attack happens, you'll want to jump on the boss and get in a flurry of hits.
Once you charged the stun-meter, you can then hit Vespa easily and trigger the second phase when it's HP gets below 70%.
In the second phase, Vespa has a new attack where red laser beams rotate towards you. They're faily easy to dodge, but you can also use your Block move if you time it right.
Both his previous attacks get upgraded also; his Venom homing missiles have an increased amount of projectiles and the Stinger-Slam attack now performs twice in succession.
The same strategy applies of waiting patiently to attack once the second stinger-slam attack hits.
When you stun it again, be careful because he'll occasional jump-slam and also launch some missiles down on you.
In Inferna Vespa's third and final phase, all of it's attacks are upgraded; more projectiles and a three-stage stinger-slam attack.
Keep working the same strategy and you'll be victorious soon enough!
After the fight, a short cutscene will play out where Juno Weave's the Nyx Nest and restores the land!
That wraps up The Lost Lands task!

Discussion