 DigitalTQ
In this part of the Queen's Domain Walkthrough we continue heading up the Tower Of Knowledge, looking for the Forbidden Archives and clearing out the area from the Meat Infestation.
- Tower Of Knowledge - Floor 3
- Tower Of Knowledge - Wing Altar
- Finding The Forbidden Archives Key
- Tower Of Knowledge - Final Floor
- The Necronomicon Boss Fight
Previously, we accessed the Tower Of Knowledge and unlocked Floor 3 by lighting up the stone gargoyles in the courtyard.
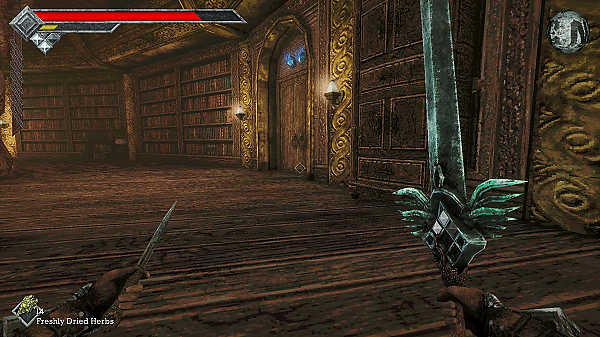
Now we head through the door with the two blue gems above it.
Tower Of Knowledge - Floor 3
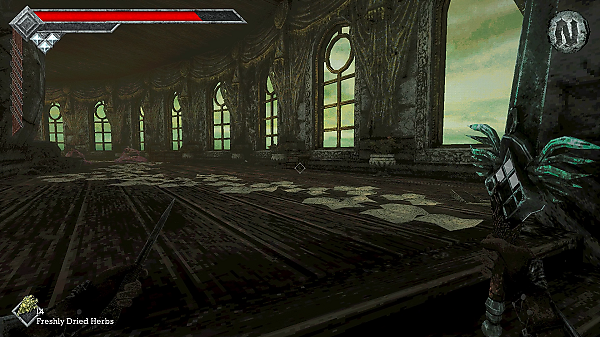
Head up the stairs and you'll come to a room full of enchanted chairs and tables called Poltergeist. They will rise into the air and then fire towards you; if they miss, they deal damage to themselves.
Further up ahead you can pick up some Ancient Coins. Ignore the Skeleton pointing out of the window for now.
Now use the door on the left to reach the third floor.
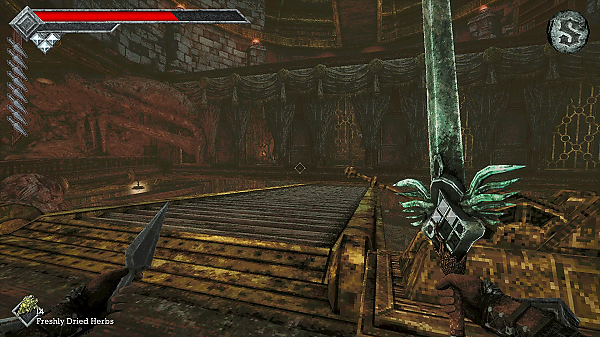
This floor is empty of mobs; pull the lever in the middle of the room to move the giant staircase; this will allow you to access the third floor quicker.
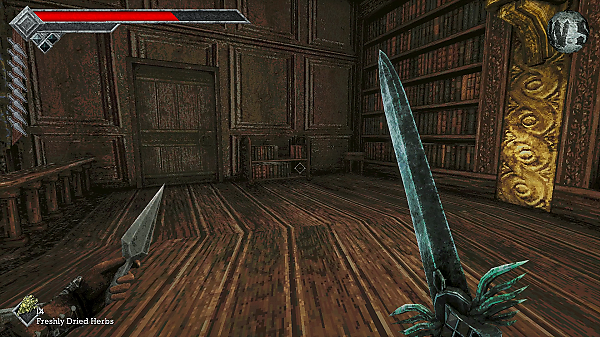
Follow the third floor around to your right and you'll find a door; enter it. Ignore the golden gate in front of you and take the door on your right.
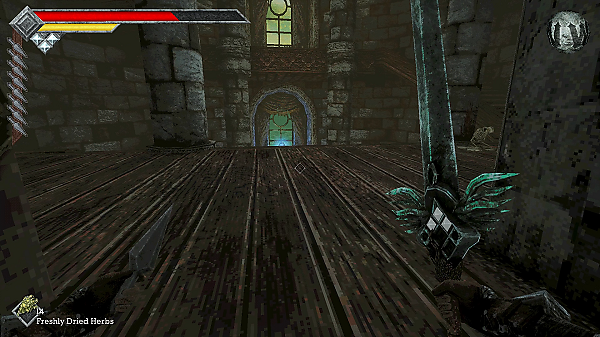
You'll come to a tower with stairs. There is also a new Save Point: Stairwell.
If you head to the bottom of the stairs, you can open up a gate that leads to the Stone Gargoyles from earlier, and you can also pick up some Ancient Coins and a Roasted Ojum Lizard on the table nearby.
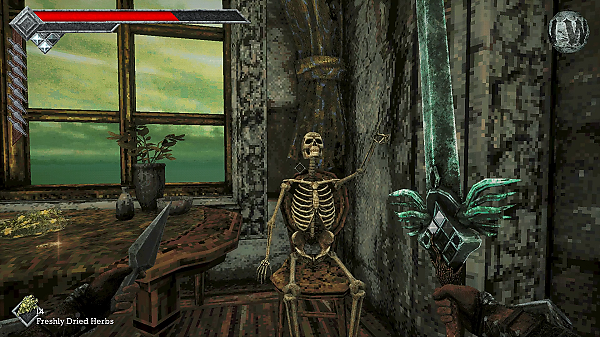
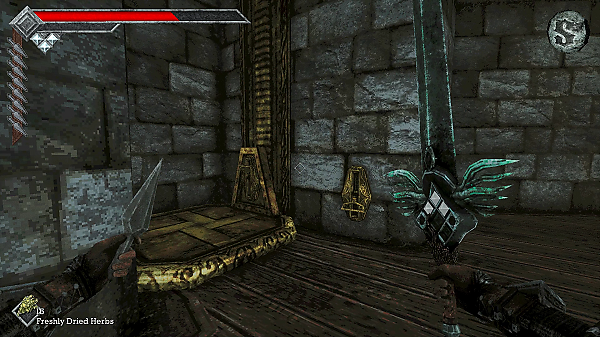
Now head up the stairs, past the skeleton pointing upwards with some Ancient Coins on his table. You'll find a new lift to take you up to the next floor.
Tower Of Knowledge - Wing Altar
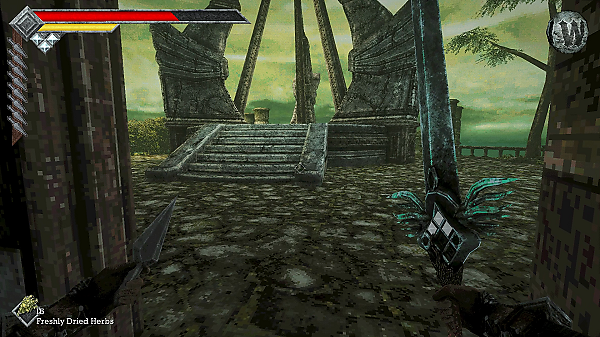
You'll come to a stone corridor; take the door immediately on your left and you'll find a new Wing Altar, allowing you to fast travel to the Tower Of Knowledge.
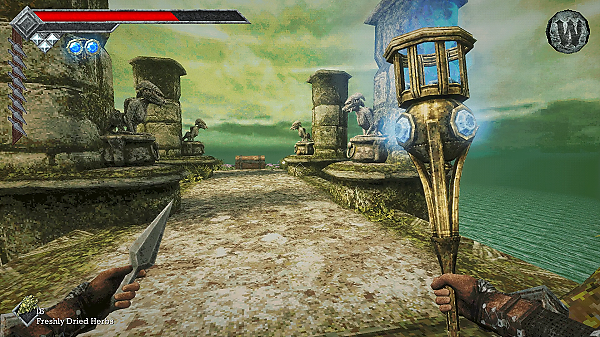
If you head past it, you'll find a Treasure Chest flanked by Stone Gargoyles; these all come alive as you get close, so take them out from a distance.
In the chest you'll find a Gold Ratty Bug Figurine and a Badu Powder.
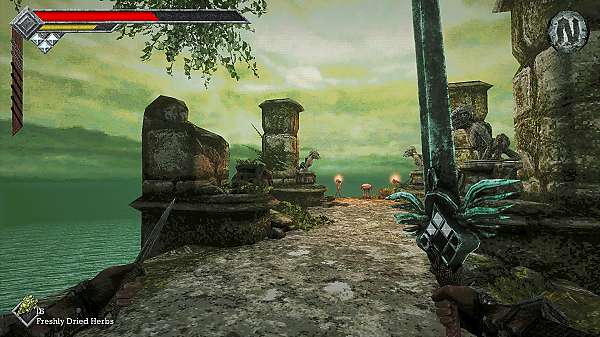
To the right of of this area, you can find a Cooked Meal: Roasted Poultry (also flanked by Stone Gargoyles, but these ones do not come alive).
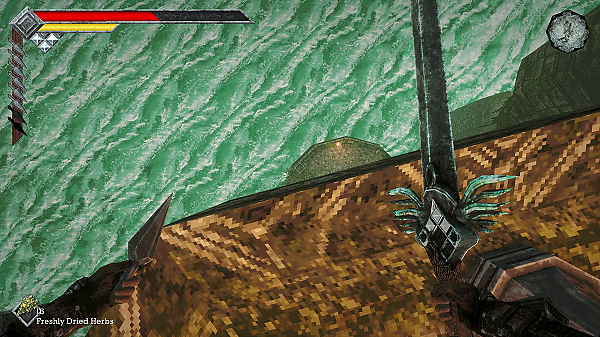
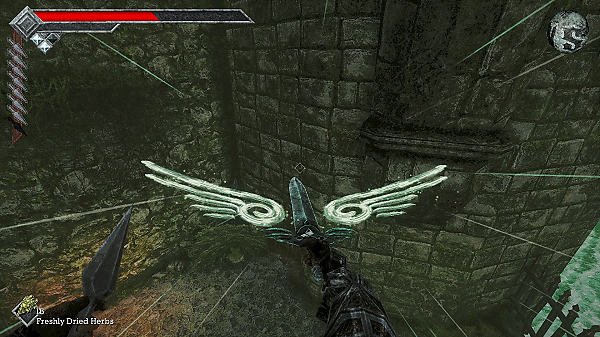
If you look immediately down, you can jump off this platform and immediately glide inwards.
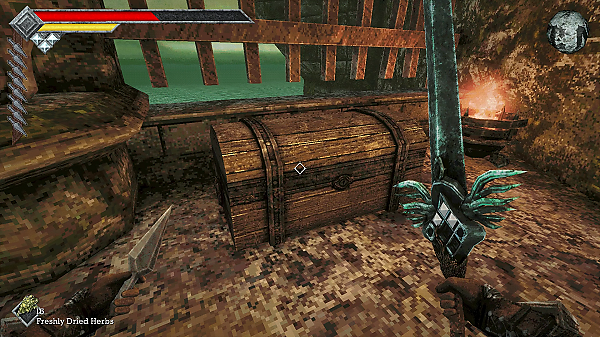
Here you'll find another Treasure Chest containing a Fortune Lamp.
You can also open up the gate that returns you to the Save Point: Staircase. Watch out for the Stone Gargoyles that come alive!
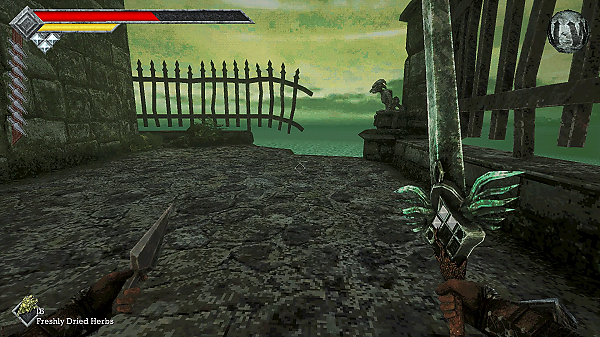
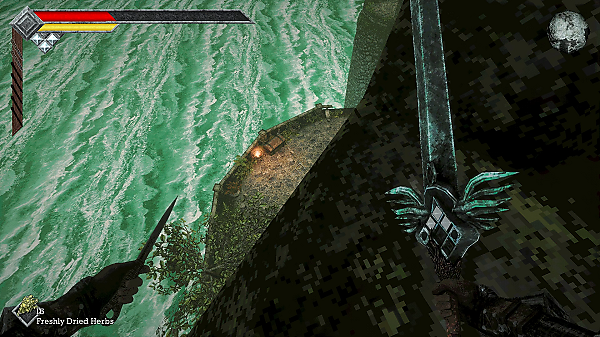
Before heading back up the stairs, however, head between the broken fence where the Treasure Chest was. Here you can jump off again to find another platform with a Treasure Chest.
Take out the Pus Bags and Book Bugs; inside the Treasure Chest is a Throwing Dagger and a Panacea. In the small room, smash the wooden Barrel to find a Roasted Ojum Lizard and Badu Powder.
Behind the bookcase is a Skeleton holding an Ancient Coin and a Travel Crystal Fragment on the table. The door is locked in this room.
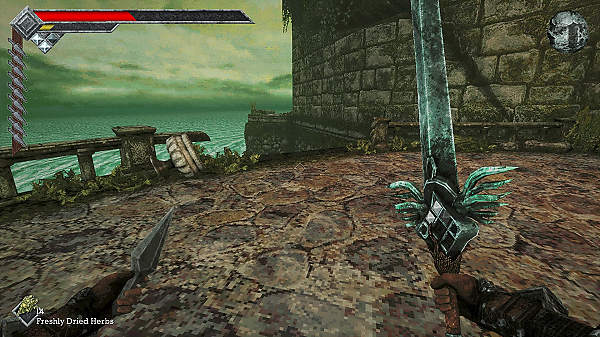
Exit the small room back onto the platform. Look to the right; from this platform, do a jump + glide across to another smaller platform.
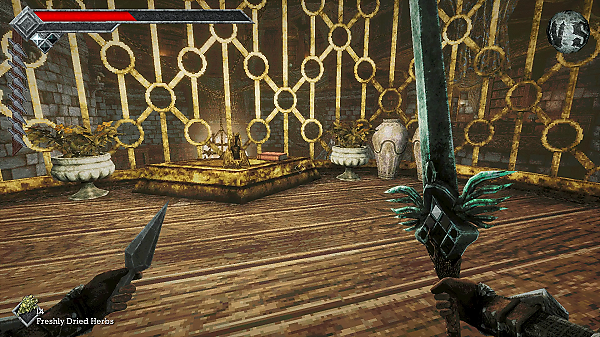
You'll come to a caged room with a Lever inside; pull it. This opens up a secret room back on the first floor where the Trap Door was.
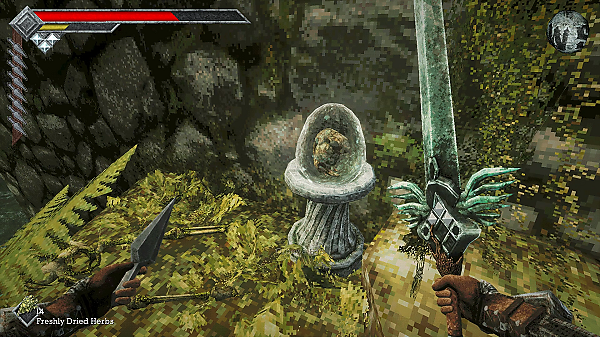
Now return to the platform and jump again to your right and glide to find an Orbewa Egg. You could have gotten this earlier by jumping out of the window that the Skeleton was pointing at. Now jump again to your left to return to the entrance of The Tower Of Knowledge.
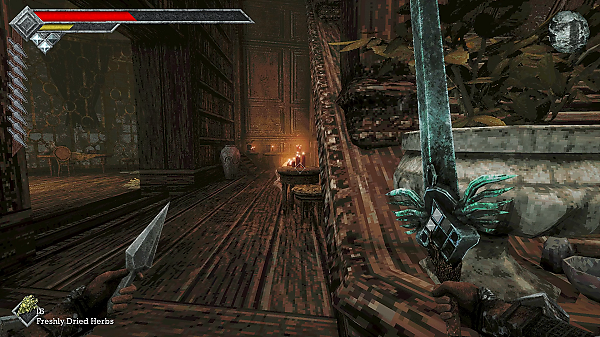
Now head back to Floor 1 where the trap door was and enter the new secret room on the left.
Inside you'll find a Large Elixir on the table and a Treasure Chest containing a new weapon: Wind Rapier.
Now you'll want to head all the way back up top to the Wing Alter level. Head back inside the Stone Corridor.
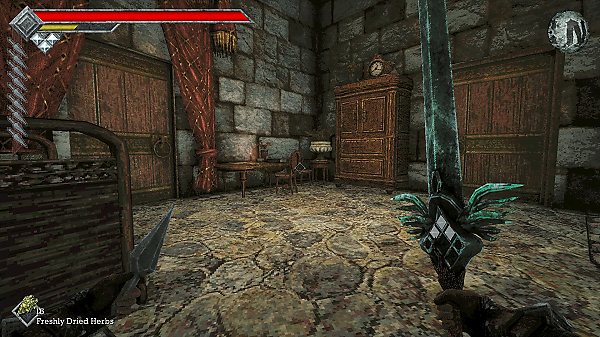
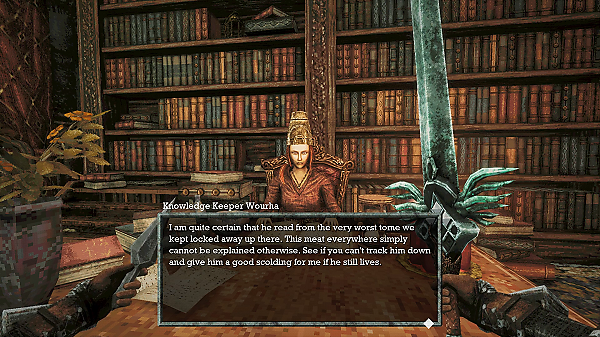
If you take the second door on your left, you'll come to a room with Knowledge Keeper Wourha.
She gives rewards based on how many monsters you have killed and added to your Bestiary. Right now you probably haven't killed enough to get any rewards.
Smash the wooden barrel in her room to find a Radiant Fruit and Roasted Cave Scorpion.
Now head the opposite end of the Stone Corridor and open the door. You'll come to a floor with another giant staircase.
Finding The Forbidden Archives Key
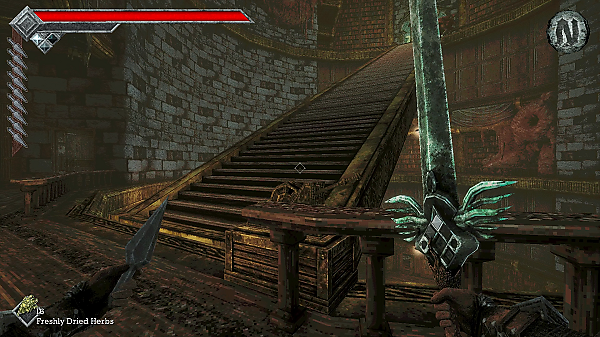
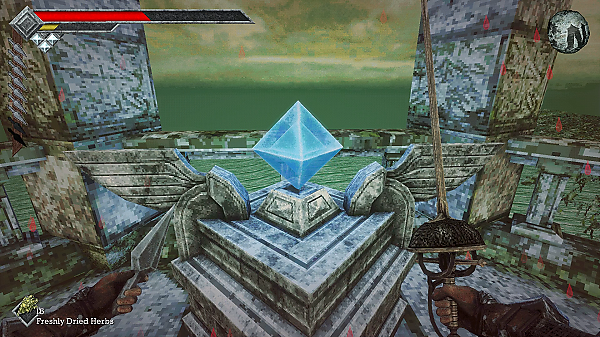
Head up the staircase to take out another Manticore. You'll also find a new gem for your Holy Sword Endu called the Storm Gem. When this is charged, it allows you to deal significantly damage.
The two gilded doors either side of you are currently locked. To unlock them, you're going to need the Forbidden Archives Key.
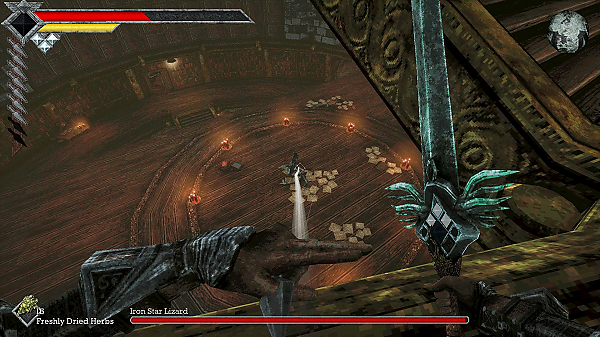
Instead, look down below. You should see a boss called the Iron Star Lizard. If you perch on the edge of the floor, you can take it out using projectiles; or just go down and take it out anyway. It's quite easy.
It will drop a Silver Star Lizard Statuette and a Steel Ale.
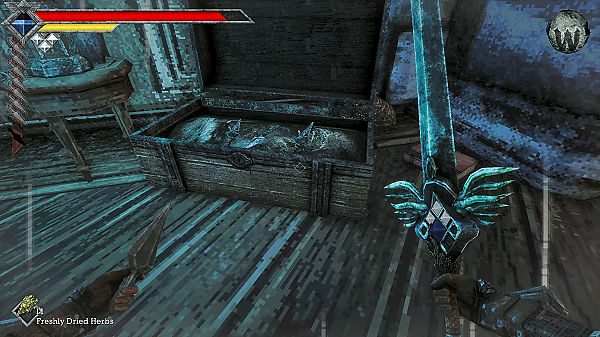
Nearby you can find a Treasure Chest containing Grave Knifes.
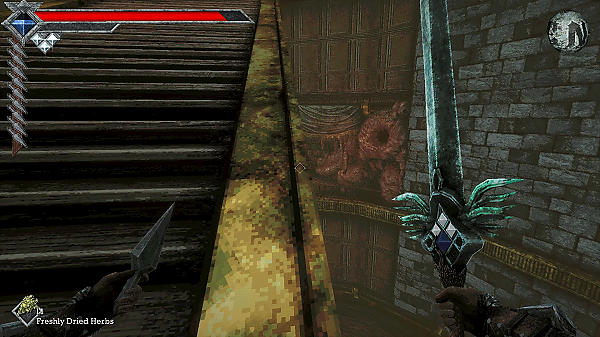
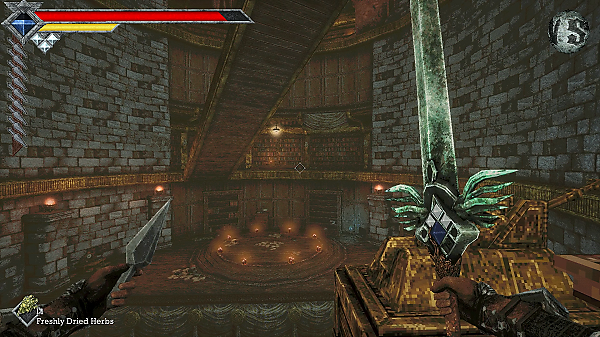
Return back to the floor with the giant staircase (just above the floor where you fought the Iron Star Lizard); about halfway up it, jump off to the side so you can reach the platform on the other side. One side of this platform is covered in the meat infestation; use the Lever in the middle of the platform. This will rotate the stairs.
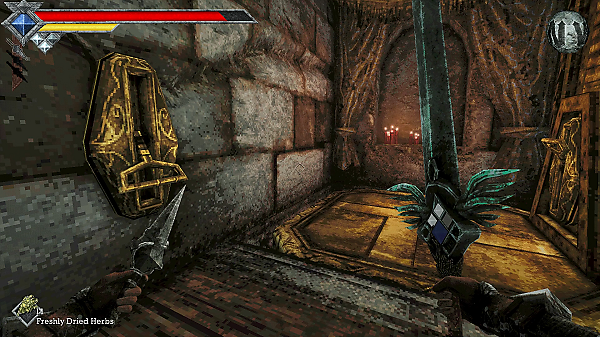
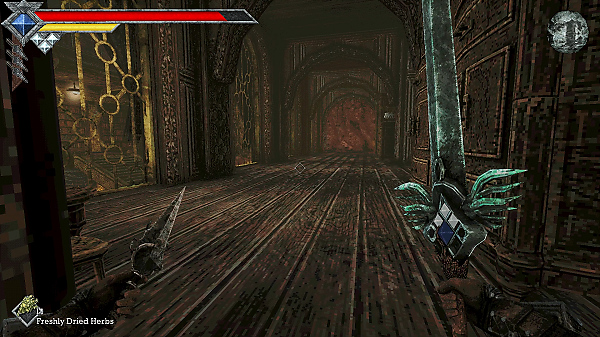
Head up the rotated stairs, take out the mobs and use the door on your right. Inside you'll find a elevator that will take you down. This will take you all the way back down to Floor 3, but you'll be behind the locked golden gate. Pull the lever to open it up. There is also another door that leads to a corridor with golden framed windows.
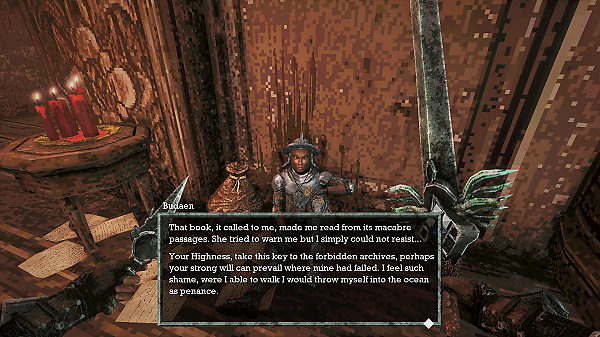
Head down the corridor to find Budaen, he will give you the Forbidden Archives Key.
There is also a room on your right where you'll find a skeleton slumped at a desk. The room requires you to place books in the shelves. Right now we don't have all the books so ignore this for now.
Now that we have the key, it's time to reach the final floor.
Tower Of Knowledge - Final Floor
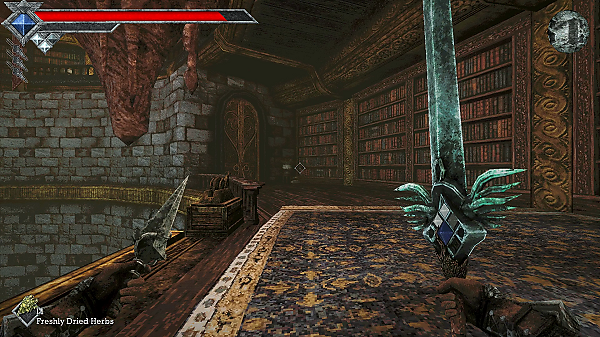
Take the lift you just used all the way back up to the sixth floor. Use your newly acquired key to unlock the door at the far end of the floor.
Inside you'll find a new Save Point: Forbidden Archives.
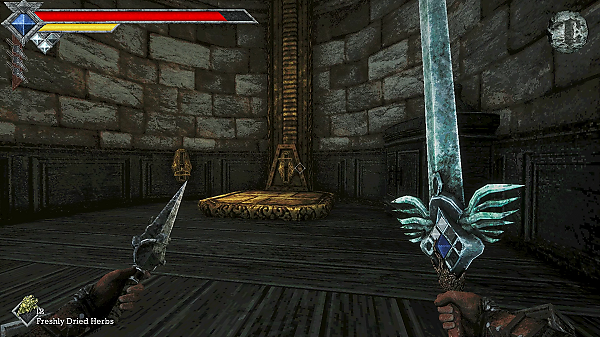
Pick up the Large Elixir on the table and now take the golden lift up to the top floor.
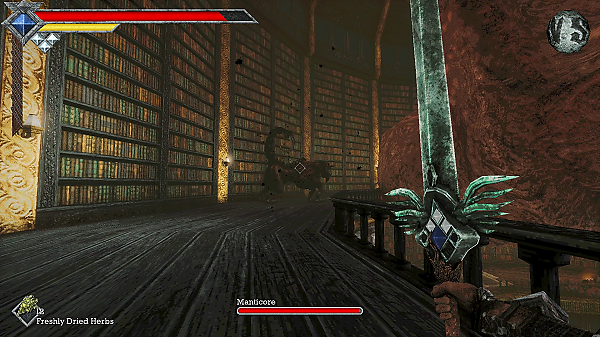
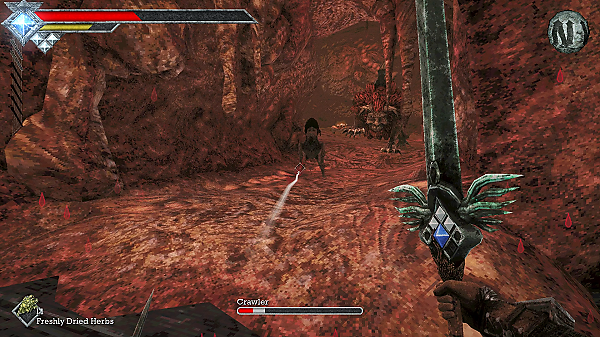
On this floor you'll find a Manticore and Candle Crawler. Take them out carefully.
Head further up and you'll have to enter the giant meat cavern, with plenty more mobs inside. Take them out.
Head up the meat cavern and you'll come to another floor with more Poltergeist mobs.
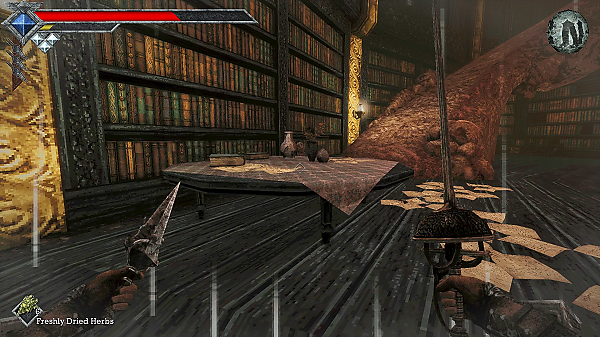
You'll come to some stairs made out of meat; behind it you can find a Broiled Meat and Grand Elixir on the table nearby. Now head up the meat stairs...
The Necronomicon Boss Fight
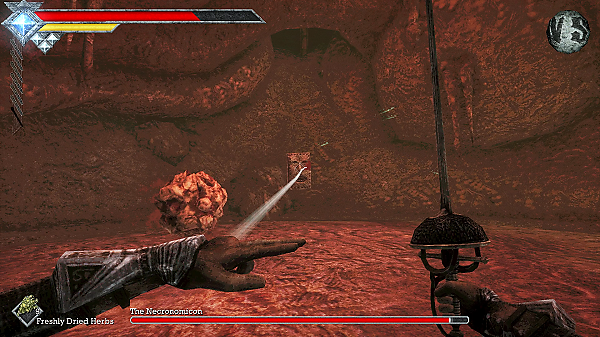
The Necronomicon will transform into three different forms during the fight and rotate threw them until you defeat it.
You'll likely suffer from several status effects in this fight, so we recommend equipped the Sacred Amulet for +25% resistance to all.
The first form is a stag that will leap into the air and slam down on you. It will also do a spin attack that's alot faster than the one we faced when taking out Skeletal Executioner. It also has a long-ranged slash attack, so try not to get too close. Use your Holy Sword to glide away.
Make sure you're constantly hitting it with your Azure Torch fire balls, Occult Knives for targetting and Piercing Needles.
The second form is a floating eye that shoots out a laser of meat at you. It's very hard to hit with melee weapons, so use all your projectiles here whilst trying to dodge it. Try and stay on the platforms that are high up because you can easily get yourself caught below.
The third form is a sort of tree demon that sits stationary. This is the perfect chance to get in several melee attacks and use your Holy Sword's new Wind Shock attack.
The third form will summon several symbols all around you that then explode; try to keep moving around to dodge them.
It can also summon Necrotic Shambler mobs, but these have low HP and are easy to take out.
Check out the video for more tips:
Rewards: Golden Duck Figurine, Acid Vile.
After the fight, you'll be trapped in the room. To get out, you need to use your Throwing Knives and fire them at the screaming heads (there's two of them).
You can now exit and save!
That was a quite complicated area to complete- and we're not done yet. We now need to tidy up the tower a little and make our way to the next area.
Let us know if we missed anything in the comments!
Discussion