 DigitalTQ
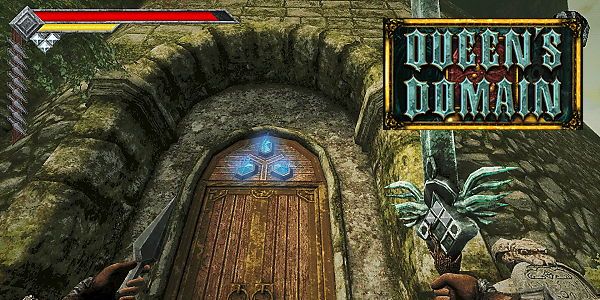
The Tower Of Knowledge has been taken over by a strange meat infestation where we need to navigate to the top floor to find the source.
- Third Beacon Site
- Unlocking the Tower Of Knowledge
- Skeletal Executioner Boss Fight
- Tower Of Knowledge - Trap Door
- Tower Of Knowledge - Basement Dungeon
- Tower Of Knowledge - Ascending
- Tower Of Knowledge - Second Floor
- Tower Of Knowledge Gargoyle Statues - Which Ones To Light Up?
We first found out about the Tower Of Knowledge in Queen's Domain during Part Two of our Walkthrough, and now after completing the Obmuer Temple, we can finally light up the last beacon site.
We begin this guide inside the Obmuer Temple after taking out the Dragoon boss.
Third Beacon Site
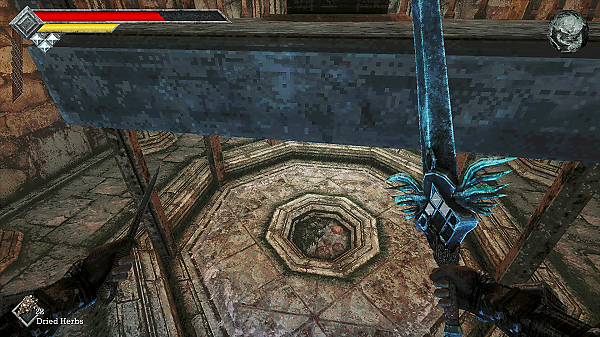
With two beacons already lit, we now need to find the third one which is located just outside the Obmuer Temple.
Inside the room with the Save Point: Lift Room, you'll find a lift you can use. Pull the lever and quickly jump off the rising platform to find a Strange Silver Etched Skull underneath it.
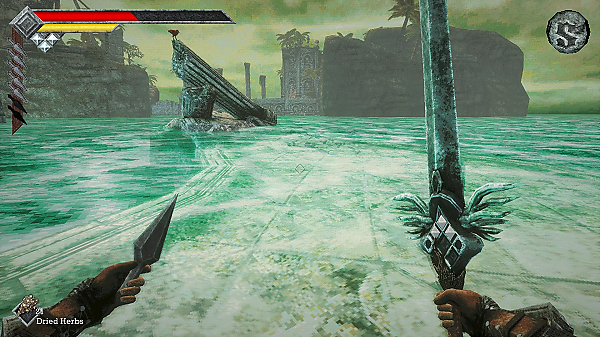
Now ride the lift all the way to the top. Fight your way out of the cave and you'll return to the outside. There are lots of mobs along the path here, including those annoying Barnacle mobs.
Make your way to the broken pillar in the water; climb up it and then jump + glide across to the platform on the left.
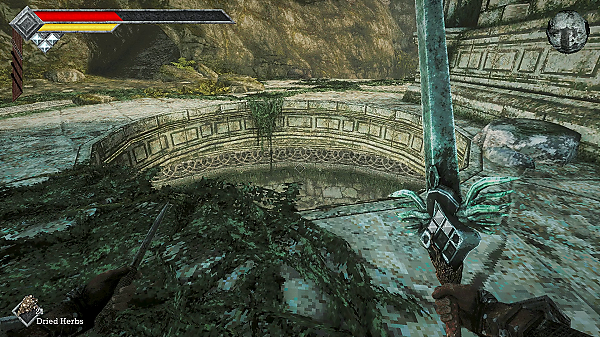
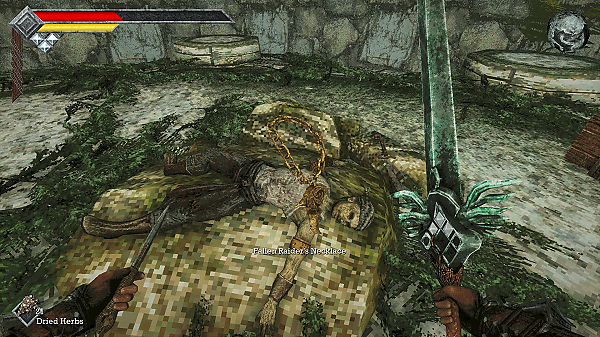
You'll notice a circular hole in the platform; if you jump down, you can pick up a Throwing Dagger and some Ancient Coins from a Treasure Chest. You'll also be able to pick up a Fallen Raider's Necklace from the body in the middle of the room.
The only way out of this room is to jump down, which unfortunately returns you all the way back inside the Obmuer Temple near the Save Point: Prison Corridor.
Make your way back through the temple, into the area where you fought the Dragoon boss and then back up the lift. Return to the platform with the circular hole.
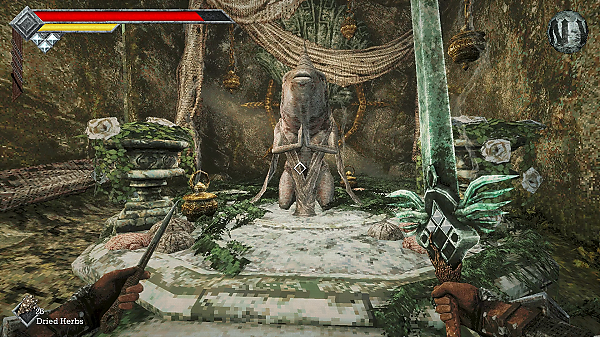
This time head into the small cave on your left; here you'll find Erma, Matron of the Deep. You can give over your Orbewa Eggs that you've found in exchange for stat-raising bonuses.
Orbewa Eggs: At this point in the game, you might have found only one or two Orbewa Egg. No worries- you can go back to various areas in the future to obtain the eggs later.
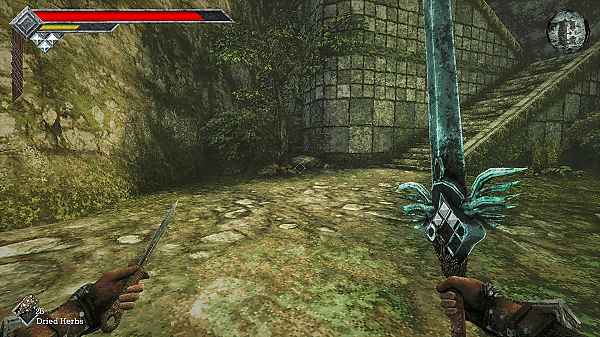
Once you've handed over any eggs you've found, exit the cave and head up the ramp until you come to some stone stairs. If you head into the bushes on the left of the stone stairs you'll find 3 Ancient Coins.
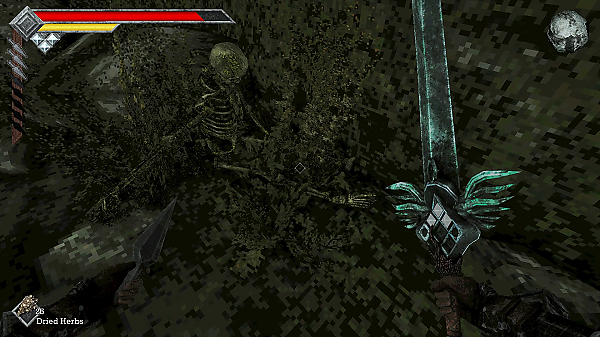
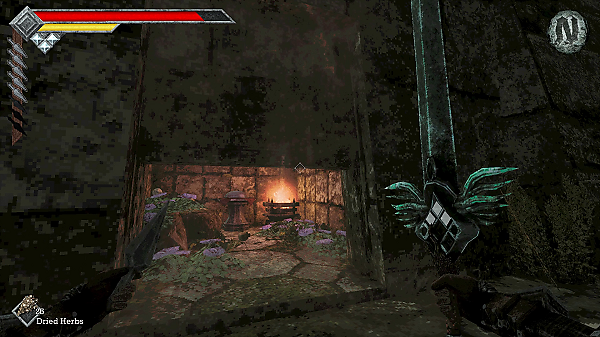
Now head into the bushes on the right hand side, and you'll find a Skeleton pointing at a wall.
Go up to that wall and press the action button to reveal a secret door. Inside you'll find a Roasted Poultry.
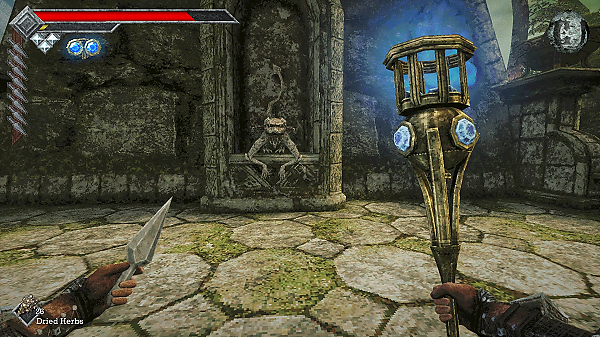
Now head up the stone stairs to find the Third Beacon Site! Light it up using your Azure Torch and you'll now be able to enter The Tower Of Knowledge!
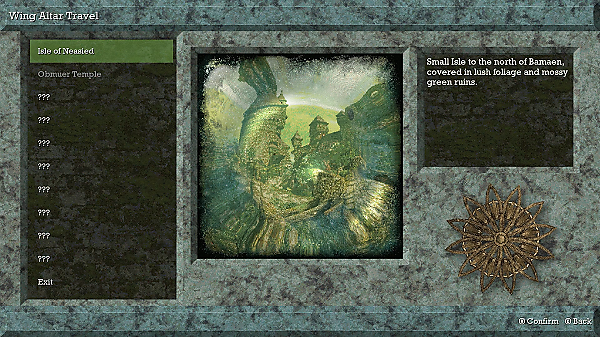
Jump down from the stone stairs and head towards the Wing Altar; this allows you to teleport backwards and forwards to the many different areas around Queen's Domain that you have unlocked. Right now you only have Isle of Neasied and Obmuer Temple.
Head back to Isle Of Neasied.
Unlocking the Tower Of Knowledge
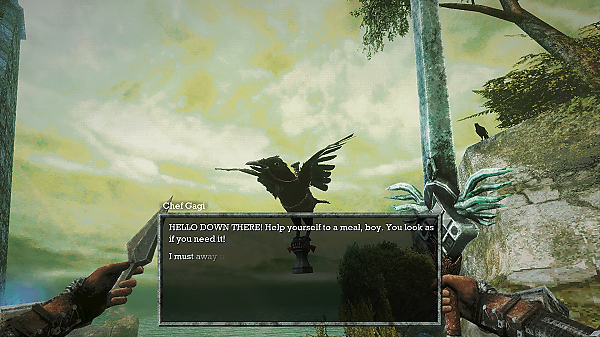
Having arrived back at Isle Of Neasied, you'll be teleported to the top of the island where the Wing Altar was previously locked behind a gate.
Chef Gagi is waiting for you, who drops you a free meal: Grilled Fish.
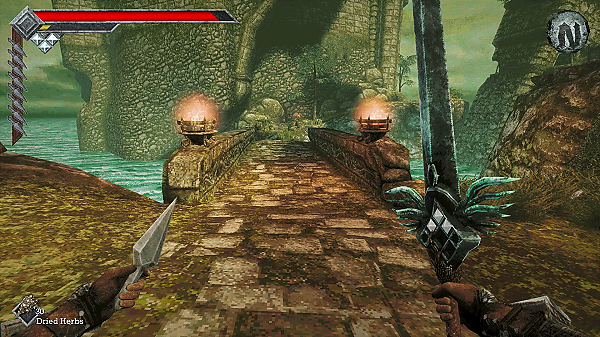
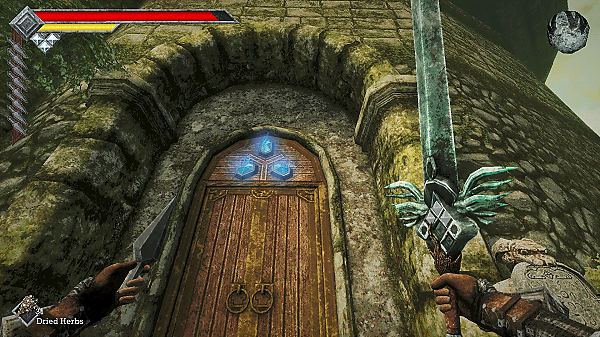
Unlock the gate and head towards the Tower Of Knowledge entrance (Head to the broken bridge north of the first save point).
When you get there, you should notice all three blue gems are glowing. Go up the the door and press the action button to open it.
Beacon Location Recap
If you've not followed our guide, you might be missing some of the Beacon locations. They are:
- 2 can be found on the Island Of Neasied (Part 2)
- 1 can be found after exiting Obmuer Temple (this guide)
Skeletal Executioner Boss Fight
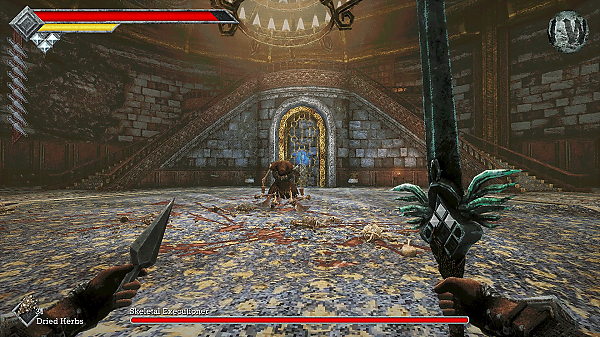
Inside the Tower Of Knowledge is the Skeletal Executioner Boss.
This boss is fairly easy compared to previous ones you've fought. He has three attacks to watch out for:
- Throws two axes at you - easy to dodge and after throwing the second one, gives you some time to get a shot off
- Spin attack - He'll spin towards you, but use your Holy Sword to glide away.
- Jump attack - If he get's too close, he'll launch towards you and strike.
Overall you just need to keep your distance and pick him off with Throwing Daggers, Piercing Needles and your Azure Torch flame balls.
Check out the video for more details:
Rewards: Ancient Coins
Tower Of Knowledge - Trap Door
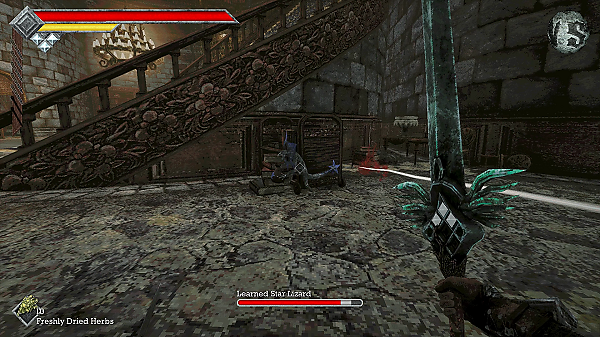
This place is big. There are several levels going up and also several layers going down. We mostly want to go up, but later on when we've completed this part of the guide you'll want to return here to uncover more secrets.
Use the Save Point: Foyer in the middle of the entrance room.
To the right behind the stairs, you can find a Learned Star Lizard that drops a Moldy Loot Sack you can sell for 9 Ancient Coins.
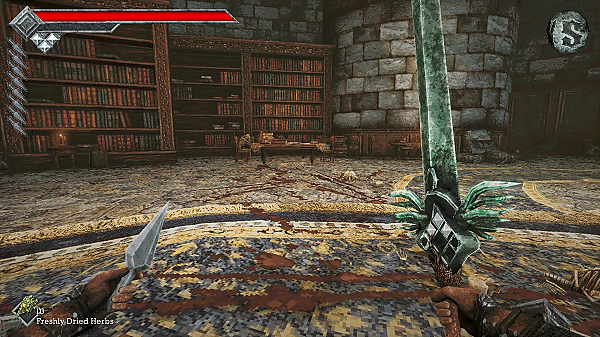
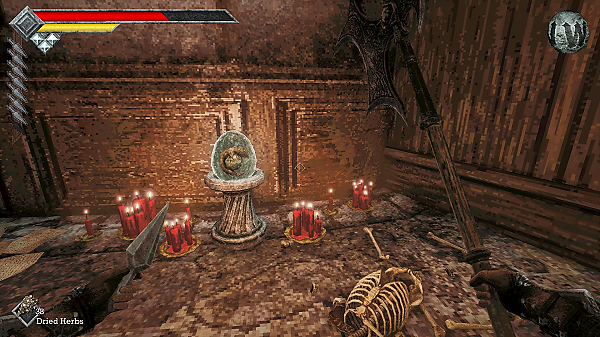
Now head to where a bunch of bookcases are in the same room; walking into this area will summon a bunch of skeleton enemies. Once defeated, pick up the Orbewa Egg.
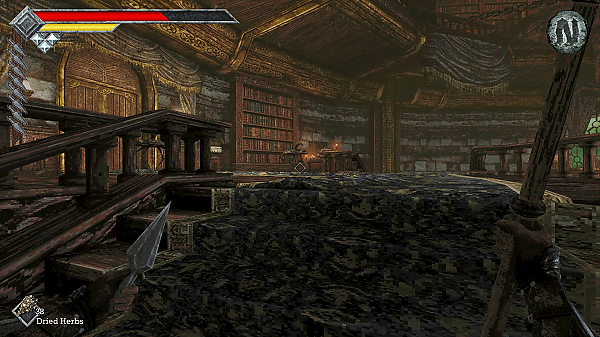
Now head up the stairs in the middle of the room where you'll meet a new enemy type called the Book Bug. These have low HP, but do have an annoying charge attack that can drain your HP.
Once wiped out, open the Barrel on the left to find a Large Elixir.
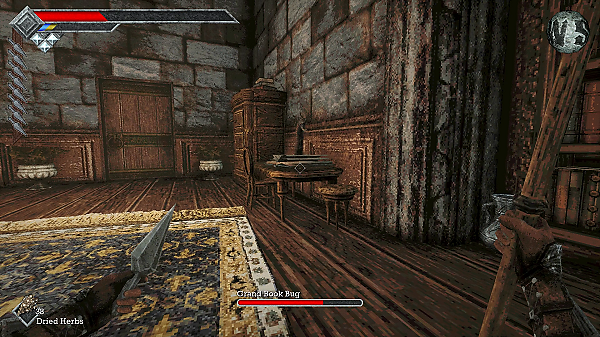
Now open the door and you'll find another room filled with books; defeat the Book Bug monsters that summon as you move around the room. There is a Grand Book Bug on the table that has quite a bit more HP.
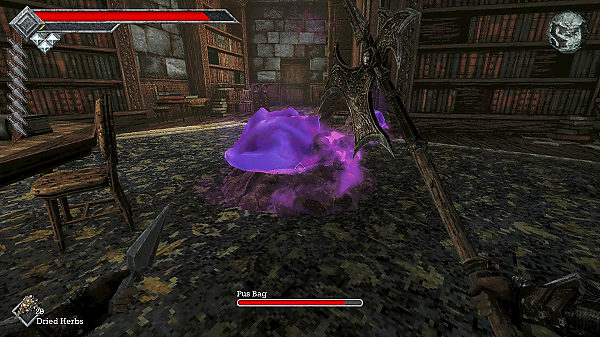
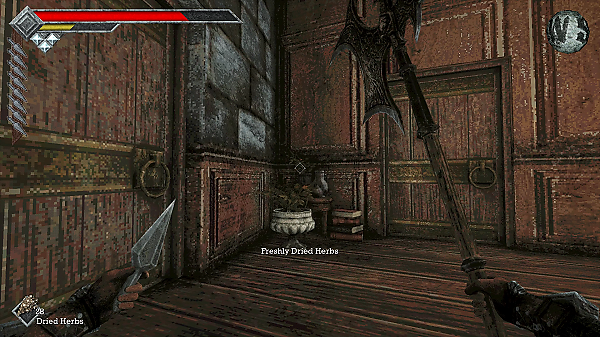
Open the door on the left of the room and you'll find another room filled with a new enemy: Pus Bag.
Pug Bag is easy to take out, just be careful of not getting hit by it's toxic attack as you'll get poisoned. As you move further into the room, another Grand Book Bug will jump out from the table on the left.
Take the door on the right first; you'll find a small room with two crates; above you is a Crawler that you'll need to take out. Open the crates to find 2 Ancient Coins and a Steel Ale.
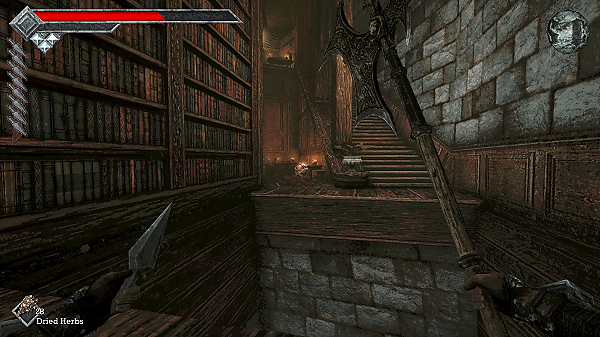
Leave the small room and open the other door; you'll come to room with a staircase in front of you; the floor immediately in front of you is a trap door.
We highly recommend jumping down into the trap door area as you'll be able to pick up some new weapons that make a hell of a difference. You can skip it if you like though.
Tower Of Knowledge - Basement Dungeon
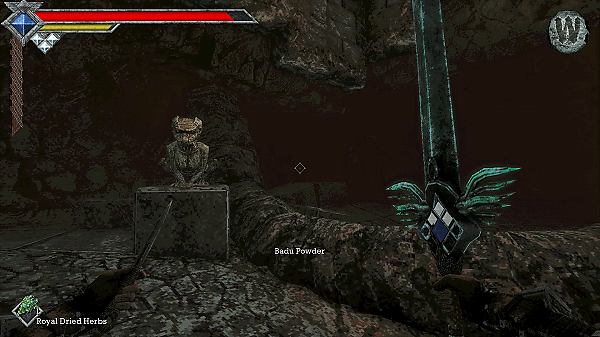
In the basement, you'll find a Stone Gargoyle immediately nearby; attacking it will awaken a Gargoyle Warrior so be careful.
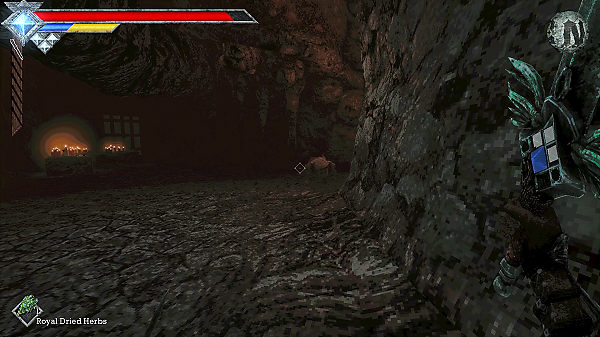
The cavern is split into two sides; on the right side you'll find a Crawler and Candle Crawler that leads to a tunnel going downwards.
On the otherside, you'll find a locked gate and several more crawlers. Take them out. On a small stone block you can find a Large Elixir.
Right now, you just want to ignore this locked gate and instead take the tunnel downwards.
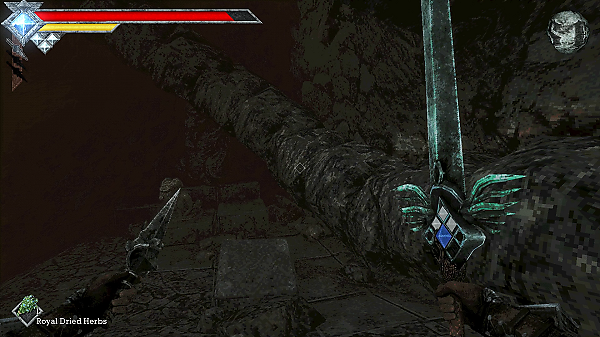
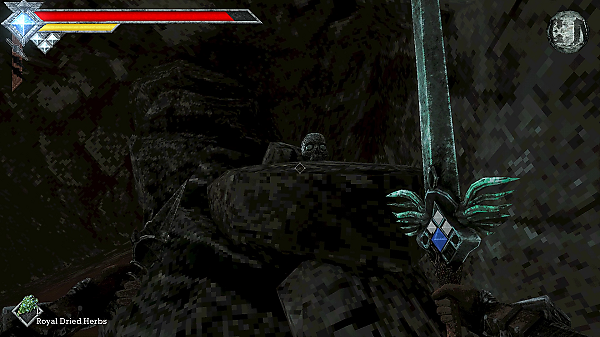
At the bottom of this tunnel, you'll find three stone gargoyles; two of them will transform into Gargoyle Archers so take them out. Before moving on, jump onto the stone snake thing and walk very slowly upwards. At the top of it you can find a Strange Silver Etched Skull.
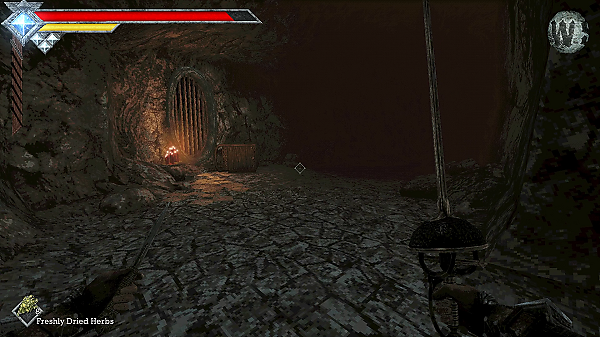
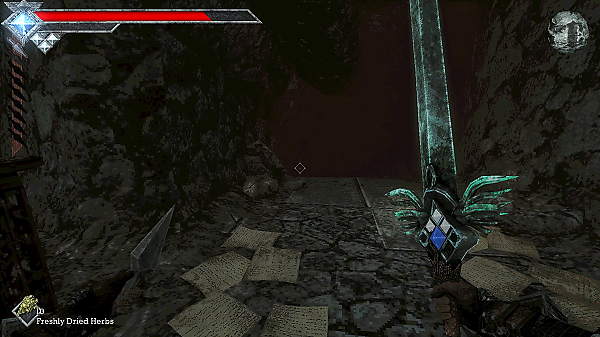
Keep heading down, taking out the mobs as they appear. You'll come across an upturned library trolley next to a gated window. This room has another tunnel leading lower (it's located at the center of the room near one of the upturned library trolleys).
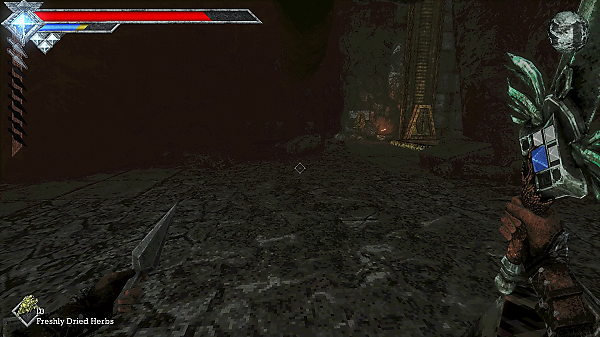
Head down it and you'll meet more Crawlers and Candle Crawlers. At the end of the room is a elevator; but before you reach it several Gargoyle Warriors will jump out at you.
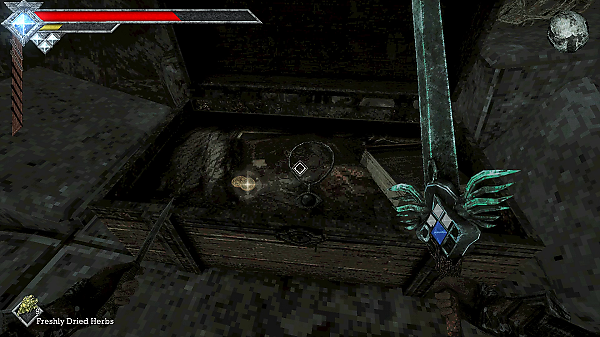
Before taking the elevator, open the Treasure Chest to find Tourmaline Eye Charm and 2 Ancient Coins.
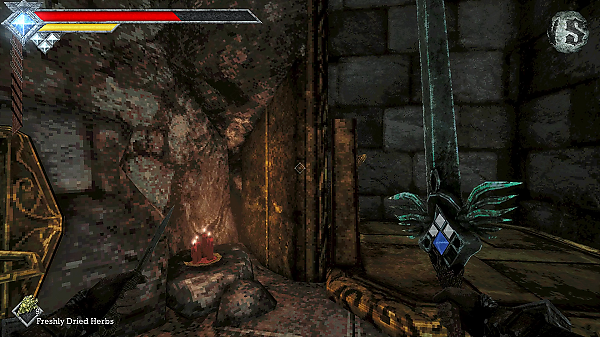
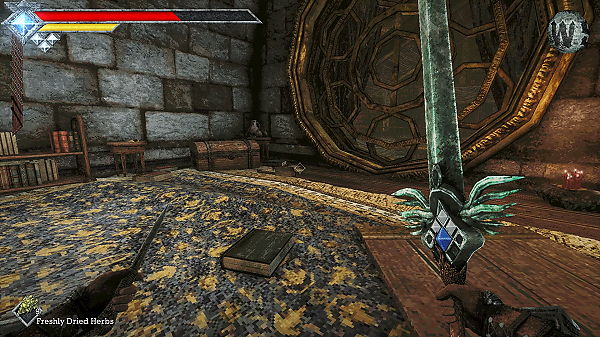
Now take the elevator up to find another Treasure Chest containing three Occult Knifes. These throwing daggers will automatically target enemies for you and are very useful for upcoming fights. You can also buy 3 more from Umbada's Trading Post.
Pull the lever on the side of the room and jump out to find yourself back at the Foyer.
Tower Of Knowledge - Ascending
Return back to the area with the trap door from earlier; take out the Candle Crawler as it shoots a tracking fireball.
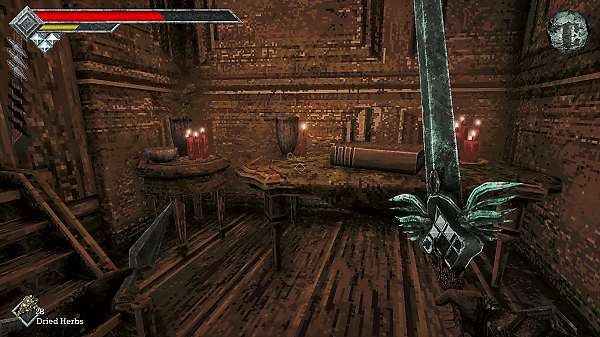
Glide across the trap door and before going up the stairs pick up the book The End Of Epha on the table.
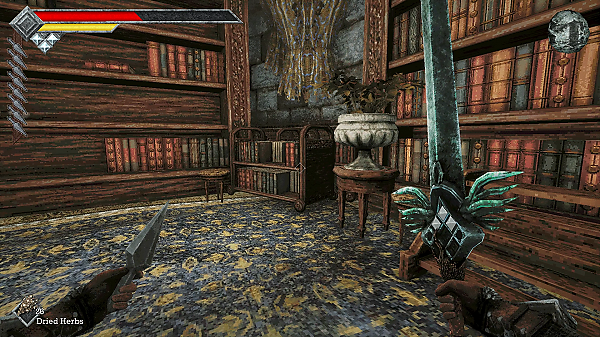
Head up the stairs and take out the Book Bugs. You'll notice a bookshelf in front; you can jump around it to find a Treasure Chest containing a Occult Spear.
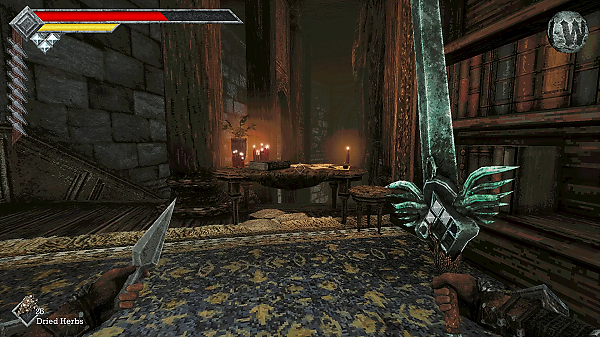
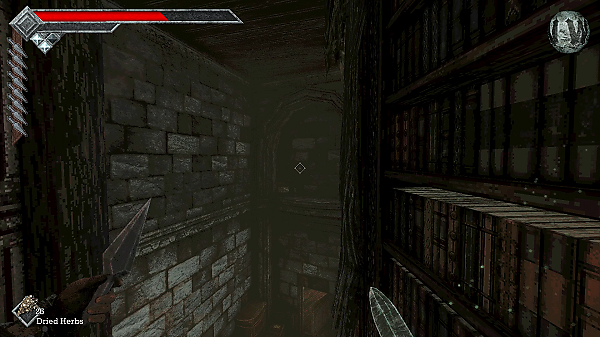
Now before opening the door to the next level, jump onto the table with the candles on. You then need to jump off it and do a triple glide to a platform on the far side. Press the action button to reveal a secret door.
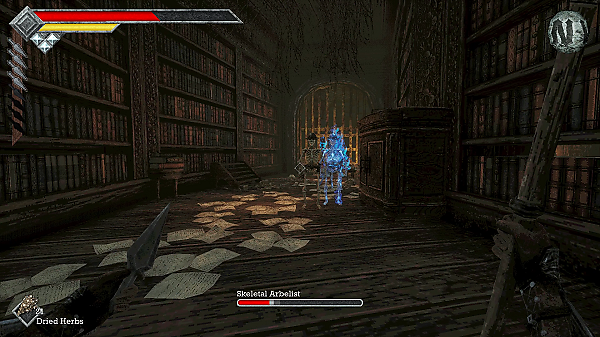
Head inside to fight a bunch of Book Bugs and Skeletons. Open the gate at the end of the room to find a room full of Pus Bags.
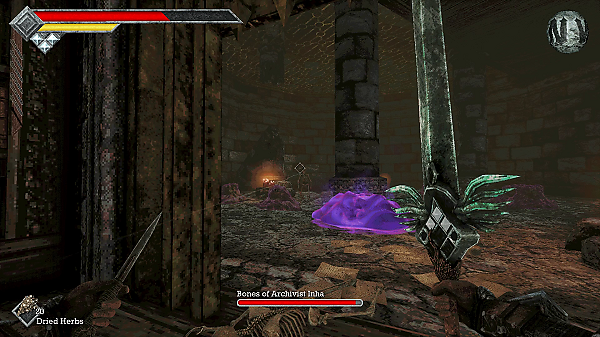
Ignore them for now and focus on the mini-boss Bones of Archivist Inha. It will drop the book The Old Ones Beyond.
Now go into the room and take out the Learned Star Lizard to collect another Moldy Bag.
Now exit the room and return back to the staircase with the trap door. Head up the stairs and take the door on the left to reach the second floor of the Tower Of Knowledge.
Tower Of Knowledge - Second Floor
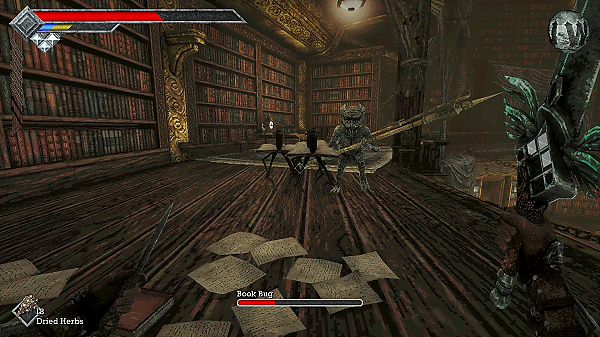
On the second floor, you'll face lots of mobs: Gargoyle Warrior will jump down from their plinths on the wall and are very strong and hard to dodge. If you can, keep your distance and take them out with Throwing Knives.
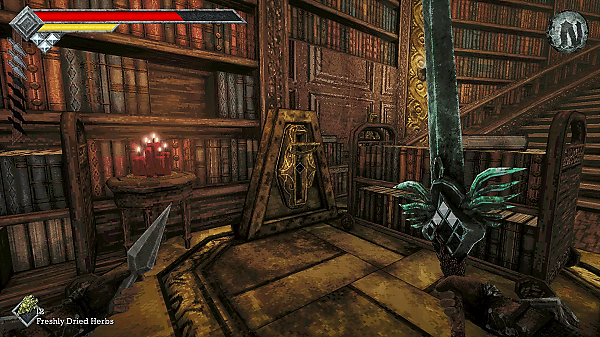
Make your way along the floor, taking out the mobs. You'll eventually come to a lift; this will take you back to the Foyer, so just activate it for now so we can use it later.
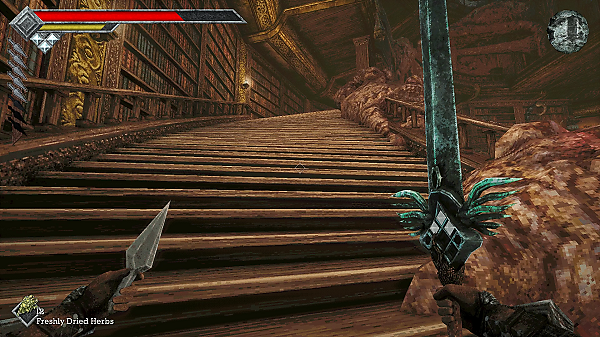
You'll come to some stairs and you'll notice the nasty meat infestation with the strange howling heads embedded into it. Gross!
Up ahead you'll meet a new enemy type: Manticore. It's a huge enemy and has lots of HP. It will spawn pools of blood that if you step in them will inflict the Disease effect.
The Manticore also has a tail attack that's hard to dodge, so you really want to try and take out as much HP from a distance.
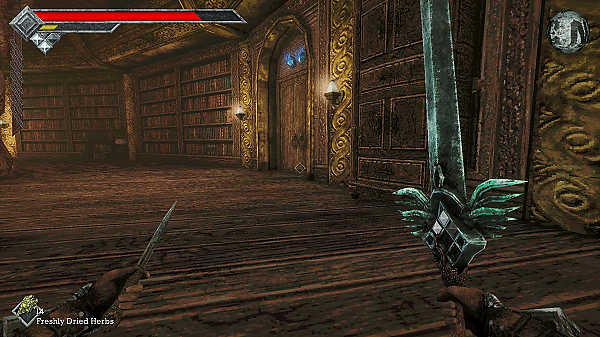
On your left, you'll see a door with two blue gems above it. You can't enter it just yet.
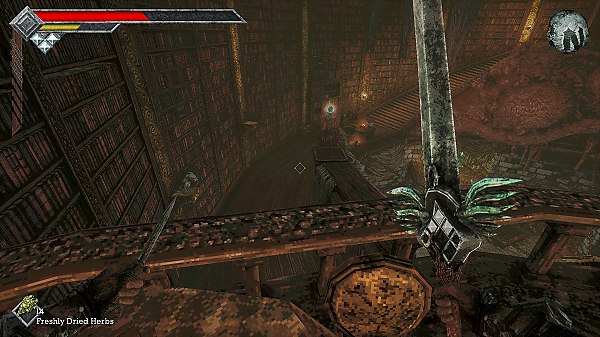
Move further ahead and more Book Bugs will jump out at you. If you head to the end of the balcony, you can jump down and find an Orbewa Egg on a bookcase.
Return to the top of the second floor and once all the mobs have been cleared, use any of the two doors on your left. You'll open up onto a courtyard.
Tower Of Knowledge Gargoyle Statues - Which Ones To Light Up?
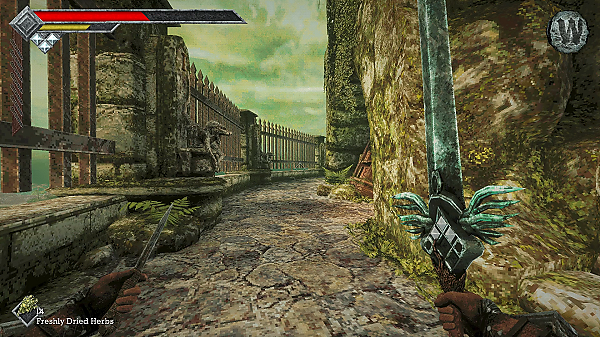
Here you'll find seven gargoyle statues. You have to light two specific ones using your Azure Torch to unlock the door with the two blue gems.
There are several clues on stone tablets nearby that read:
Clue #1
Take account of all three hints written upon these slabs.
Gargoyle II has one neighbor who will take fire and one who will not but which is which?
Clue #2
You must ascertain which pair of Gargoyles will take fire and open the way.
Gargoyle III is not like those to each of his sides, but do his neighbors take fire or does he?
Clue #3
Attempting to give fire to one who does not wish it will surely invite trouble.
Gargoyle V and both his neighbors are good friends, they are all in agreeance about the taking of fire
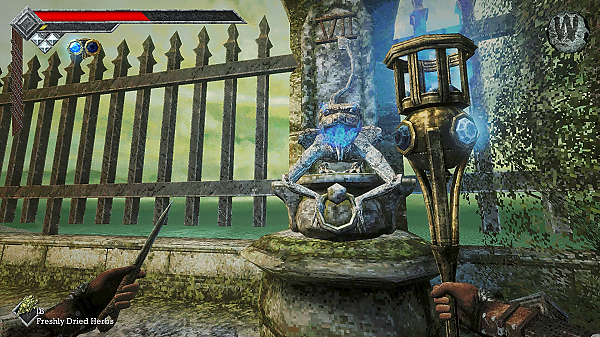
The correct Gargyoles you need to light up are Gargoyle #3 and Gargoyle #7. Use your Azure Torch to do so.
Now head back onto the second floor and open up the door with the two blue gems.
Next up we head further up the Tower Of Knowledge to access the Forbidden Archives.
Discussion