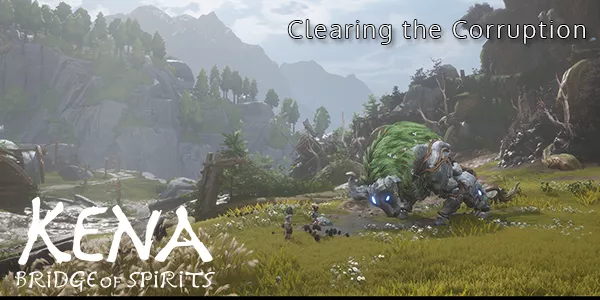
We've learned about the Woodsmith Adira and now we're tasked with helping clear the corruption of the Fields.
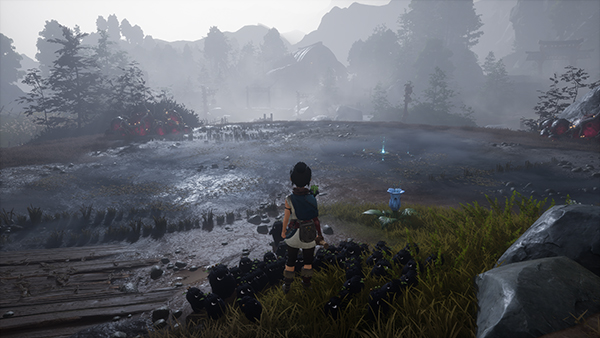
We are in a new area called Fields and there's plenty to discover. Make sure you check out our All Rot Locations guide, Rot Hat Locations and Flower Shrine Guides for all the collectables!
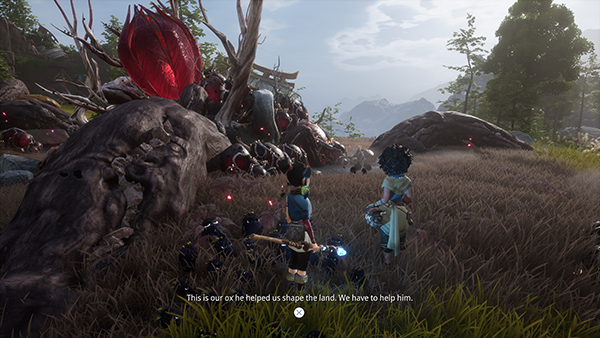
Speak to Adira's Friend Hana next to the Deadzone Flower just outside the Tower Entrance. She'll put three markers on your map of corruption you need to clear to help save the Ox.
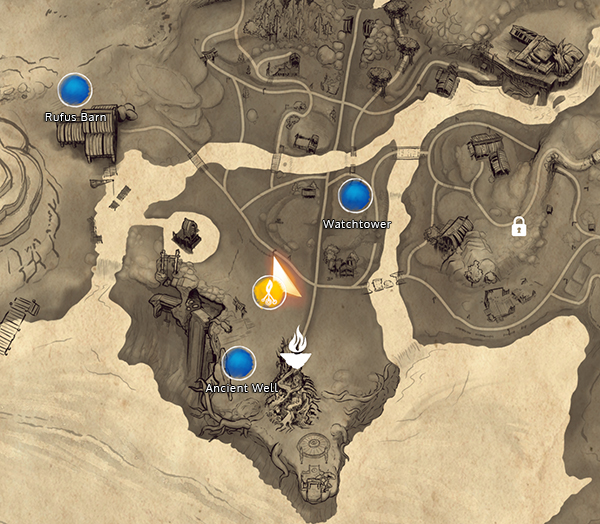
Corruption in the Ancient Well
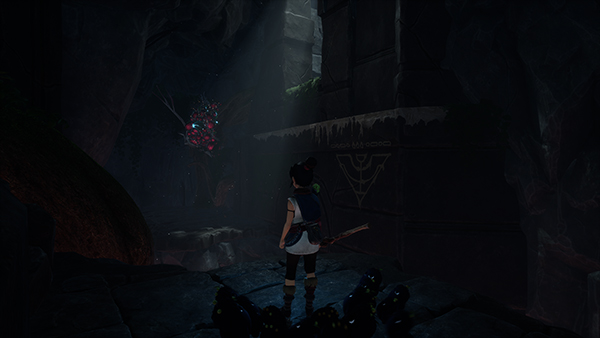
Go to the side of Tower Entrance and you should see several rocks that can be moved with your Bomb ability.
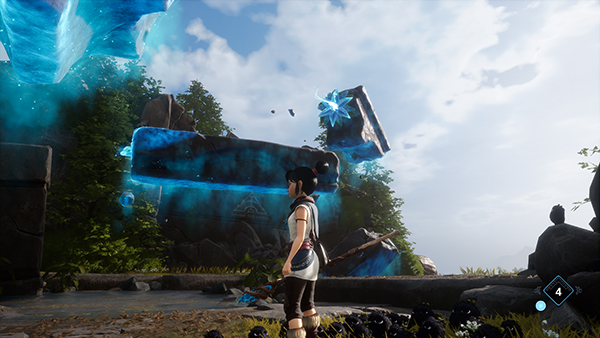
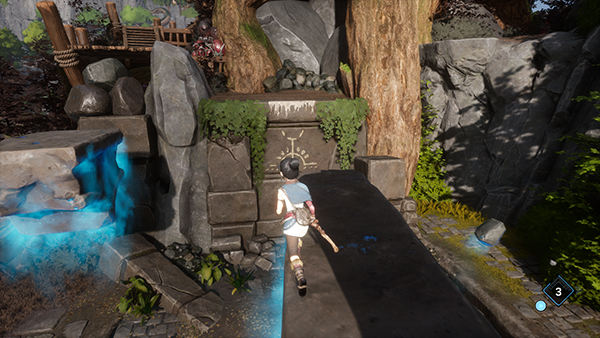
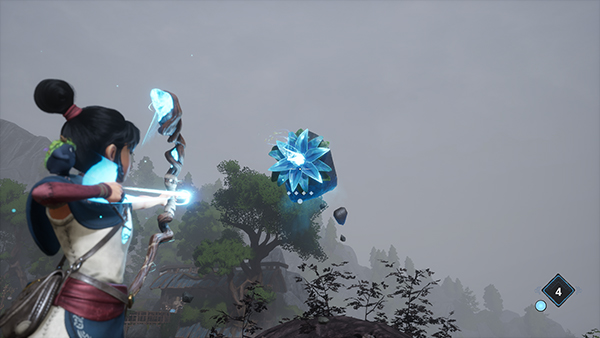
Throw the Bomb at the middle section of the rocks; hit the long platform's crystal with an arrow so that it turns inwards and then hit the blue Teleport Flower to pull yourself up. Next run along the platform and you'll see a small platform you can jump onto and then make your way onto the wooden top.
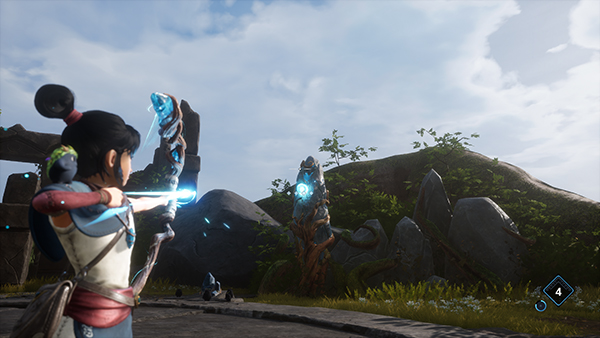
Head around the wooden platform and go inside the tower. You'll find an area with three statues (one above you). Hit them all with bombs and then an arrows to Illuminate them.
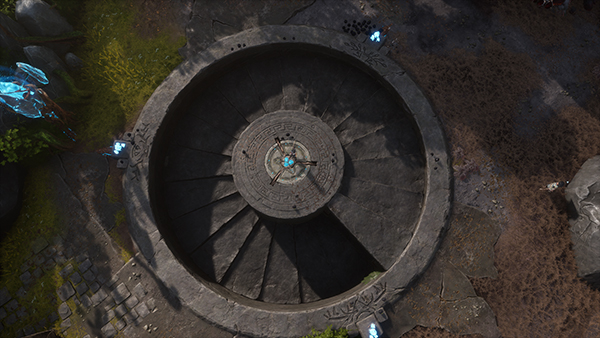
Once all three are illuminated, head to the center dial and use your Spirit Pulse to reveal a spiral staircase down below.
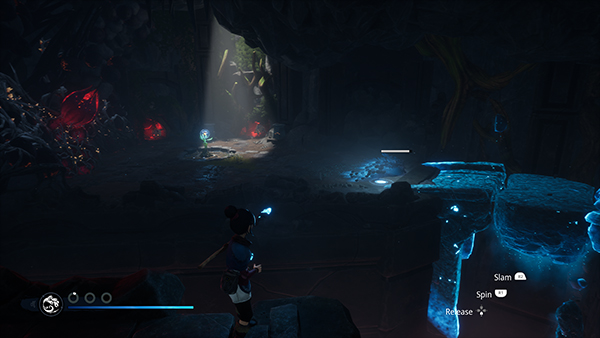
There will be a small battle with some mobs and a Sprout Captain. Once defeated, kill the deadzone flower and head deeper into the cave. (In the corner of the cave is a Rot!)
You'll come to an area where a Forest Tear hangs in the ceiling; shoot it down and then throw a Bomb at the bridge so that your Forest Tear can pass. This will summon a few mobs; shoot them down and destroy the Deadzone Poison around the Flower Shrine.
The main Deadzone Flower will open up and you can destroy it. Make your way around the map, across the bridge and down deeper to where the Deadzone Flower was.
You'll come to another area where you can jump onto the walls and shimmy across. Drop down onto the ledge and you should see some more rocks you can move with a Bomb.
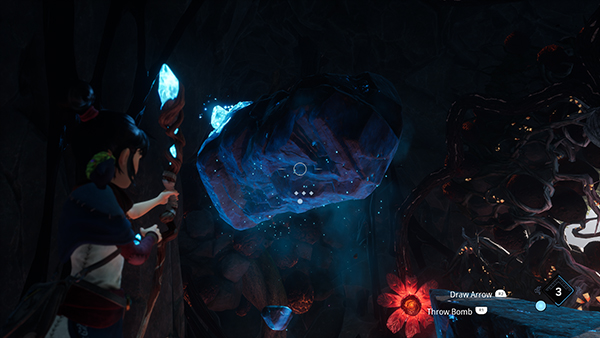
There are three small Deadzone Flowers to destroy; throw your bomb and jump onto the platform, taking out the two immediate flowers. Then hit the rock with an Arrow and then hit the third Deadzone Flower. This opens up the big Deadzone Flower- destroy it and the corruption of the Ancient Well is done!
As you exit the cave, go to your right and use the Teleport Flowers to travel and eventually come to a elevator.
Corruption in Rufus Barn
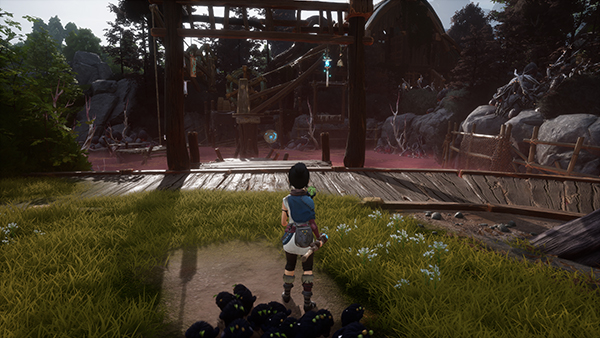
Our next corruption lies at Rufus Barn. You'll notice that the bridge leading to the barn is blocked by Deadzone Weeds. Instead, you'll need to take a trip to the poison lake on the left of it.
You'll need to use your Bow to cause the crane to rotate the platform and then time a double jump to get onto it. Follow the path around and you'll come to some stairs.
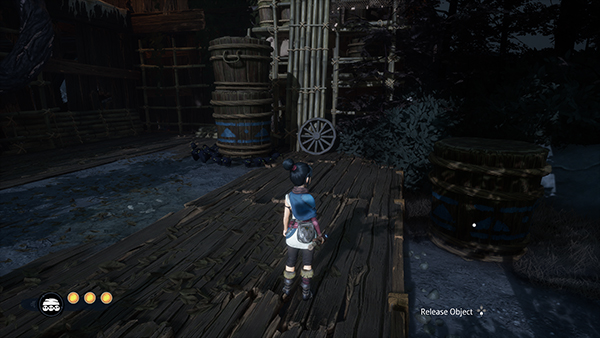
After a short fight with some mobs, you'll come to a house; in order to climb up to the ledge you need to move the two barrels close to each other so you can jump onto the taller one. Once on the taller one, have your Rot move you closer to the roof of the house.
Jump down and prepare for a battle...
Boss Fight - Vine Knight
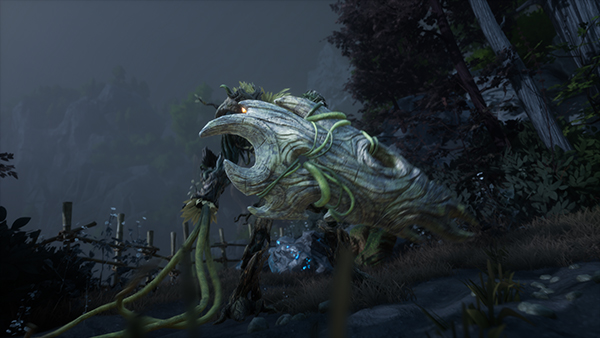
The fight starts with minions spawning from a Deadzone Flower and a Sprout Captain mini-boss. Destroy the Deadzone Flower first to stop the minions spawning and then take out the Sprout. Afterwards, the Vine Knight will spawn.
The Vine Knight boasts a shield that blocks any damage dealt to it and he has a giant long vine whip that can hit you and drag you towards the boss. It takes two Rot Actions to bind him and there is one heal for you to use.
There are three orange crystals on the boss you can hit, which will stun him for a few seconds.
A good strategy is to use your Bomb ability and hit him with arrows from a distance; the bombs will knockback the Vine Knight and allow you to keep your distance.
The Vine Whip is dodgeable, but you cannot get out of the attack where he grabs you and smashes you with his shield. Keeping your distance will stop his Vine Whip reaching you and thus avoiding the attack altogether.
Afterwards, you can destroy the next Deadzone Flower and cleanse the corruption for Rufus Barn.
Corruption in Watchtower
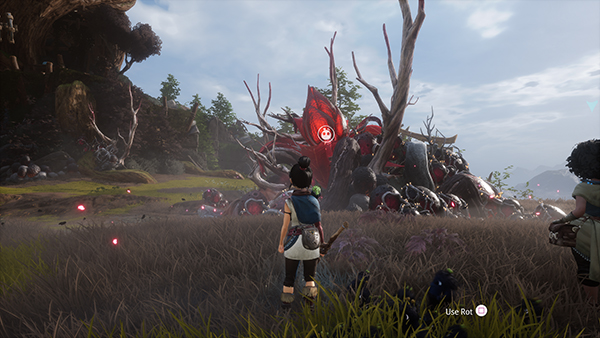
Now for the last corruption: Watchtower. Go to the field next to the marker on the map and you'll have a mini battle with a familiar foe. Once defeated, there is a bucket nearby that will allow you to create a Forest Tear.

Now use the Forest Tear to clear the Deadzone Weeds before the Watchtower. You should see two piles of glowing rocks.
The second pile of rocks (closest to the tower) are the ones you need. Throw a bomb and jump on the lowest rock; look up and you should see a Teleport Flower; hit it with an Arrow then turn around immediately to hit a second teleport Flower and from there you should be able to destroy the Deadzone Flower and cleanse the corruption for Watchtower.
You can now go clear the Deadzone Flower on Rufus. Throw a Bomb on him after to awaken him and claim one of Adira's Relics.
That wraps up this part of the Kena: Bridge Of Spirits Walkthrough. Did the Vine Knight cause you many problems?

Discussion