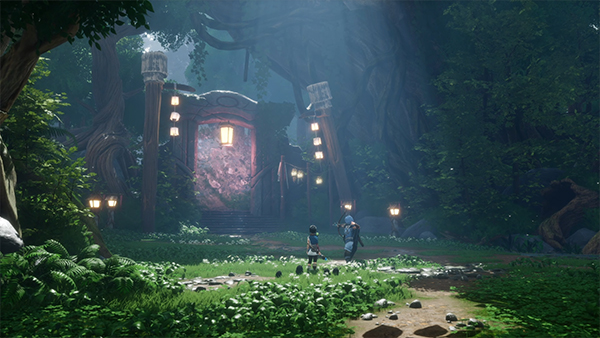
Taro story comes to an end as we continue our adventure in the Forgotten Forest in search of Taro's Relics. After taking down the Sprout Captain, now we turn our sights to the Lantern Cave.
There are some serious boss battles in this part of the guide, so if you're taking this on in Master Spirit Difficulty, hopefully you've got a lot of skill or patience to learn these fights!
To access the Lantern Cave, you must first head to the doorway that is protected by a force field. Check your map for it's location.
As soon as you head towards it, a new boss battle will begin.
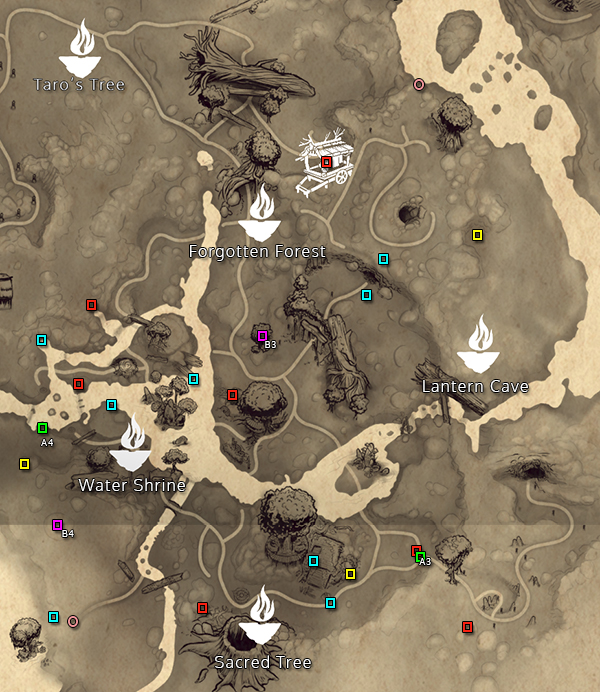
You can use the map above to find hidden items on the map.
- Blue Square - Rot Location
- Red Square - Rot Hat Location
- Green Square - Cursed Chest Location
- Pink Square - Spirit Mail Location
- Yellow Square - Sacred Shrine
Boss Battle - Mage
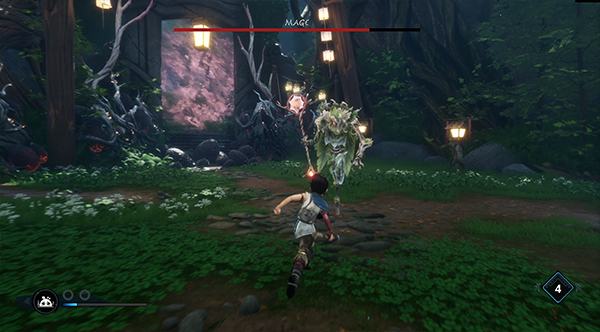
The mage has one annoying mechanic - it can heal back to full health. The trick is to charge up your Rot Action and then bind it as soon as it glows green to prevent it from healing. You can also use your Rot Smash attack to deny it.
Mage will summon three mobs and then shoot out a slow-tracking fireball. You can shoot the fireballs with your Bow, or have the mobs run in front of the fireballs to destroy them.
Overall the Mage is quite easy as it has low health; just make sure to keep an eye on it glowing green!
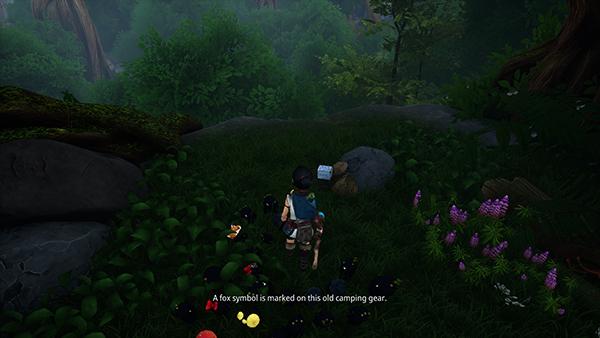
After the fight, Rusu will unlock the gate sealing the path to the Lantern Cave; there is a Rot to your right under a rock. The Cave is actually blocked by Deadzone Poison, if you look to your left there you can climb up the mountain.

The path splits in two- you can see a bucket on the left path which summons Taro's Spirit. Follow it and watch his memory.
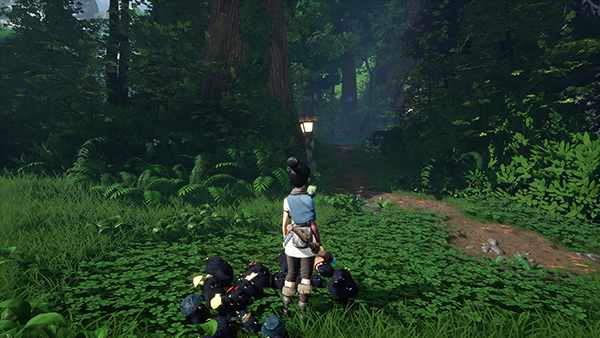
Take the path to your right that has several lanterns in the bushes.
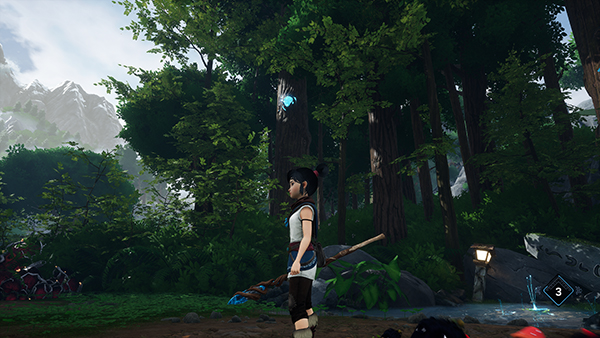
Here you should see several crystals in the trees; hit the illuminated one with your bow and keep hitting them until they spit out the Forest Tear.
Then use the Forest Tear to clear the Deadzone Poison out of your way.
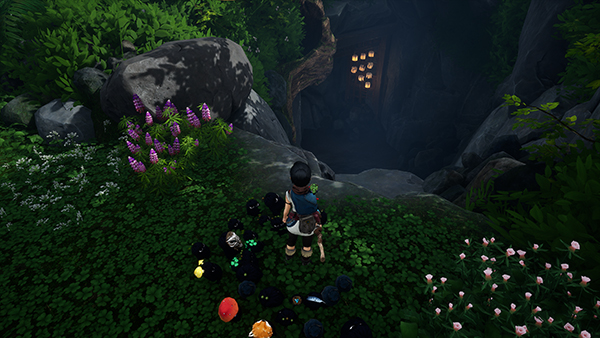
You'll have to fight several mobs on your way through; activate the Forest Tear to clear the path for you and eventually you'll come to underground cavern: Lantern Cave.
Travel down the Lantern Cave path and you'll eventually come to another boss...
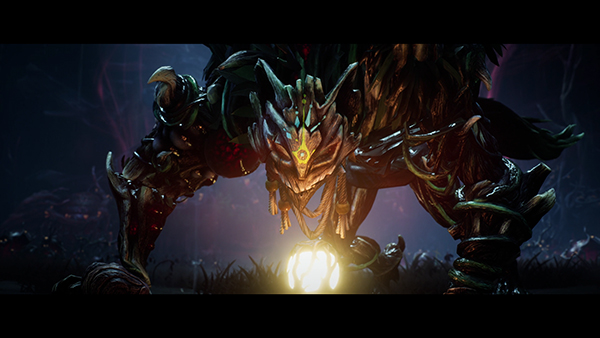
Boss Battle - Shrine Guardian
The Shrine Guardian will constantly be summoning mobs for you to fight. There are three weak points on the Shrine Guardian that will stun him for several seconds, but they can only be hit once so use them wisely.
You'll need to time your Shield to stun this boss just right; Shrine Guardian will often leap away from you and then dive on you from a distance; you can block this attack by just holding your Shield up the entire time.
There are two heal flowers you can use.
After dealing some damage to the Shrine Guardian, he will dive slam into the ground and start summoning roots to attack you. At this point, the flower bulb on it's back is susceptible to Bind and you can use Shield Pulse or any arrow to destroy it and deal decent damage.
During this period the Shrine Guardian is temporarily stunned and then revives and continues the fight again.
Try to keep your distance as much as possible and use your Arrows to deal damage. You'll want to stun him a few times in order to deal significant damage to him, otherwise the fight will be painfully slow and make you more likely to suffer from some random RNG death.
Check out the video below for tips:
Afterwards, you can climb out of the Lantern Cave to a stormy outside.
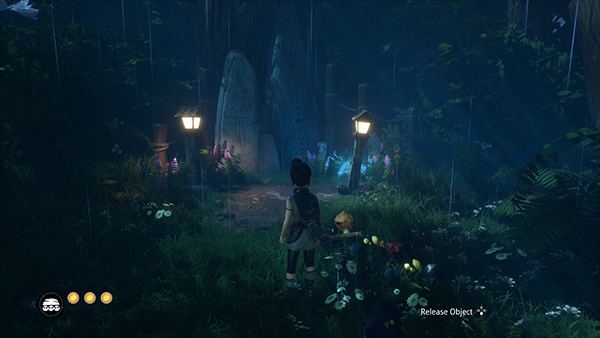
Taro's Spirit appears and you need to move a lamppost up ahead to a shrine. Doing so makes a crystal glow in the tree; shoot it with your Bow and then follow the other crystals.
You'll eventually come to a Deadzone Flower that you can destroy; Rusu appears and tells you to take all the Relics back to Taro's Tree.
Head to the center of Taro's Tree and prepare for a final boss fight...
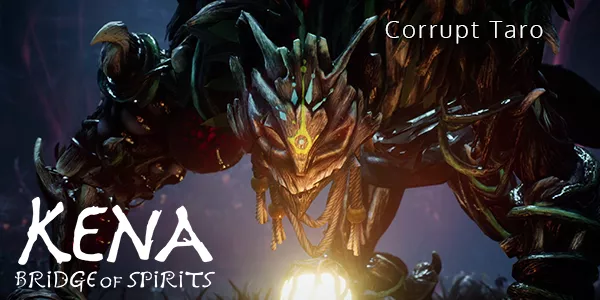
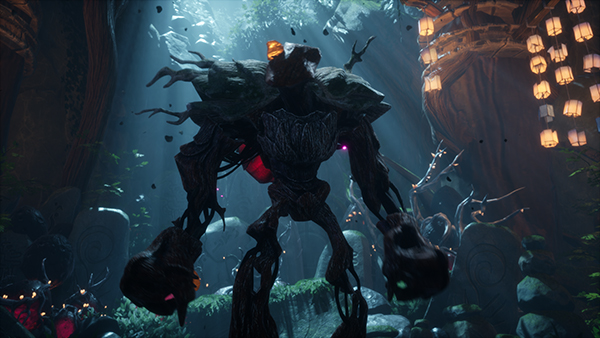
Boss Battle - Corrupt Taro
Taro has been turned into a hideous beast and you're going to have to slay him to set him free.
Corrupt Taro has a lantern around it's neck that you can fire; it will explode and give you a few seconds of time to get in some more attacks.
Corrupt Taro has two phases; the first phase he will swipe at you with his sword. Two of these can be blocked with your Shield and allow you to stun him; when he moves to slam his sword directly into the ground, you'll need to dodge out of the way. He also has a tail whip attack that he will use after pausing for a few seconds.
You can use your Rot to Bind him at any time.
There are two healing flowers.
Once his HP gets below 50%, Corrupted Taro will discard his sword and go into a frenzy mode. He will run away from you a lot in this round, and then suddenly charge you. If he grabs you he'll smash you against his mask for high damage.
After the fight, you'll gain Taro's Mask Rot Hat and be able to use the Relic Circle as a Meditation zone to increase your max HP.
That wraps up this part of the Kena: Bridge Of Spirits Walkthrough! How did you find Corrupt Taro? Did you defeat him on Master Spirit difficulty?

Discussion