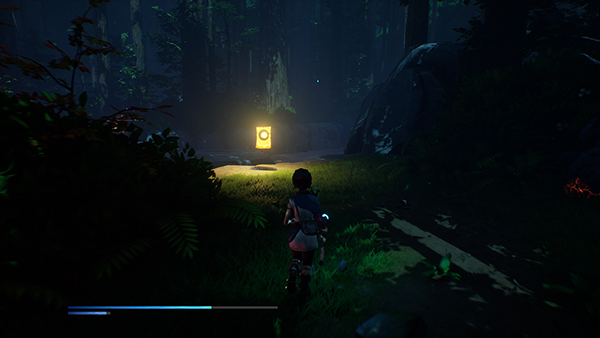
After freeing Adira from her corruption, it's time to head back to the Village Center and speak to Zajuro for our next set of tasks to reach the Sacred Mountain Shrine.
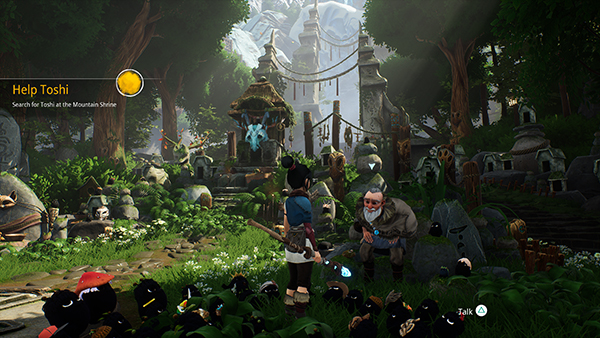
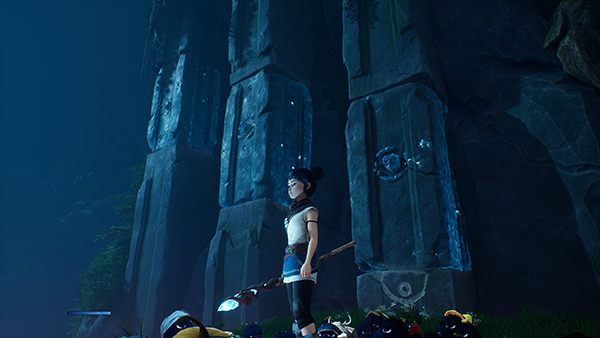
We learn about Toshi, the previous leader of The Village that has let the corruption ruin his mind. You're given Toshi's mask, and can use it to unlock the path to the Sacred Mountain Shrine.
Head there now; the path is linear and you'll need to use your Mask again to summon Toshi.

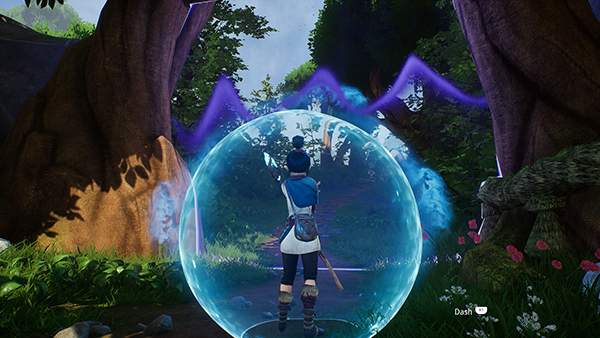
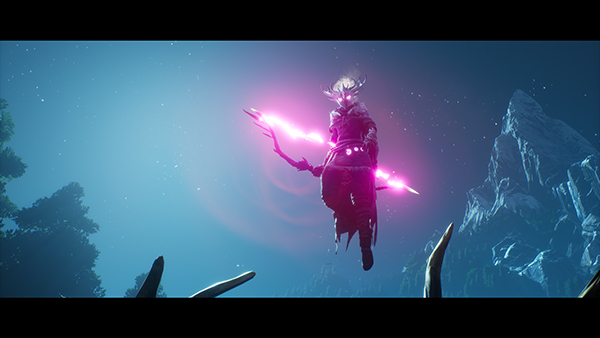
After a cool cutscene in which Kena is stripped of her staff, she ends up in the spirit realm with her younger self. You'll unlock a brand new Spirit Dash ability that allows you to teleport through spirit realms.
Using the new Dash ability, she breaks back into the real world and speaks with Zajuro.
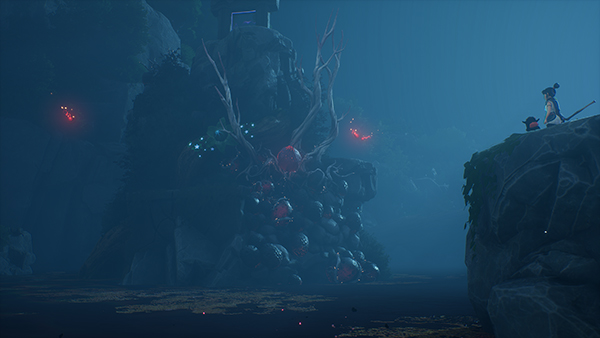
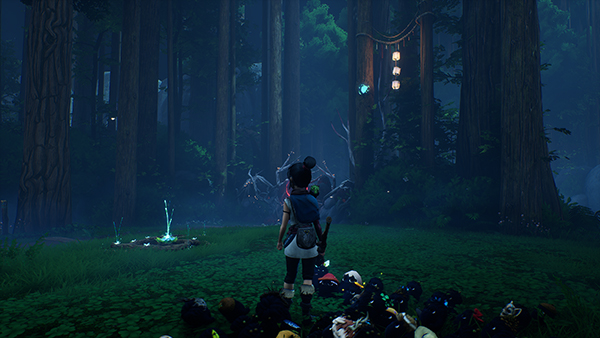
Zajuro comments that Toshi has hidden his relics in the Spirit Realm, and we'll have to go find them all!
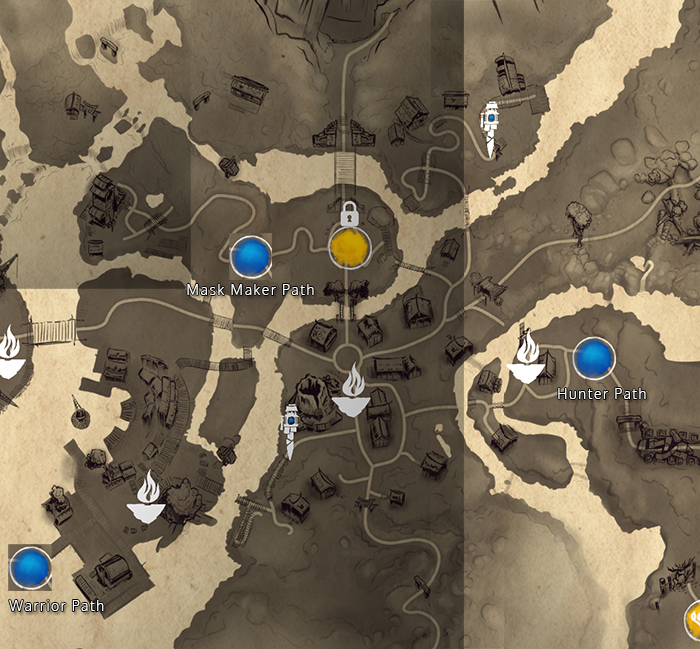
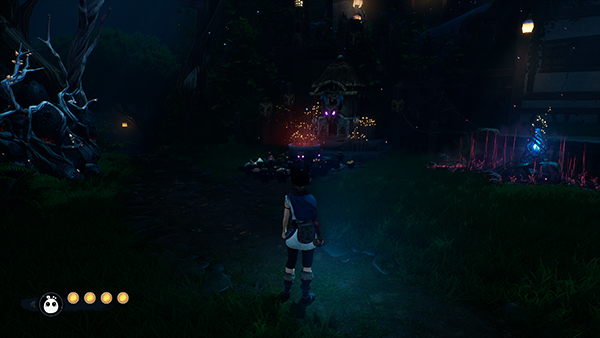
If you check your map, new locations have popped up that show where the doors to the Spirit Realm are.
Mask Maker Path
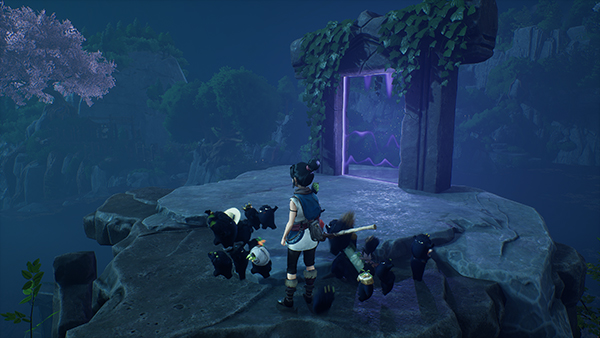
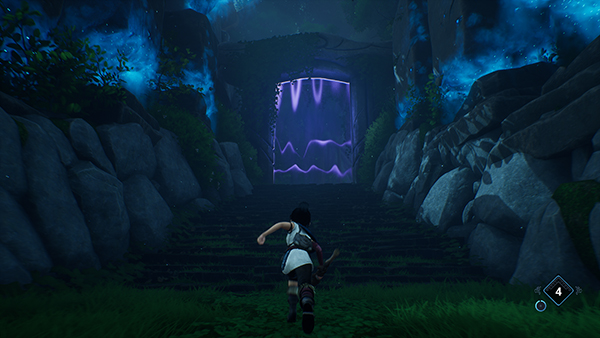
Head to the door on the map; use your Spirit Shield and Dash to go through the forcefield and find yourself in the Mask Maker Path.
Follow the path round and past the Cursed Chest and out to an area with a bridge. Head under the bridge and a battle will begin with several mobs.
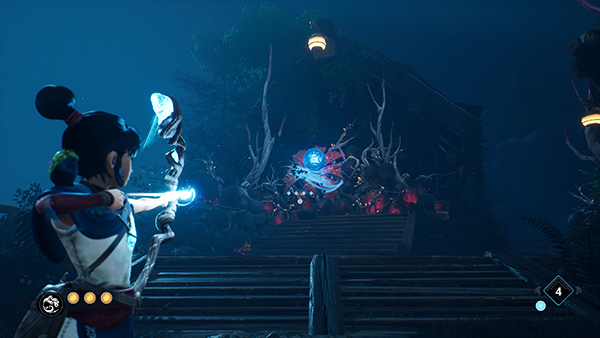
Once defeated, cleanse the Deadzone Flower. Inside that same house is a bowl full of candles that you can move; do so and take it across the bridge to activate the spirit realm doorway.
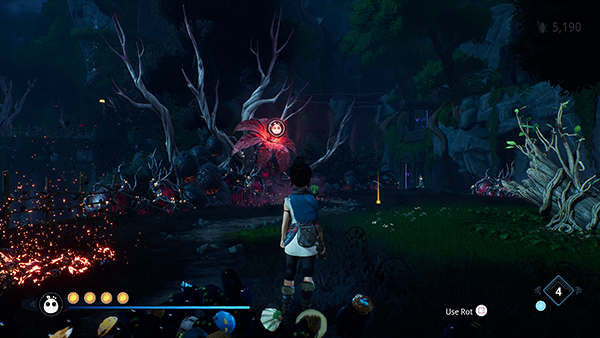
Head through the spirit doorway and follow the path around, going past a giant turbine. You'll come to an area with some more mobs, defeat them and destroy the Deadzone Flower.
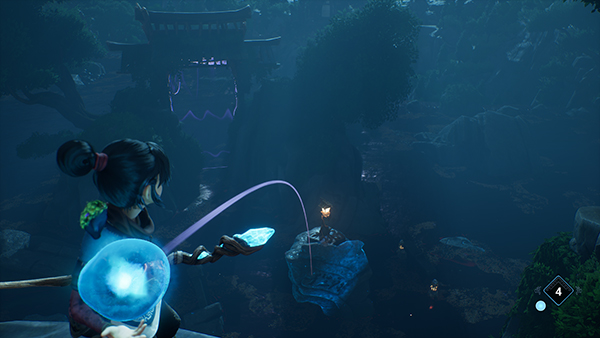
Go across the broken stone bridge and you'll come to some glowing rocks; throw your bomb at them and use them to cross over to another spirit realm portal.
To your right are three large rocks that can have bombs thrown at them. You need to start with the closest block first, once exploded jump onto the platform and throw another bomb at the second rock.
Each rock has a crystal on it that you'll need to shoot so you can then jump onto them. The final rock at the end of it will be a Teleport Flower.

Follow the path round and you'll come to another small mini-battle and Deadzone Flower; destroy it.
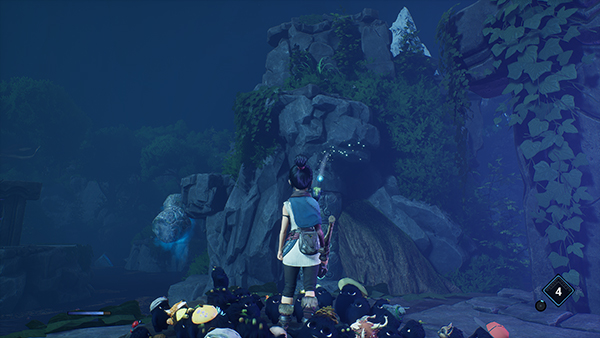
Inside the house you can find one of Toshi's Memories. Doing so creates a Forest Tear which you can then use to cleanse the Flower Shrine.
Go towards the Spirit Portal and throw a bomb at the rocks below to get past. You'll come to a cliffside; pull yourself up and head past the Teleport Waypoint.
You'll come to an area with three of those candle pots. You'll need to place all three pots on the right shrine; when the pot is in the right position, the eyes will glow a color. If it's in the wrong position, they will glow red and summon some mobs.
If you look closely at each pot, there are symbols on the side. These symbols correlate to which shrine the pot belongs to.
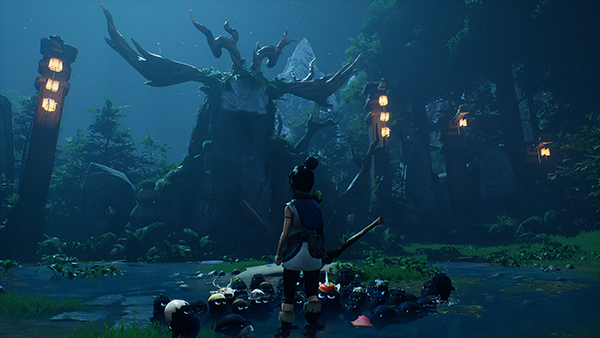
Boss Fight - Mask Maker
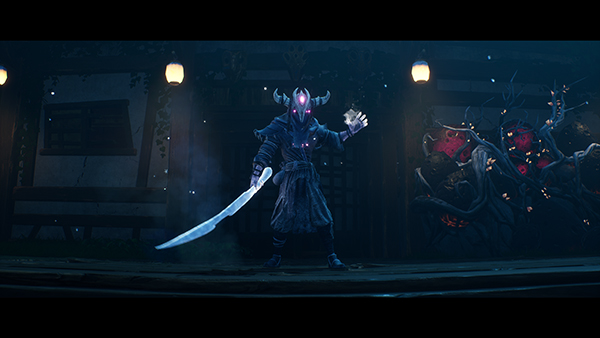
Mask Maker has quite a lot of teleporting moves, so it can be quite annoying to fight. The key is to get him stunned, which you can do using your new Spirit Pulse Dash move; once he is knocked back, you can then repeatedly hit him with Rot Hammer to stun some more.
The Mask Maker will teleport and slash you twice, both of which can be simply dodged. He will also summon three mobs, which you can use to charge your Rot Actions up.
The boss can also imprison you in a pink cage; there are several fake Mask Maker at the windows; hitting the right one will release you from the prison- the right one is identifiable by the pink lights around its neck. Once you break out, Mask Maker will go down for several seconds allowing you to drop plenty of Rot Hammers.
Another move he will use are tracking white bombs; if you get hit by one you're going to get hit by the rest of them as it stuns you and you can't get out of the attack. You can either dodge away or use your Spirit Shield to get away.
When Mask Maker teleports away, he can use a red charge skill that creates a dome-forcefield that will hit you; you can either use your Spirit Dash or hit him in the mask with an Arrow to prevent it.
After defeating the boss, you are presented with Toshi's Relic and the Mask Maker Rot Hat. One down, two to go!
Warrior Path
Next head to Village Docks and use the Spirit Portal there to get to Warrior Path.
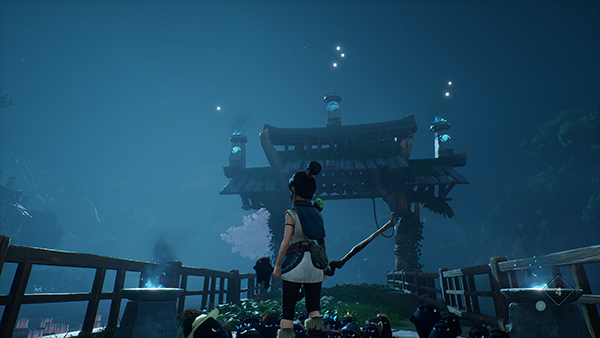
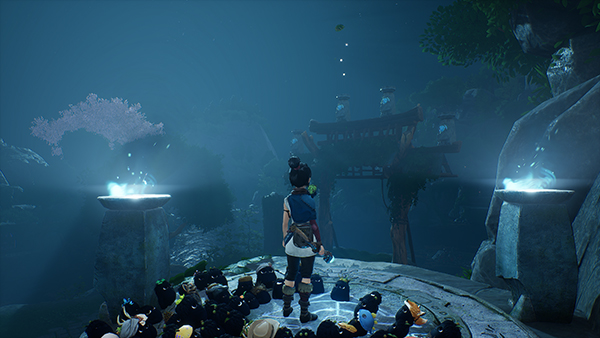
You'll come to giant poison lake; to cross it you need to hit the three lanterns on top of the bridge in the right order. There are glowing stars in the sky to indicate the order.
Completing it will activate another Spirit Portal, head forward and you'll come to an area with glowing rocks on the floor; throw a bomb and make your way round. Destroy the Deadzone Flower on the tall rock cliff.
To get up the rock cliff, you must pass through each portal, throw a bomb at the glowing rock on the rock cliff so that it explodes. Then return to the beginning (it's circular) and use the Teleport Flower to get across to the Rock cliff. Now run like mad and dash across all the rocks to get to the top.
At the top is another Spirit Portal; enter. You'll immediately come to an area where you need to destroy several mobs and a Deadzone Flower.
Once the area is clear you will need to hit the lanterns on top of the wooden framework to activate the portal. You can see the order by stepping onto those stone dials.
Once you pass through, you'll come to a mountain cliff side. There are some rocks in the water; throw a bomb at them and then run to the right side of the cliff to slide down and double jump onto them. Use your Spirit Dash to go through the Spirit Portals.
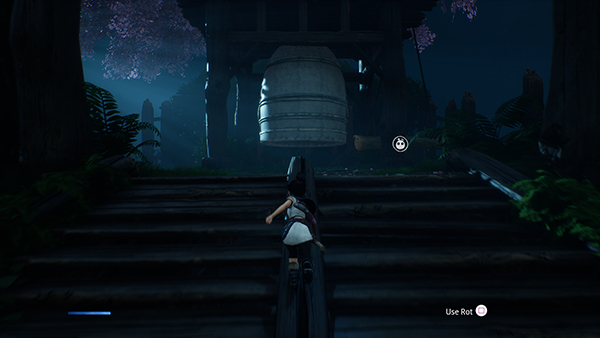
Once through the portal, you'll come to an area with a giant bell at the end; use your Rot to have it chime.
Boss Fight - Warrior
The Warrior Boss fight is a fun fight to complete. He doesn't have many annoying teleport moves, but there are some similarities with Mask Maker.
First, he has several swipe attacks with his scythe weapon that you can parry and counter-hit if timed correctly. The kick out move should be dodged and the slam-down attack you can either dodge away or jump into the air to avoid it.
Warrior will use the similar force-field dome attack when he jumps away from you; either block it with your shield or spirit dash through it.
His grab attack can be blocked before he uses it (once used you're stuck!). He will go into a form of pausing where several runes will appear; hit him with a charged Rot Hammer to prevent him from using it or Spirit Dash him.
He can send a three-piece attack at you, which you can dodge by just watching the direction of the pink pulses coming towards you.
Afterwards, you get another one of Toshi's Relics and a Warrior Rot Hat! Only one to go!
Hunter Path
Now head to Archery Range in the Village to access the final Spirit Portal: Hunter Path.
Immediately you'll come across some glowing rocks, throw a bomb and dash forward as fast as possible to the portal.
Defeat the mobs on the other side and then follow the path. You can find one of Toshi's memories by climbing to your right and jumping across to a statue and interacting with it.

Head up the path and through another portal; here you'll come to a lake. There are some pink trip wires that will imprison you and deal damage; use your Spirit Dash to get out of them.
Head across a bridge and take a left until you come to an area with a Forest Tear. There is a Crystal embedded in a tree; hit it with an arrow and then follow the flow until the Forest Tear is created. This will summon some mobs; defeat them and destroy the Deadzone Flower.
Follow the path where the Deadzone Flower was and you'll come to a clearing with lots of trees. Head towards the Deer statue and turn around to find an Embedded Crystal. Hit it with an arrow and follow the path until it summons Toshi's mask.
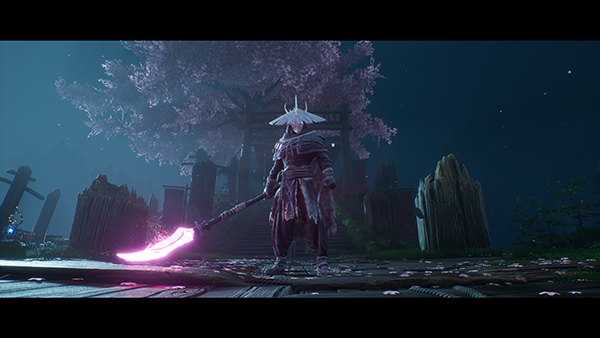
Boss Fight - Hunter
Hopefully you've been practicing your aim as this boss fight requires sending some well timed arrows at the Hunter's face.
You'll be in a dense forest with several trees, which can be good for cover and dodging- but likewise for your opponent.
Hitting Hunter directly in the face with a fully-charged Arrow will cause it to fall to the ground and stay there for several seconds. If Hunter is far away, it can be tricky to reach her in time to get in some extra hits.
You can parry the Hunter's attacks where she rushes directly towards you, giving you some free Rot Charges and several seconds of her being stunned.
Hunter will fire several volleys of Arrows at you; hit her in the mask to stun her.
Jumping whilst aiming will help slow down the fight and get more accurate hits.
Similar to the other bosses, Hunter will fire a charged arrow into the ground to create force-field dome that you can Spirit Dash through.
And that's the final Relic!
You can now face your final foe- Toshi! Teleport to Village Leader Hall and interact with the Relic Runes at the center of the room.
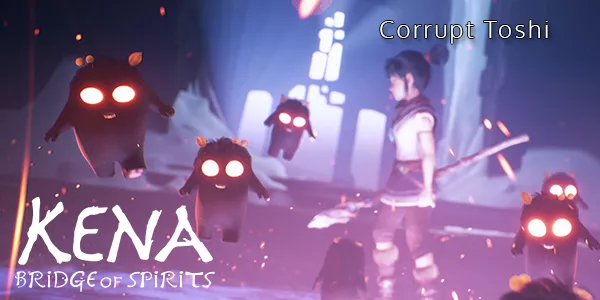
Boss Fight - Corrupt Toshi
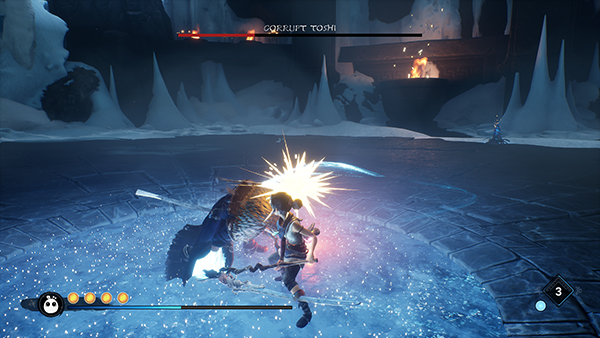
Corrupt Toshi has two phase; in phase one you'll want to practicing parrying and interrupting his attacks as often as possible. Spirit Dash is a great way to stun him and stop him from using any of his attacks; many of his melee attacks such as his Sword Swipe can be parried and stun him for a few seconds.
When Corrupt Toshi launches into the air surrounded by fire, you'll want to hit him in the head when he glows yellow. This will prevent his fire-tracking move which can be quite hard to dodge.
When his health reaches less than 50%, he will teleport to the center of the room and throw down a giant ice spear causing a shockwave; you can double-jump it to avoid. You can also hit him in his yellow head to knock him down and then get some decent hits.
In the second phase he'll be more aggressive and chain several melee attacks against you. Parrying them or using Spirit Dash to interrupt them is a great way to prevent this.
Boss Fight - Corrupt Rot God
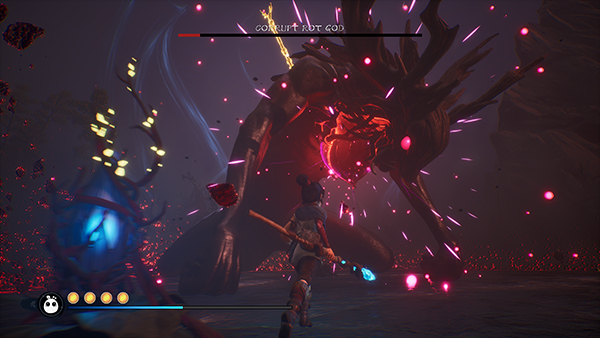
And this is what it all boils down to! Corrupt Rot God stands between you and the end of the game!
The first phase of this boss requires you to use your Bow to hit arrows at the weak spots on the boss. These glow purple; in different modes they take more hits (master it is 4 hits per spot).
He has a few attacks you'll need to watch out for- a slam into the ground just requires a double jump to avoid it. He will also try to swipe at you but you can use Spirit Dash to get out of the way.
After you take out three of these spots, you'll then be teleported into another room where some mobs spawn; taking them out allows you to go to the next room through the Spirit Portal where you'll be reunited with several more mobs and the Wood Knight boss.
Many of the same tactics from the previous battle with Wood Knight work- like parrying his attacks and hitting the crystals to stun him. You don't have any Rot with you at the moment, so keep your distance as much as possible.
Once the Wood Knight is down, you'll get to release some of your Rot. You'll then return to the fight with Corrupt Rot God- the same process applies of hitting his weak spots. He has a new laser beam attack that you can easily dodge using Double Jump or your Spirit Shield.
Once all the spots have been eliminated, you'll come to an platform area full of rocks and Teleport Flowers. You can fall to your death here and restart as many times as you like.
Getting to the end is pretty simple; just throw bombs at the rocks to climb up and use the Teleport Flowers to get across; you may have to double jump in mid air to get close enough to open up some of the flowers. At the end you'll get all your Rot back.
You'll then go back to Corrupt Rot God; he now summons mobs for you to deal with but they're all one-shot with your fully-charged arrow so they're pretty easy.
The key to this part of the fight is to use your Rot to pull out the golden spears on the Corrupt Rot God's back. These glow golden when it prepares to use it's exploding bombs attack; if you get the spear out, it will prevent this attack.
You'll still have to deal with the Corrupt Rot God's attacks from the other phases, and also he can now jump away and generate a red force-field attack that you'll need to Spirit Dash through.
Once all four golden spears are out, the boss will fall. Congratulations!
And that wraps up Kena: Bridge Of Spirits! Hopefully you found this guide useful and hopefully you enjoyed playing this game!
Let us know in the comments on anything we can do to improve and make it more useful!

Discussion