
Welcome to part one of the Kena: Bridge Of Spirits complete walkthrough. This guide will walk you through the entire story of Kena, showing you all hidden collectables, tactics for boss battles and more.
This guide was written doing the Master Spirit Level Difficulty.
New Game
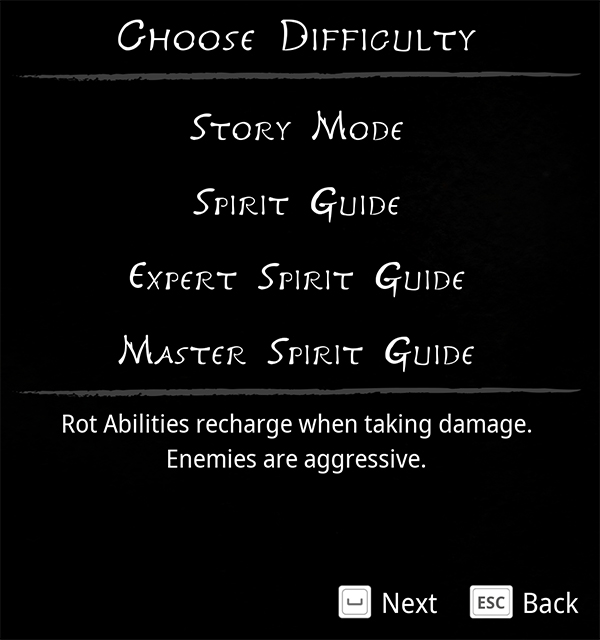
Starting a new game you are given four difficulties to choose from. Story Mode is the easiest mode and most battles have zero challenge in them at all. You'll probably want to choose somewhere between the Spirit Guide and Expert Spirit Guide modes for your first playthrough.
Master Spirit level is unlocked after completing the game for the first time (on any difficulty).
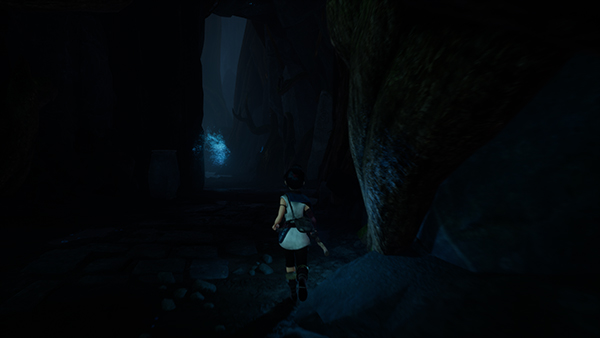
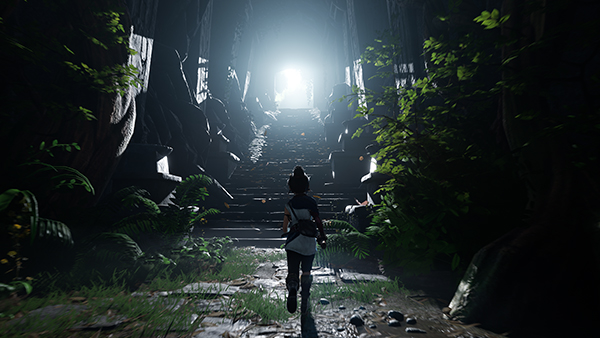
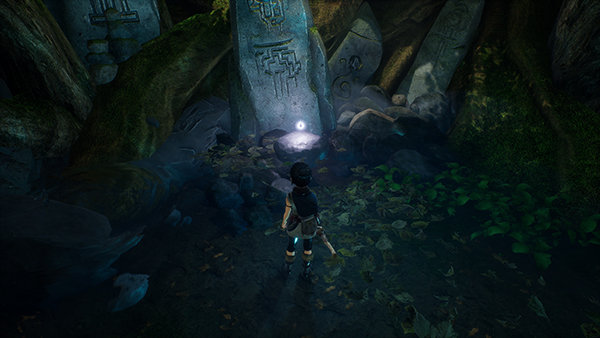
You'll begin your adventure in dark cave; this area is a bit of a tutorial to Kena's abilities, getting used to the controls and some light exploration.
Follow the tunnel ahead, and you'll notice a ghostly figure up ahead; follow it until you come to a open cavern that's filled with water.
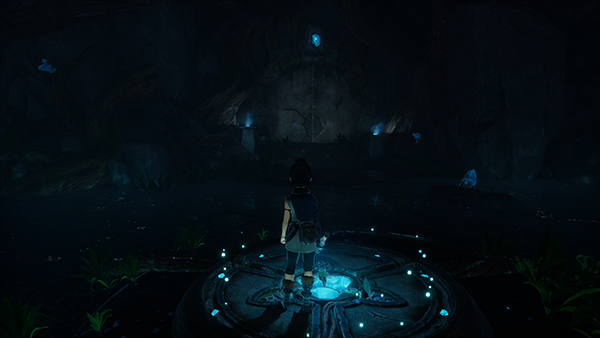
In the middle of the water is a small platform with a ghost on it. When you approach the ghost, it will walk towards a locked door; use your Spirit Pulse to illuminate the room whilst standing on the platform; you'll see that it will ping off the crystals and then open up the door for you.
Get used to this mechanic!
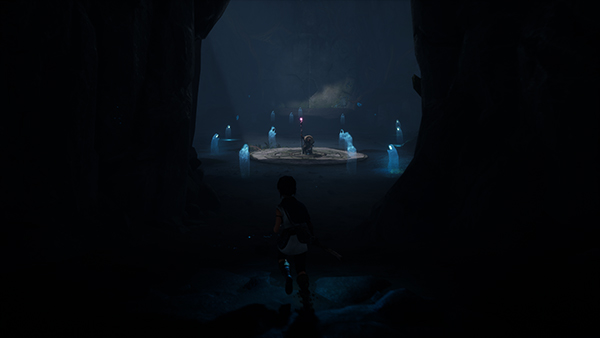
Enter the new cave and you'll come across your first masked spirit. This guy summons a few enemies for you to defeat- nothing too taxing.
On either side of the room are two stone pillars; use your Spirit Pulse to illuminate them both. Then head back to the center of the room and again use your Spirit Pulse to open up the door.
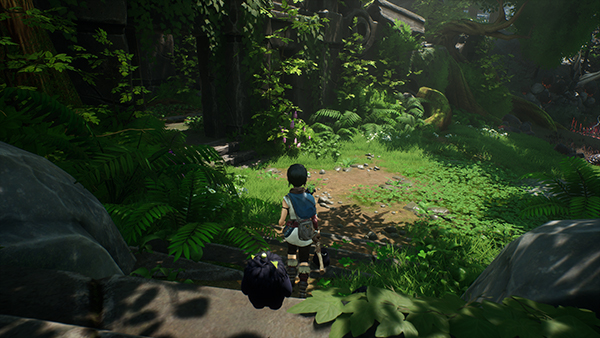
Head through the door and you'll eventually come to some stairs leading to the lush green outside.
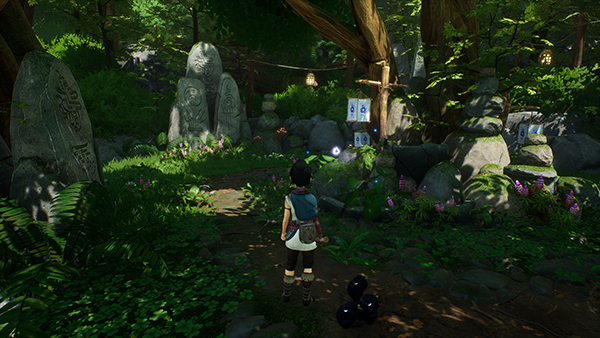
Welcome to your new home! On the right side is some stone statues that you can interact with- which doesn't seem to do anything apart from summon some ghostly figures.
If you follow the path on, you'll come to a fallen tree that you can interact with. Here you are introduced to two children spirits (Beni and Saiya) and get your first glimpse of the cute little Rot!
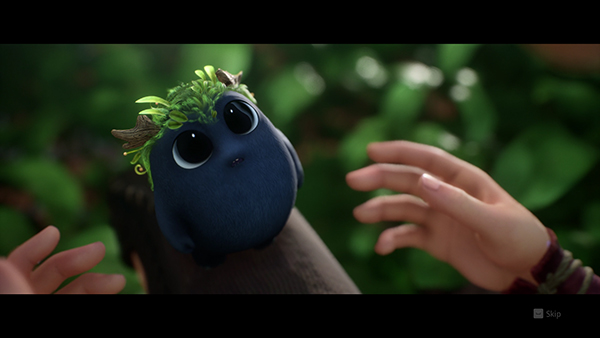
Use your Spirit Pulse next to the Rot and this will allow you to interact with it.
Rot are little creatures that will help you on your journey. The more you collect, the better skills you can acquire for battle. Whilst finding them all can be fun, you do get quite a few Rot given to you after certain milestones in the story that allow you to progress at a steady pace.
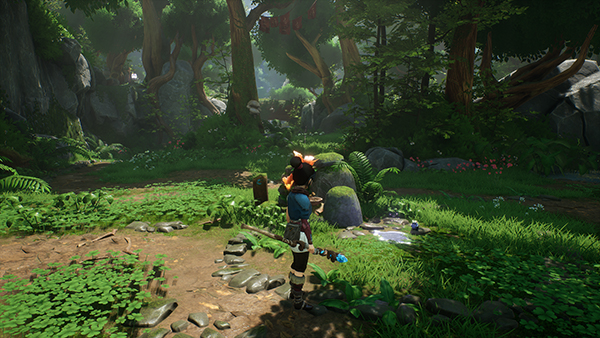
Find The Rot
You're tasked with finding more Rot in the immediate area. There are five Rot for you to find.
First use Spirit Pulse on the dial to activate a set of stone stairs in front of you. Head up them, using double jump (jump in mid-air for the extra jump).
You'll come to an open area where the two children will run off again but in front of you will be another Rot to collect. Use Spirit Pulse to turn it into it's original form and collect it.
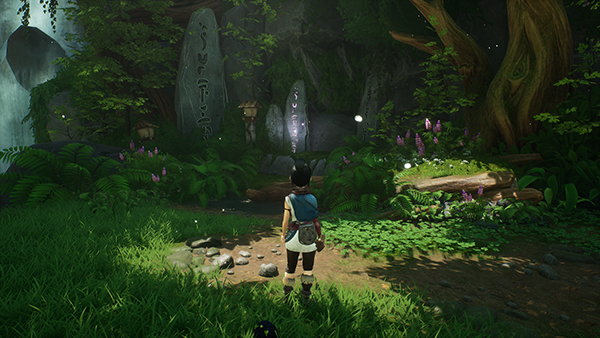
Head to your left and you'll find a giant waterfall on the right. Near here is a stone with purple runes etched on it; use Spirit Pulse to get a Rot to appear.
Just before the huge waterfall are several stone pillars; if you use Spirit Pulse on the dial, it will raise these stone pillars allowing you to access the waterfall's entrance. Inside is another Rot to collect.
From the waterfall, head back to the left of the map and past the Red-Poison-Looking Stuff until you come to a tree that has lots of lanterns hanging from it. One of these is purple and contains a Rot that you can get by using Spirit Pulse.
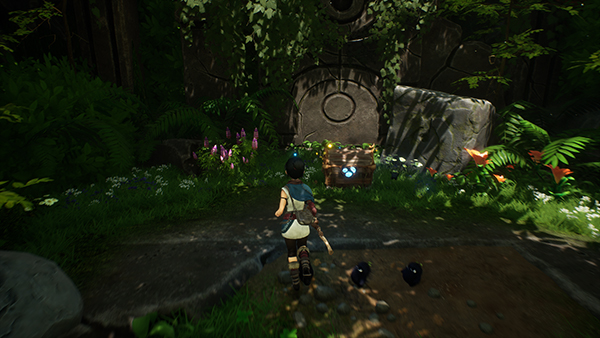
Head down the stairs and take the left through a doorway of stone which you'll see the children spirits run through. You'll find a Treasure Chest at the end of the route and inside is your last Rot.
You've now unlocked Rot Action! Rot Action allows you to perform special commands inside and outside of battle. The Rot Action button on PS4 Controller is square. You'll get prompts of when there is a Rot Action available.
Now that you've got all of the Rot, head back to the area with the Deadzone Flower (red poison stuff).
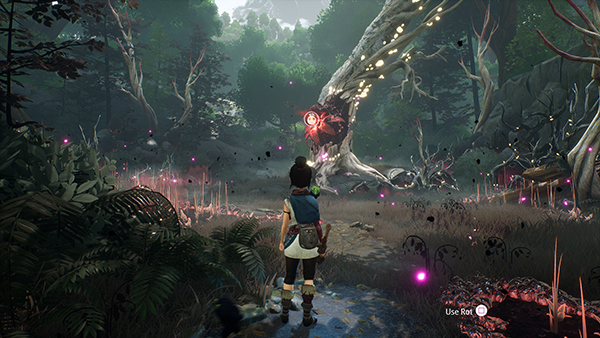
Hear you can use Rot Action and Pulse to destroy it; once destroyed it turns the area back to it's natural state.
Climb onto the stump and then onto the fallen tree to access a new area. Climb up the rock on your right and jump over the bridge. Your rot will then jump towards a stone platform you can jump up too. Climb all the way up and you'll see another Deadzone area.
Another battle ensures; in order to use Rot in battle you need to acquire Courage; this can be acquired by attacking enemies. In Story Mode, you get a constant supply of Courage from the beginning.
Once you've built up enough Rot to perform a Rot Action, use it on the Deadzone Flower and destroy it. Climb up the wall that is revealed after destroying the flower.
This new area features a few new ruins to explore. Head to your right and you'll find a bush with food for the Rot; use your Spirit Pulse to turn it into food they will actually eat and give you Rot Points.
There are two currencies in this game that you'll be using to upgrade your abilities: Karma and Gems. You'll find both currencies from performing different interactions with Rot.
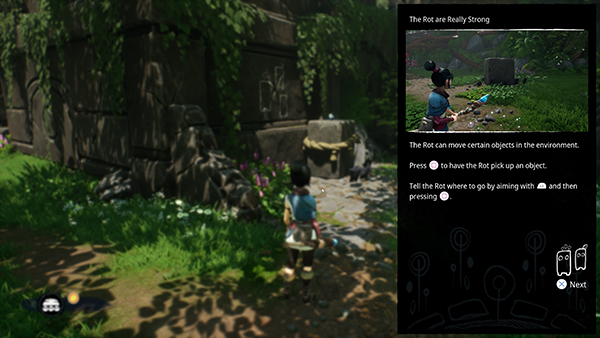
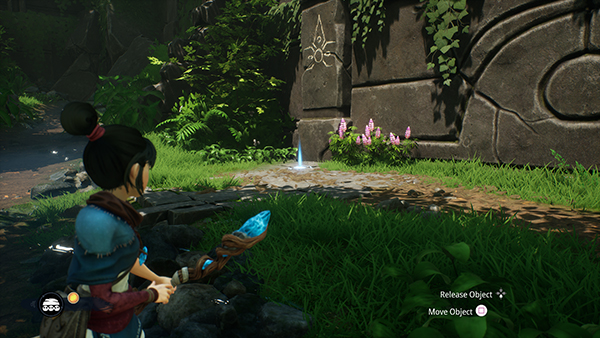
Next you'll need to use your Rot to move a stone pillar. You'll see the Rot Action command come up when you're near the rock (it's at the front of the ruins); once the Rot are carrying the stone, you can use your command to move it again to any spot.
You'll want to move it directly beneath a white symbol on the side of the ruins so that you can jump onto it and access the rooftop. Once up, head to your right and you can find a barrel with some Gems inside.
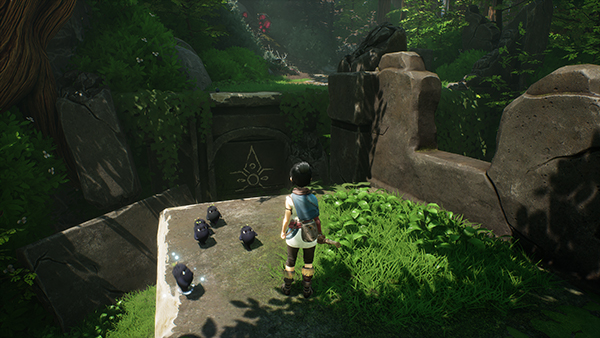
Head to your left and you'll come to a area with three statues, with one of them fallen over. Use your Rot to stand the statue up and you'll gain some Rot points.
Now go back to where you initially climbed up and you'll notice you can cross to the other side of the map by jumping onto some more rocks.
Hear you'll need to perform a Double Jump in order to make the gap.
If you jump down you'll find another barrel with gems inside, and you can also get your Rot to move wood from the blocked doorway.
Go back to the place where you jumped down from and make another Double Jump to get up to the next part of the map ahead.
You'll notice a stairs with some of that Deadzone Flower stuff attached to it.
Boss Fight - Sprout
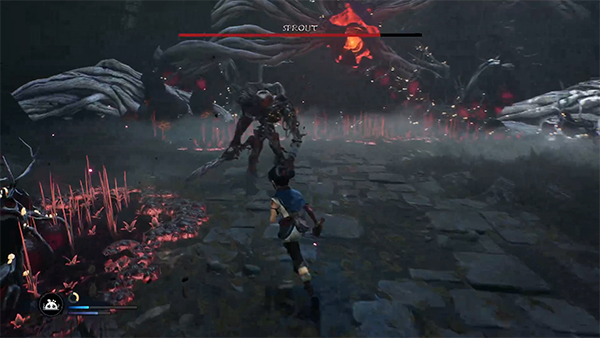
This fight is pretty easy, all things considered. The boss fight is to teach you about your Spirit Shield.
If you time your Shield at the right time, you can stun the Sprout boss and then deal lots of damage in quick succession.
The aim of this fight is to charge your Rot Action up as fast as possible and you cast it on the Sprout. Once the Rot is on the Sprout, deal as much damage as possible.
If you find yourself running out of shield power, just run around the map for a bit, using your Dodge command as it's quite fast.
After defeating the boss, the two boys come out and will offer to help you find the Sacred Mountain Shrine if you help them first.
You'll now have access to your map, which we'll be using to help you locate various items and such.
This wraps up the introduction to Kena: Bridge Of Spirits Walkthrough. Let us know in the comments which difficulty you're taking the game on with!

Discussion