
In this part of Kena Bridge Of Spirits Walkthrough we will get the last Adira Relics and finally take on the Corrupt Adira boss battle to close this chapter up!
We last left off clearing up the corruption and freeing our old pal Rufus.
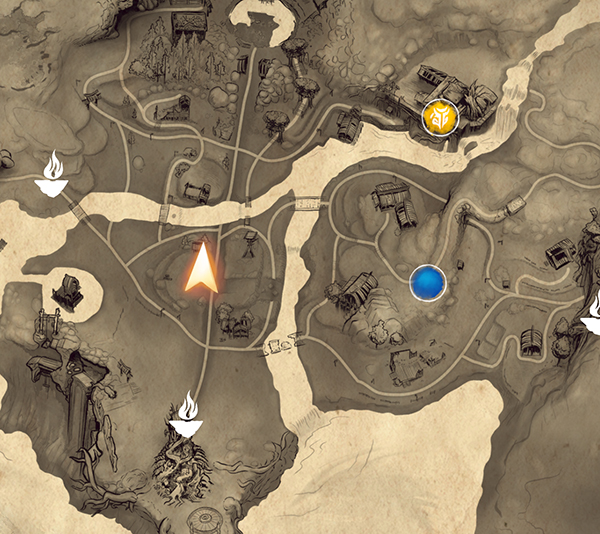
Hana, Adira's Friend, tells us to head to the Forge area marked on your map to find another one of Adira's Relics.
Once you arrive at the Forge, Rufus will be summoned and break the rock blocking your path.
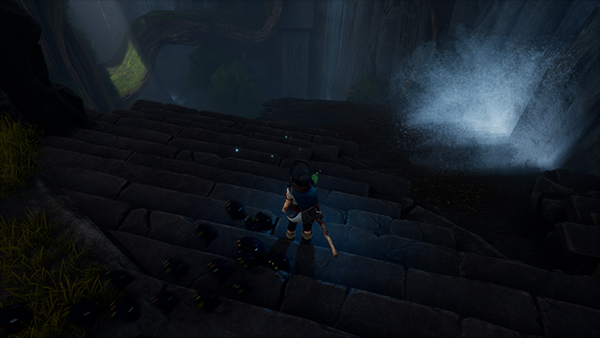
Follow the path round and you'll come to an area where you drop down a slope. Walk past the waterfall and into the cave.

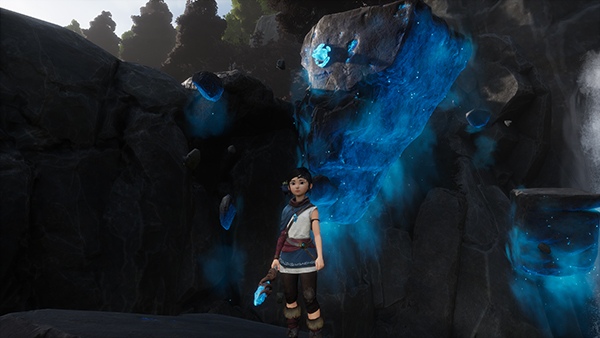
After a short battle inside the cave, kill the Deadzone Flower and exit. You should see a pile of glowing rocks.
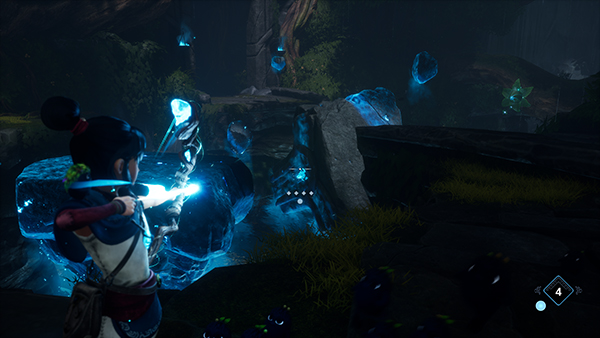
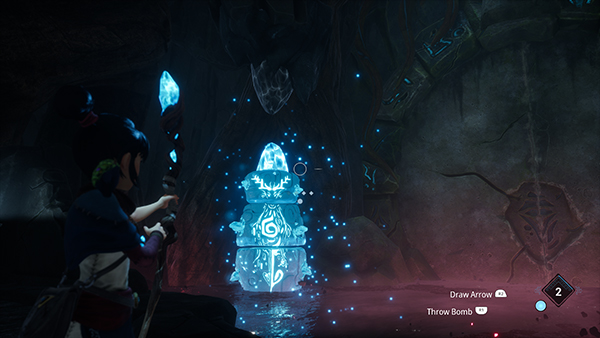
First climb on the rocks to find the platform on your right. Then throw a bomb from there and use the rocks to climb higher up and use the Teleport Flower.
At the Teleport Flower, you can cross to the clifftop on the same rocks but you'll likely have to throw another bomb at the same rocks to make it right across.
Once up, take the path to your right and throw a bomb at some rocks that will generate a Teleport Flower for you to climb up.
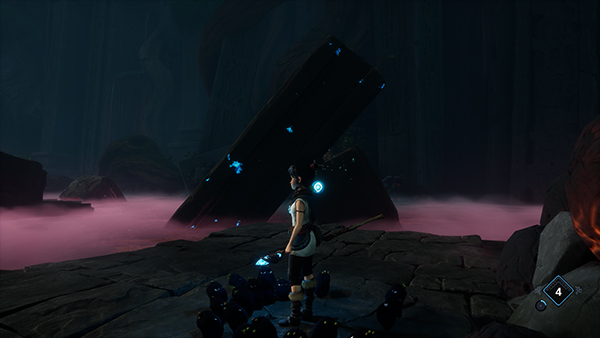
You'll come to a waterfall with a bridge; throw a bomb at the rocks closest to you and jump onto them. Throw another bomb at the other rocks and jump to the left.
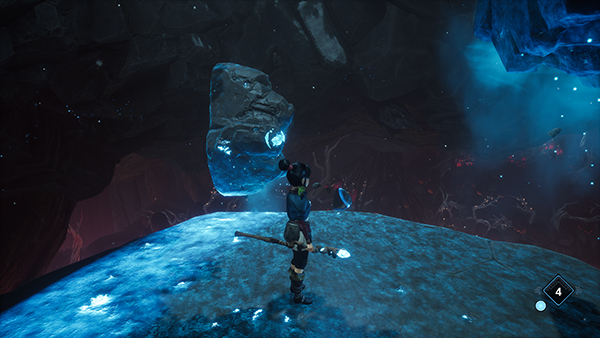
Hit the big rock's crystal to turn the platform up right, then jump back to the right so that you can climb up.
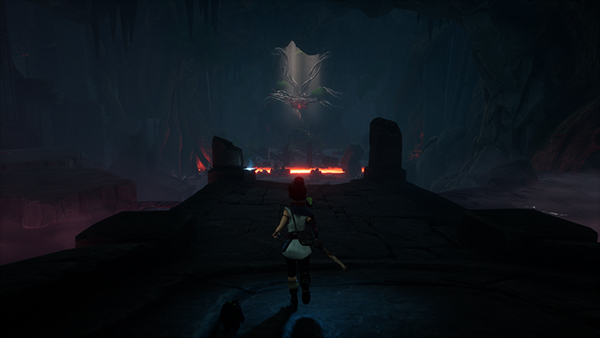
Go on ahead and prepare for your next boss battle...
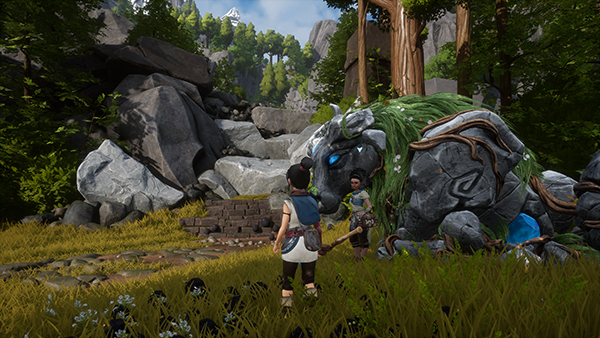
Boss Fight - Stone Guardian

In order to damage the Stone Guardian, you need to throw Bombs at him to explode off his stone skin. His stone skin will gradually come off, allowing you to hit the wooden parts underneath with arrows or normal attacks.
When you explode a bomb on the Stone Guardian, it also will reveal weak points that drop Rot Courage. Hitting these weak points further stuns the boss.
During the fight, the Stone Guardian will constantly be summoning mobs to come after you; use these to build up your Rot Actions and use the healing points.
Stone Guardian will throw a rock at you that's easy to dodge and leap at you from a distance that you'll want to jump away from. If you get up close, he'll swipe at you with his arms that can be blocked using Spirit Shield for a quick stun.
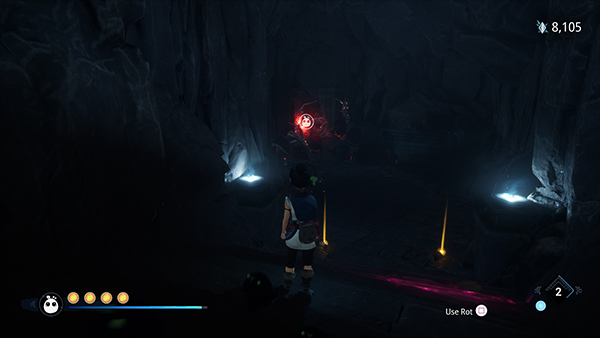
At about the halfway point, the boss will dive into the ground and you can then use your Rot Action to attack the Deadzone Flower on it's back.
After the fight, you gain another one of Adira's Relics. Your next task is to go to the Village Heart, now marked on your map. You can use the lift to get down from this area.
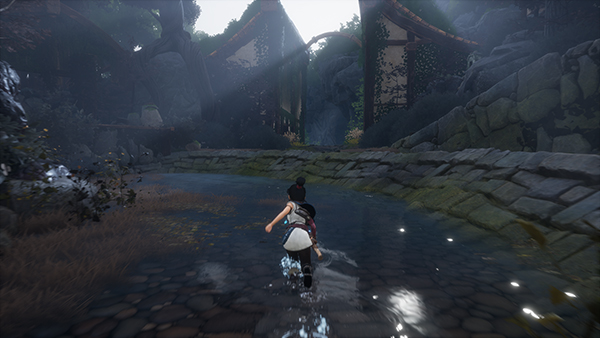
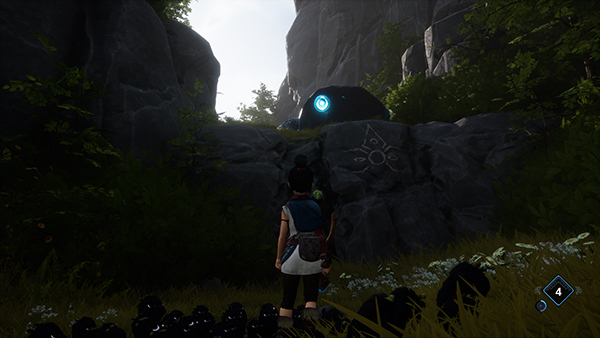
If you head to the marker Adira's Regret you'll notice the village is covered in Deadzone Weeds. To the left, there is a path leading you to the Village Heart Caves.
At the entrance to the Village Heart Caves, there are two sets of rocks either side of you. Throw a Bomb on the right side first, and hit an arrow at the platform with a crystal.
Then throw a bomb on the left side rocks and then use Spirit Pulse to open the door.
You'll come to the center of the Village Heart Caves; take the path to your right and slide down to the bottom.
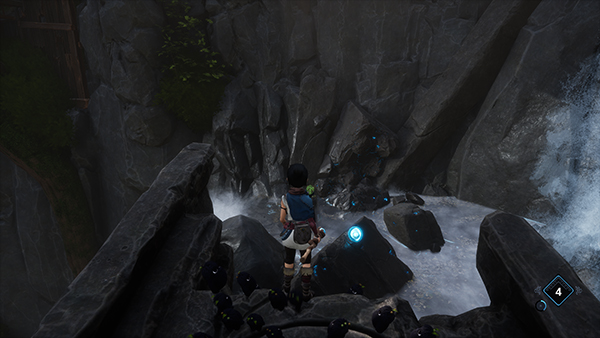
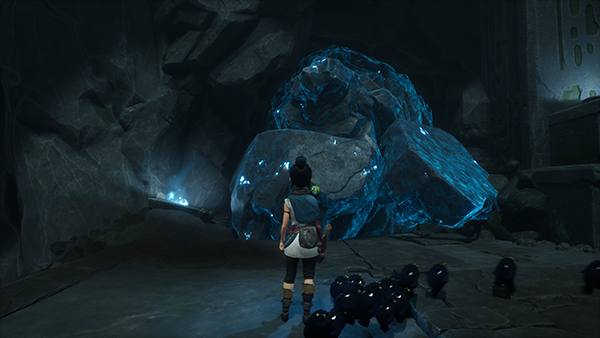
You'll eventually come to some water where there are some glowing rocks. First climb onto the rocks and climb out to your left. Then throw a bomb down onto the rocks and hit the largest rock's crystal twice with an arrow to turn the platform up right.
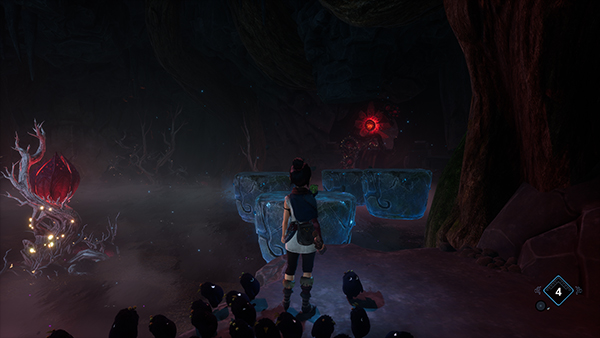
Use the bridge to climb across to the pathway. You'll come to a small poison river area; follow the path round until you come to an opening with more glowing rocks.

Throw a Bomb on them and make your way across to the center; once on the main platform, hit the crystal with an arrow so that the rock rises up. Look to your left and hit a small rock's crystal so that you can jump onto the platform. Then make a double jump across to another small rock and then look to find the climbable platform.
Follow the path along and you'll drop down into a cave...
Boss Fight - Rot Eater
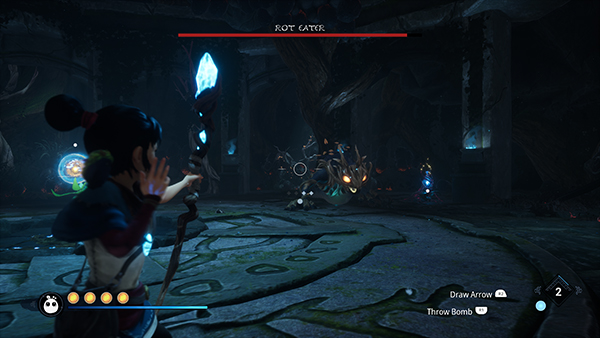
This boss is actually quite easy compared to most of the bosses on Master Spirit Difficulty.
In the center of the fight, is a Forest Tear, that you'll want to use to start destroying the Deadzone Flowers. There are a few mobs that come out to prevent you doing this; after destroying two of these the Rot Eater will come out.
The Rot Eater is vulnerable to the Forest Tear attacks, and so once the Rot Eater spawns you'll want to attack the Rot Eater with your Forest Tear. The Forest Tear goes into a short cool down if it gets destroyed or uses up all its power. Your best to attack the Rot Eater from behind as it can't damage the Forest Tear.
The Rot Eater will also spawn four flying mobs periodically; because the Forest Tear does so much damage to the boss, you should go for bursting this boss down rather than picking off all the mobs.
After the fight, you'll come to blocked door with two rocks on either side; you'll need to align the patterns on them; throw a bomb to explode them and then shoot your bow to rearrange the pattern. Once correct, the rock will stay in it's position and allow you to open the door.
Step onto the new platform and use Spirit Pulse to make it go. Watch out for mobs along the way as they can knock you into the river.
When you get off the platform, you'll have to fight more mobs. Follow the path and you'll come to a Deadzone Flower that you can destroy.
Head down the path and you should come across a blocked entrance that you can open up with a bomb; slide down until you come to giant poison lake.
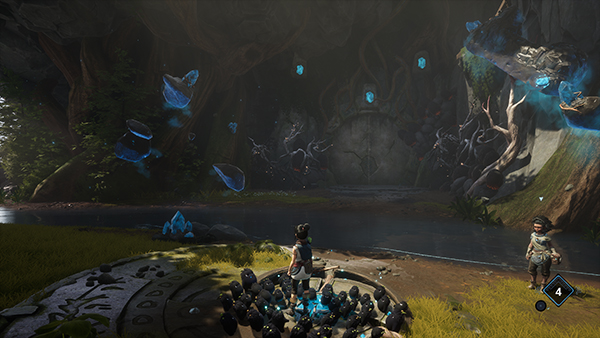
Either side of you are glowing rocks; throw bombs and they'll make stepping stones to the Deadzone Flowers that you can then destroy. Once both are destroyed, you can jump down.
You'll then have to fight off two Mages at once that can be a little tricky in Master Spirit Difficulty.
Once defeated, destroy the Deadzone Flower and head to the center of the room and use Spirit Pulse.
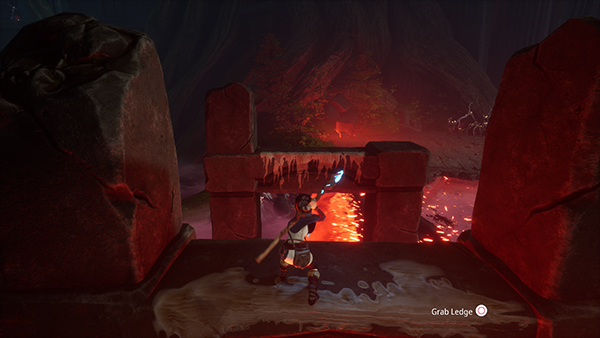
This will open the door to another giant room where a fire wave is constantly coming towards you.
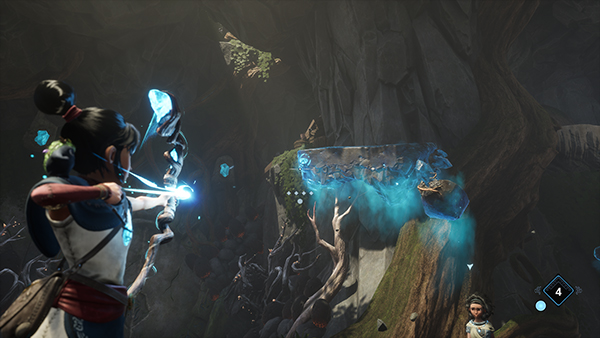
Take the path to your left and you'll eventually come down to where the fire wave can hit you. You can double jump over it to dodge it. Head towards the center where there are some glowing rocks; hit it with a rock and then step to the edge of the platform to find a Teleport Flower.
There is another glowing rock near you; hit it with a bomb and use it to get across; double jump until you come to some more structures you can climb up. Eventually you can reach the other side again.

Hit the next set of glowing rocks near you and use the Teleport Flower to get across. Hit the long rock's crystal and reach the end of the platform where a final Teleport Flower will allow you to reach the massive Deadzone Flower.
Destroy it. Now you've gotten the last relic to help Adira.
Free Adira
Head to Tower Entrance and interact with the relic circle to start the next boss fight...
Boss Fight - Corrupt Woodsmith
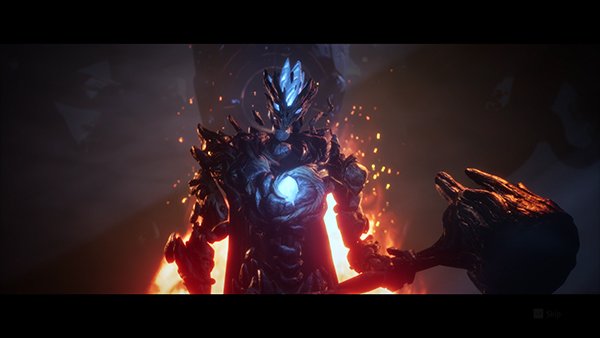
Corrupt Woodsmith is the final boss in this part of the story and there are two phases to it (much like Corrupt Taro).
Corrupt Woodsmith will leap at you as soon as the fight starts; you'll want to double jump away.
The first phase you'll notice Corrupt Woodsmith is attached to a rock at the center of the room. Throw a bomb at this rock and it will explode- hit the inside three times and the connection with Corrupt Woodsmith will end, allowing you to deal damage to the boss.
Once the cooldown of the boss is over, she will jump back to the center and restart the rock crystal- this time causing a fire wave that spreads across the map slowly (just use double jump to avoid it). She'll also summon mobs each time she restarts the rock crystal in the center. Repeat this until less than 50% of the boss's HP is left and phase two will begin.
Corrupt Woodsmith now has some new attacks; she can throw a fire boomerrang at you and leap across the map and slash you (you can block this for a quick stun). She will also slam the hammer into the ground to create those fire waves towards you.
You can expose the crystal in Corrupt Woodsmith's chest by throwing a bomb on her and exploding it. Hitting it three times will stun the boss, allowing you to get lots of hits in.
Corrupt Woodsmith will also jump to the center of the fire and cause more fire waves and this time bombs will fire out too. This also will summon more mobs for you to deal with.
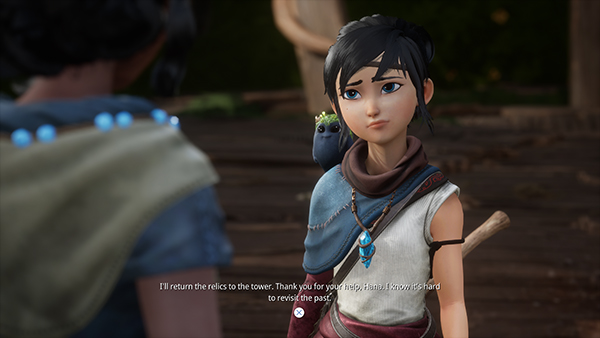
That wraps up this part of the Kena: Bridge Of Spirits Walkthrough! Adira and Hana are saved!

Discussion