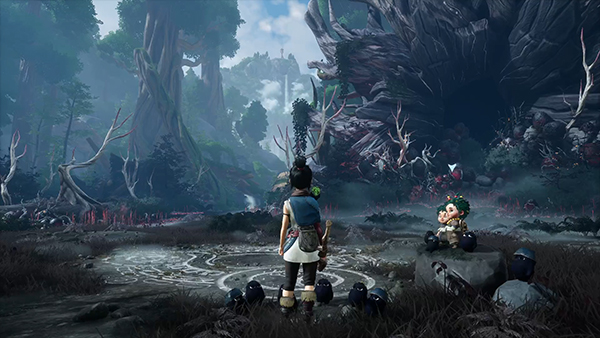
After escaping the dark cave and coming across a mysterious masked spirit, Kena now heads towards a Village that lays in the shadow of the Sacred Mountain Shrine.
Since we now have access to the map, you can easily find your way to your next destination. The Village is at the center of the map; any time you view the map it will show you the location of your next quest objective.
The Village

The Village has been infested with Deadzone Flowers.
As you approach the Deadzone Flower, two simple mobs will be summoned. Defeat them and then you need to destroy the three Deadzone Flowers around the main one.
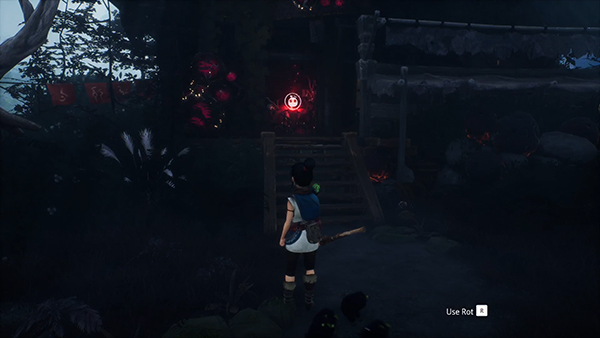
You can find two in the immediate area, and then there is another Deadzone Flower inside a hut.
Once all three are destroyed, destroy the big one and The Village will be cleansed.
This now unlocks the upgrade ability. You can use your Karma points to upgrade your skills from the main menu.
Rot Hats
You also have unlocked the Rot Hat Cart.
This allows you to dress up your little Rot with different hats; these hats can be found all over the world. The hats don't actually do anything important to the game- it's just a simple collectable.
Here you can pick up the Helmet Hat from a Treasure Chest just beside the cart. There is also the Clover hat from a nearby Treasure Chest just before the Taro Force field Gate.
Meeting Zajuro
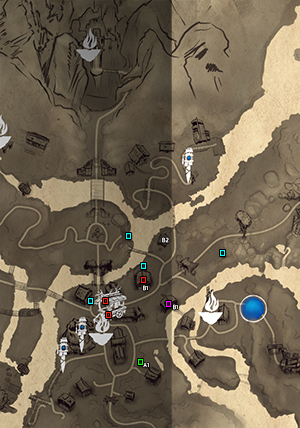
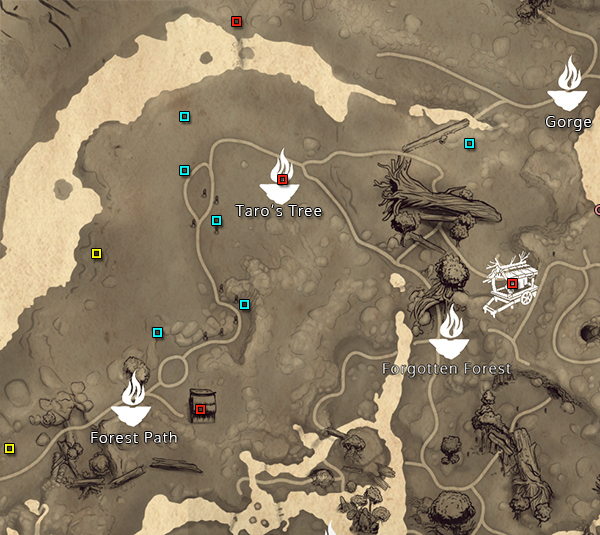
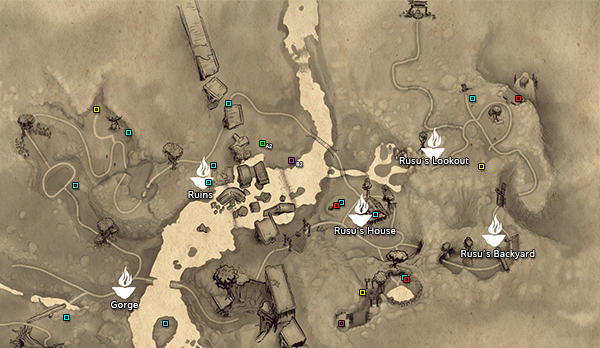
You can use the map above to find hidden items on the map. The ones above are all accessible during this part of the guide (there may be more that are locked behind gated-content).
- Blue Square - Rot Location
- Red Square - Rot Hat Location
- Green Square - Cursed Chest Location
- Pink Square - Spirit Mail Location
- Yellow Square - Spirit Shrine
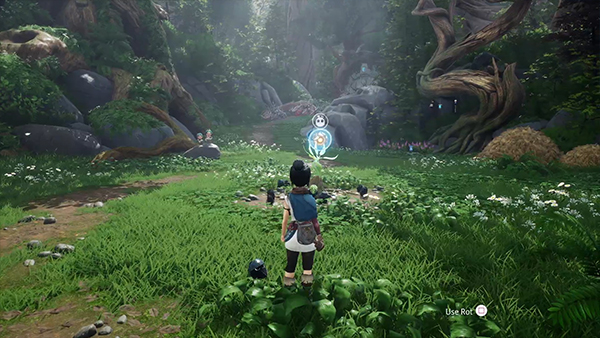
Head to the top of the village to meet with Zajuro. Use your Spirit Pulse on the dial to summon him.
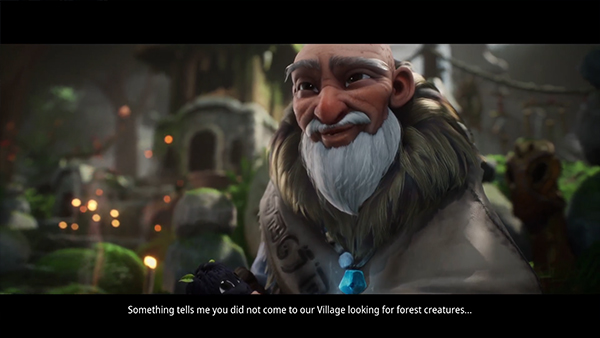
He explains the Village is connected to the Sacred Mountain Shrine and that spirits are trapped here. One of them being Taro, the brother of Beni and Saiya.
Zajuro gives you Taro's Mask, which will allow you to unlock the gateway to help find Taro.
TIP: You can put the Spirit Mask on at any time whilst exploring and it will highlight objects that are of interest.
Many of the areas in The Village are blocked off currently and will unlock as you progress in the story. Head back to the center of the Village to unlock Taro's Gateway.

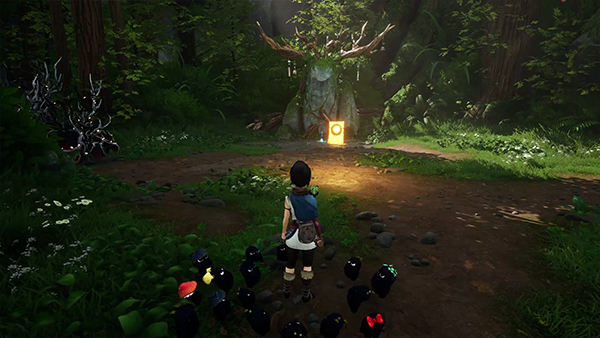
Approach the blue force field on the right side and use Taro's mask to open the gate. A golden spirit will flutter off up ahead, and the children beckon you to follow it.
Head up top and you'll be faced with some more Deadzone Flower.
Here you'll have to take on several mobs; you can use the nearby flowers to heal you with your Rot Action if things get a little bit sticky. You can wipe out those Mask Mobs with your powerful strike move.
Afterwards you get access to the Forest Tears. You can control them independently and they can destroy the poison flowers around you, opening up new pathways and treasures.
You can use the Forest Tear to destroy some bundles of hay and then use your Rot to lift up a log to reveal a new Rot.
Use the Forest Tear to open up the pathway ahead.
Up ahead, you'll find another spot for a Flower Tear to grow. You can find it to your left in a bucket; have the Rot carry the Forest Tear over and it will bloom. Use the Forest Tear to wipe out the Deadzone weeds.
You can also use the Flower Tear to activate a statue nearby that gives you plenty of gems.
Head on up further and you'll come to a sloping path. Take the path to your right and you'll come to a cliff edge where you can jump onto the wall and shimmy across.
You'll then have a new mini-Boss Battle.
This fight begins with three mobs spawning near you; defeat all three and hopefully that is enough to charge your Rot Charge. Use that to destroy the flower at the bottom of the map.
After a couple of rounds of mobs spawning, the Sprout boss will spawn and you'll have to defeat him with several other mobs. Around two mobs will constantly respawn too; if you're low on health, use the Blue Flower to heal up.
Use your Rot Action to stun the Sprout and deal lots of damage. Your Spirit Shield can block his attacks and stun him if timed right. If you've got the Shield Upgrade, this will help you a lot in the fight also.
In Master Spirit Difficulty, you'll want to utilize your dodge mechanic and shield as much as possible. Defeating the small mobs will help get your Rot Action up faster. Taking more than two hits from the Sprout is game over.
After the fight you'll get a new Forest Tear to spawn.
Find Mr. Rusu
Use the Forest Tear to destroy some of the Deadzone Poison up ahead and collect the Rot in the cave. You can also find a Bow hat in a house nearby by destroying the Deadzone Poison.
Take the path on your right and you'll enter a rainy forest. Follow the Taro's Spirit and you'll eventually come to a huge opening with Deadzone Poison.
Kena tells the children you need three relics to help Taro.
The children recommend going to see Mr Rusu as he will be able to help you find the Relics locations.
Take the path to the right and head toward's Rusu Mountain, towards the Gorge Teleport mark.
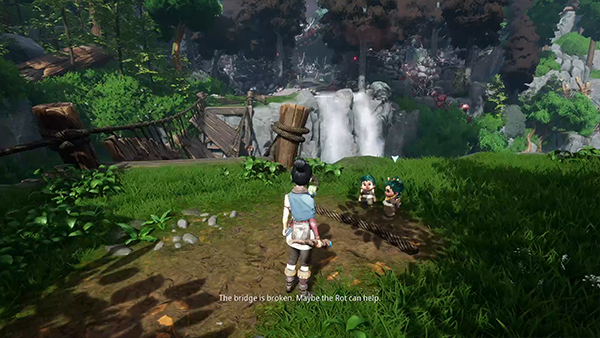
You'll find the two Twins sitting before a lake with a broken bridge in the middle. Speak to them and they show you where Rusu's Lookout is.
That's right- we've got a mountain to climb!
We'll be heading towards the Ruins Teleport Mark, so take the path to the right- it'll have a marked sign above it. You'll come to another Deadzone Area where a bunch of mobs and a Sprout await you.
Take them out and use your Rot to open up the pathway. There is a rot under a small rock to your right in this area. There is also an Owl Statue on it's side that you can move with your Rot to the center to gain some Karma.
Head on up and you'll see Taro's Spirit flying in the distance. Follow it and it will lead you to one of Taro's Memories. Use your mask to view the memory. Doing so also creates a new Forest Tear that you can use to destroy some Deadzone Poison to get access to a statue that gives gems.
From the same area, take the path on the right; you'll need to make a running jump across some sliding mud (if you go down you'll slide all the way to the bottom).
Follow the path round, until you come to another pathway that has a sign hanging over head. You'll come to a clifftop where the children are, this is the Ruins Teleport Mark.
They notice something is not quite right about Mr. Rusu's house.
Follow the pathway ahead and drop down to some rocks below. If you fall onto the mud, you'll fall to your death.
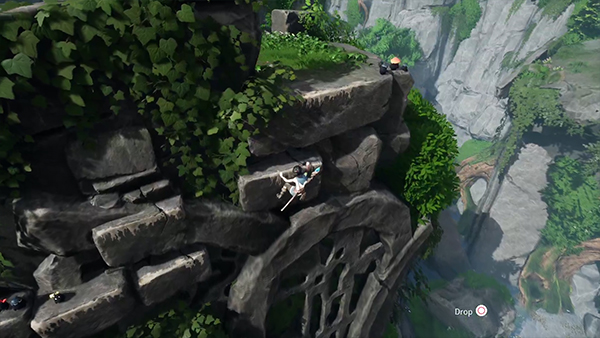
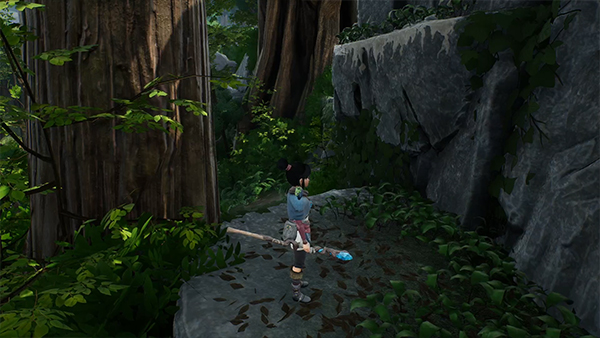
There are several huge rocks ahead; you'll need to climb around them- look for the white markings as they will guide you around.
You'll eventually come to a small cave; if you go to the right of it first you can pick up some Spirit Mail.
To progress, you'll want to go inside the cave and follow it round. You'll eventually come to a clifftop that leads to two paths; the one on your left takes you round to find a Rot under a log and the other takes you to a clear opening.
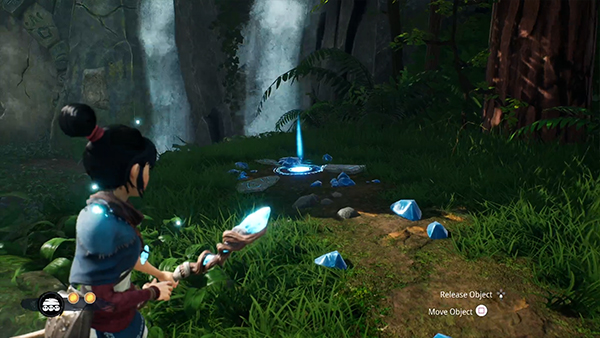
You can use your Rot to mend the broken bridge; just before the bridge you can jump to the right that will take you to a Cursed Chest.
Cross the bridge and you'll notice a pack on your left. Interact with it to see another Taro's Spirit come out of it. Follow it into the Deadzone area and view another one of Taro's Memories.
Rusu's house is all bordered up with Deadzone Poison; head down the path on your right and you'll have a mini-battle with several mobs. You'll need to destroy the three Deadzone Flowers to cleanse the area.
Next use your Rot to move the gem on your right to the area where the stones are. Then head back to the dial in the center and use your Spirit Pulse to open the door.
Head inside the cave and make several double jumps to navigate it. At the end of the cave is a boss...
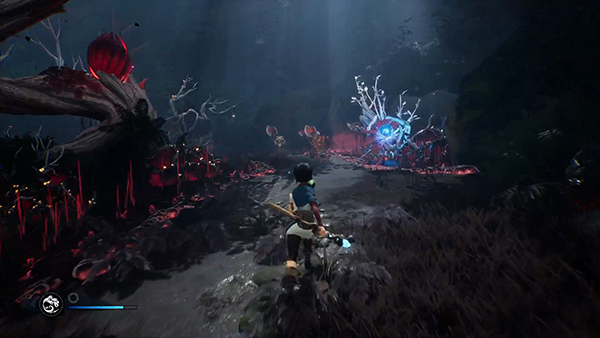
Boss Fight - Kappa
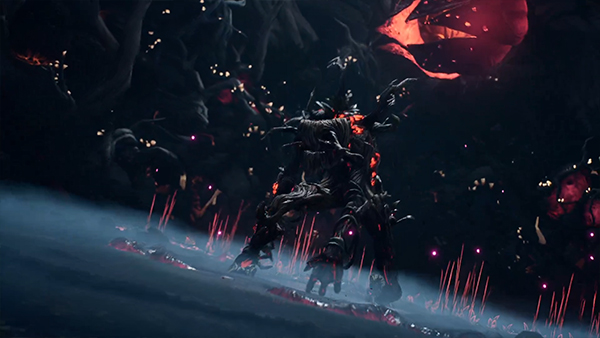
The Kappa fight is fairly straight-forward. Kappa will spawn in one of three locations and launch a fireball at you. It will explode with a small radius and spawn a mob.
If you get too close to Kappa, he'll disappear and spawn out of a new hole in the ground.
You'll need to defeat the mob to charge your Rot Charge. Once you have a Rot Charge, you can use it to bind Kappa and start dealing damage.
At it's halfway point, Kappa will jump to the middle of the cave and start launching down fireballs at you. They will bounce and explode; your best to use Dodge and roll across the map.
He will then spawn three masked mobs who are slow but hit hard. You'll have about 20 seconds or so to take them out and then Kappa will appear again as normal and start launching Fireballs at you again.
You get one healing flower to help you; you can use your Rot to bind Kappa when he is at the middle of the cave about to launch the fireballs; but it's probably best to use your Rot binds when he is jumping out of the three holes to deal more damage.
Check out the video guide below:
Afterwards, an Elevator will appear at the end of the cave and take you up.

Follow the kids to Mr Ruso who will unlock your Bow ability!
That wraps up this part of the Kena: Bridge Of Spirits Walkthrough. How did you find the Kappa boss on Master difficulty?

Discussion