
The final part of the Airoheart Walkthrough is here and we finish by heading to Carthicus Dungeon to help prevent the end of the world!
- Carthicus Dungeon
- Boss Fight - The Monastery Boss
- Boss Fight - Castle Radion Boss
- Boss Fight - Carthicus
By now you should have acquired the Lightheart Sword and the empty Draoidh Stone.
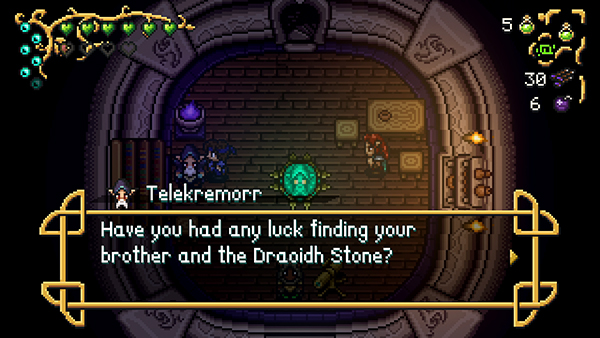
You'll want to head to Telekremorr Tower in Llanfair to begin this part of the game. Telekremorr will teleport you to outside Carthicus's Dungeon and open it up for you.
Carthicus Dungeon
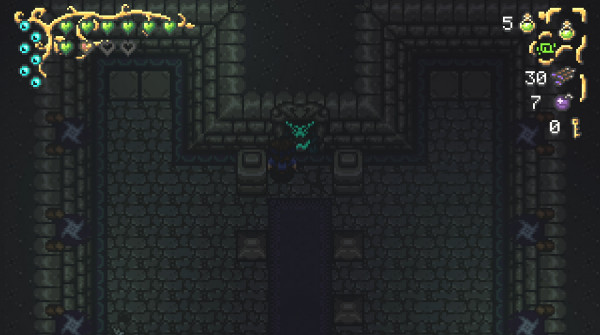
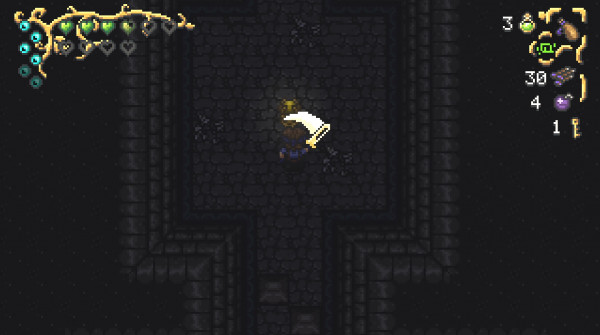
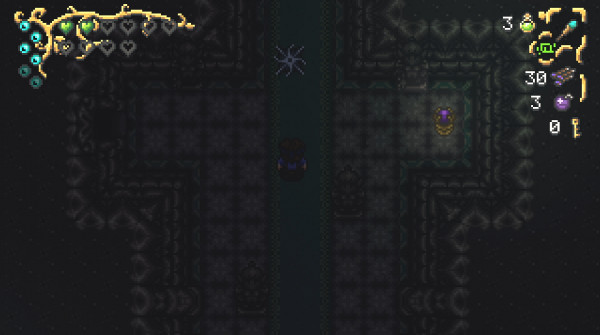
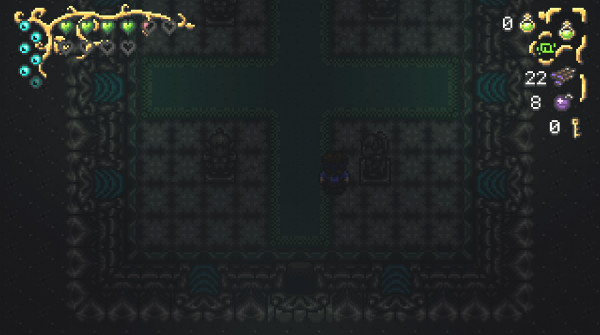
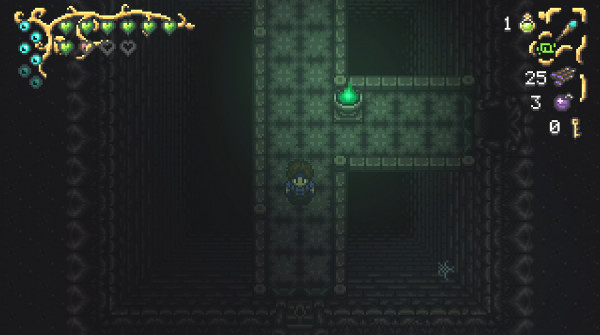
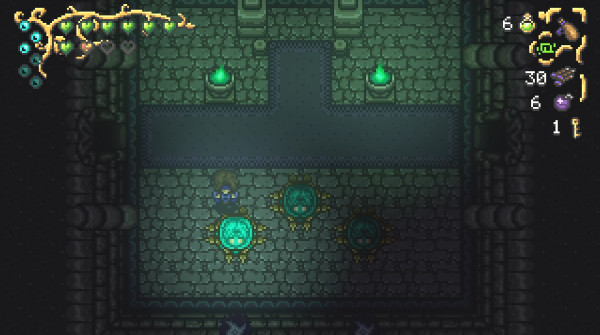
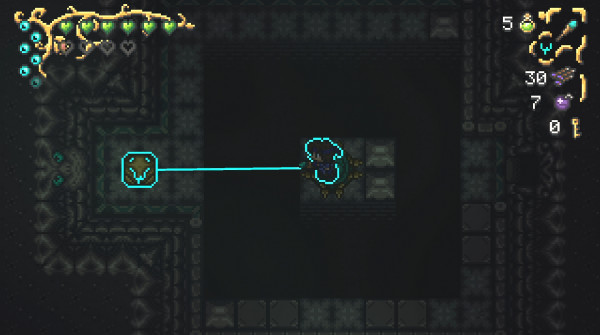
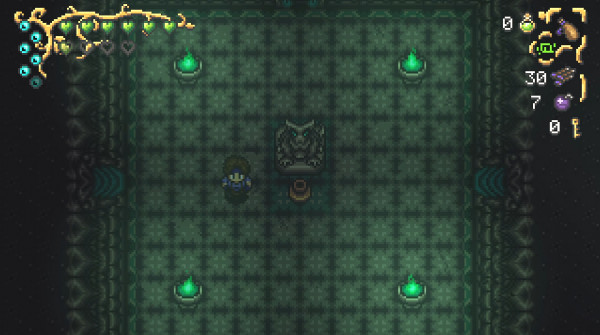
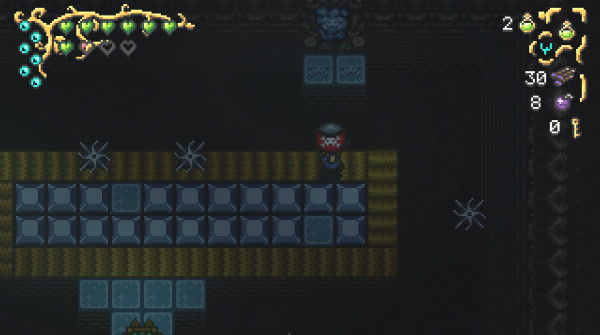
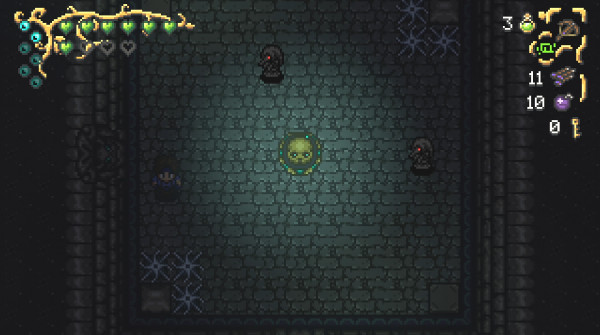
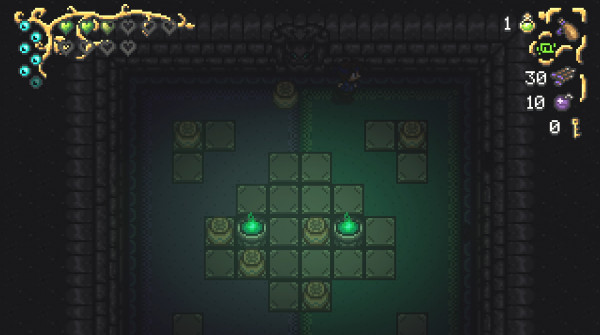
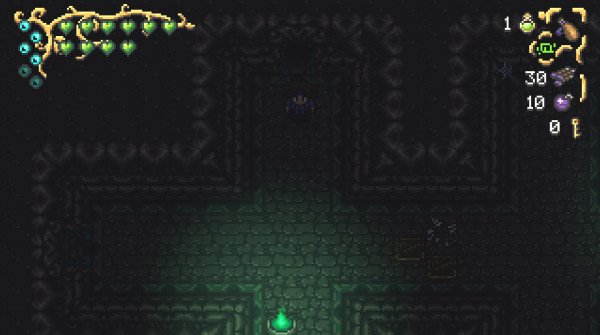
You begin this dungeon by entering a dark room. The doorway is blocked; you need to swing your sword at it and a glyph will momentarily appear and then allow you to enter.
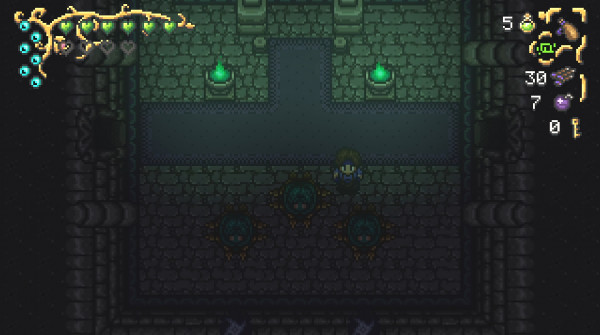
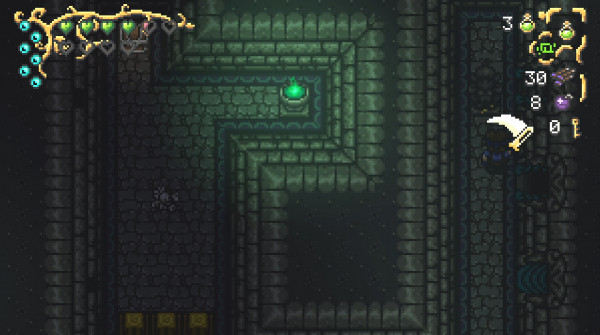
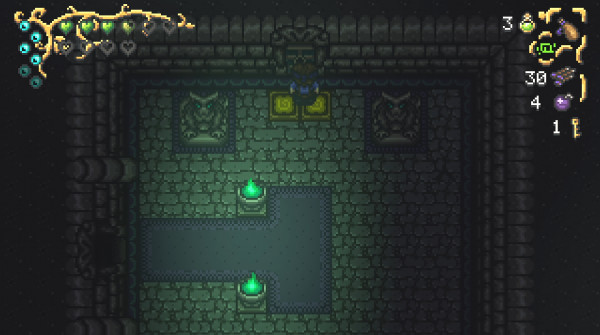
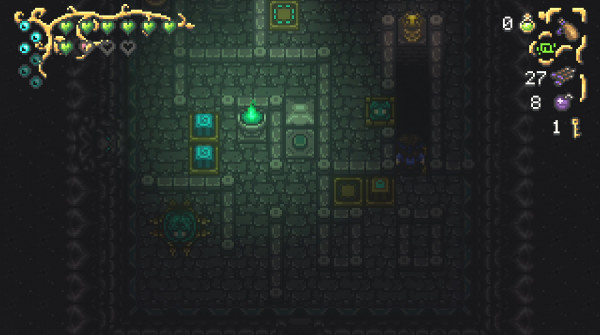
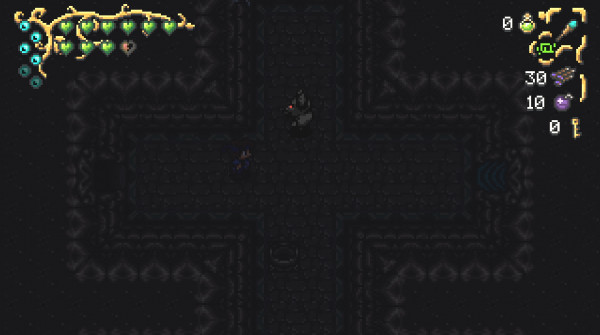
In the next room are two lanterns. Use your Magic Flask to illuminate them and a door either side of you will unlock. You'll also notice three teleporters below you that are currently not activated.
First head to your right.
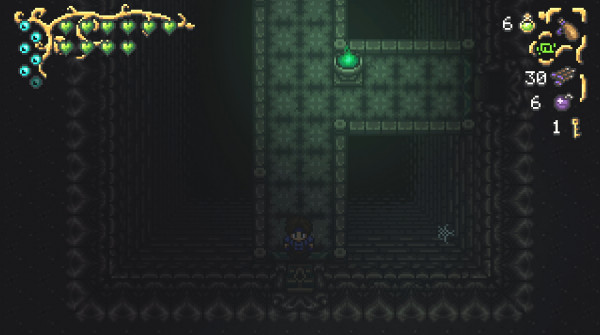
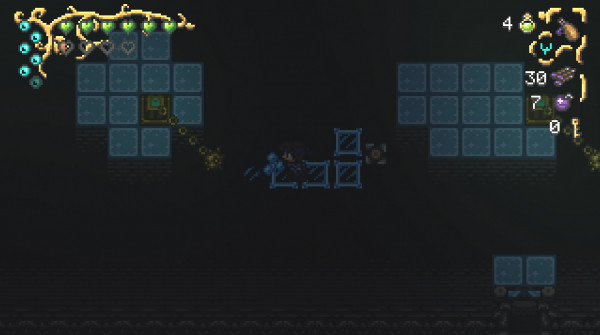
Make your way past several lanterns and you'll come to a pushable block at the bottom. Push it and then head for the exit at the bottom.
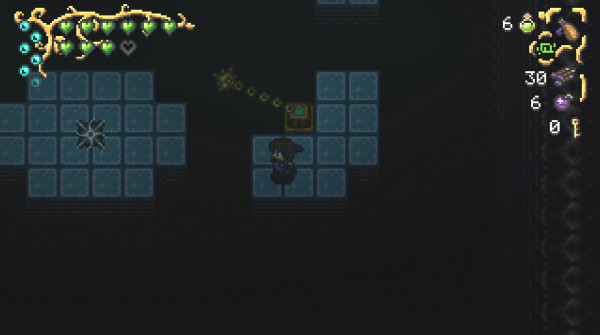
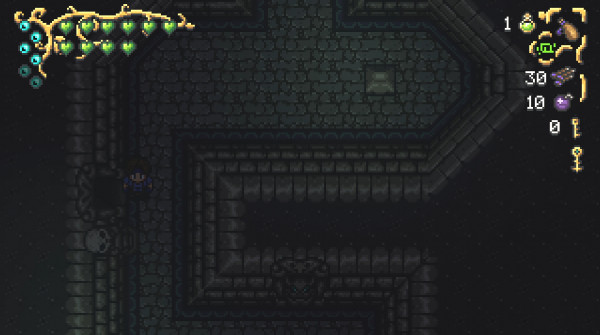
Head up to the top of this room and on your right is a thin corridor. A statue at the top will attack you; you can use a Bomb to destroy them. There is a hidden room on the right which you can reveal by slashing a curtain with your sword.
Head into this room to find a Key in a pot!
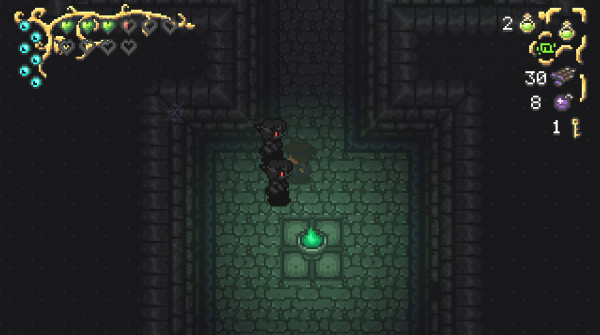
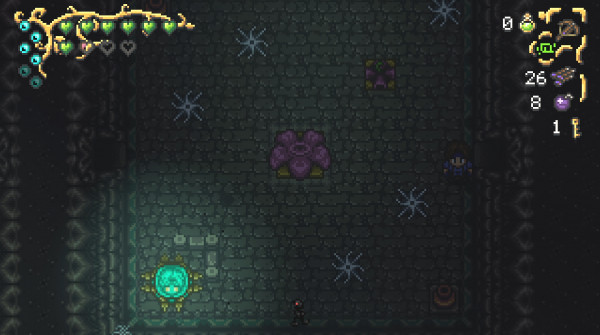
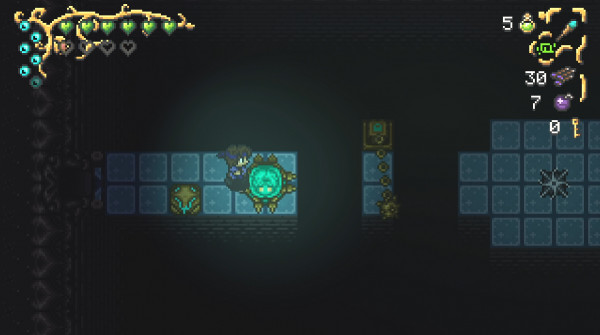
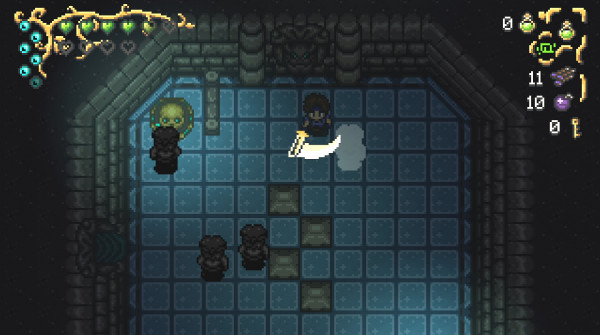
Now you need to head back to where you came from; light the lantern in the middle of the room and several shadow mimics will appear. You'll need to kill all of them to unlock the door at the bottom of the map (so you can return!).
Head back to the beginning of the dungeon (where the three teleporters are) and now take the door on your left. In this room, take the door at the top of the map.
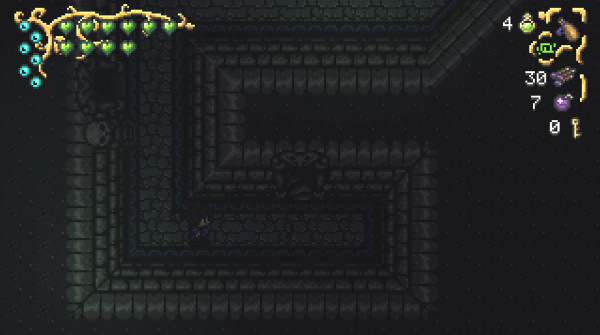
You'll come to a map called G. Head down and you'll come across a statue; hit it and it will now lower the barriers outside the two locked doors near the beginning of the dungeon.
Head back to the beginning of the dungeon (with the three teleporters) and go right. Use your new key to unlock the door at the top of the map.
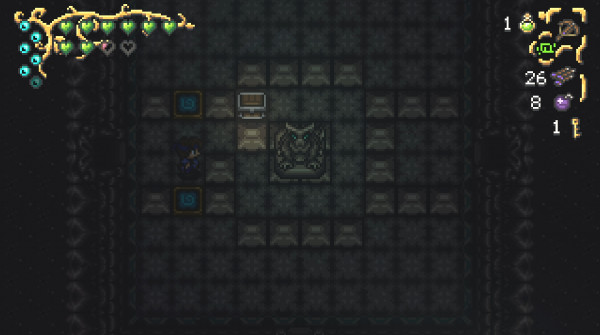
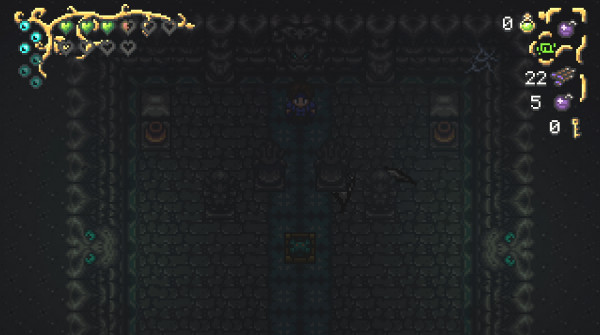
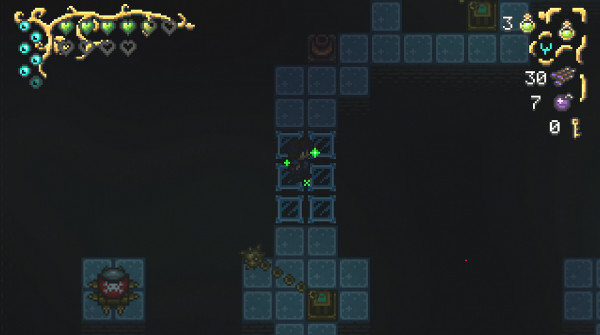
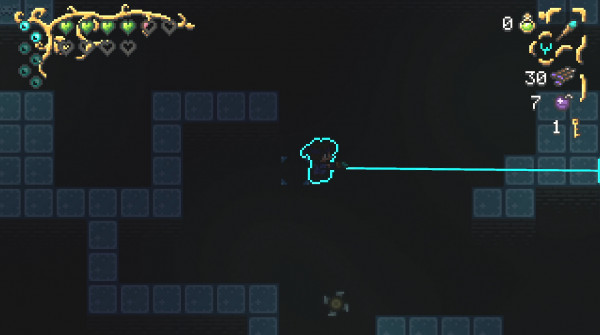
In this room you'll come across a spinning eye. Hit the time tile and the barriers will go up briefly. Make your way to the room on the right.
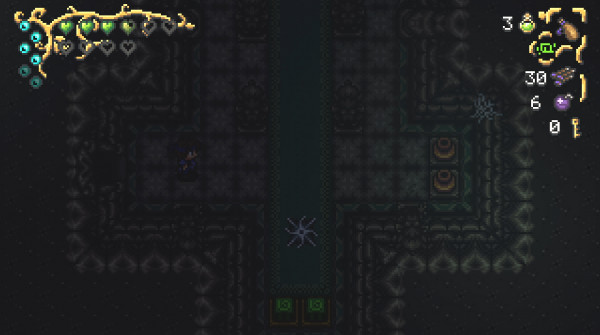
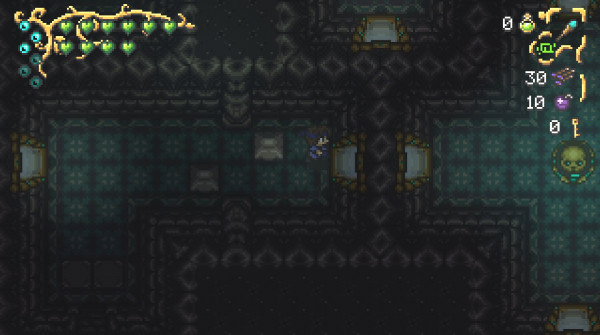
Here you'll come to a long corridor with a green barrier at the bottom and several statues aligning the sides. The statues will come alive as you move past them; use your Bombs to take them out.
At the top of the map is a statue you can hit and deactivate the barriers at the bottom of the map.
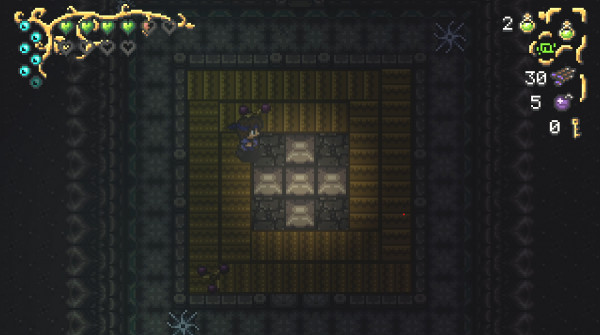
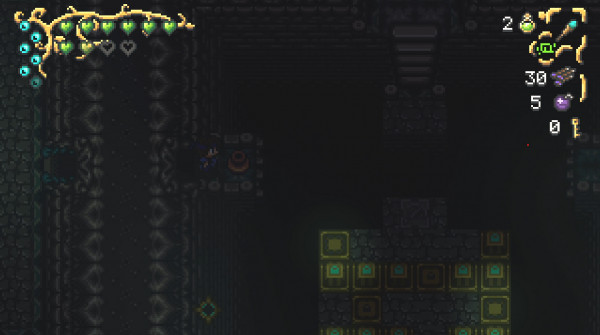
Head past the green barrier at the bottom and you'll come to a room with several conveyor belts and powder kegs in the middle. Destroy the kegs and then move the blocks in the middle to reveal a grate; then use your Rune Of Flight to pass through it.
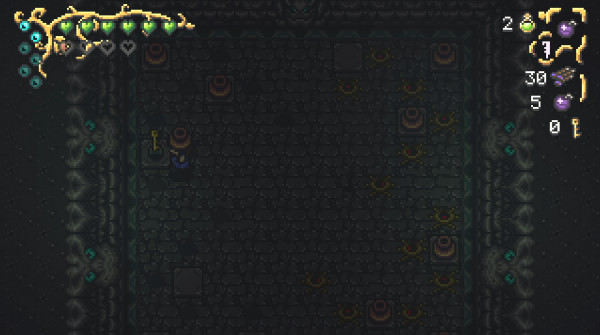
You'll come to a room called B3, surrounded by explosive holes. There is a key in the pot on the left. There is also a switch under the same pot that will unlock the door at the top.
In the next room you'll come across several goblins that have a lot of health so take your timing taking them out. Once all defeated, it will unlock a door at the top.
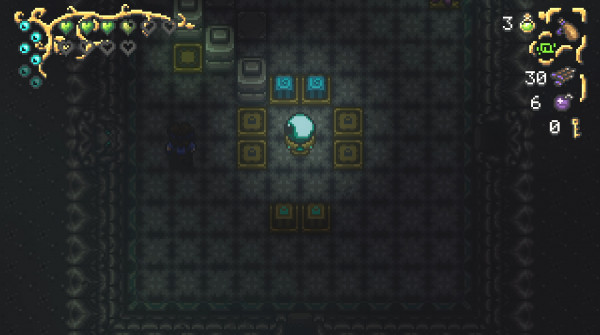
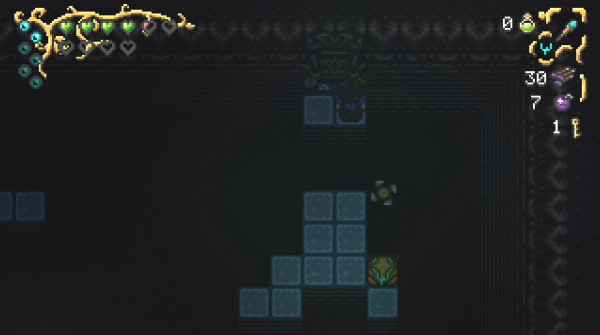
In the next room you need to step on the tile to generate the mimic. Then lure the mimic to the tile at the top so that it brings down the barrier in front of the statue. Then you'll want to use your Crossbow to fire an arrow at the statue; this will bring down the barriers on the left.
Now you'll want to push the block onto the switch that opens the door on the left.
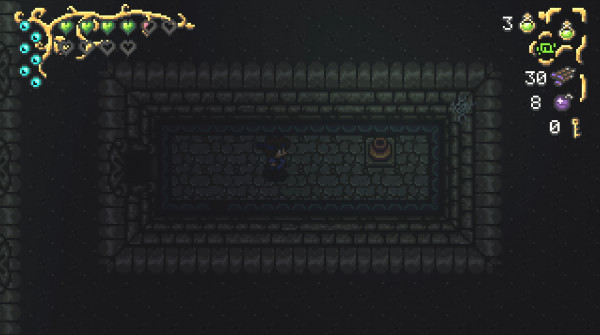
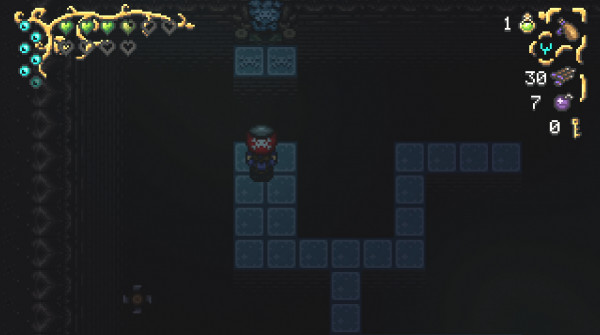
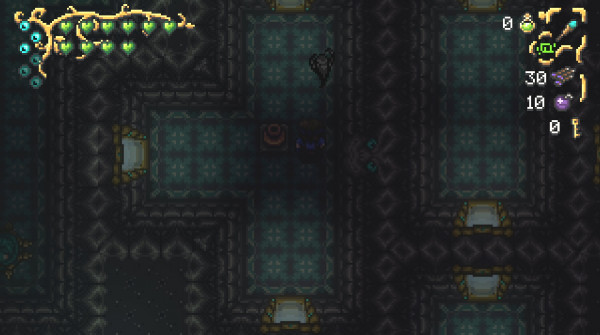
In the next room, take the north exit and you'll come to a room with a grey treasure chest in the middle surrounded by blocks. Take the left exit.
In this room you'll come across two sentinel type mobs. Head to the locked door at the top and unlock it.
In this room you'll have to take out two statue mobs. There are several curtains around you; slash at the top door and head through it.
You'll come to a room called B2. Here you'll have to fight four statues and two other mobs to unlock the door at the bottom of the room. Head through it.
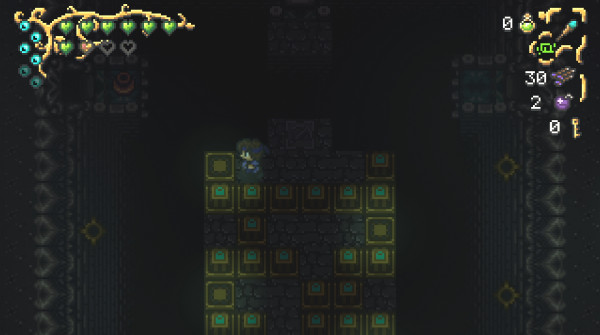
Here you'll come to room where you need to dodge-roll to cross the gap. In the center are several time tiles; you'll have to fire your crossbow arrows at the holes in the wall to unlock the blocks and then use the time tile to pass through.
Make your way to the bottom of the map and then take the exit on the right.
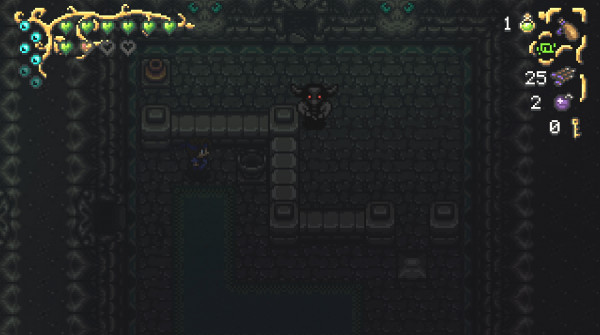
You'll come to a room that is divided by blocks. As you move into it, several slimes will spawn. Move the block on the right out of the way, defeat the horned mob and then take the door north.
Here you'll come to B3. Take the exit on your right.
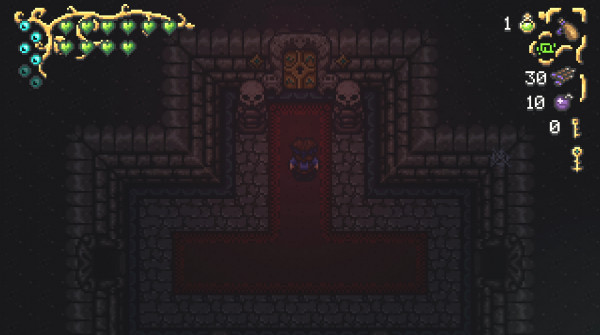
At the bottom of this map are several pots; stock up because the room at the top contains a boss!
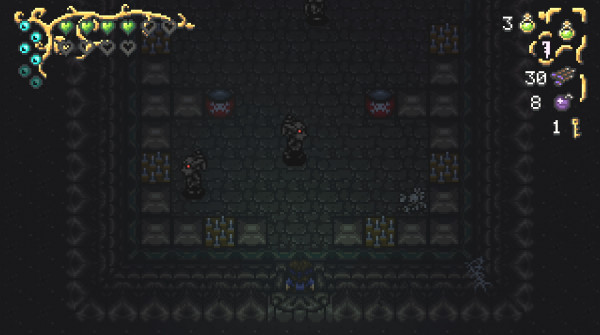
Boss Fight - The Monastery Boss
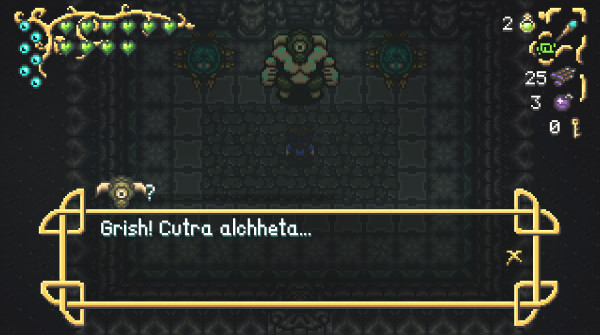
This guy should look familiar. He is the same boss we fought in The Monastery.
The mechanics are pretty much the same; he will shoot lightning down at you and if you get caught in it you are stunned. After three rounds of this, he then rushes you. This is when you'll want to get your hits in!
The boss will then summon lasers that fall down on you and boulders as you deal more damage. He can also summon shock charges that will follow you to stun you.
Once you defeat him, a teleporter at the top right will activate. Step on it and you'll come to another room. In this room, head to the right curtain and you'll find a pot on a ledge containing a key!
Head back into the other room and take the teleporter, which takes you back to a map you've previously been in. From here, take the left exit.
Now head north and you'll come to a room with the treasure chest in. You want to head south, so that you turn up back at the spinning eye. Then south again and then left until you're at the beginning of the dungeon!
From here, you'll want to take the highlighted teleport in the bottom-left corner. This takes you right back the map where you just fought the first boss.
Head out of this room by the south exit and take the exit on the left. You'll come to a narrow bridge and if you head south, you'll find a locked door. Use your new key to unlock it!
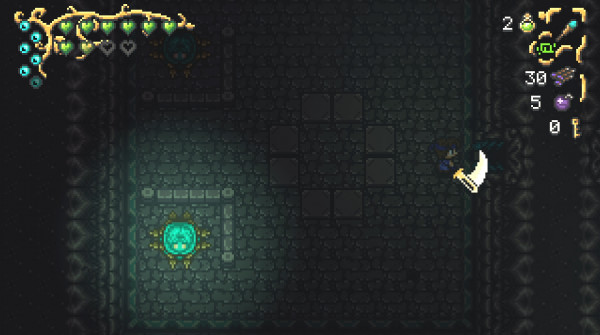
Here you'll come to ice blocks which have ball and chains and metal blocks on them. You're going to need to dodge roll carefully across these until you reach a teleporter on the left side.
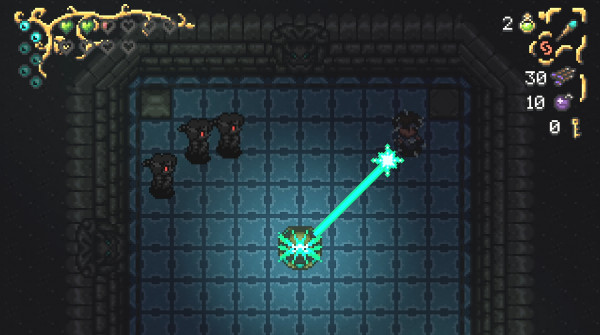
Using the teleporter transports you to a room where you need to use your Rune Of Kobold Tech to teleport across.
Take the north exit from this room.
In this room you'll come to more ice blocks. You can reveal hidden blocks here using your Magic Flask. Make your way to the left side of the map.
Here you'll find a Powder Keg on the left. You are going to have to carry this keg all the way to the top-left of the map where you'll find a door you need to explode with it. It takes a lot of patience as you can easily slip off the small ice blocks. We recommend taking it block by block, super slowly. There are a few hidden tiles you can also reveal to help you.
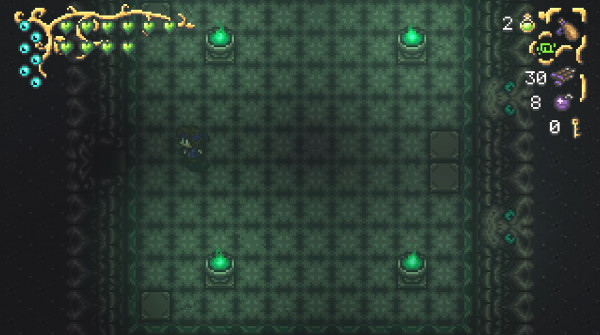
Once you blow up the room, enter it and you'll find four lanterns. Light them up with your Magic Flask and a pot will appear in the middle containing a key. Defeat the mobs that spawn after.
Return back to the room with the ice blocks and slowly make your way to the right. Here you can find three hidden blocks using your Magic Flask. Turn yourself to the right and use your Rune Of Kobold Tech to teleport across the map.
Here you'll find a locked door that you can use your new key to unlock.
In the next room it's pitch black. You can use your Magic Flask to reveal a pathway in the middle; you can ignore the mobs and take the exit on the right.
Here you need to grab the Powder Keg from the bottom of the conveyor belt and then head to the top right and throw it at the door.
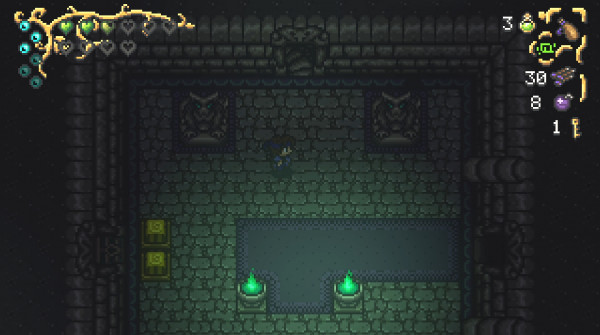
Pass through it and you'll find four lanterns. You need to illuminate all four to unlock the door on the left; unfortunately the lanterns go out after a few short seconds so you can use your dodge-roll and Rune Of Haste here to help you.
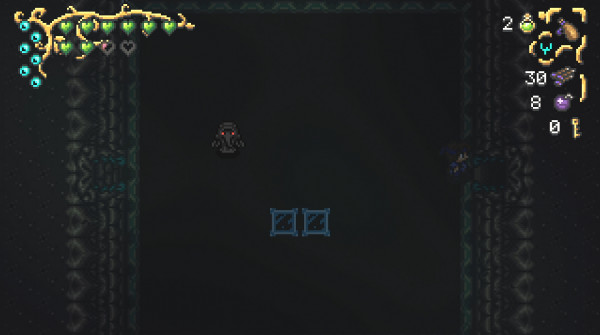
Boss Fight - Castle Radion Boss
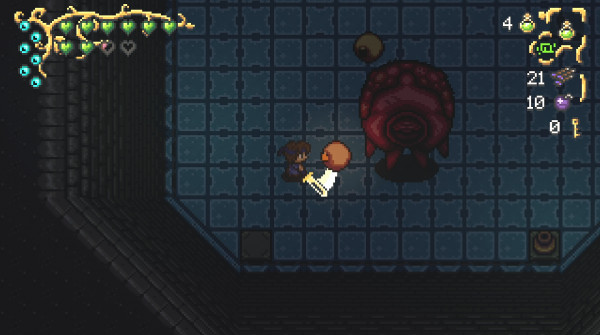
This guy should also seem familiar! Its the giant eye boss that spawns eyes around him and they shoot lasers at you. The difference this time is the ground you're on is made of ice!
The same tactics apply; take out the rotating eyes and then the giant eye will open up; during this phase you fire as many arrows as possible into it.
The best tip we can give you for this boss is to tank the laser beam from the giant eye. Because it is so hard to get a steady position to hit the eye; when you do find it just spam as many arrows as possible, including when you're being laserbeamed to deal as much damage as possible. This will save you a lot of headaches with dealing with lots of rounds of rotating eyes.
You can dodge around the room easily enough- you cannot fall off the edge here which is helpful. The eyes that shoot at you will have their projectiles bounce off the barriers though so you have to be extra careful!
Once you defeat the boss, take the top doorway on your right.
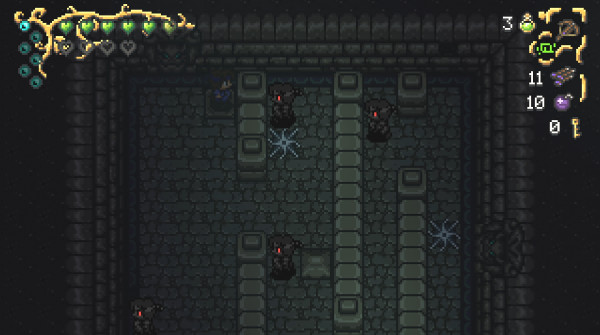
You'll come to a room with several shadow mimics that you need to kill in order to unlock the door on your right.
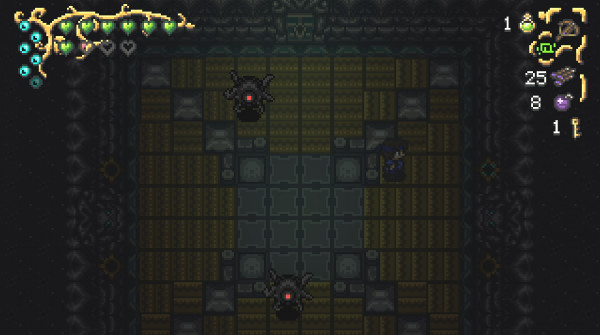
In the next room you'll come across a Spinning Skull and several shadow mobs. You have to defeat the shadow mobs to unlock the door south.
In the next room there are two Spinning Skulls in each corner and you spawn several shadow mimics. Take out the mimics to unlock the door south.
And in the next room another spinning skull, followed by more shadow mimics and shadow ghost mobs. Take your time here as you can easily wipe!
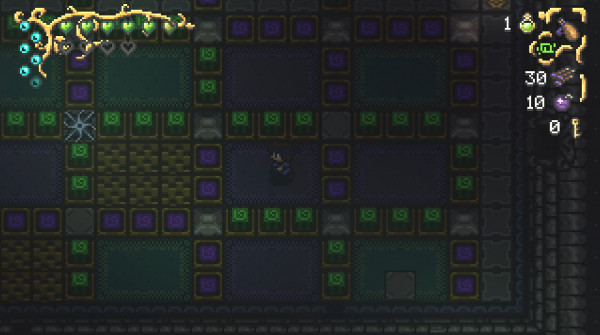
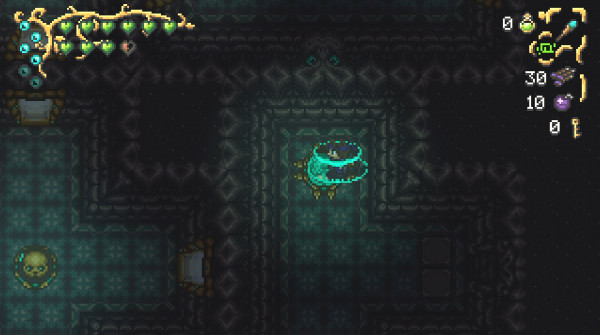
Take the door left and you'll come to an area where the mobs are in several barrier blocks. You want to head through all the purple barriers first until you reach the left side. You can find a pot here that contains a key.

Now go back to the statue at the top-right of the room and hit it so that the green barriers go down. Now make your way through the barriers again to find the locked door at the top-left. Use your new key to unlock it.
In the next room you need to survive an onslaught of pots being launched at you. Once they've all been destroyed, press the switch on the left to open the north door.
You'll now come to a room that's full of mirror doors. They take you to different sections of the map. First choose the door on the left and then follow the north door. You'll then come to a split corridor; take the north door first.
You'll come a corridor with a mob in it. Defeat it and take the door on your left.
You'll come out in front of two blocks. Instead of passing through those blocks, just turn around and go straight through the door you just came out of.
You'll be presented with a Spinning Skull and four doors to choose from. Take the south exit door and as you come out, turn back around and go through it again. This will take you to another room with a pot and mob inside. Take the left exit.
From there you'll come to another room; take the north exit and you'll come to a teleporter. Take the teleporter!
You're almost there! Take the right exit and you'll come to a long corridor with a horned mob on it. Go to the bottom-left and find the exit by slashing at the curtain.
In the next room head to top-left corner and slash the curtain to reveal the exit.
You'll then come to a long corridor with a sentinel mob. Defeat it and take the north exit.
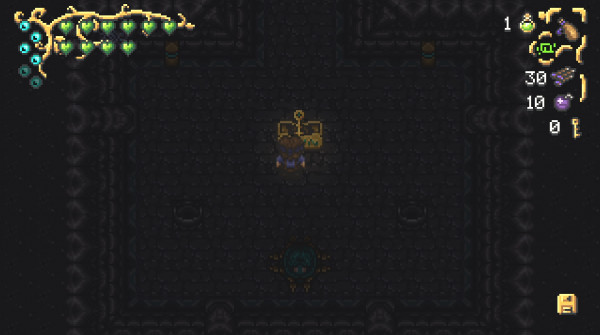
Finally you've found the golden Treasure Chest containing the Kobold Tech Key!
Light the two lanterns either side and use the Teleporter to take you back to the beginning of the dungeon!
You can now face the final boss; from the beginning of the dungeon head to your right and head all the way down until you come to a door on the left. You'll then find the Kobold Tech Door! Enter to take on the final boss...
Boss Fight - Carthicus
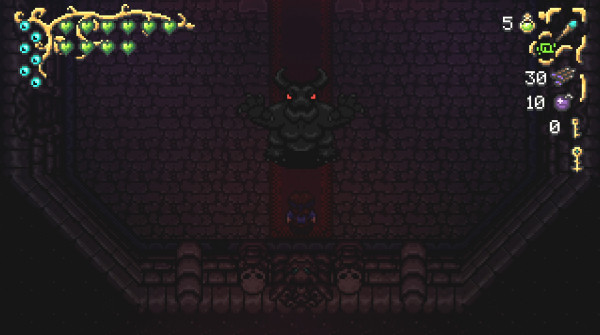
Congratulations on making it this far! You'll want to make sure you have as much health as possible when taking on this boss as it can be quite challenging.
The first phase of the fight Carthicus will teleport around the room and then fire a volley of projectiles at you. If you stand still as he fires them you can easily dodge them. Straight after this, Carthicus will teleport again and then appear right beside you to slash you.
It's at this point you'll want to get your damage hits in.
After three rounds of this, he will then summon crows to fly diagonally across the map.
This phase continues until you do enough damage that he turns into blobs. Dodge the blobs as they will do damage if you touch them; now is a great time to heal up.
The next phase will begin after the blobs return to Carthicus; he will now shoot at stone projectiles which will stun you for several seconds if you get hit. The same tactics apply; just wait for them to be fired before attempting to dodge.
This second phase continues until again you do enough damage to turn him into blobs.
After this, Carthicus turns into a kind of tree branch with several eyes that pop up. He will also summon flower mobs to shoot projectiles at you.
The tactic in this phase is to use your Bombs and plant them next to any mobs, whilst you then deal damage to any eyes that appear with your sword.
You need to destroy all four eyes on the branches. This will then reveal the big main eye- take one swipe at it!
For more tips, check out the video below:
Congratulations on completing Airoheart! That concludes our walkthrough- we hope it has helped you along the way.

Discussion
Thanks for the work on the guide, hope I can finish this terrible game today.