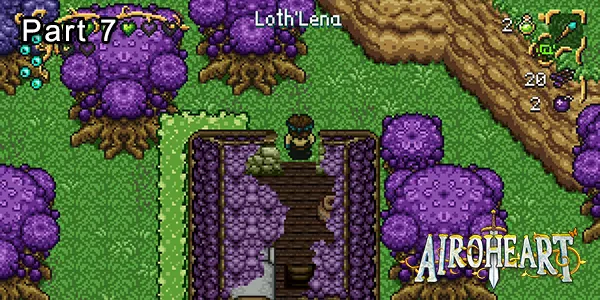
In this part of the Airoheart Walkthrough, we head to the Loth'lena region to find The Sunken Keep dungeon in search of more fragments of the soulstone.
We previously did Mizu Temple and obtained the Enchanted Ring. This will allow us to pass through to the Loth'lena region in the north of the map.
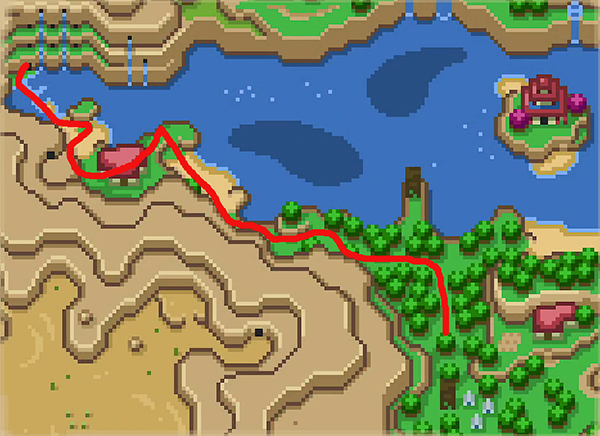
To get through to Loth'lena region, you need to head the north-west of Llanfair and make your way right along the beach front until you get to Lake Comito.
Then head to the north-west, taking the path through the water until you come to a strange cave system.

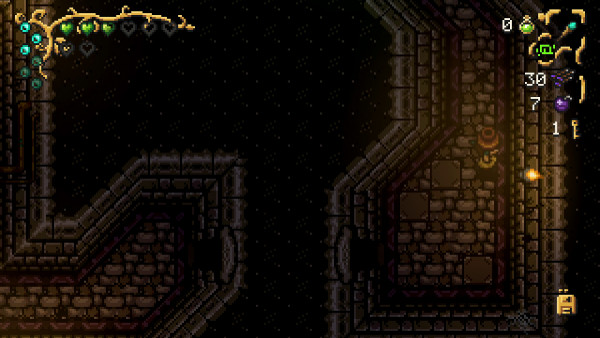
This system has four levels of doors and each one takes you to a different platform. In order to get through the system, you'll need to take them in the following order:
- Take the right-most door on the bottom platform (L1D)
- You're now on L3A. From L3, you need to take the Waterfall on the right side of L3B and you'll fall down to L2.
- On L2, take the L2C door.
- You're now on L4 and should notice the cave entrance (L4C) on your left (inaccessible). Take the waterfall down to L3.
- You're now back at L3. Take L3C door.
- You're now back at L4B and can access L4C.
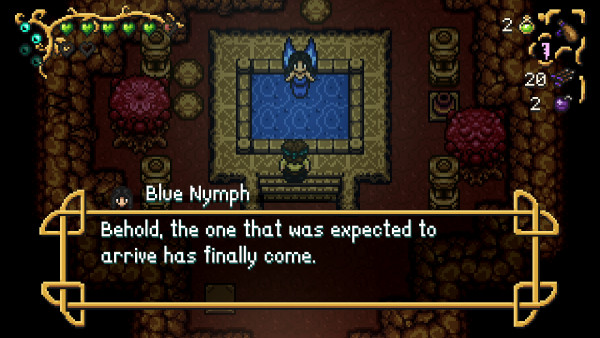
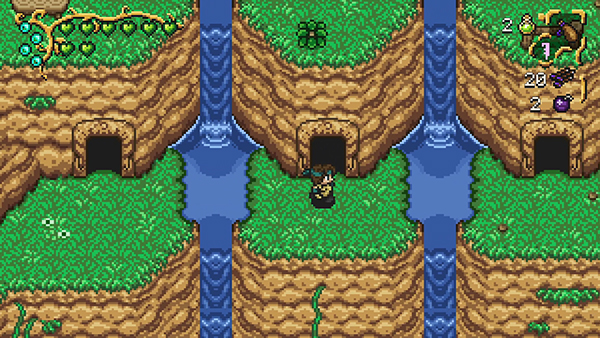
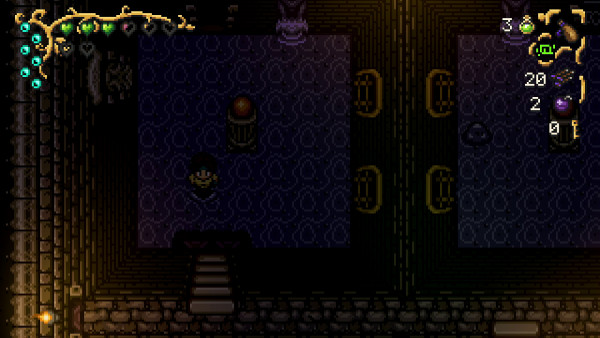
Inside the cave you'll notice a pool of water. Throw a pot into the water and out pops a Blue Nymph. She will give you a Bottle Of Light! You can now access the door at the top of the cave.
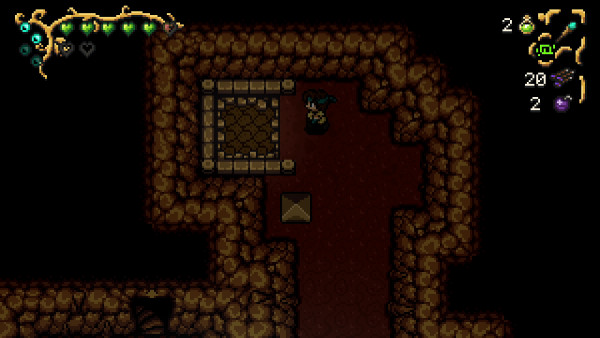
You'll come to B1 and at the top is a giant boulder; throw it out of the way and fall down the hole.
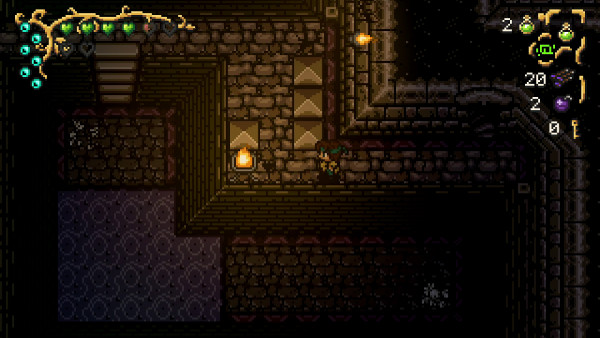
In the next room, push the block to the right and it will open the door and you can now exit the cave.
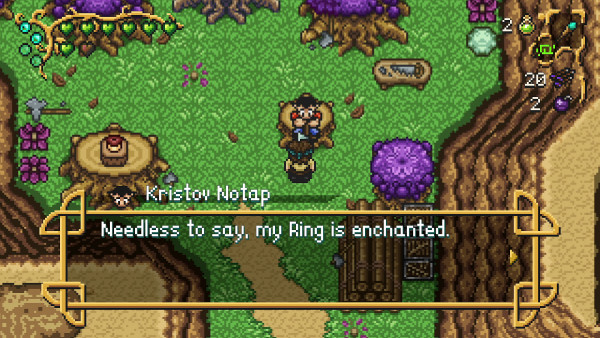
If you head north, you'll meet a lumberjack known as Kristov Notap; if you give him your Enchanted Ring he will clear the forest (just exit a cave to reload the new map).
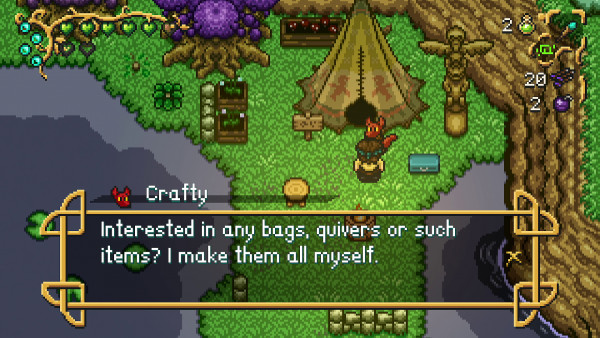
In the top right corner of The Great Marsh, you'll find Crafty, who can sell you some new items:
- Crafty's Bomb Bag (increases the amount of bombs you can hold) - 125 Beads
- Bigger Quiver (increases the amount of arrows you can hold) - 175 Beads
- Roomy Suspenders - 200 Beads
- Potion Pouch (increases the amount of potions you can hold) - 250 Beads
- Mana Orb - 150 Beads
Head north and you'll come to a swamp area called The Great Marsh. If you head to the right and follow the path round you'll eventually arrive a Loth'lena.
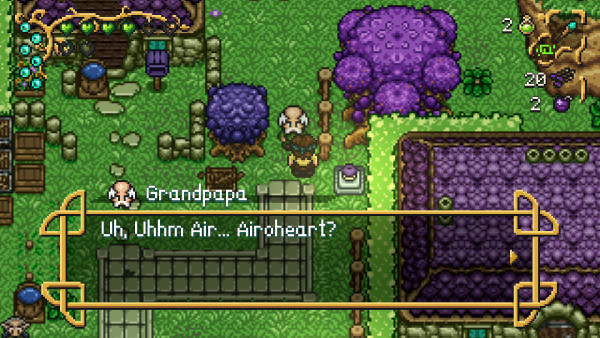
Inside Loth'lena, you'll meet your Grandpapa. It turns out he took the stone fragment to Loth'lena and ended up giving it to your brother who has ransacked the village.
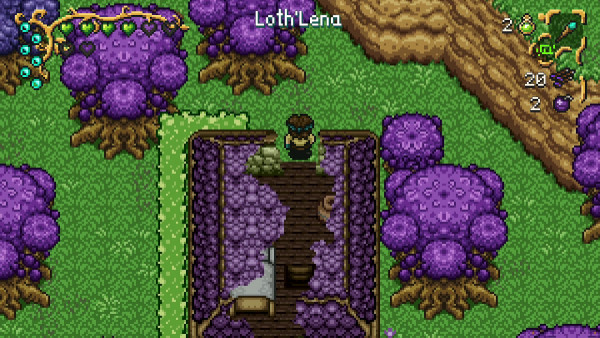
You can now access The Sunken Keep by taking the ladder from inside a house behind your Grandpapa.
The Sunken Keep Walkthrough
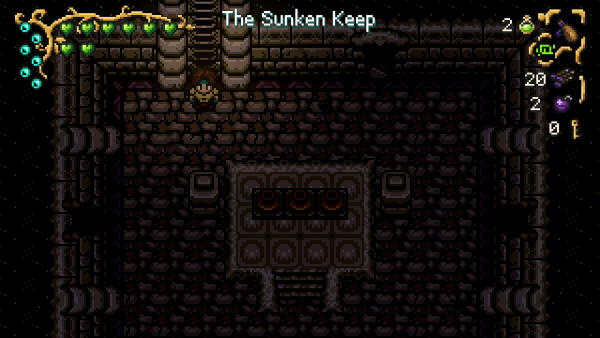
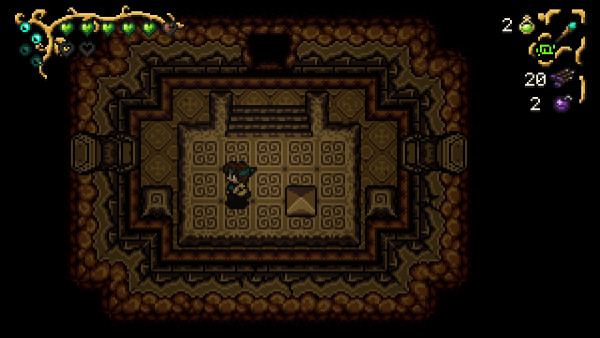
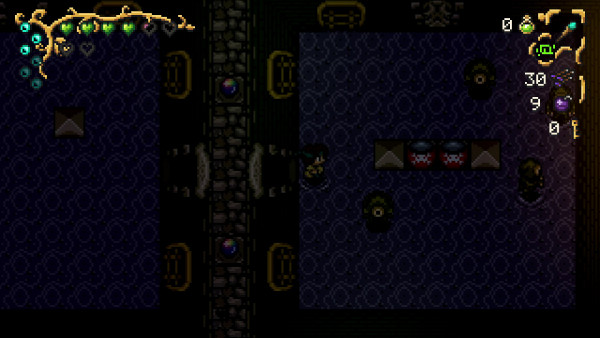
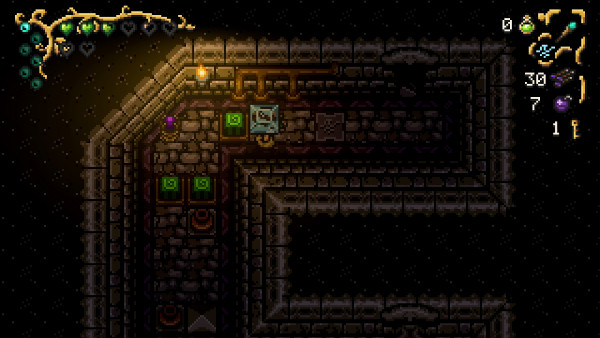
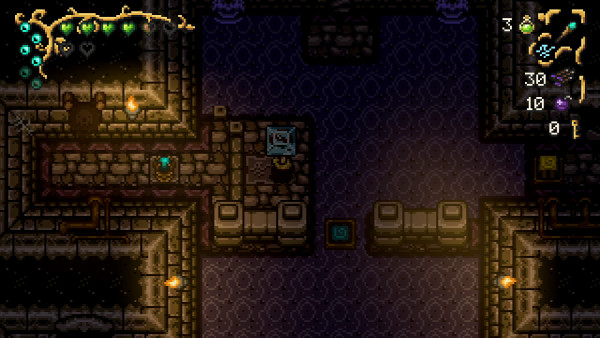
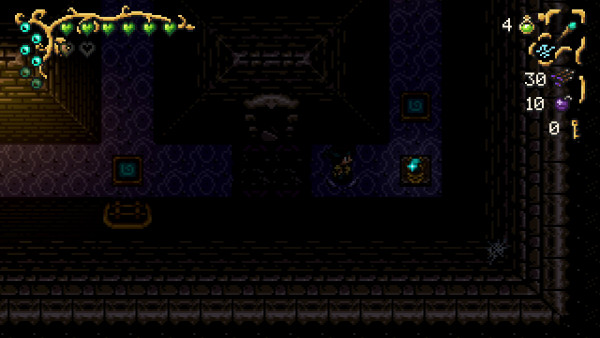
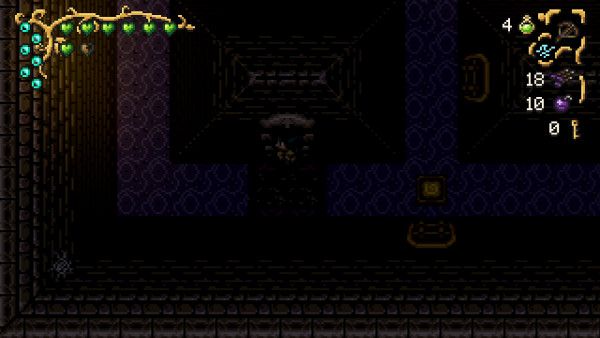
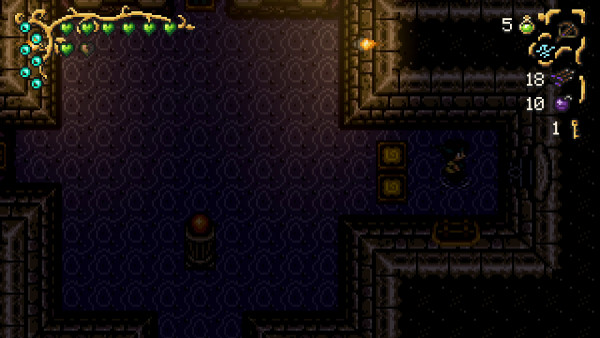
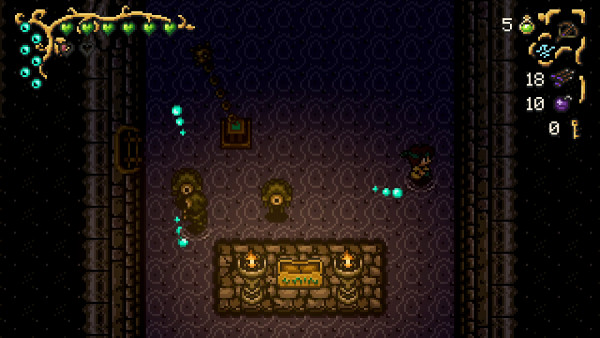
The first room of the Sunken Keep has three pots on a raised platform. They contain potions and health; if you're low, just exit the cave and the pots will respawn the same so you can max out. Take the door on the right.
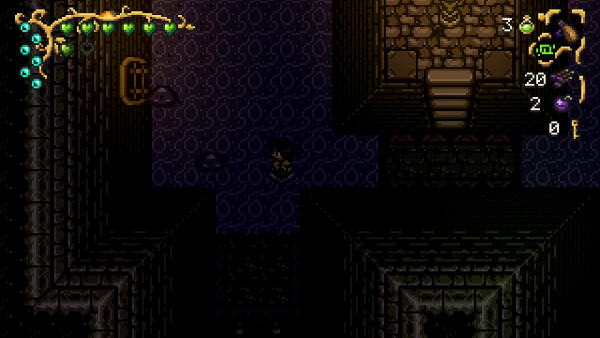
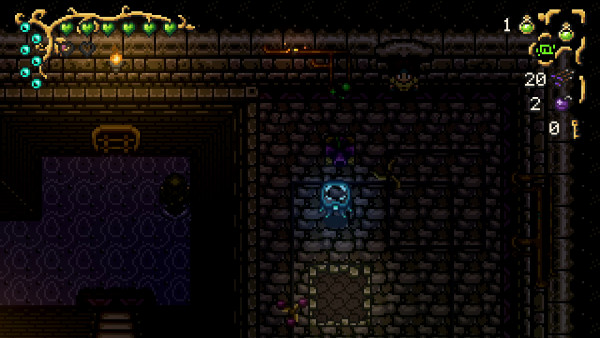
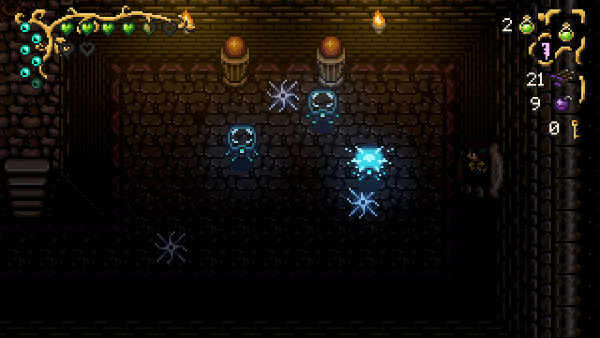
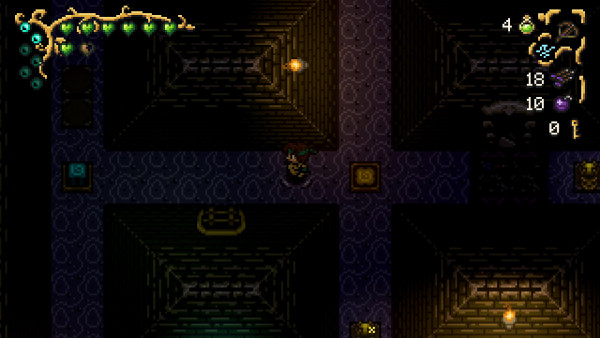
You'll come to B2. Head down the left-side of the room until you come to a door. Watch out for the mobs; you can't dodge-roll in the water so it's best to slowly take out the enemies to avoid wiping.
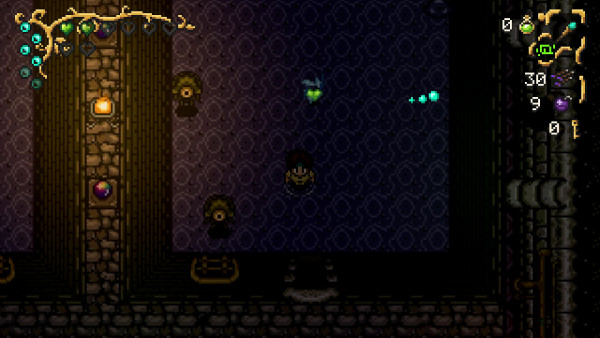
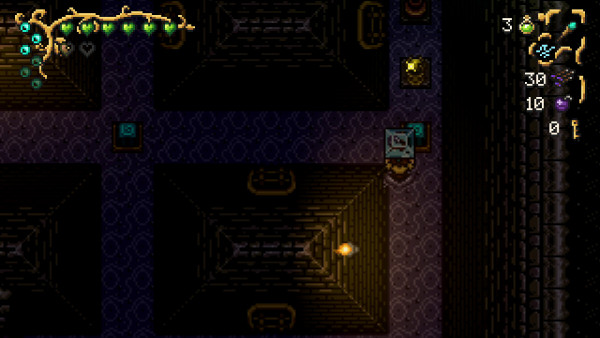
In the next room, you'll come across a Zombie that's a bit more tankier than previous ones. There are also those annoying water one-eyed monsters that fire at you. Take the stairs and follow it right until you come to some blocks.
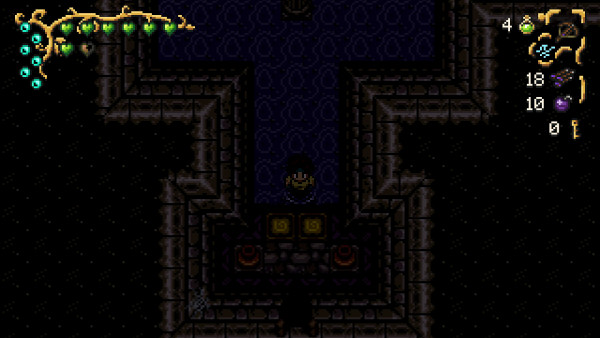
Push the blocks out of the way and take the right most door.
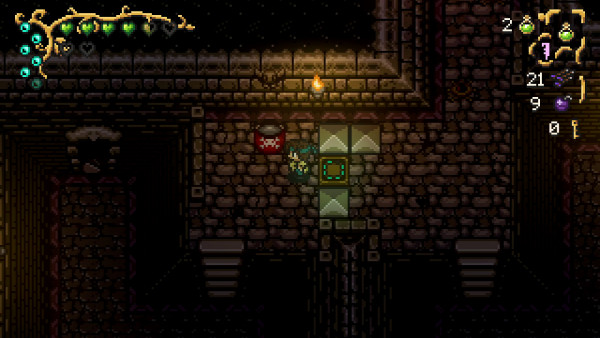
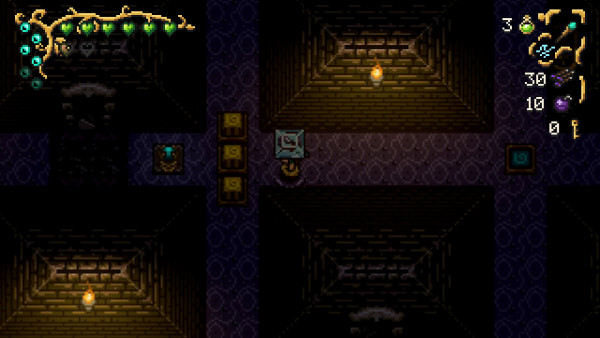
You'll then come to a room with two spinning propellors and a electric ghost mob. Dash down to past the first hole and head left.
You'll then come to a another hole that you can pass if you use your Rune Of Warding. Instead, fall down the hole.
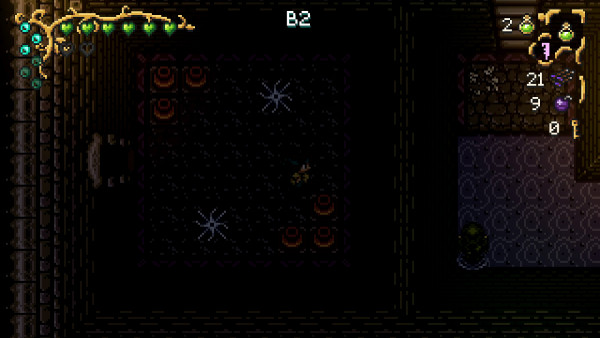
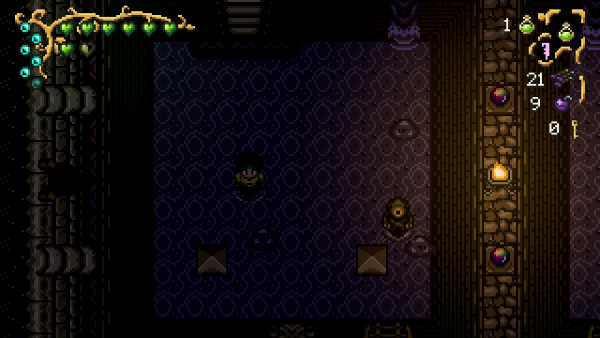
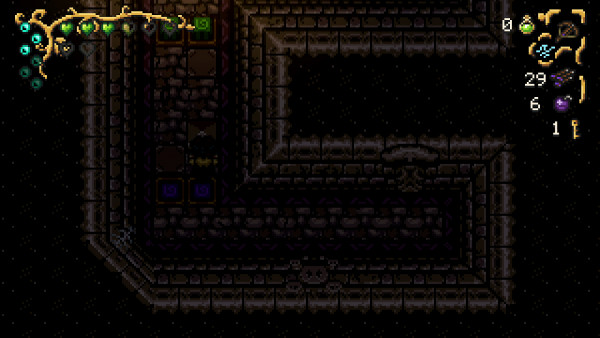
You'll come to B2 with pots on either side of you. Take the left room.
In this room you'll come across three moving metal blocks, along with three electric ghost mobs. Keep heading left until you come to some movable blocks.
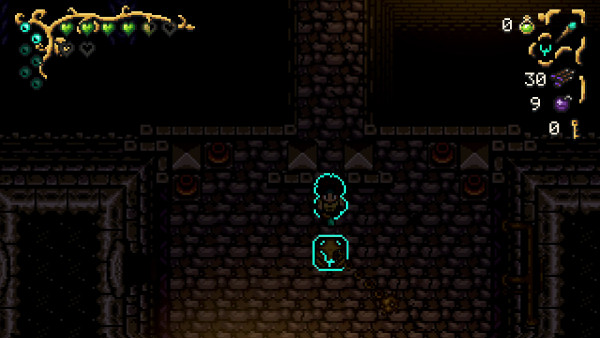
Move them out of the way and pass through the time tile. Head down the stairs and take the door at the top.
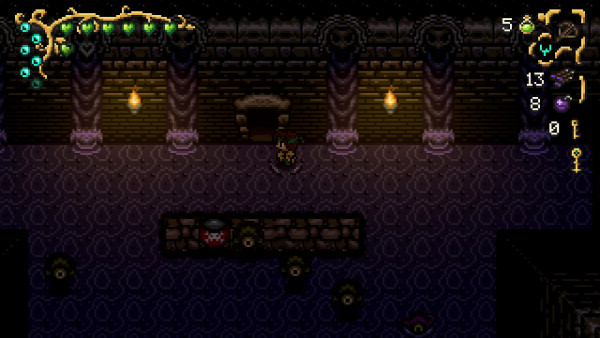
You'll come to B3; head down the stairs to fight the slimes and zombie monster to unlock the door at the bottom of the room.
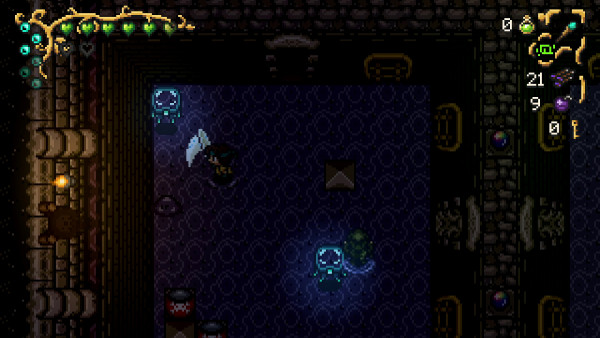
In the next room you'll come across more electric ghost mobs, slimes and zombies. Take them all out and head to the room on the right.
In the next room there are two Powder Kegs in the middle. Detonate them to help with taking out the mobs and then head north.
More mobs await you in this room; take them out and head up the stairs and you'll come to B4.
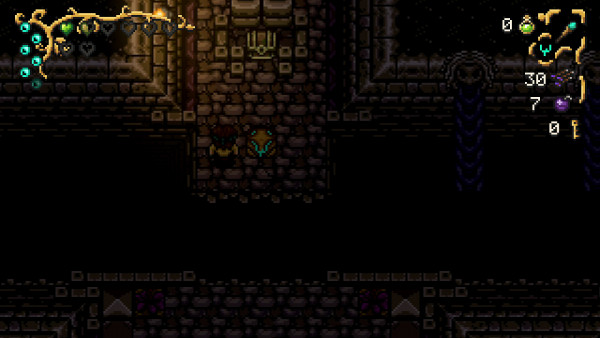
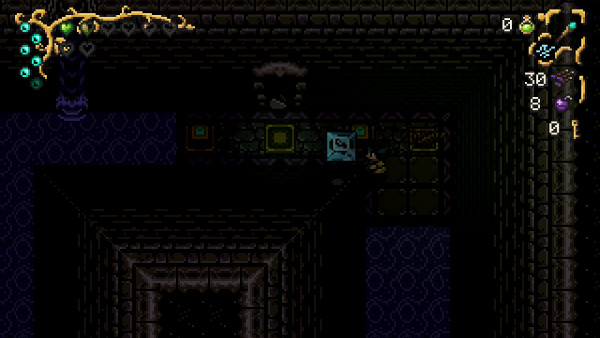
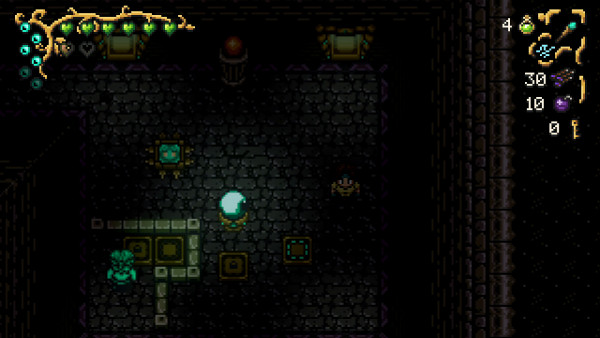
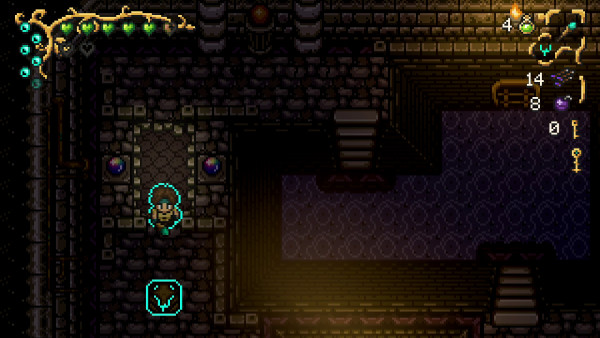
Here you'll notice a Rune of Kobold Tech block attached to a spinning ball and chain. Use your Rune to drag yourself through. Take the door on the left.
In this room you'll come across two electric ghosts and two plant pots that shoot at you. You need to use your Rune Of Kobold Tech to teleport across towards the north of the room.
Here you'll find a Treasure Chest containing a Rune Of Creation!
Take the door at the top of the room behind the Treasure Chest.
Follow the narrow corridor, taking out the electric ghost mobs.
You'll eventually come to a pot; underneath it is a Key! Take the door at the top of the corridor.
You'll now come to a room with barriers up. Use your new Rune Of Creation to create a block and throw it at the statue (stand just below the barriers to throw it across them). This will bring the barriers down.
Next equip your Crossbow and fire an arrow at the statue to lower the barrier blocks up ahead.
You can also push the block on the right to open the door.

This will take you back to near the beginning of the dungeon. Head to the room with the four pots on the raised platform in the middle and take the right path towards a locked door. Use your new key to unlock it.
In the next room there are a few mobs; take them out and head right. Follow the room all the way to the right next, taking out the Zombie. Here you'll need to use your Rune Of Creation again and throw a block onto the time tile so that the barriers go down.
In the next room, create another block with your Rune Of Creation to hit the statue on the left. This will cause the barriers on the right to go down. Follow through them and you'll come to a new room.
In this room there are lots of statues and blocked barriers. Start by heading to the right, creating a block (use downed barriers to create the rune as creating them in water causes them to disappear). You'll want to throw it at the statue at the top-right of the room.
Now head left until you come to three barrier blocks. Create another block and throw it through the three blocks to hit the statue. Make your way all around the block so you can access the door (next to the three blocks).

Inside this room you'll come to a Mimic and an Eye. The Eye will cause the barrier south to go up; so you need to use the Mimic to hit the block tile.
As soon as you generate the Mimic, head to the door on the bottom right on the room (it has light gleaming out of it). This will cause the Mimic to enter the top-left door and then enter the area with the barrier tile that will prevent the eye from locking the south door.
Once unlocked, head south and then right and exit the room.
Hit the statue and then go back into the room and return to the area with the three barrier blocks on your right.
Head to your left, pass the down barrier and fire a crossbow at the statue. This will bring the barrier on your farthest left down.
You can now take the door in the bottom-left.
You'll come back to B3, with lots of barriers down. Head south in this room and you'll come to two pots. Here you can find a Key on the left pot.
Now head to the right of the room to find a locked-door. Use your new key to unlock it.
In this room you'll find a spinning ball and chain, along with a gold treasure chest containing the Kobold Tech Key!
Return back to the beginning of the Dungeon and head back to the area with the hole that you fell down earlier (the left side of the dungeon). This time, use your Rune of Kobold Tech and warp across it.
Take the stairs down to the four pots and then head left; you'll come to a room full of mobs. Take the middle door and here you can use your Kobold Tech Key!
Boss Fight - The Sunken Temple
Oops! Our recording died at this point so no screenshots or videos for this boss. It's actually quite easy though.
This boss is giant slime! You have fought these before, only they have been a lot smaller.
As you hit the slime boss, it will split into two. As you keep hitting them, the boss will keep splitting until it goes into really small slime blobs, which you can then kill.
The Slime Boss will also teleport jump onto you, so it's a good idea to constantly be strafing across the room to dodge the jumps; there is no dodge-roll mechanic in this boss room so make sure you bring lots of potions.
You also can't use bombs, so keep slashing away with your sword.
After the fight you'll find an injured Jep who was attacked by your brother. He gives you Climbing Gear to go after him!
That wraps up part 7 of the Airoheart Walkthrough! Let us know if we missed anything in the comments below!

Discussion