We go to The Labyrinthian dungeon next in search of our brother Xanatos after he stole all the fragments of the soulstone from us in the last part of the Airoheart Walkthrough.
You escape Mount Cosmito by help from a strange blue friend and end up at a house in Loth'lena where it seems Mina has fallen into a deep sleep.
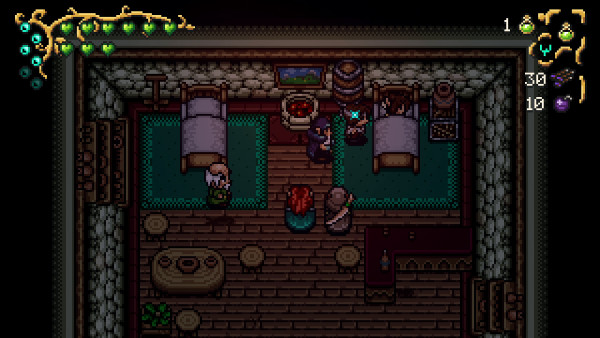
They also tell you that the world has a strange darkness about it and new creatures are spawning on the map.
It seems that Xanatos and has reunited all the fragments and released the evil sorcerer Carthicus and now all hell has broken loose. The plan seems to be to find Xanatos and get the fragments back to reimprison Carthicus.
The wizard Telekremorr believes Airoheart can help reawaken Mina by using a telepathic link and find out about Xanatos whereabouts.
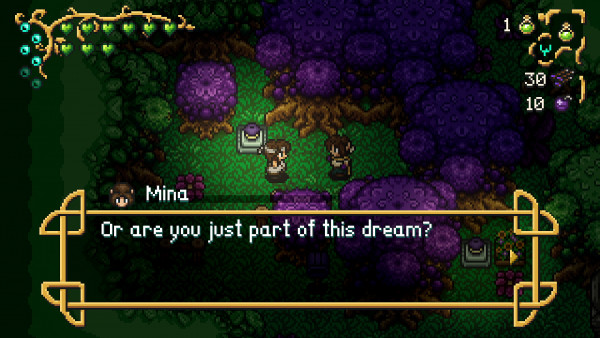
You'll then come to Mina's strange dreamworld, where she constantly changes the map to help evade whatever it is that is chasing her.
It all ends without you finding much out, apart from that Xanatos is still alive.
You'll then be teleport to the Breton region called The Red Regions, which is believed to be the location of where Xanatos is hanging out.
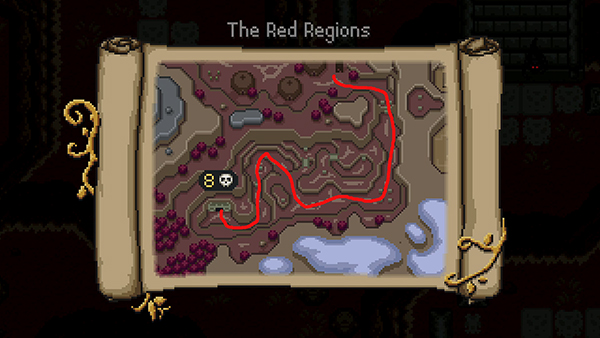
You can reach The Labyrinthian Dungeon by following the map above.
The Labyrinthian Dungeon Walkthrough
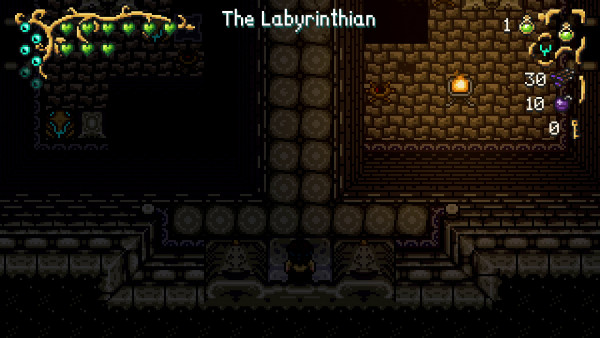
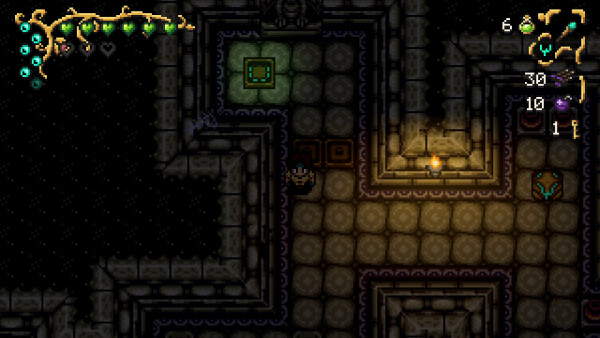
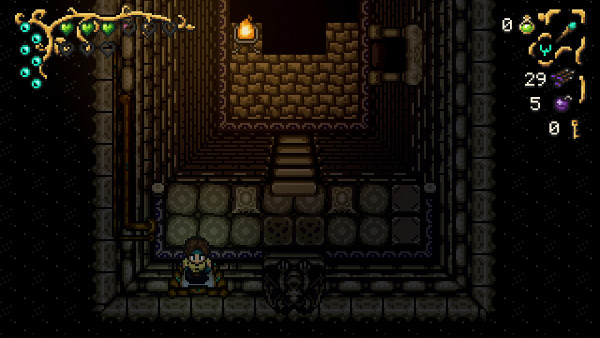
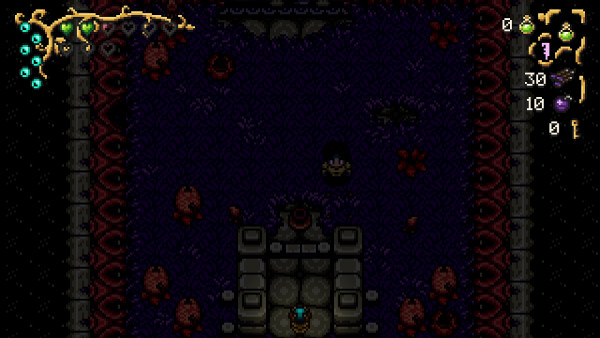
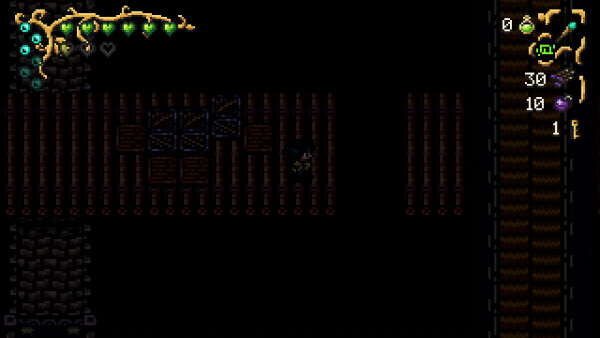
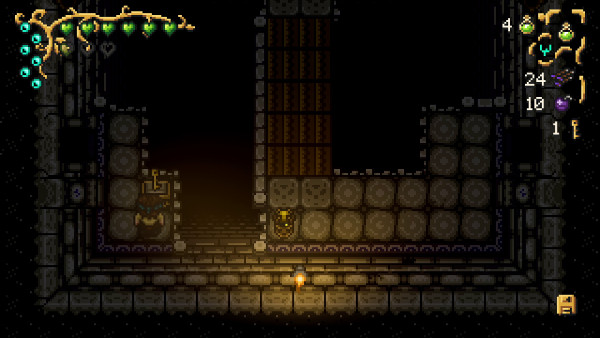
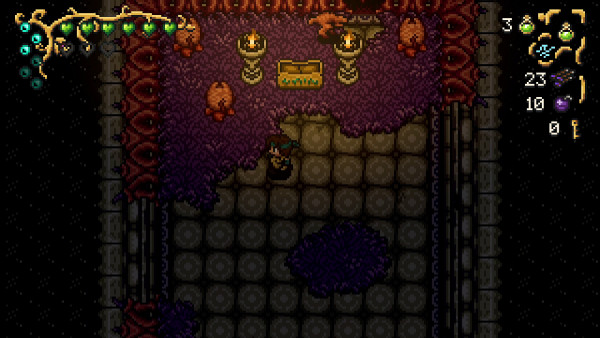
The Labyrinthian Dungeon starts with a fork in the middle; you'll want to start by taking the right side first. There are some pots around containing potions and magic orbs, so feel free to re-enter the dungeon to stock up.
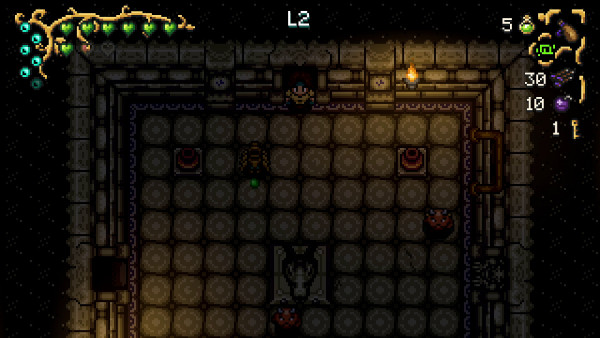
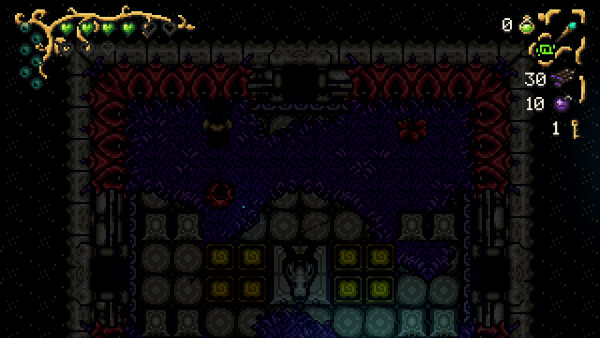
The first room you come to is called L2, and there will be several mobs in here. There is a pot at the bottom left that has a switch on it; press it and it will open the door on the right. Head through it.
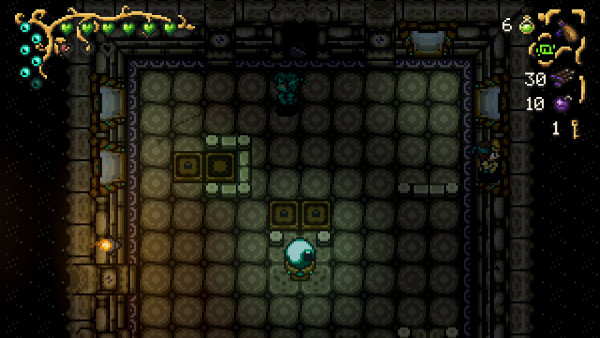
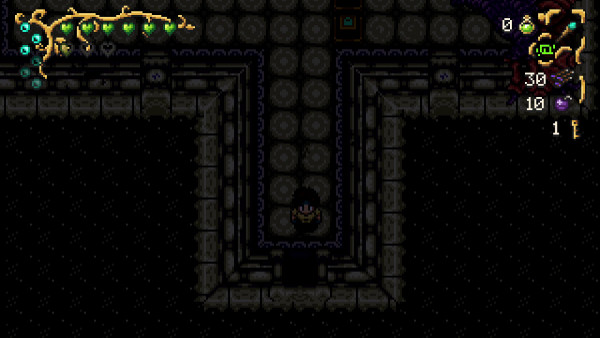
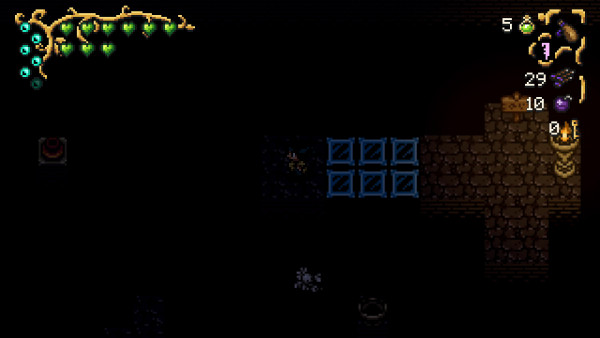
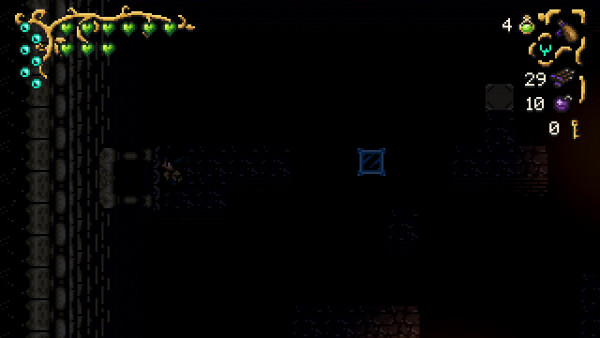
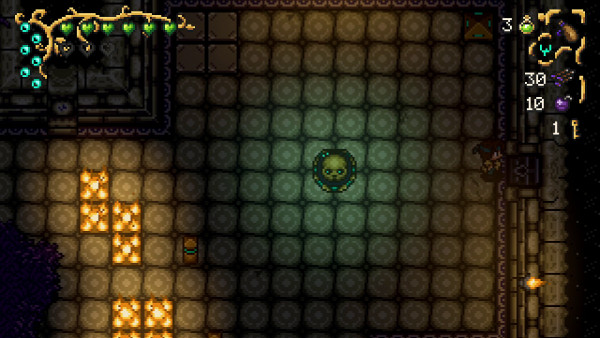
In the next room you'll come to an eyeball that is blocking the north door. Summon the mimic and immediately walk down through the mirror doors and then as the Mimic heads to the top, take the mirror door on your right. From there you can align to Mimic up with the tiles in the top-left to cause the barriers and block the eye's view.
Head through the north door.

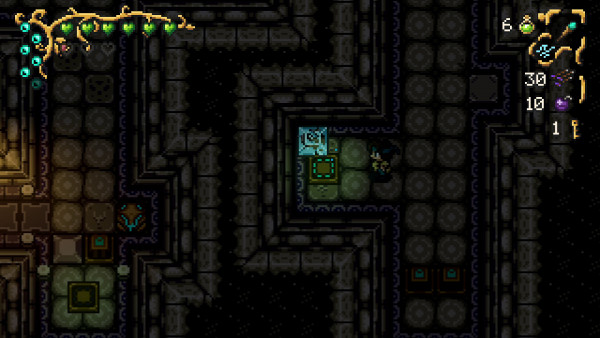
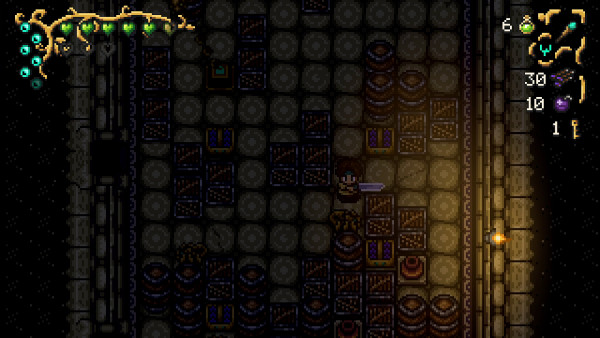
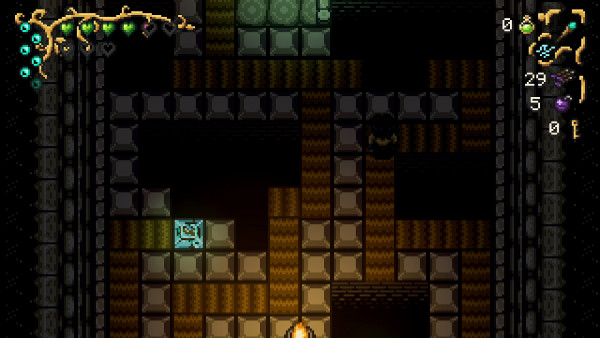
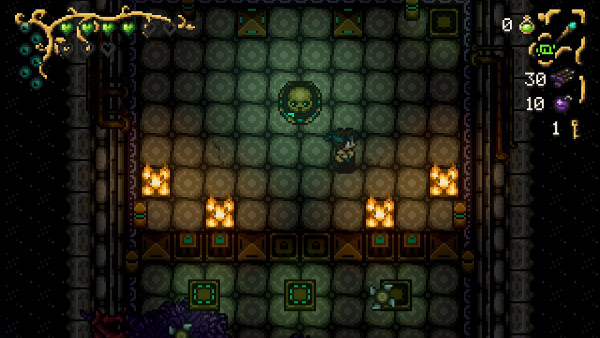
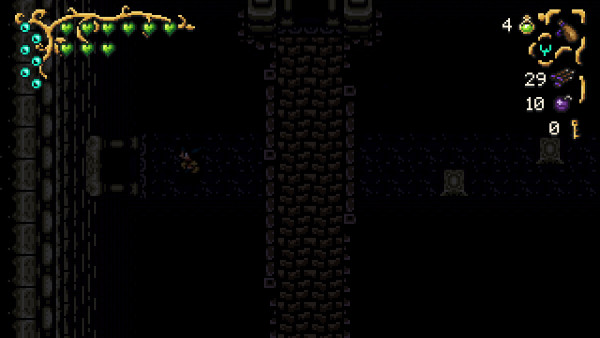
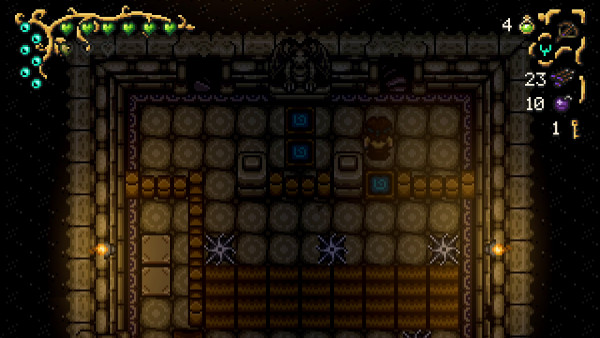
In the next room you'll come to a conveyor belt on your left. Use your Rune Of Creation to create a block and throw it on the conveyor belt so that it carries it down to the tile to deactivate the barrier in front of you.
Head past the spinning laser skull and head all the way to the right until you come to a tile. Use your Rune Of Creation to create a block and throw it on it.
You then need to use your Rune Of Kobold Tech to teleport yourself up the paths as quick as possible to activate the next tile.

When you reach the area just before the spinning skull, again use your Rune to teleport right across and activate the next tile. Head straight back to hit the final tile, which will unlock the barriers at the door on the right (all the way back at the first time time you used your Rune of Creation on).
You'll then come to a room with a spinning ball and chain and some mobs. Make your way to the door on the left.
In the next room, head down the stairs and left again.
You'll come to a room with explosive holes on the floor. Destroy the middle ones and then use your Rune Of Kobold Tech to teleport across to the platform on the left. From that position, dodge-roll to the top of the room and then again to take the bottom-most door on the left.
You'll come to a room with a mirror door at the bottom; use it and then head through the top door.
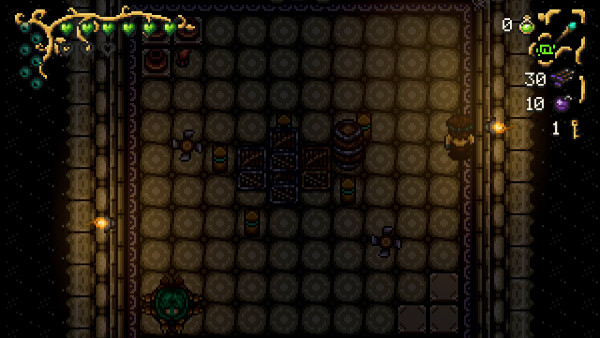
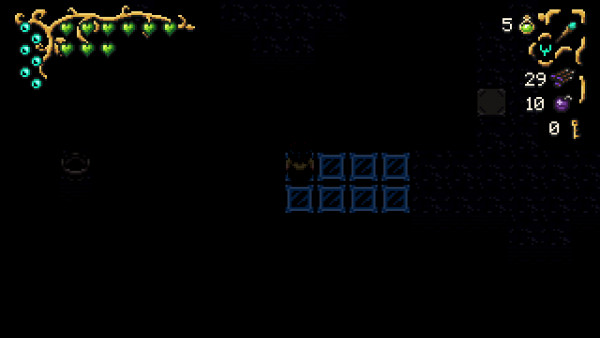
You'll come to a room with lots of conveyor belts.
You need to use your Rune of Creation to create a block and throw it onto the left-most conveyor belt so that it hits the time tile. Then you need to take the middle-right conveyor belt so that you trip the other time tile.
This will cause both barriers to go down and allow you access to the grate in the corner. Use your Rune Of Flight to pass through it.
You'll then come to a new room where under the pot is a Key! Head down the corridor and under another pot is a switch to activate the door.
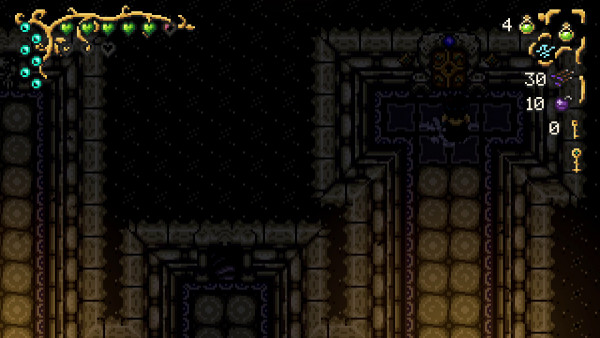
Head out and you'll come back to the beginning of the dungeon. Go back to the fork in the road, take the right side again until you come to the room L2 with two doors on each side of the room.
This time take the left door, using your new key to unlock it.
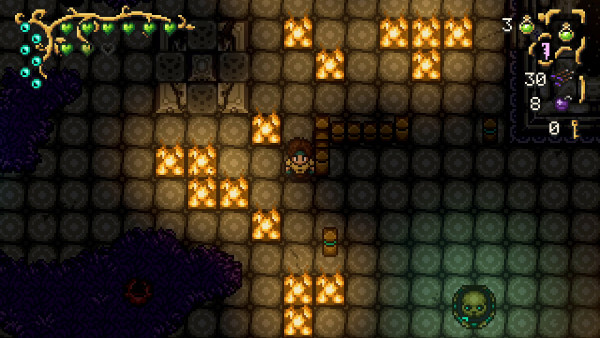
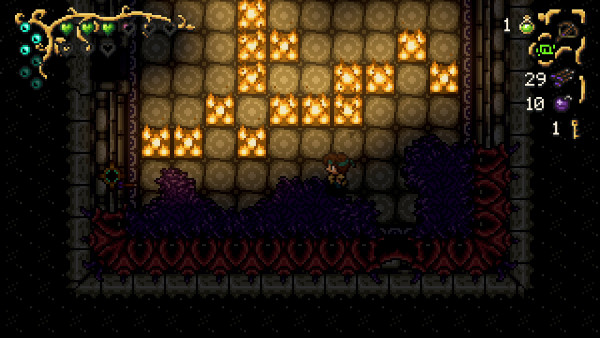
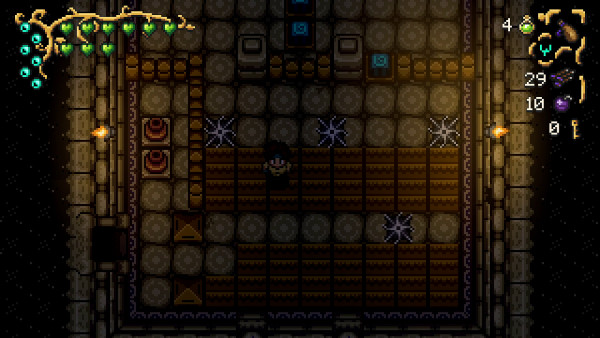
This room has a lot of challenges so take your time. You'll first notice a spinning laser skull; take your time passing it. Then up ahead is lots of fire; you can use your Magic Flask to put the flames out temporarily.
In the next section of the room you'll come across dinosaur mobs that shoot fire at you. There are also exploding pods that yield more mobs that rush you, so take your sweet time taking them all out as it is very easy to wipe.

You want to take the bottom-left door.
In the next room you'll come across more exploding pods and suicide pods, so again be careful. You want to take the left-most door.
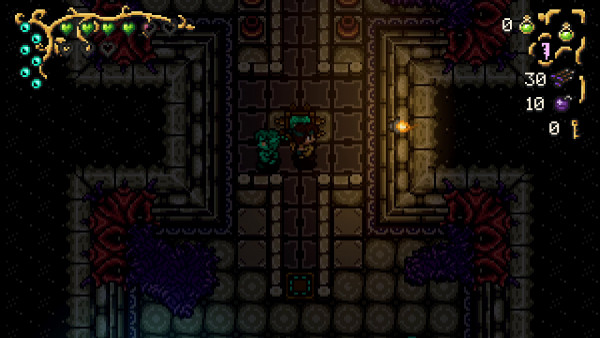
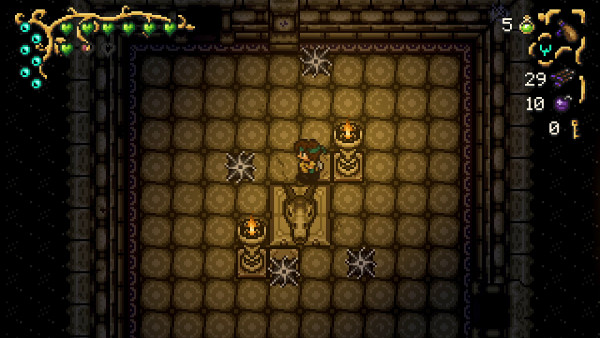
In the next room, take out the mobs and head forward. You'll step on the mimic tile; if you step to your right before going forward it'll prevent the mimic from running into you. Head to the north door.
In the next room you'll come across several shooting pods; dodge them and take the north door.
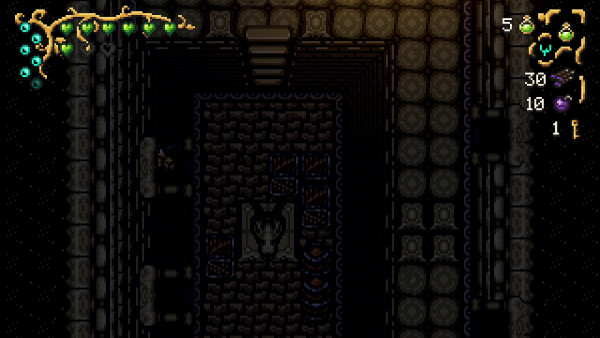
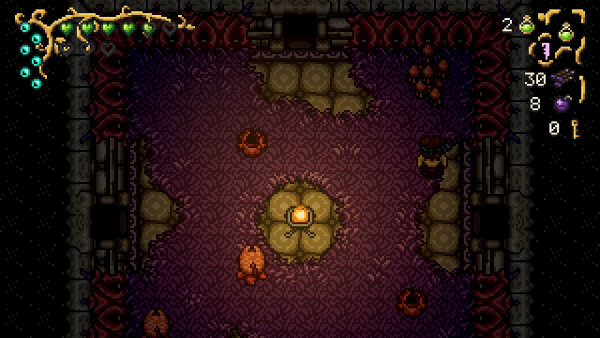
In the center of the next room is a pot containing a Key! Throw the pot at the statue or generate a block using your Rune Of Creation.

Now head back on yourself to the room with the Mimic in the middle and take the top-right exit.
In the next room, you'll see all the barriers are down. Take the north exit.
In this room, you'll see a bunch of trapped flying spinners. As soon as you hit the time tile they will be released. Head further up and you'll come past a Spinning Skull; dodge it and take the north exit.
In the next room, dodge the flying spinners and keep heading north.
From there you'll come to L1; head to your right and you'll come to a bridge. Dodge roll across the gap and then head south down the stone corridor (past the barriers).
In the next room, take out the mobs, use the four pots in the corner and take the right exit. You'll come to a room full of fire; use your Magic Flask to create a pathway through.
In the bottom left corner is a hole to shoot an arrow in; doing so unlocks the north door.

In the next room you'll notice several spinning laser skulls in each corner of the room. Head to your right and you'll find a mirror-door that takes you to the top-left of the room. Keep heading right until you find the Time Tile at the top-right of the room.
You then need to rush back to the bottom-right and head up through the down barriers in time. Then you can take the exit at the top-right.
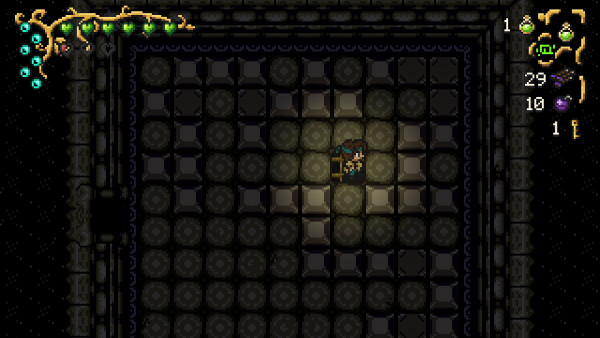
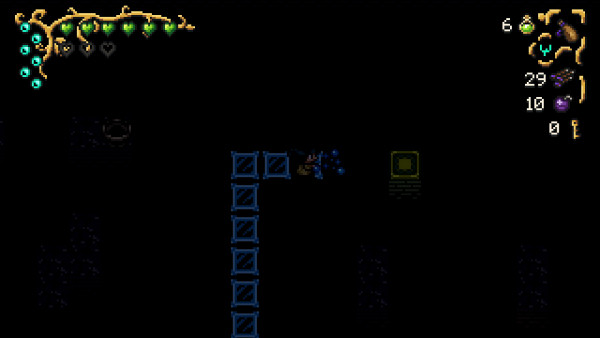
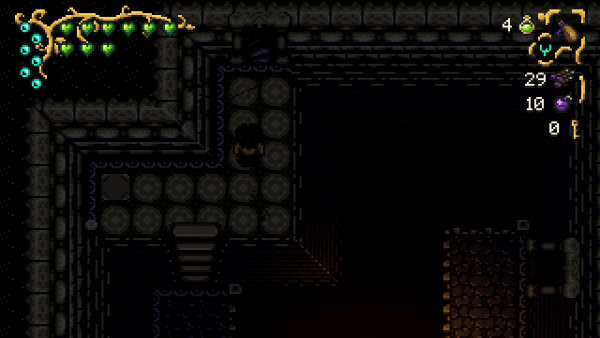
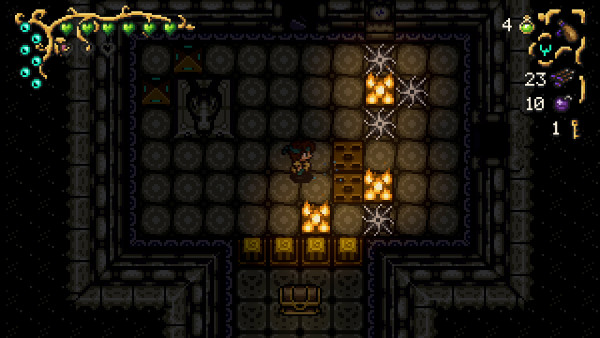
In the next room you'll find lots of blocks and a grate; to access the grate you can move the blocks out of the way (start from the bottom-right of the room). Use your Rune Of Flight to pass through the grate.
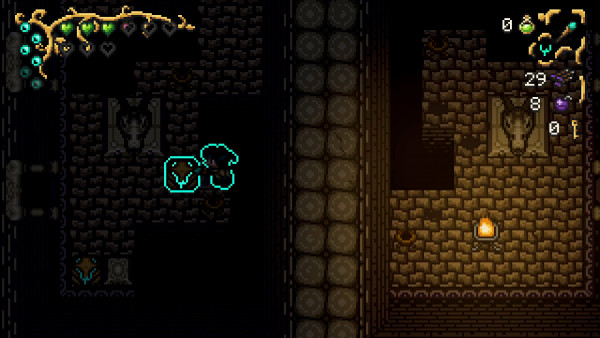
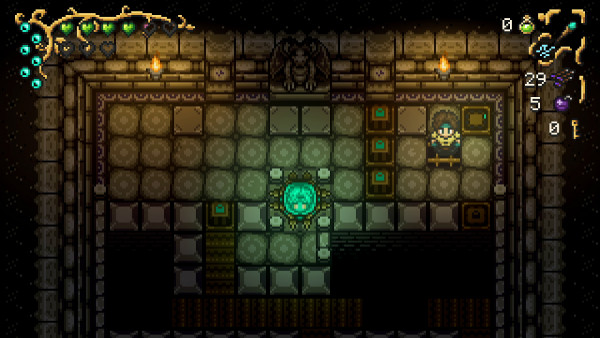
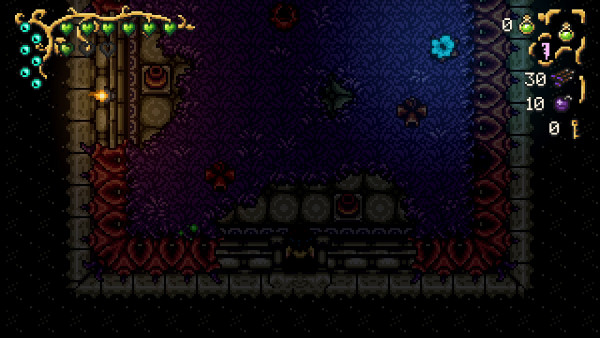
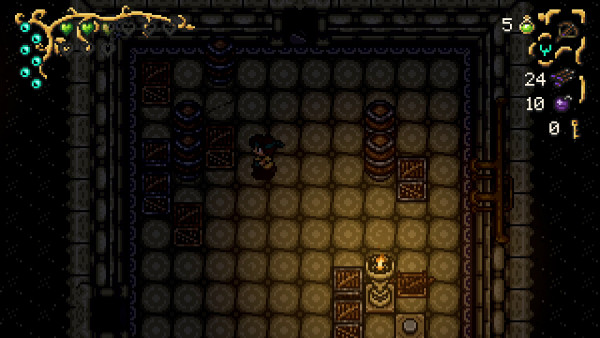
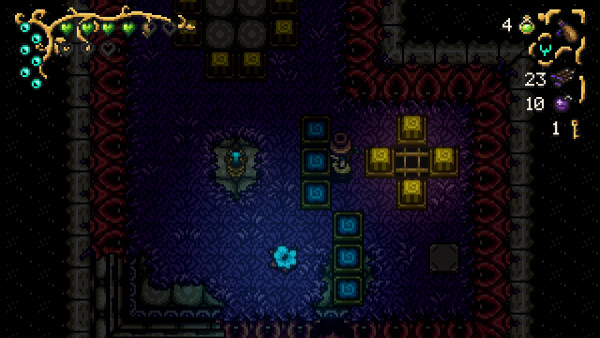
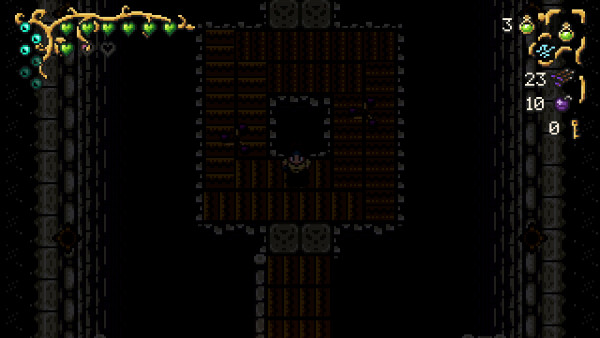
You'll fall into a room surrounded by darkness. There are invisible platforms here that you can have show up by using your Magic Flask.
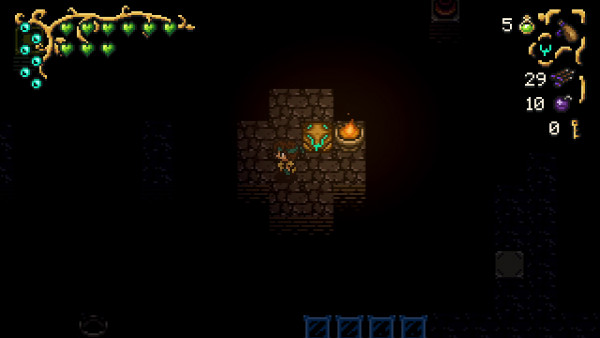
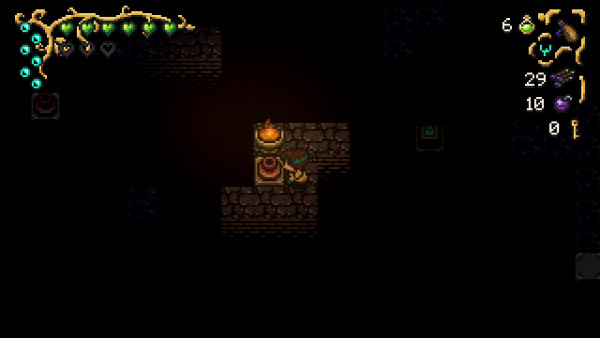
You will come across several empty lanterns; use your Magic Flask to ignite them all.
Start first by heading to your left and igniting the middle lantern. Then tread back on yourself and use your Magic Flask to show the path at the bottom of the map.
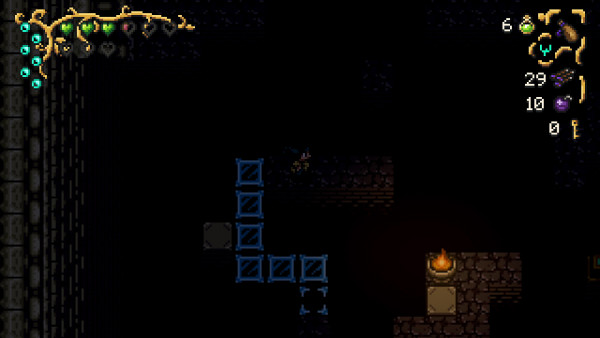
You'll find another Lantern here to ignite as you cross to your right. You'll come to a platform with a pot on it. Use your Magic Flask to create a new path on your left; stand on the top most tile and use your Rune Of Kobold Tech to teleport over to a platform in the middle of the room.
Ignite the lantern next to the rune stone. Next you'll need to dodge roll to the platform on your left.
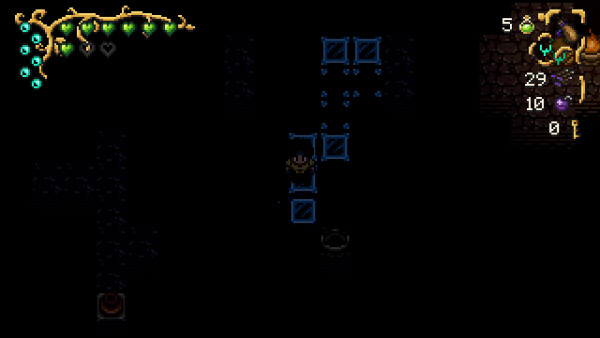
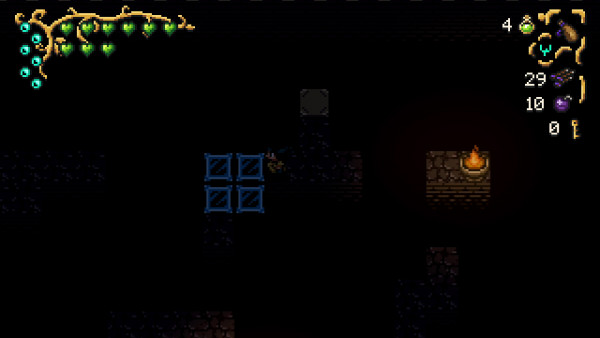
Then use your Magic Lantern to reveal a single-file path towards a lantern at the bottom. You'll then need to dodge roll to the next platform.
Here you'll come to a Barrier that is up. You need to reveal the path at the top that takes you to the time tile. Once activated, you need to dodge roll as fast as possible to get through the barrier.
Once through, dodge roll to the next platform and light the lantern next to the pot.
Follow the path at the bottom left; the pot contains a bomb so be careful about revealing it. You'll then need to dodge roll to a single platform.
You can then find another lantern at the top that you need to dodge roll to. Finally, if you head to your left you'll find the door exit.
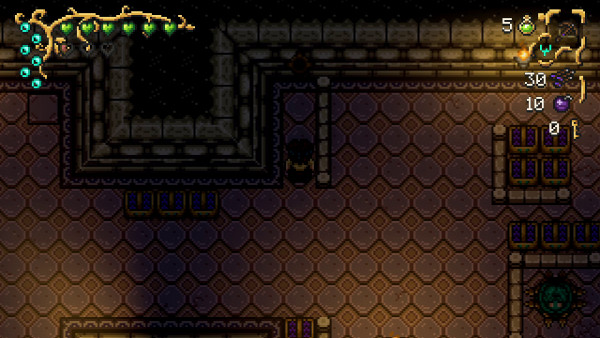
You'll come to a room with a narrow path, with several bridges going over you. Keep heading to your left.
Follow the next room round, go up the stairs and take the north exit.
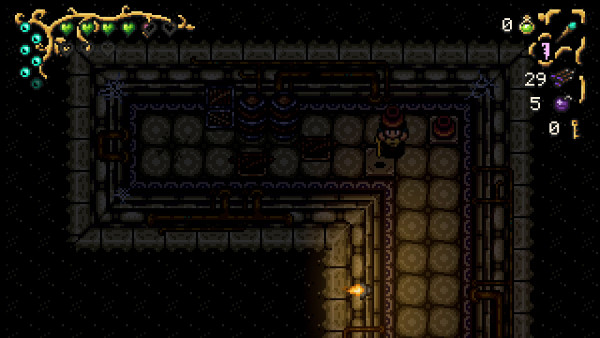
In the next room you'll see conveyor belts and a moving metal block. Head to the left exit.
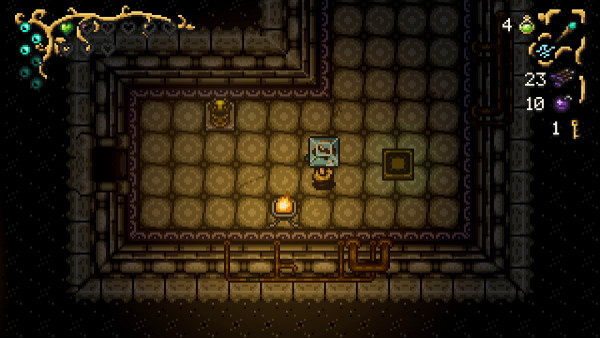
In the next room there are more moving metal blocks; the pot at the top has a switch underneath it that activates the door at the top-left.
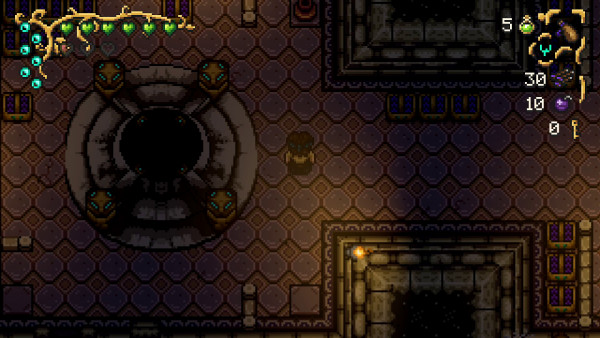
In the next room you'll see a strange device in the middle. If you head to your right, you'll be able to find holes in the walls; shoot your crossbow at all three of them. This will unlock the door on the right.
Take out the mobs in this room and hit the switch in the bottom-right corner. Then take the door north.
Here you'll come to several rooms that are empty and long corridors. Follow them round and you'll eventually come to a Treasure Chest containing a new Key!
If you then use your Crossbow to hit the statue, head back to the previous room and you'll see the barriers you just passed are now down. Use the teleporter and it will take you back to the room with the strange device in.
Head all the way back to the room with the conveyor belt and moving metal blocks; here you'll notice the barriers are now down and you can take the door at the top of the room on the right.
In this next room you'll see a golden chest with barriers blocking your way; use your Magic Flask and make your way to the room on the right.

Here you'll see two exploding pods surrounded by walls. Head to the room on the right, take out the mobs and hit the statue.

Now return to the room with the golden chest and claim your Paladin's Greatshield.
Now go back to the room on your right and head south. The barriers are down in this room also; hit the statue in the middle of the room and then cross the barriers; now pick up a pot or use your Rune Of Creation and hit the statue so you can access the grate. Use your Rune Of Flight to pass through it.
You'll come back to the bridge. Head all the way back to the beginning of the level and back to the room with all the fire and spinning skulls. In the top-right of the room is a locked door; use your key to unlock it.
In this room is a tile that you need to use your Rune Of Creation to throw a block on. Then head up to the top of the room and hit the other tile to pass through the barriers.
Now unlock the other door with your second key and head through it.
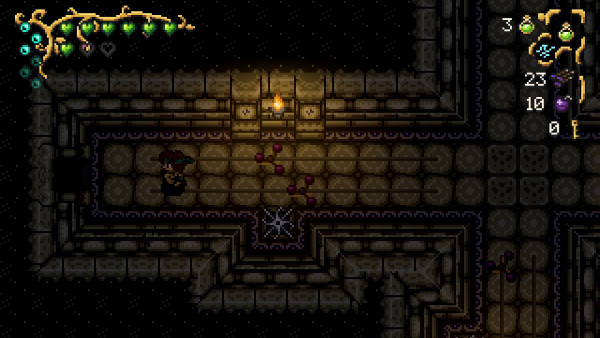
You'll come to a room with spinning propellors. Dodge them and head to the room on your left.
You'll then come to moving tiles that you'll need to navigate forward as they try to push you off. There are also more propellors to dodge. Keep heading north and you'll find the exit.
You'll then come to a room with a golden Treasure Chest containing the Kobold Tech Key! Woohoo!
You can now return to the beginning of the dungeon. The door to the boss can be found by going to the room on the left and then heading up the right flank.
Boss Fight - The Labyrinthian
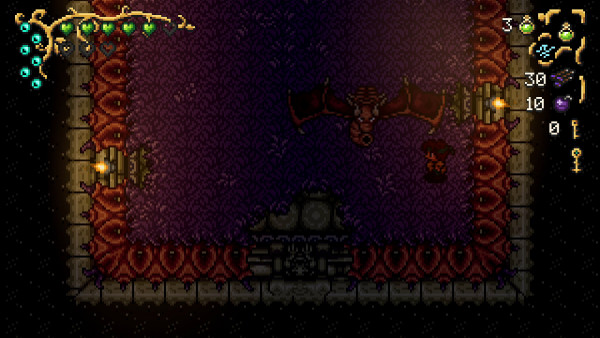
This is one of the toughest bosses in the game. This red dragon moves all around the room and is very hard to hit as well as avoid.
You'll notice the dragon shoots a fire projectile towards you; you can block this using your shield (assuming you picked up the Paladin Greatshield in this dungeon).
You'll want to make sure you have at least 6 potions (hopefully you purchased the potion pouch from Crafty at The Great Marsh).
The boss will from time to time lay an egg; this is a good time to get in several hits; when the egg hatches little minions will spawn so be careful of those too.
You can use your Crossbow for some ranged damage hits, but it can be hard to manage dodging the fire projectiles if you do this.
The best method is to just keep dodge-rolling around the room, slashing at him when you get the chance. The wings of the dragon do not do damage.
Once you do enough damage the boss will speed up and make it even harder to hit.
Check out the video below for more tips:
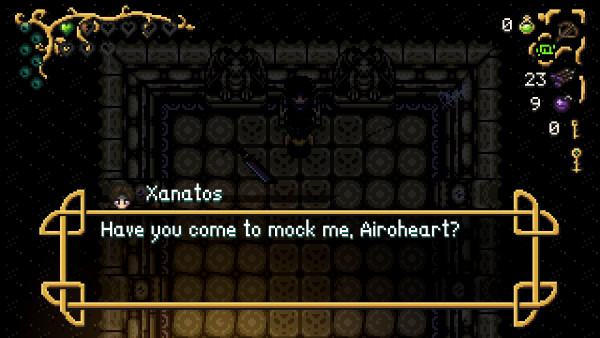
Once you defeat the boss, head through the door at the top and you'll come across your brother Xanatos! He gives you the empty Draoidth Stone!
That wraps up part 9 of the Airoheart Walkthrough! Let us know if we missed anything vital in the comments below!

Discussion