
In this part of the Airoheart guide we head to Mizu Temple in search of more lost fragments. Mizu Temple is located on a secluded island north of Llanfair and requires you to head along the water to reach it.
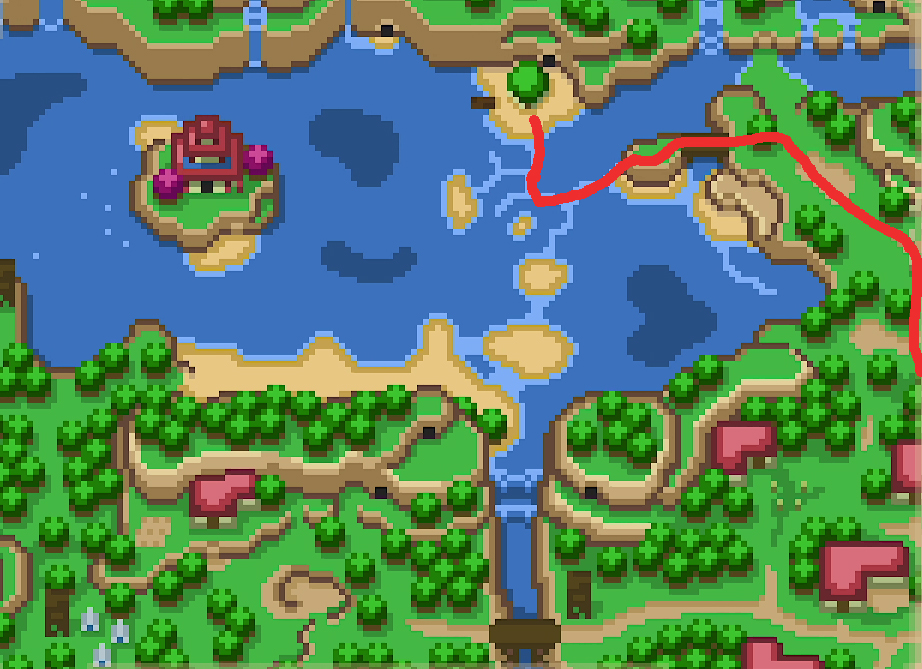
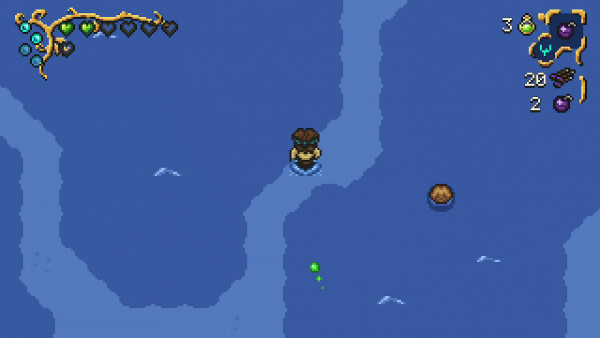
If you head to the north part of Llanfair, you can find shallow water paths you can walk on.
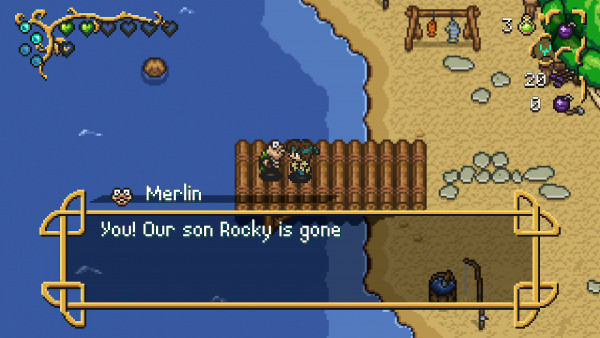
Navigate them to head north and you'll come to a small island with a strange folk inhabiting it. If you head to the bridge on the left side, you'll find Merlin, who says his son Rocky is missing.
He says his son followed a man to a temple on an Island and he will take you there if you help him find his son. Sounds like a good deal to me!
When you arrive on the Island, you'll notice a huge temple in front of you. You can go round the north-left side of it to find a Heart Melon!
Mizu Temple Walkthrough
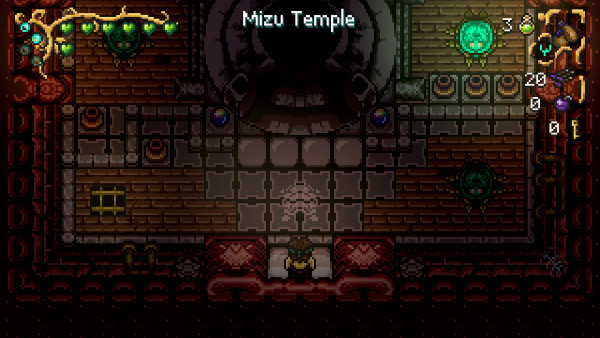
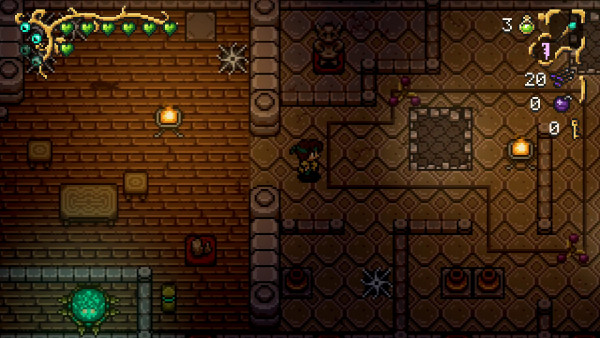
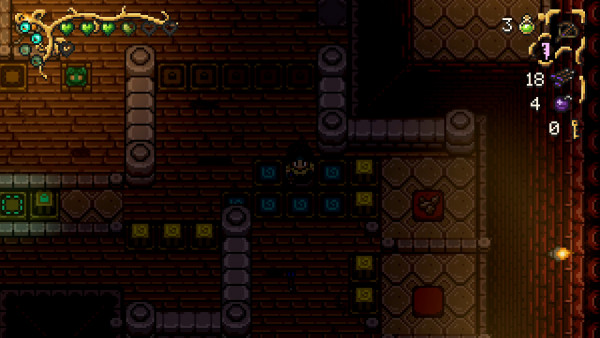
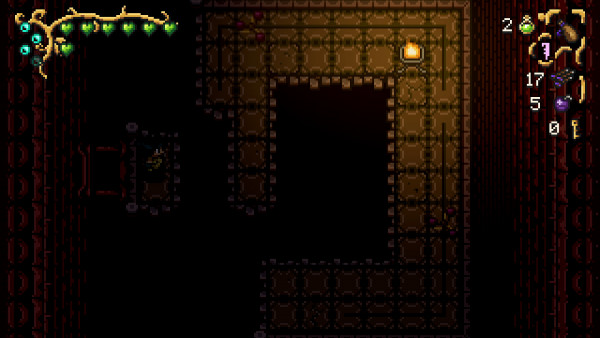
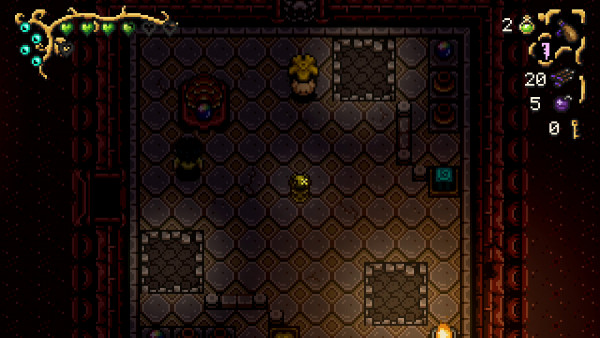
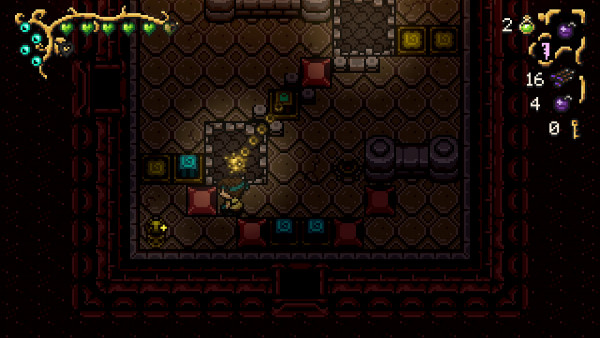
The first thing you'll notice about Mizu Temple is that it has another one of those strange contraptions in the center. You can fill up two of the points with your Magic Flask from the beginning (so go do it!)
Next you'll notice in the corner there is a grate. You can head down there by casting a Rune Of Flight.
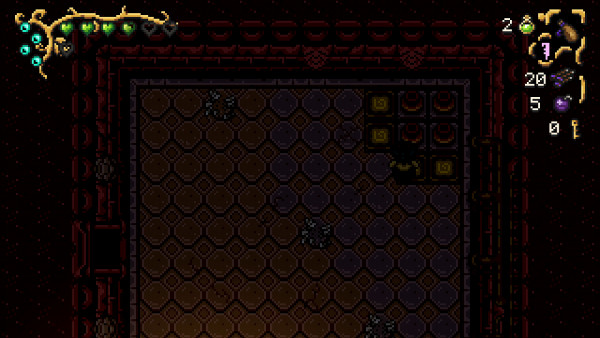
You'll come to a room, where on your right are two propellors following a track around the room. You'll notice a locked door at the top of the room; ignore it for now. Instead, fall down any of the three holes in the room.

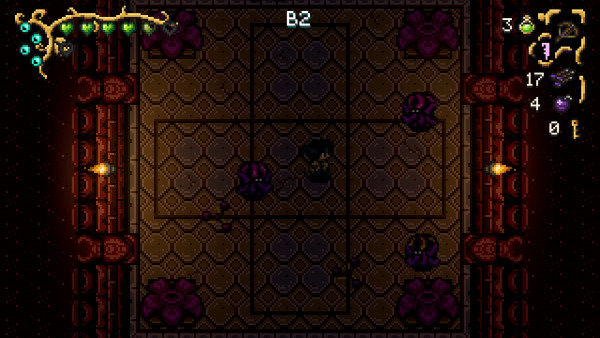
You'll land in a room called B2. Inside are ghost lanterns that you can take out with your Magic Flask. Next you should fall down another hole and you'll come to B3.
Watch out for more propellors and ghost lanterns. If you fall down any of the holes you'll come to B4- you just need to clear the rooms, head north and take the stairs to come back to B3.
In B3, you should head to the top-left corner of the room, where you'll need to dodge an explosive hole and spinning ball and chain.
Use Rune Of Flight on the grate and you'll fall through to a room with flying spinners and monsters. Fall down the hole and you'll come to B5.

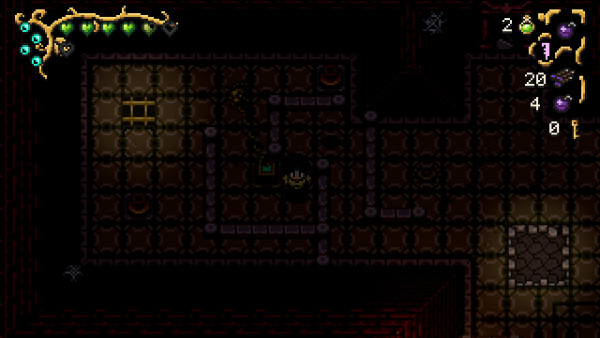
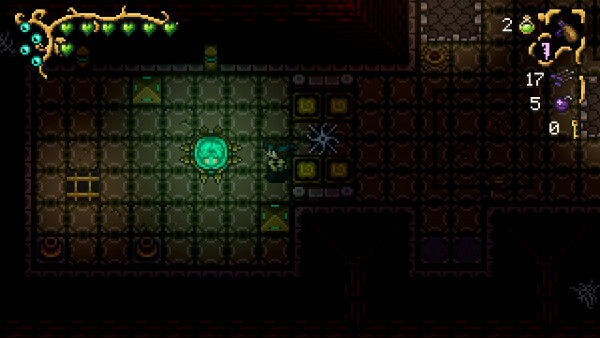
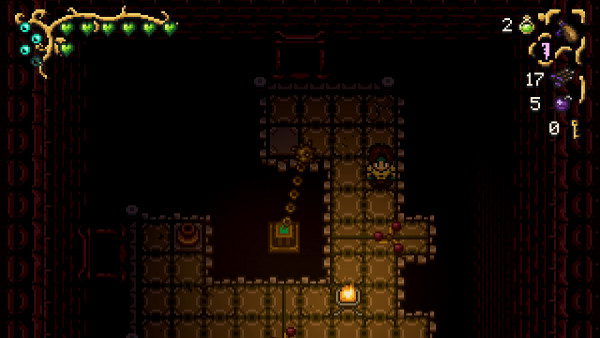
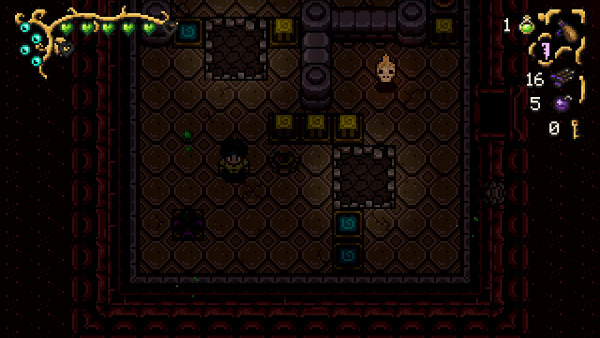
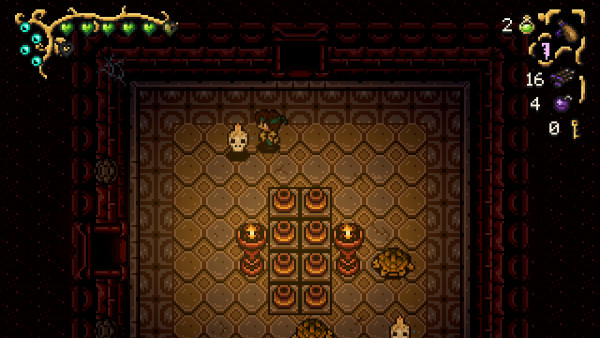
In this room you'll notice a tile to generate a Mimic. Once you activate the Mimic, you need to head down towards the second tile in the bottom left corner to deactivate the wall barrier and have the Mimic walk through.
Then once the barrier comes up, you need to make the Mimic walk to the next tile so that the Barrier is then brought down permanently.
Next head to the right and there is a gray tile. Stand on it and equip your crossbow- fire an arrow downwards and it will hit a statue deactivating the barrier on your left.
Take the Teleporter.
You'll come to the beginning of the Mizu Temple; use your Magic Flask to pour water into another point on the device in the middle of the room. Then take the top-left hole and fall down it.
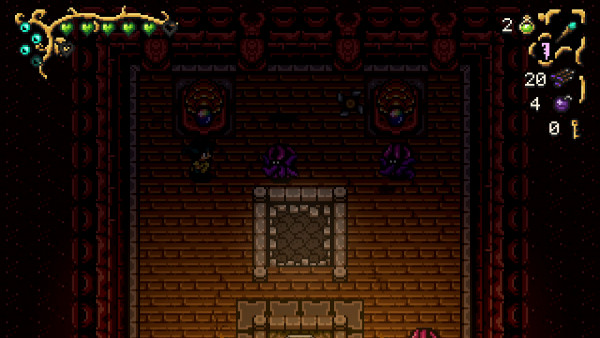
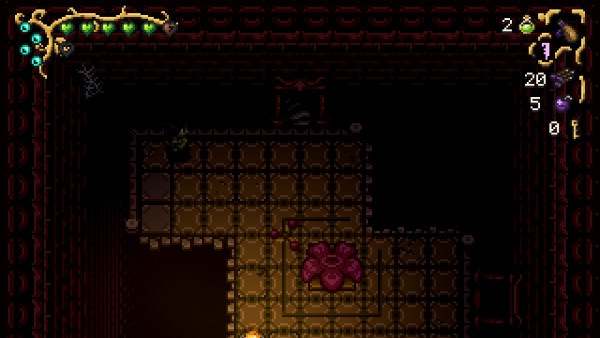
In this room you'll come across three jumping mushrooms; take them out. Then fall down the hole in the center of the room.
You'll land in the middle of a room surrounded by a propellor and three mobs. Take the mobs out slowly, careful to dodge the propellor if it comes your way. Killing all three mobs unlocks the door at the bottom of the room.
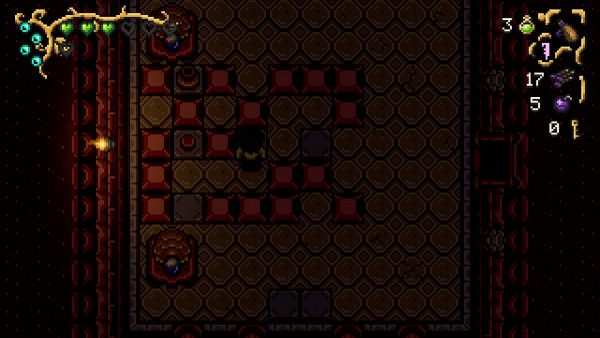
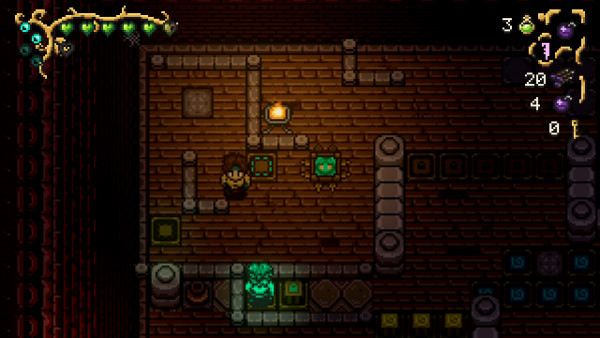
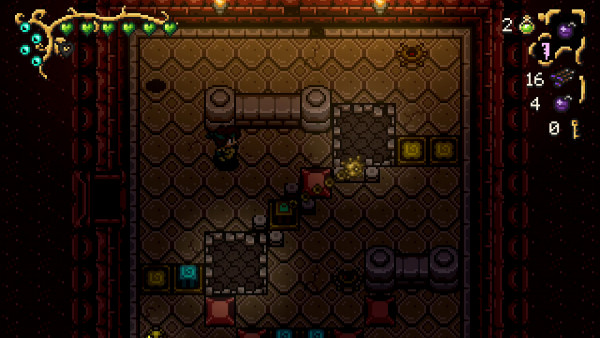
In this next room you'll come to several pots surrounded by blocks. First take out the ghost lanterns.
Then from the right side, you can begin to move the blocks from side to side, making your way to left-center pot. Underneath this is a switch to unlock the door on the right.

Head to the room on the right; you'll see more ghost lanterns and propellors. Fall down one of the holes and you'll end up back at B3.
If you head to the bottom left you should notice the barriers are now down and can head towards the teleporter. Ignore the grate and use the Teleporter.
You'll come to a dark room where you need to make a dodge-roll to get across. Watch out for the propellors.
Follow the room to the right and you'll come across more propellors; take your time. You are safe near the edges. Follow the room south.
In the next one, you'll come across a spinner ball and chain as well as propellors that you'll need to dodge.
Head to the left exit and in this room head to the north door.
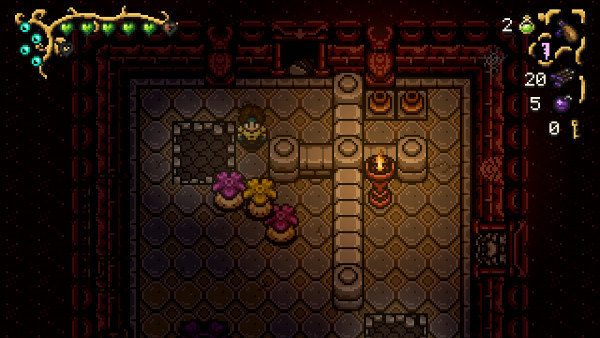
In this room you'll come across more mushrooms- take them out to open the door on the right.
In this room there are three more mushrooms and a statue in the middle. Once the mobs are taken out, the door at the top of the room opens; head through it.
In the next room take out the plants. In the corner are four pots (if you hit the statue in the previous room you can lower the barriers).

Make sure the statue is in a state of bronze before heading to the room on the left. In this room you'll find four flying spinners. In the corners of the room are barriers; you'll need to hit the statue in the previous room to lower them.
Once the barriers are lowered, use your Crossbow to fire arrows into all four of them. This will unlock the door at the top of the room. Head through it.
In the next room you'll come across a plant in the corner that fires at regular intervals. Watch out for the Ghost lanterns and take the door on the right.
In the next room you'll see a spinning ball and chain. In the bottom left corner is a statue; hit it to make the barriers in the top-right corner come down.
Make your way round, dodging the ball and chain. You can then push the bottom-left block to reach the statue and hit it again so you can take the south door.
In the next room you'll come across more lanterns and turtles. Take them out. The pots in the middle have lots of health hearts so consume them if you need.
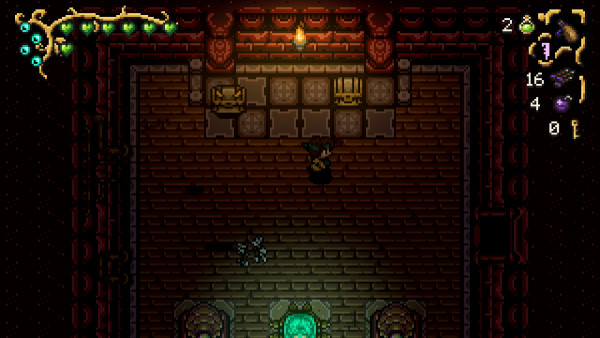
Take the room on the left; at the top are two Treasure Chests, the one on the right contains a key! Take the Teleporter and it will take you to the beginning of the level.

Use the Rune Of Flight to take you through the gate and then use your new key to unlock the door at the top on the right.
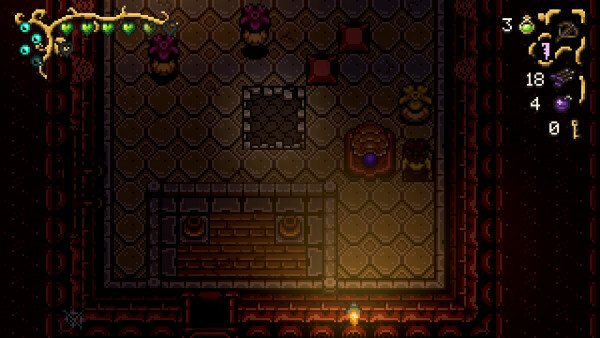
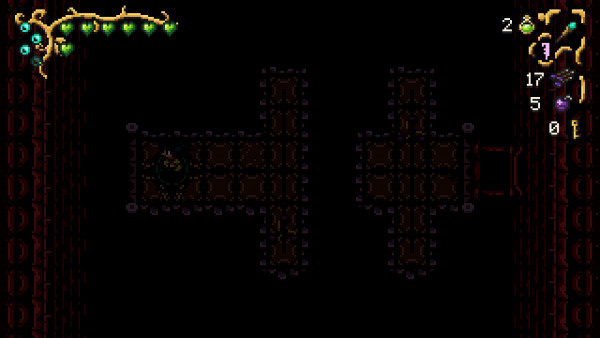
In this room you'll come to a maze of blocks. Certain ones can be pushed around to allow you to get to the Teleporter.
This will take you to the beginning of the level but you can now access the final point on the middle contraption; fill it up with water using your Magic Flask and it will unlock the Kobold door to face the boss!
Boss Fight Mizu Temple
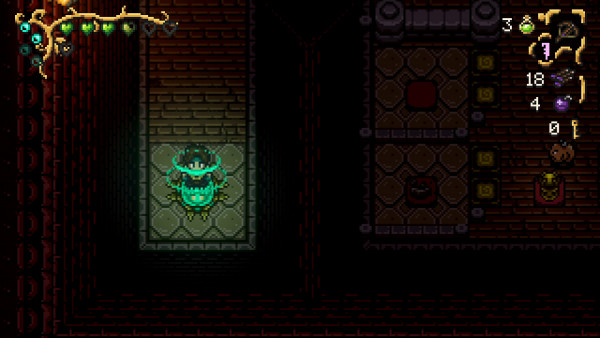
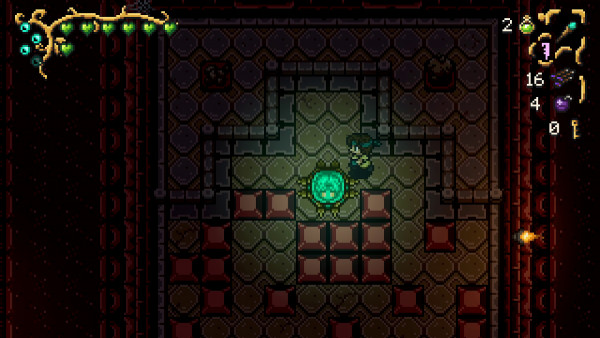
To start this boss fight, interact with the Treasure Chest and then the boss will spawn directly behind you.
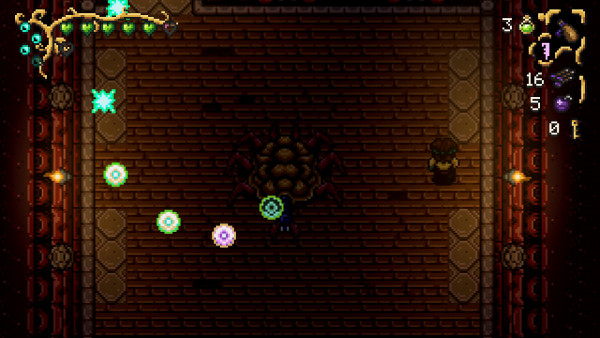
This boss is immune apart from it's head. The first round the boss moves around the room firing orbs at you. Easy enough to dodge but if you get hit you'll be stunned temporally. Take out the two turtles whilst you dodge the orbs.
The second phase of the fight the boss moves to the top of the room and them moves left to right firing down orbs. You can easily dodge them by standing still in one place and then dashing as one comes down upon you.
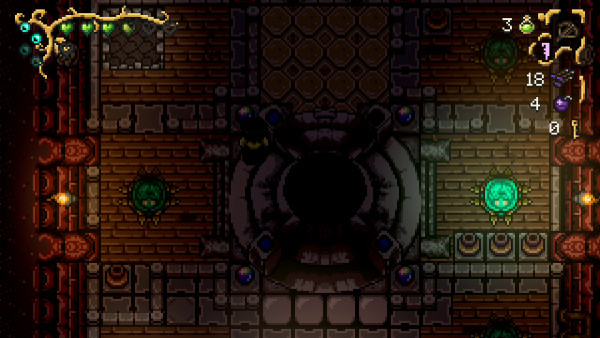
After this phase, the boss returns to the center of the room and then shoots out orbs in a 360 degree motion, starting from the top and goes in anti-clockwise motion. During this phase, you should always stay behind the spiral of orbs.
Once this phase is over, start attacking the boss's long head as often as you can.
Then you just repeat this process over and over again. When you take off a lot of the boss's health, it'll get slightly faster.
If you need more help, check out this video:
Once the boss is defeated, you can obtained the Enchanted Ring from the Treasure Box! Looks like there was no fragment in this dungeon!
And that wraps up Part 6 of the Airoheart Walkthrough! Let us know if we missed anything in the comments below.

Discussion