Dragon's Demise is the next dungeon we face in Airoheart, located in the desert area called Al'kashmiri Basin. By now you should be getting used to these dungeon puzzles and this one introduces some new mechanics.
In this part of the Airoheart guide you'll want to make sure you're collecting Heart Melons along the way to boost your health. It will make the boss fights a lot easier and prevent you from dying so much during a dungeon.

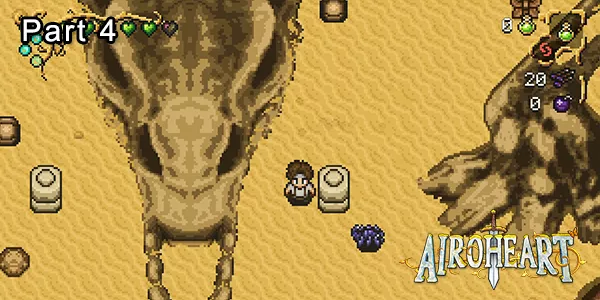
Dragon's Demise is located in the Al'kashmiri Basin region. You can get there by crossing the mountain caves from Llanfair County. Check the map above.
Dragon's Demise can be entered by going through the mouth of the Dragon head skeleton.
Dragon's Demise Walkthrough
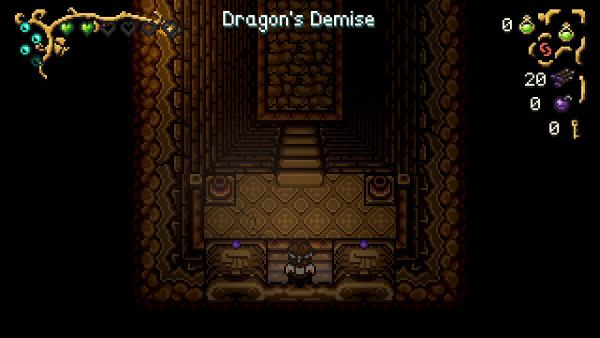
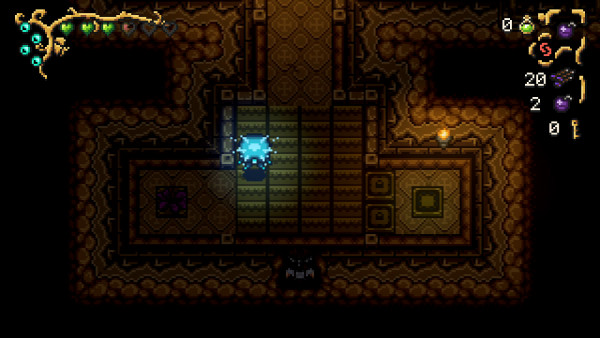
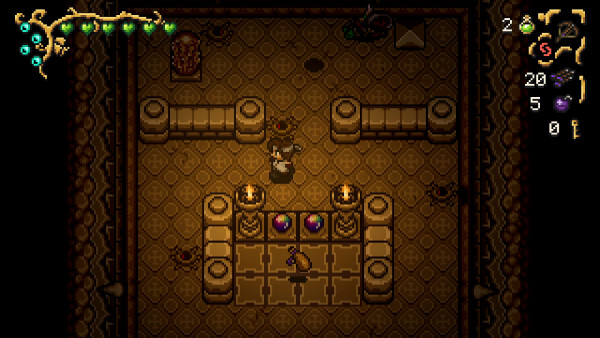
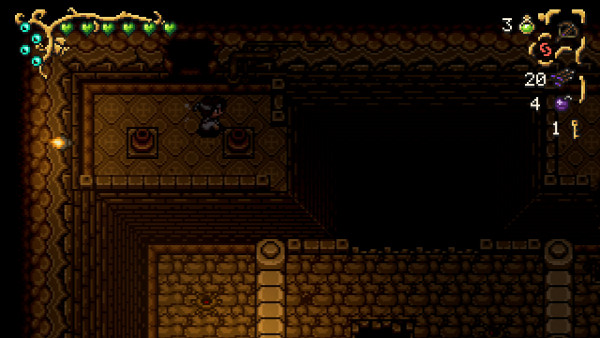
You'll begin Dragon's Demise at the top of the stairs with two pots either side. They both contain health hearts, so if you need to replenish your health, just exit the dungeon to respawn the pots.
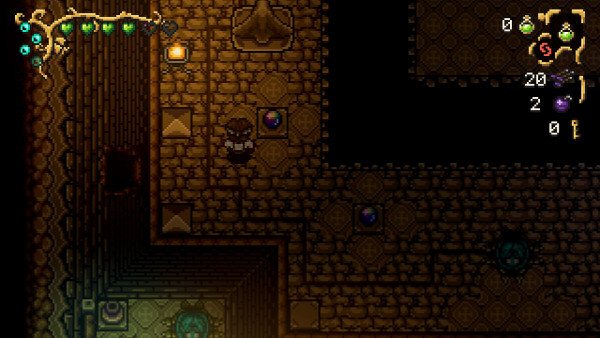
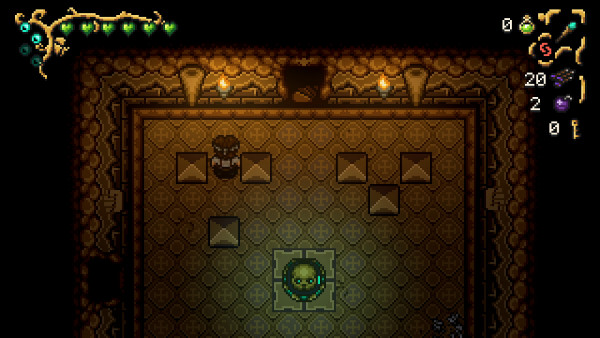
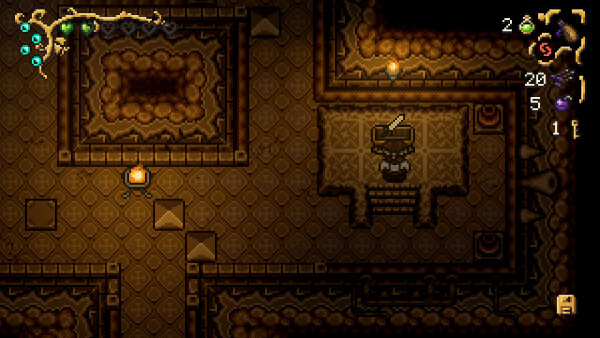
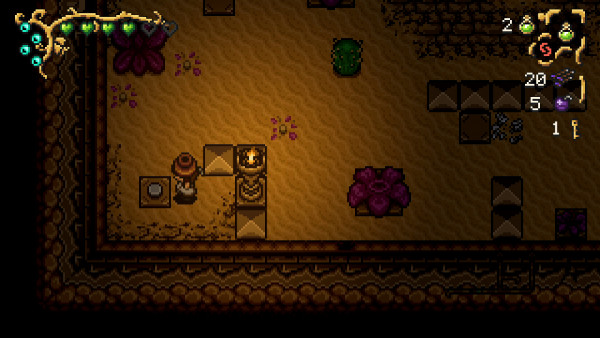
Head into the next room and you'll notice those mimic decals on the floor. Ignore those for now. If you need any bombs or magic orbs, the pots in this room will help replenish your supplies. Head to the room on the left first.
Dodge the flying spinners and the mushroom mob and head up the stairs. Ignore the Powder Keg in the corner for now and continue going left.
Hit the time tile and immediately run to the left and up across the bridge before the barrier closes.
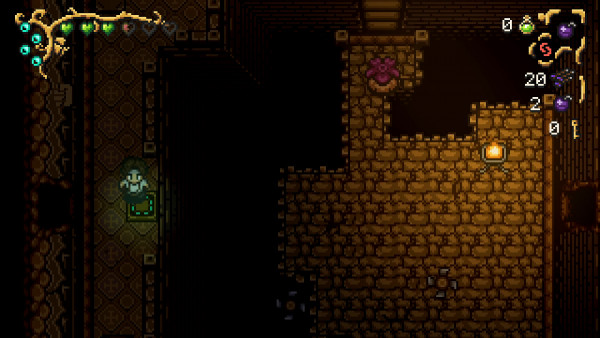
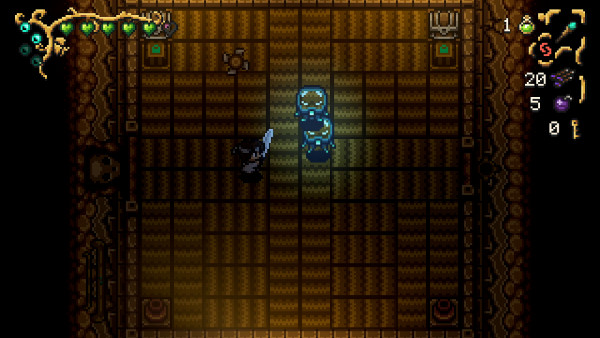
In the next room you'll notice an electric ghost and a flower pot that shoots missiles at you constantly. You'll want to dodge past both of these and keep heading north and exit through the north door.
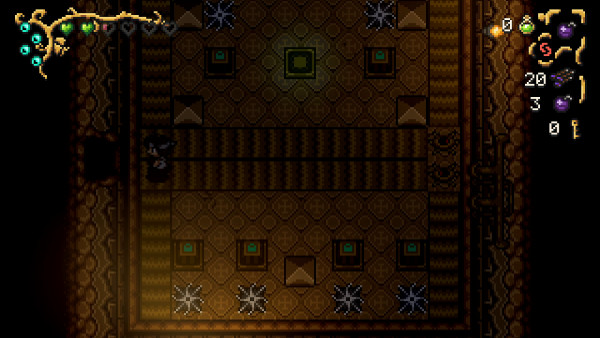
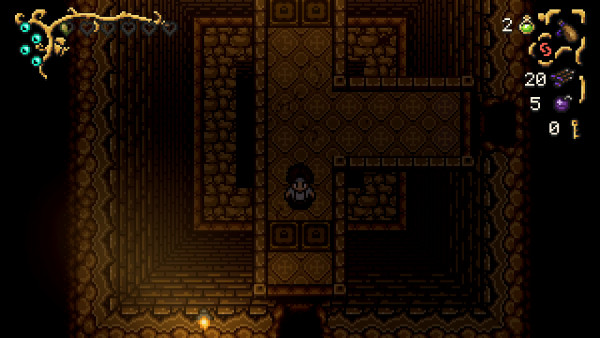
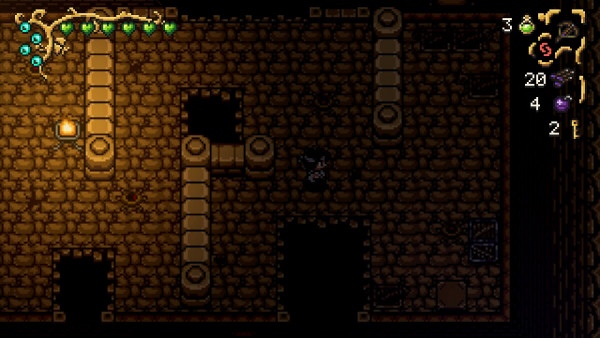
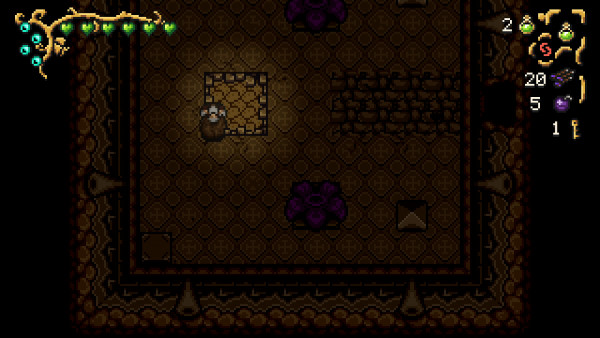
You'll now come to floor B1. In this room you'll notice lots of moving metal blocks; do not press the time tile as it will release them and make it harder to exit the room. Instead move to the middle and then make your way left.
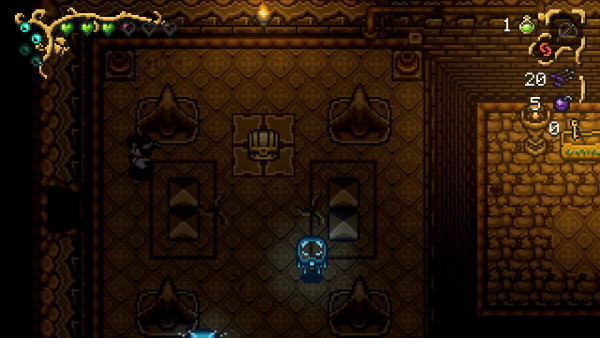
Skip the next room for now and head left. Will return to this room later. Head past the spiked statues and left again.
In this next room you'll come across lots of cactus monsters. You need to defeat all of them to unlock the door. Head through the north door.
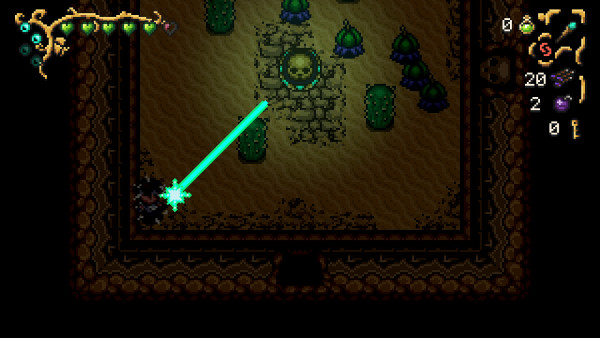
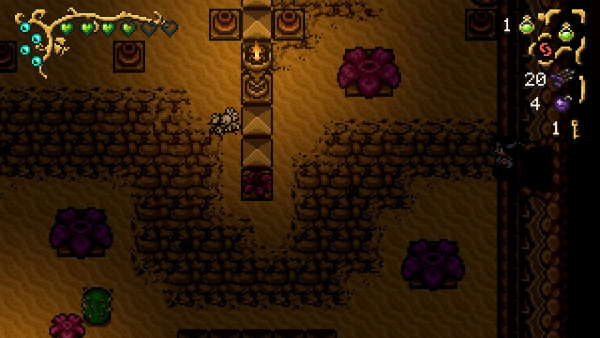
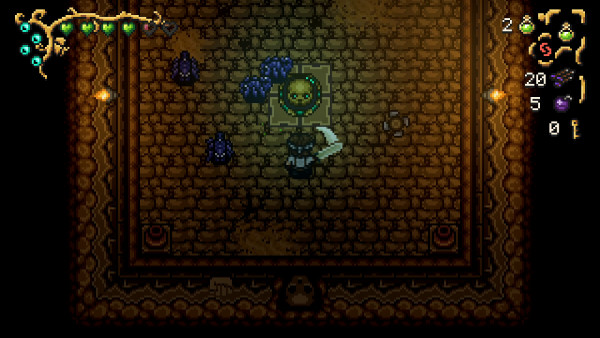
You'll come to a room with roaming plants and a strange skull tile in the center of the room. If the light around the skull meets your direction, it will shoot a large laser beam at you. You can avoid this with your new dodge skill.
Defeat all the plant mobs and move right.
In the next room you'll see another spinning skull tile. This time head to the top left block and push it down to open the north door. Follow it.
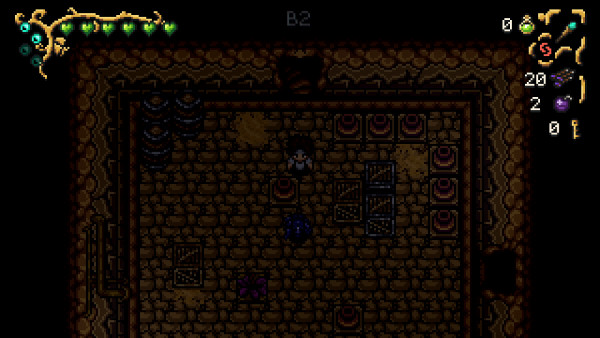
In B2, you'll come to an area with a one of those plants that fire at you. Dodge it by heading behind the crates and smash the pots for some health.
Head right, and be wary of the spinning skull. Smash the pots in the top left corner to open the door to the right. You can also smash the bottom right pot to open the south door. But you'll want to head right!
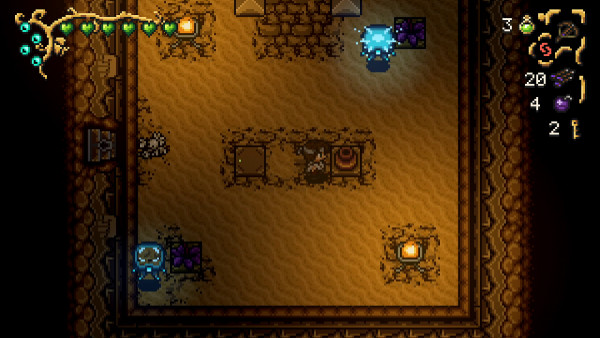
In the next room you'll come across a flying spinner and two electric ghosts. Defeat the ghosts, then use your crossbow to fire into the hole on the right of the room. This will deactivate the barriers and allow you to get the pots. In the bottom right corner, smash the pot to reveal a switch and step on it.
Now head back to the left room and take the south door.
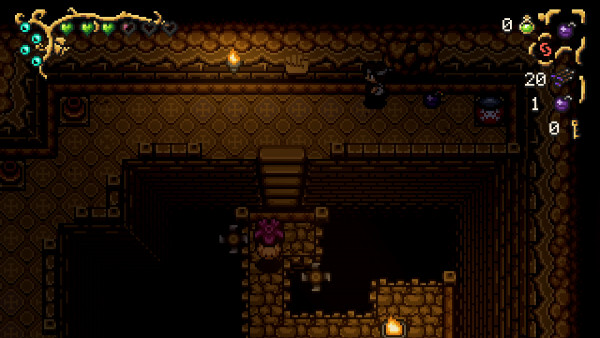
In this room you'll find several spider mobs and three pots with a Powder Keg. Smash the bottom left pot to find a switch and exit the room from the right.
In the next room you'll find a Treasure Chest with a key inside! Dodge the spinners and now head back to the room with the Powder Keg in the middle of it.
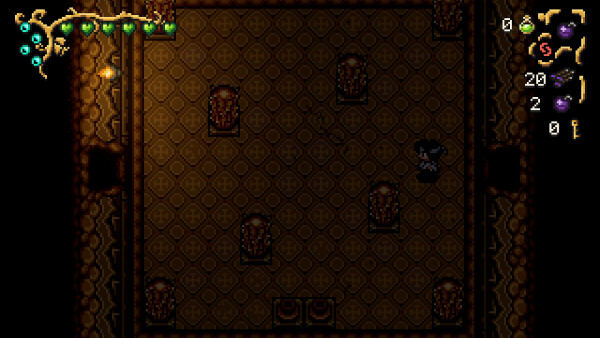
You can use this Powder Keg to detonate the explosive holes in the ground. If you wipe them all out, you'll find a door at the bottom of the room that you can use your new key on.
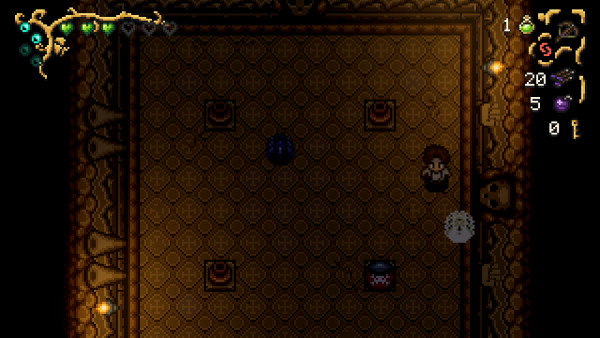
In this room you'll find Finnan on the ground. If you head past the explosive holes, you can pick up a Magic Flask! You can then use the Magic Flask to awaken Finnan by selecting it as your held item.
New Weapon
You can now get a new sword! Head to the area where there is a time tile that unlocks the barriers at the bridge.
Once you hit it, head south on the bridge past the second lot of barriers.
You'll come to a room with Powder Keg. Throw it at the explosive holes and then collect a key from the Pot in the bottom right. If you then head to the room on the right, you'll find a new Time tile.
You'll now want to run all the way back to the area where you first activated the time tile for the bridge barriers. Head further up and you'll notice that the barriers next to the movement tiles are now down. If you do this fast enough, you can make it across.
Move the block tiles out of the way and you can now access the Treasure Chest which contains the Adamantite Sword!
Dragon's Demise Kobold Tech Key
Head to the room with the Powder Keg in the corner that is near the beginning of the level. You'll need to blow a hole in the wall using it.
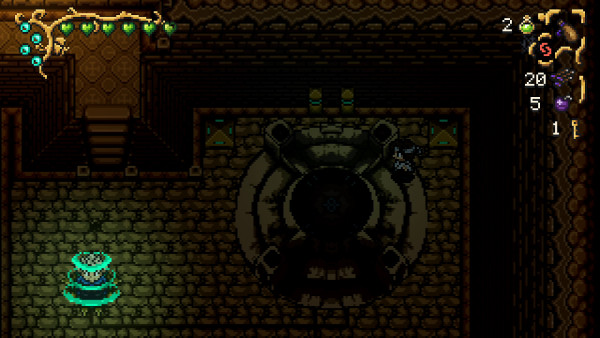
Inside this room, you'll come across a strange contraption. Using your new Magic Flask, you can fill up the four points with water. This activates the teleportation system in the dungeon.
Now go back to the beginning of the dungeon and head to the right side.
Take the right north door and you'll come across a Powder Keg. Throw it to blow up the explosive holes and then follow the path round.
You then need to plant a bomb on the wall to open up a new door.
Head through it and you'll come to two pots. The right pot contains a key!
Now head back to the beginning again and this time take the right middle door. Dodge the explosive holes and take out those mushrooms. Head up the north right stairs after smashing the crates.
In the next room you'll have two shooting plants firing at you! The door on the left is locked so use one of your keys to get out asap!
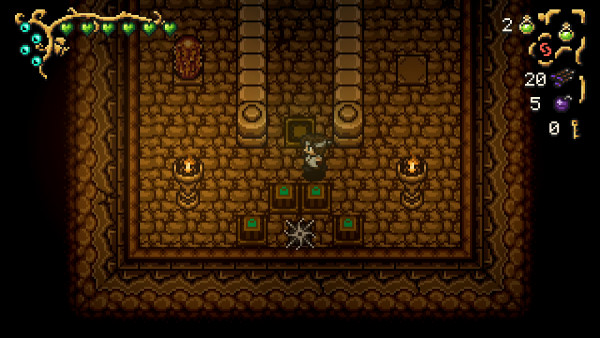
The next room is quite big! There are several of those plants that fire at you. You want to make your way to the bottom left corner where there is a pot. Underneath it is a switch, which will activate a door on the left wall.
In this room you'll see a highlighted square. When you move onto it you'll fall down and land outside a locked door. Use your next key to unlock it!
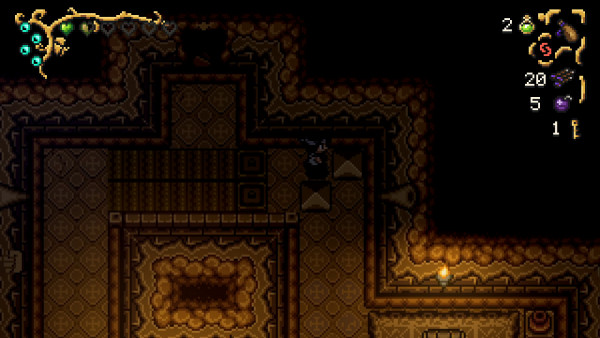
You'll then come to another room; at the bottom is time tile, once released the metal block will fly at you. You'll want to run up ahead to the north door.
In the next room you'll come across four spider mobs, a spinning laser skull and a flying spinner!
Defeat all four spiders to unlock the north door.
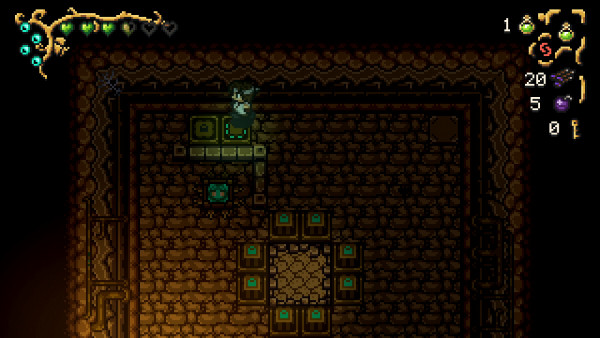
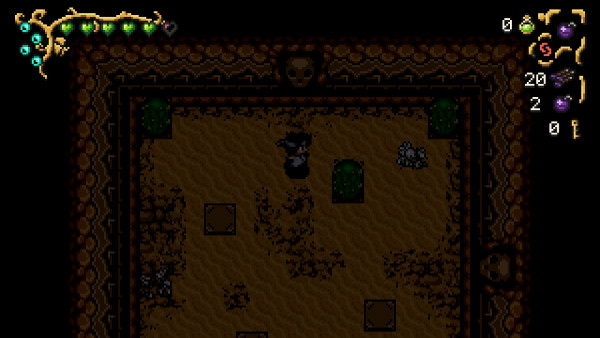
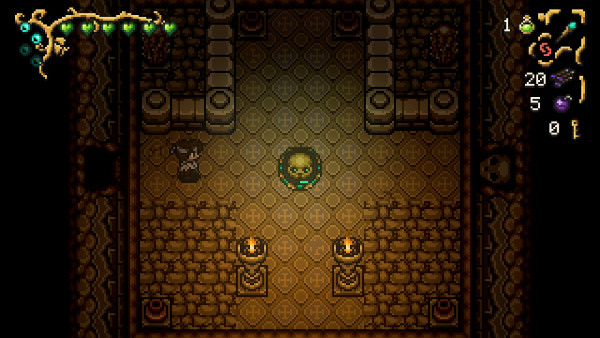
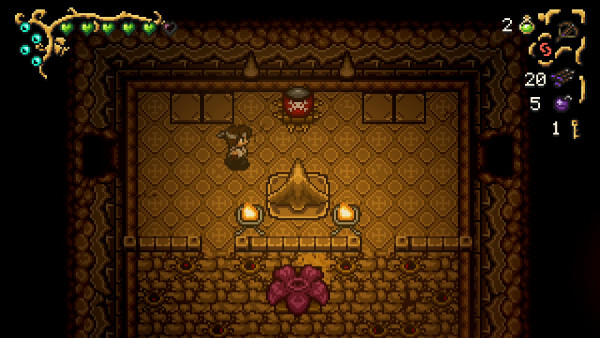
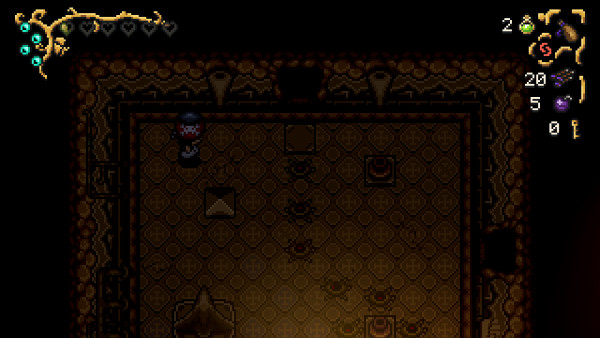
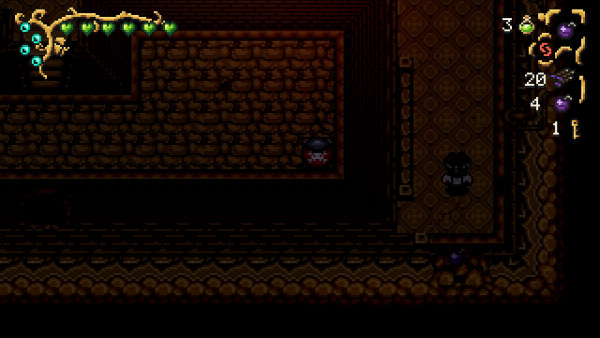
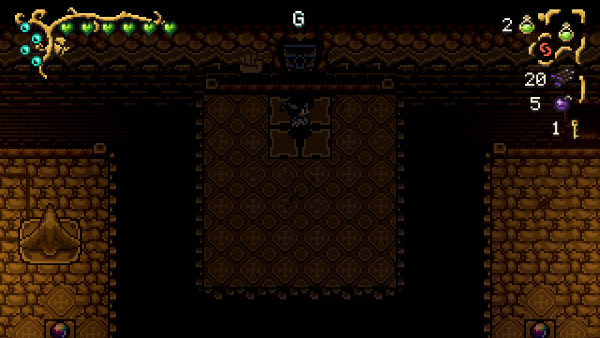
This next room contains a Mimic. You'll activate her by pressing the bottom right tile.
Head straight up and along the wall to the other activation tile so that the mimic will head into the other one. This will bring down the barriers in the middle of the room, allowing you to fall down.

You'll land in front a golden Treasure Chest containing the Kobold Tech Key, allowing you to now face the boss!
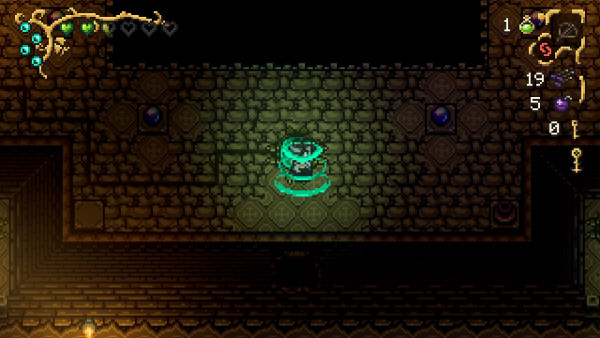
Head back to the beginning of the dungeon and take the center teleporter.
You will come to a long corridor; take the middle path and unlock the final dungeon door and prepare for the next boss!
Boss Fight - Lord Lod
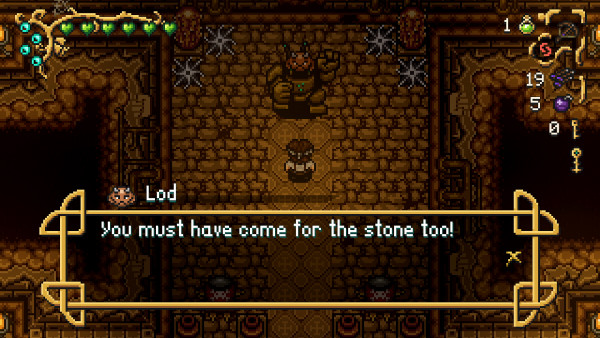
The final boss in the Dragon's Demise dungeon is a guy called Lod!
He will constantly throw boulders at you, moving from side to side. They're quite easy to dodge once you get used to the patterns.
In order to deal damage to him, you need to pick up the Powder Kegs and throw them at him. The Powder Kegs will regenerate over time, so in the down time you should focus on healing up and dodging.
After several hits, Lod will then start firing a rock straight towards you.
His final upgrade is a rock will fall on you when he does a jump. It's all quite easy to dodge- just keep moving around.
You can find extra health hearts in the pots at the bottom.
Check out the video below for more help:
Once you defeat Lod, you can then claim your third piece of the soulstone! You'll get an extra health bar for it!
That wraps up Part 4 of the Airoheart Walkthrough! Let us know if we missed anything in the comments below!

Discussion