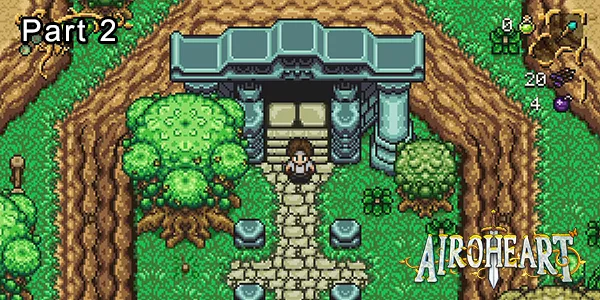
This part of the Airoheart Walkthrough sees us head to The Monastery in search of the next fragment of the Draoidh Stone.
In part 1 we discovered the first part and finished up back up at Grandpapa's house where the Elmer ask you to search for more fragments.
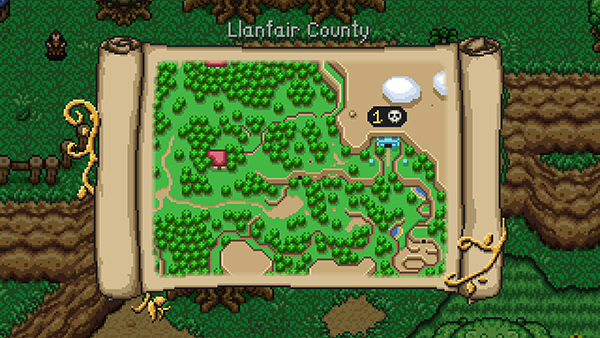
They mention the next fragment piece is located to the east and if you check your map, you can see the location that has a icon with the number 1 on it.
The world has also been updated since you obtained the first piece of the soulstone. Now random monsters spawn across the map, so make sure you take your time traveling.
You can also go back to Llanfair and take on Airoheart Sidequests, as well as speak to the Blacksmith who can craft new items. You won't have any of the materials to make anything new just yet, so its best to just head to the second fragment location.
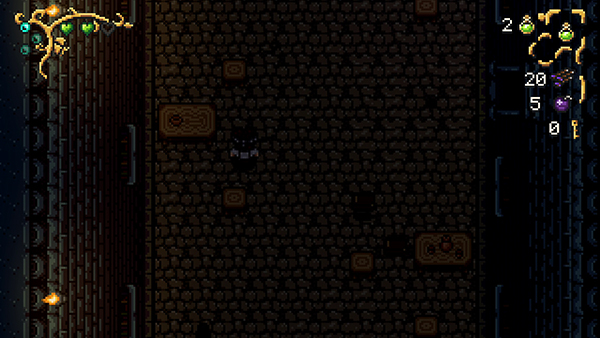
Work your way through the map to the east and you'll eventually come across a blue temple. This place is called The Monastery.
The Monastery
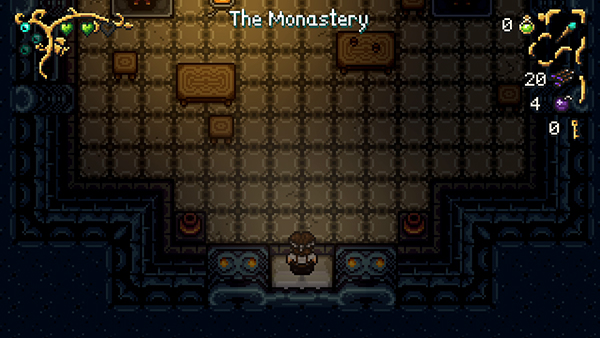
The Monastery is another puzzle dungeon that you will need to solve in order to find the fragment. It also contains your first boss fight that you'll have to defeat at the end.
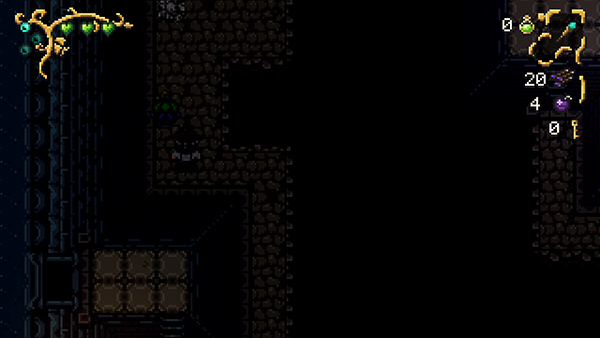
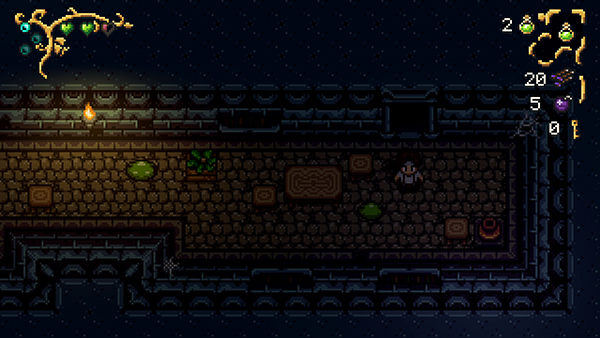
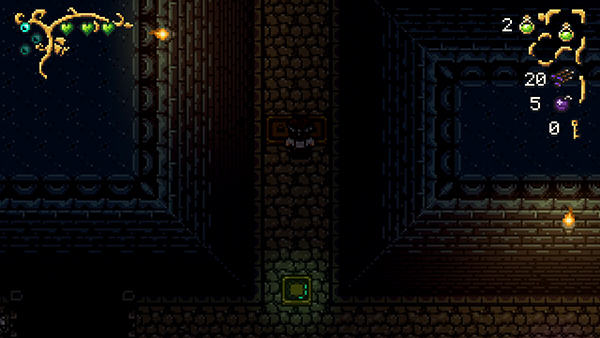
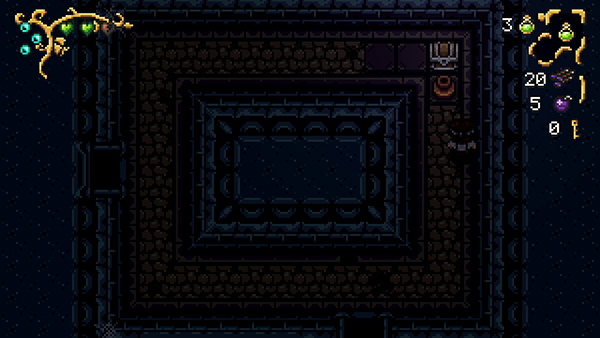
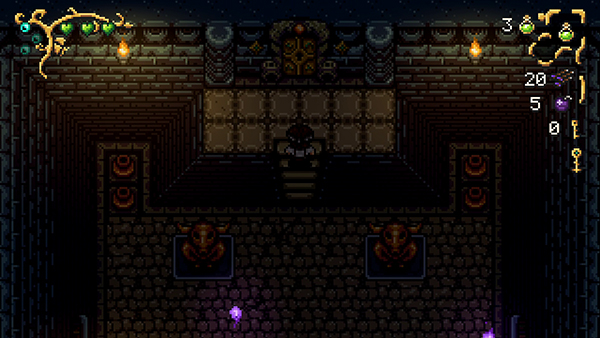
The entrance room contains a locked door; you can find the key in a pot at the top-right.
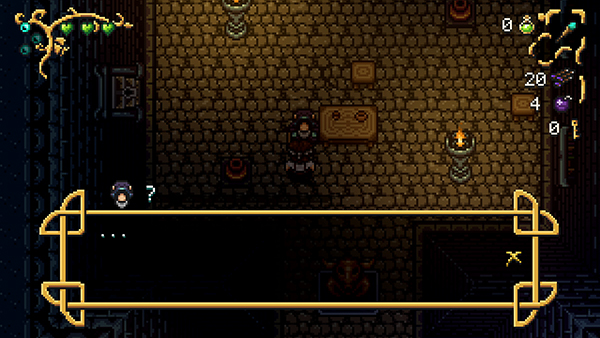
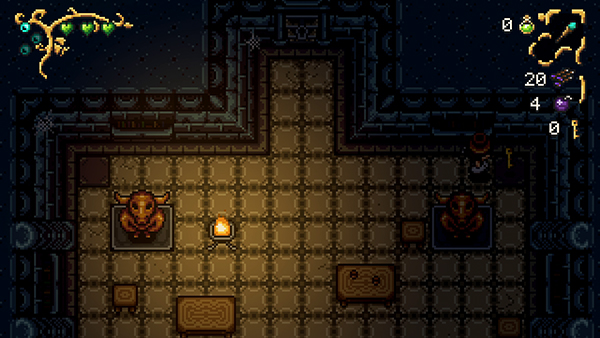
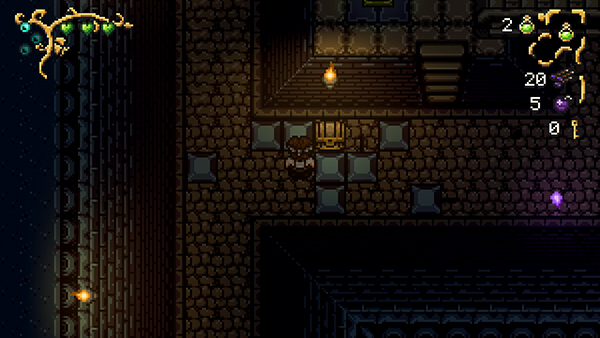
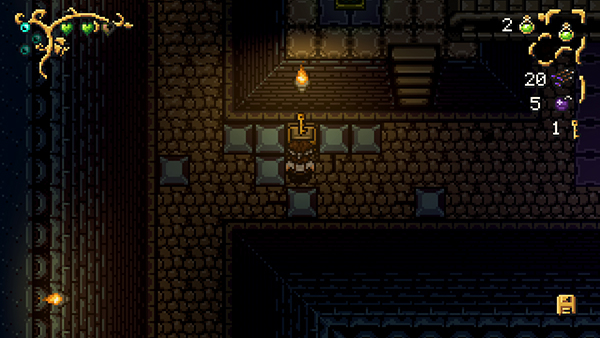
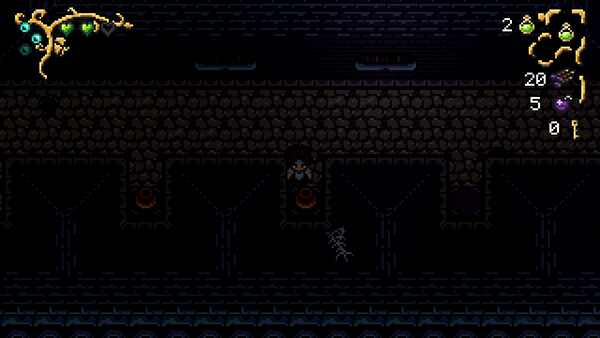
The next room contains a person asleep on a chair.
Head up the stairs on the right and step on the tile to open up the door to your right. Enter this room.
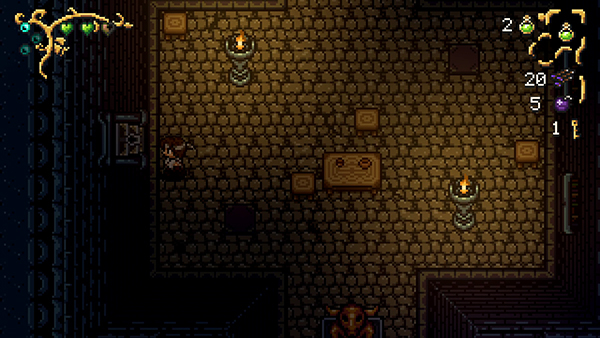
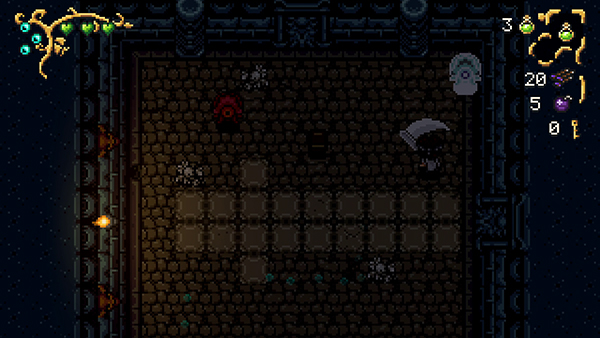
You'll find yourself in a room with two plant monsters, two fire monsters and a gold treasure chest. Be careful in this room, as there are lots of trap tiles that will launch arrows towards you.
Open the Treasure Chest to find a Wooden Shield. You can use this to block the arrows that fly towards you. From this room head south.
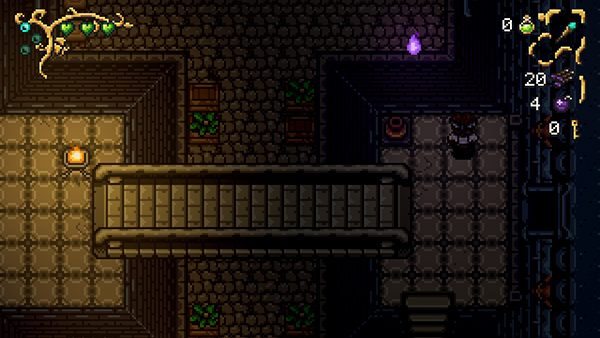
You'll come to a bridge with more trap tiles on. You should use your newly acquired shield to block them.
You can head to the left and press a tile to open the door up for quicker access. Once done head back to the the bridge and take the door on the right.
In this next room you can take the path north to find a room full of loot.
Once you've looted it up, now take the path all the way round to the right until you come to another door with two pots beside it. Enter the door.
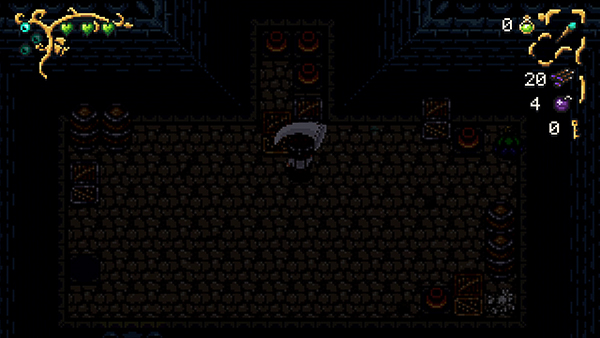
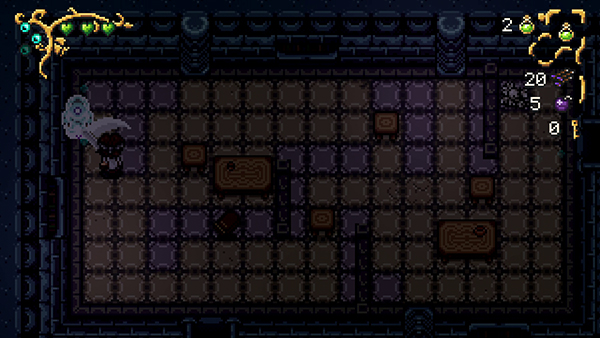
You'll then come to a room with two wandering ghosts in it. You can see their footprints and each time you attack them they will appear for a second. Wipe them out and then head to the room south.

In this room you'll find two more ghosts, along with two red shock eyes that shoot out pulses of electricity. Take your time with this map; you'll want to focus on the ghosts first as they will aggro you and get in your way.
If you find you need more health, don't forget you can use your Potion to recover 60HP at once.
Once you kill all the monsters, head to the bottom door.

You'll come to a room with a plant that fires projectiles at you. Head straight to the bottom door (ignoring the stairs on the left).
You'll come to a long corridor with slime monsters. Head all the way left and through the door at the end.
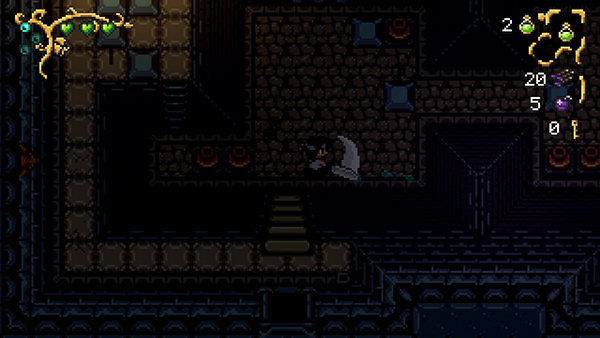
You'll then come to a room with a wandering ghost. Wipe it out. Then head up the stairs to the moveable blocks on the left; move them so you can access the Treasure Chest for 50 Beads.
Head through the top door.
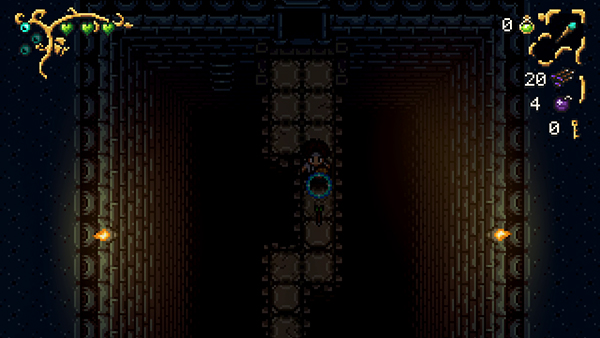
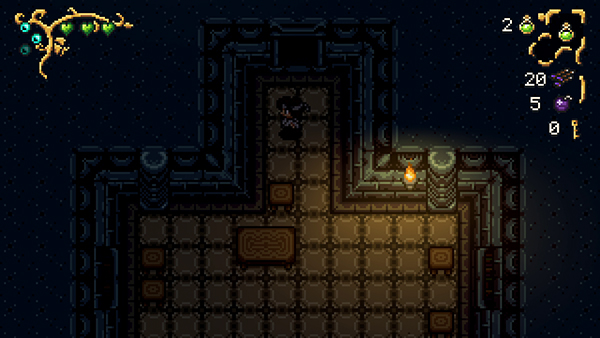
You'll come to another corridor with a plant and fire mob. Follow the Corridor round until you get to a Time tile.
When you step on it, it will deactivate the barrier for a short period of time up ahead, so run forward as fast as you can.
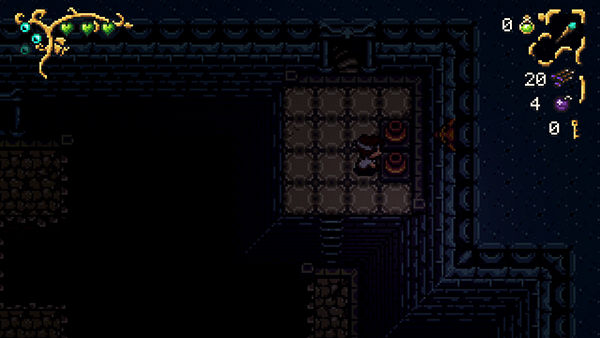
Up ahead you'll find a Treasure Chest surrounded by blocks. First move the ones on your side like the first image, then wrap round to the other side to move the others.
Open the Treasure Chest to find a Key.
Now head up the stairs and activate the time tile so you can escape this room to your right.
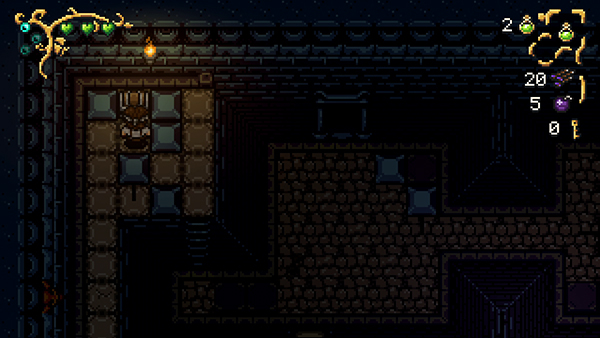
Head back to the room with the sleeping person; you'll notice he is no longer there. You can use the Key you just found to unlock the door on the left.
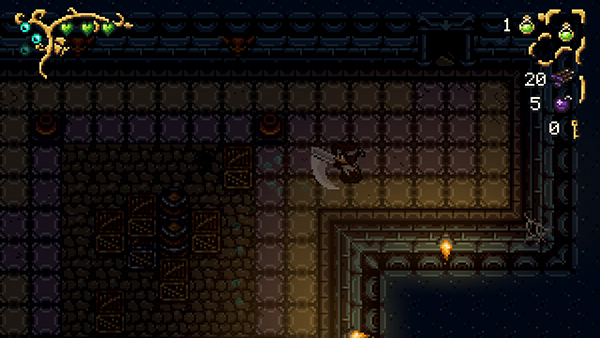
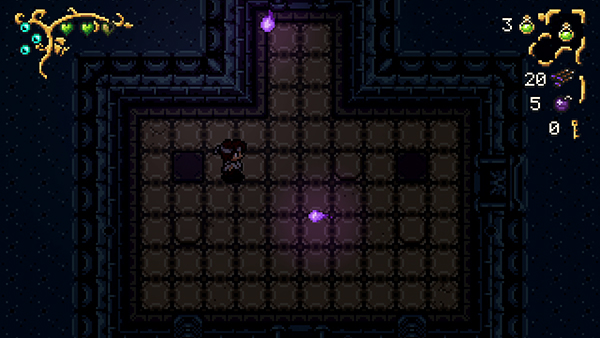
In this room you'll notice that books start to spawn. They will fire in a straight line towards you, so make sure you watch out for them.
Head to the bottom door and follow the corridor left; more books will spawn along the way but you can use the little pot corners to dodge them.
Follow the corridor round and up through the north door. Enter the first room, dodge the books and then further north.
You'll then come to a room with two wandering ghosts; kill them and head to your right.

In this next room, follow the corridor round to your right and dodge the moving metal blocks.

You'll then come to a new room with a red eye and two plant mobs. Take them out to unlock both doors in the room; use the left most door.
Another room with red eye monsters, wandering ghosts and flying books.
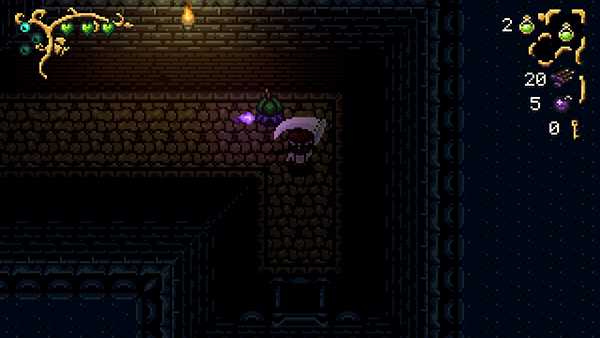
Once you defeat them all, head north and you'll come to a room with fire mobs and wandering ghosts. To unlock the doors in this room, land on the trap tile at the top left.
If you head to your right first and loot the Treasure Chest for a cluster of bombs.
Head back to the room with the trap tiles and this time use the north door. You'll come to a room with a Treasure Chest containing the Kobold Tech Key!
You can now access the main area of The Monastery to fight the end boss!
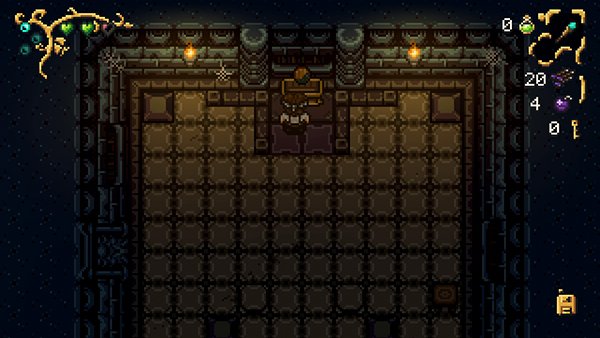
Head back to the beginning of the temple and head north until you come to a staircase with a locked golden door.
Head all the way up; use the pots just before the north door to load up on potions and health hearts.
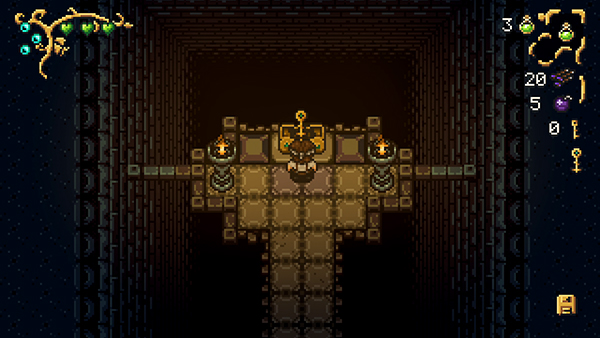
Boss Fight - The Monastery Kobold
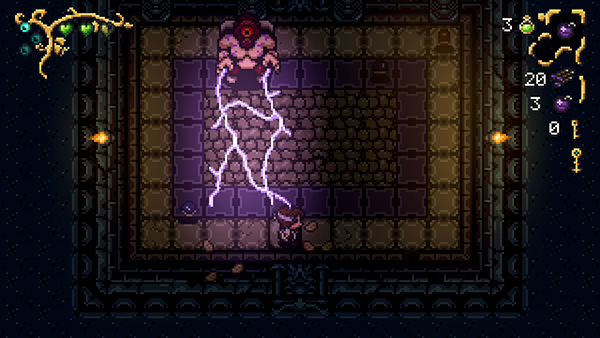
Your first boss fight is against the Kobold. This boss will follow you from side to side, shooting down lightning strikes and then ramming you.
After three lightning strikes, he will then ram at you and stun himself for several seconds. This is your chance to strike him- whack away with your sword!
After a couple of rounds of this, he will summon the flying books. You'll need to watch carefully for where they spawn- move to a space where one hasn't spawned yet as there is a slight delay between them firing at you and spawning.
Keep up the damage when he rams at you; he can also summon two fire flame mobs that you can't defeat so try to stay out of the way of those.
Overall, once you get the lightning-dodge technique down, this boss fight is pretty easy!
Check out the video below for more help:
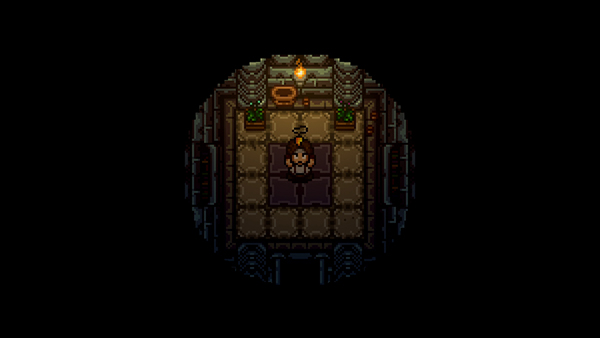
Once defeated, head up to the top room to claim the next piece of the Draoidh Stone!
You'll gain an additional health heart and then be teleported back to your Grandpapa's house.
It looks like your Grandpapa has gone missing and so has the other piece of the Draoidh Stone! Telekremorr talks to you about what would happen if the stone gets into the wrong hands.
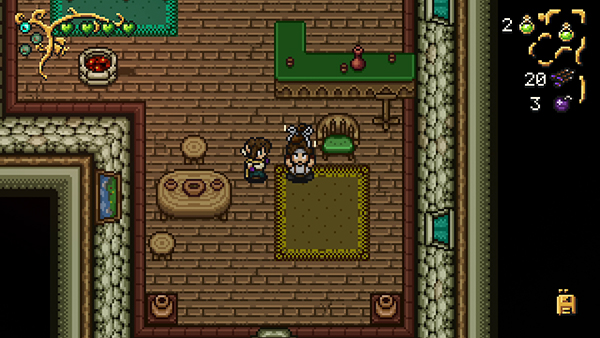
Mina gives you the Magic Shoelaces, which allow you to use the dodge ability.
That wraps up Part 2 of the Airoheart Walkthrough! Let us know in the comments if we missed anything!

Discussion