As we continue to hunt down the Archangels of Cassette Beasts, this time we head to the Falldown Mall with Meredith to investigate a lost record.
In this part of the Cassette Beasts Walkthrough, we take on the following quests:
Quest - All I Ever Needed
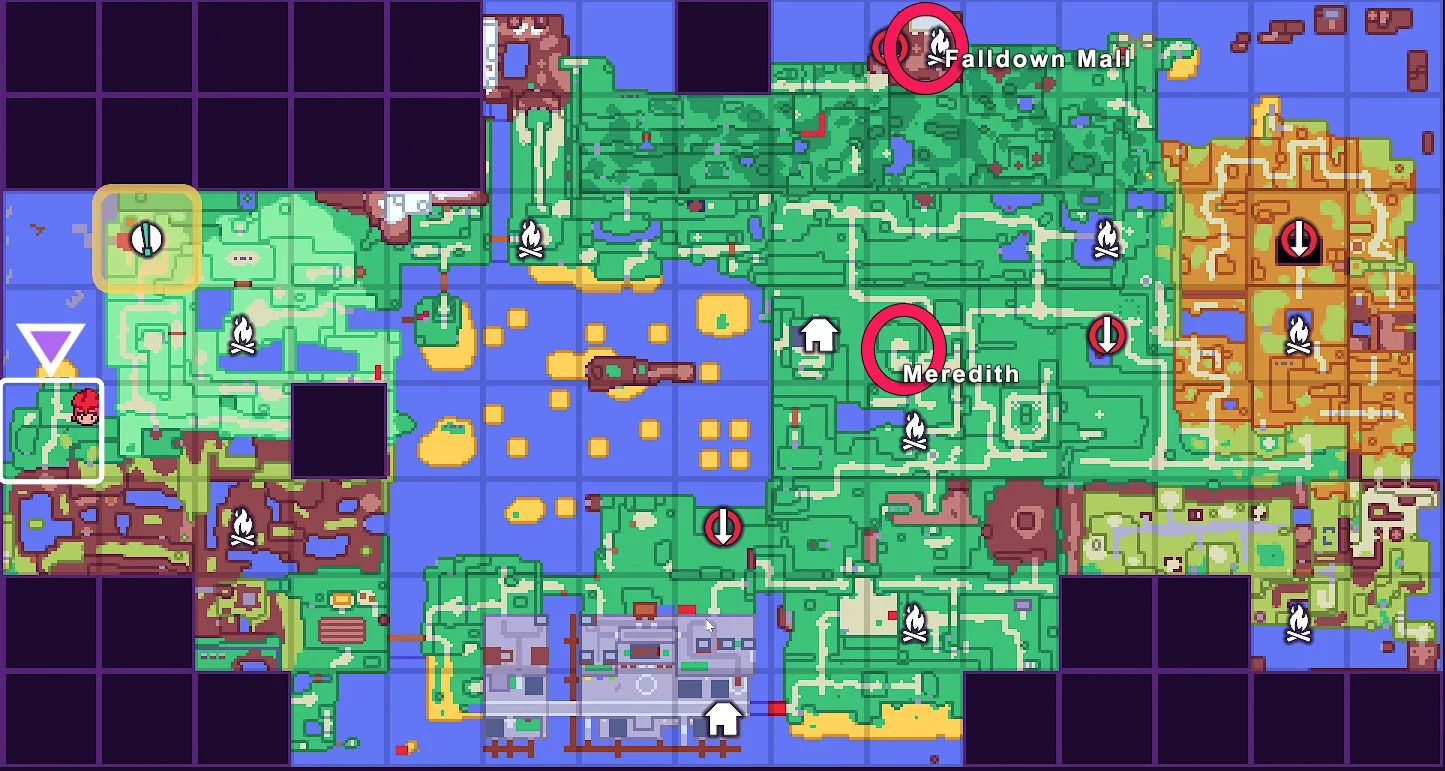

To start this quest, you need to go find Meredith. She can be found hanging out at New Wirral Park. When you interact with her, she'll return to Harbourtown.
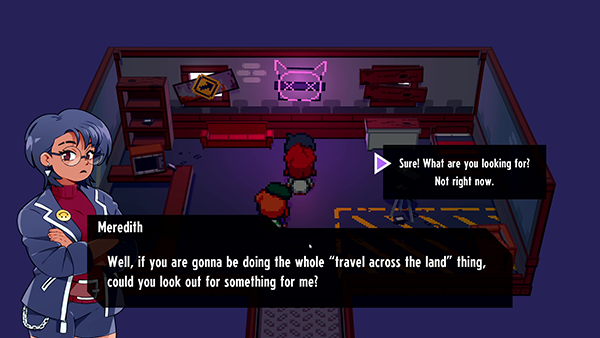
Go and speak to her and she'll tell you about a missing record she is interested in called: All I Ever Needed by The Witch House. She recommends asking people around town to see if they know where it might be.
First head to the Gramophone Cafe and speak to Clemence. She will tell you to head to the Rangers at the Town Hall.
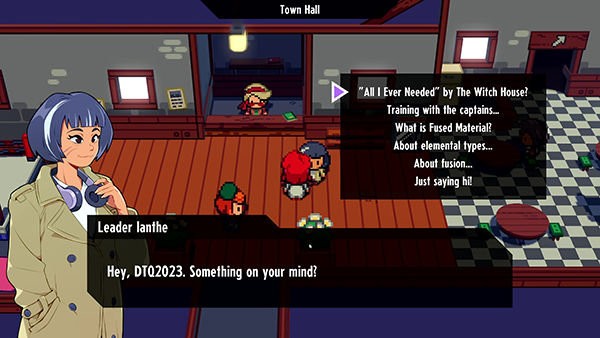
Now go speak to Leader Ianthe and ask about the record. She recommends heading to Falldown Mall, which is located north of the map.
Head back to Meredith's house and she will join your party.
In order to access Falldown Mall, you're going to need Electromagnetism or the Climb Vine ability.
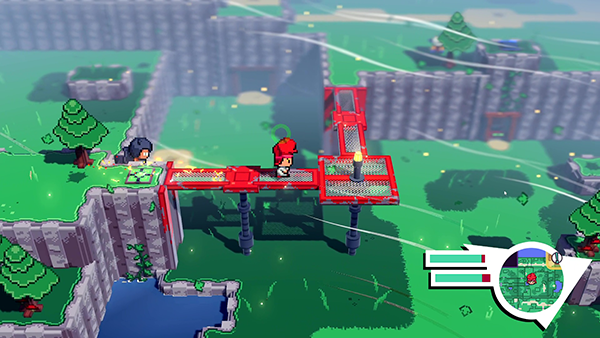
If you head to Eastham Woods, you'll come to an area with a red bridge. You can either climb up the wall with the Climb Vine ability, or use Electromagnetism to pull a metal block onto the switch nearby that will activate the red bridge.
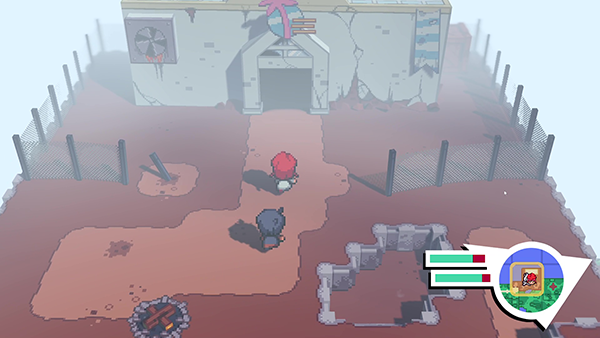
You'll then come to the entrance of Falldown Mall, with a handy campfire available just outside of it.
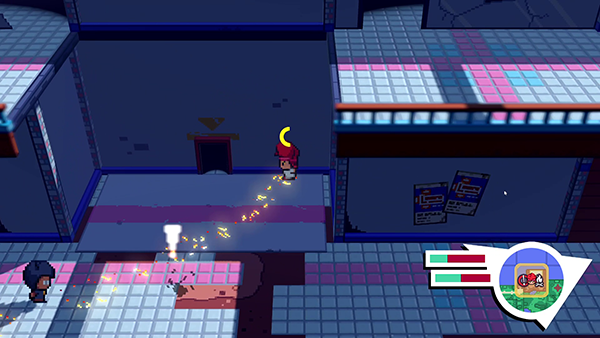
Inside, you'll find ghost mobs; these mobs will have the Ghost status effect, meaning none of your attacks will hurt them. After three rounds, they will automatically be defeated. You can try to dodge them as much as possible since they are pretty annoying.
Falldown Mall is made up of two stories and many different shop rooms.

On the ground floor, head all the way left until you come to a store with a wooden crate in front of it. Use your Bulletino Dash to smash through it.
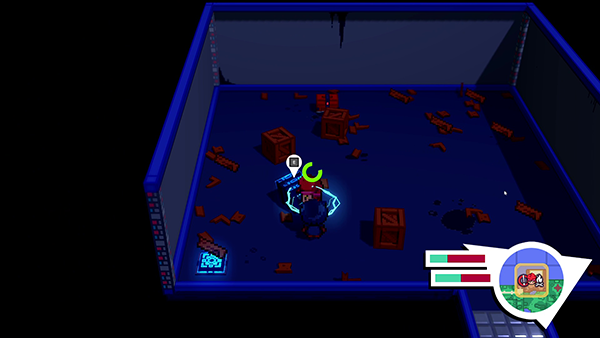
Inside you'll find a locked Treasure Chest and several more wooden crates. Smash the wooden crates to reveal a magnetic block and then use Electromagnetism to pull the block onto the blue tile. This will unlock the Treasure Chest:
- Chrome Tape x5
- Hypnotise
- Wood x6
- Basic Tape x4
Leave that room and to the right is a small entrance way inside the mall. You'll find yourself in a room that has four exits, with two of them locked behind a gate.
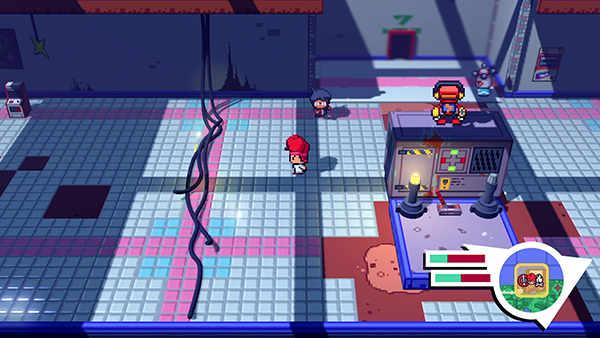
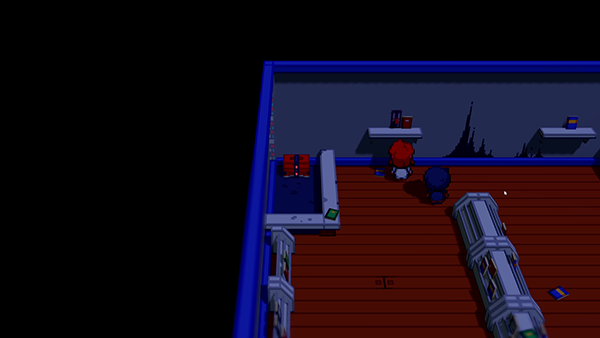
Head right across to the further exit (green) and you'll come out the other side of the mall. You should see a Lever with a monster above it; pull the Lever so that the floor in front of you raises.


Now head to your left (across the electric wire) until you come to the small entrance that let's you back inside the mall to the four-way path room. The blue exit is now open and allows you to exit the mall to a side where there is a set of stairs that take you up to level two of the mall.
The first room just in front of the stairs is an empty room that contains nothing.
Enter the second room and you'll come to a bookstore. Walk towards the Treasure Chest and you should notice a book fall off the shelf; a Lever will then be revealed on the shelf and you can pull it to unlock the Treasure Chest:
- Old Book
- Bad Joke
- Wheat x3
- Metal
- Pulp
The third room has a selection of mannequin dolls and nothing of importance.
The fourth room contains a Lever. Pressing it activates the wooden lift, allowing you to go back down to the ground floor.
From here, you need to head back to the Lever that had the monster above it (the ground floor). Pushing it will cause the wall in front of you to come down again but also raise the wall on the second floor.
Now head back to the room with the wooden lift and use it to get back up to the second floor.

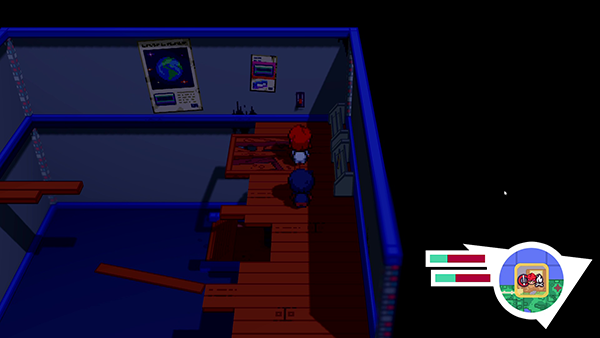
You should now notice that you can cross to the locked room.
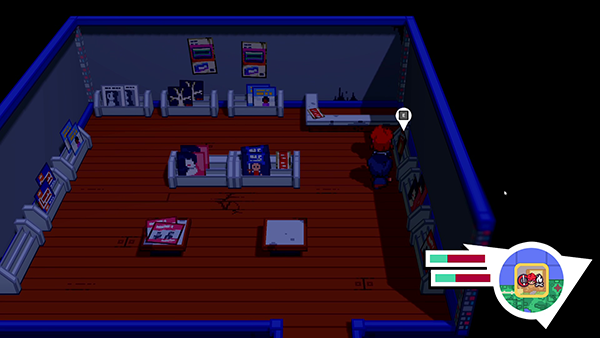
Inside is a record store; you can interact with a record on the right; it turns out to be fake and all of a sudden the floor falls through...
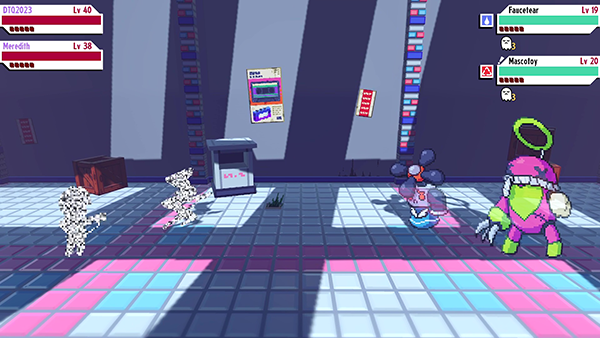
Archangel Nowhere Monarch - Fight

Every other turn, the Nowhere Monarch will use Call To Arms and generate a dummy. You cannot defeat these; so you're just going to have to ignore them. When the Nowhere Monarch's AP bar fills, it will unleash Bomb Voyage, where the dummies will explode on to you.
Nowhere Monarch is vulnerable to Poison and Burn status effects, so if you have these monsters in your squad it's a good pairing to have. Leech is also another good status effect to apply as it provides a heal too!
If you have a monster with Echolocation (multitargeting), you can use this combined with a Defensive Wall skill to add a barrier to both members in your squad.
You'll get to use Fusion on the second round with Meredith.
Check out the video below for more tips:
Rewards:
- Fused Material
- Olive-Up!
- Metal x10
- Plastic x67
Captain Buffy
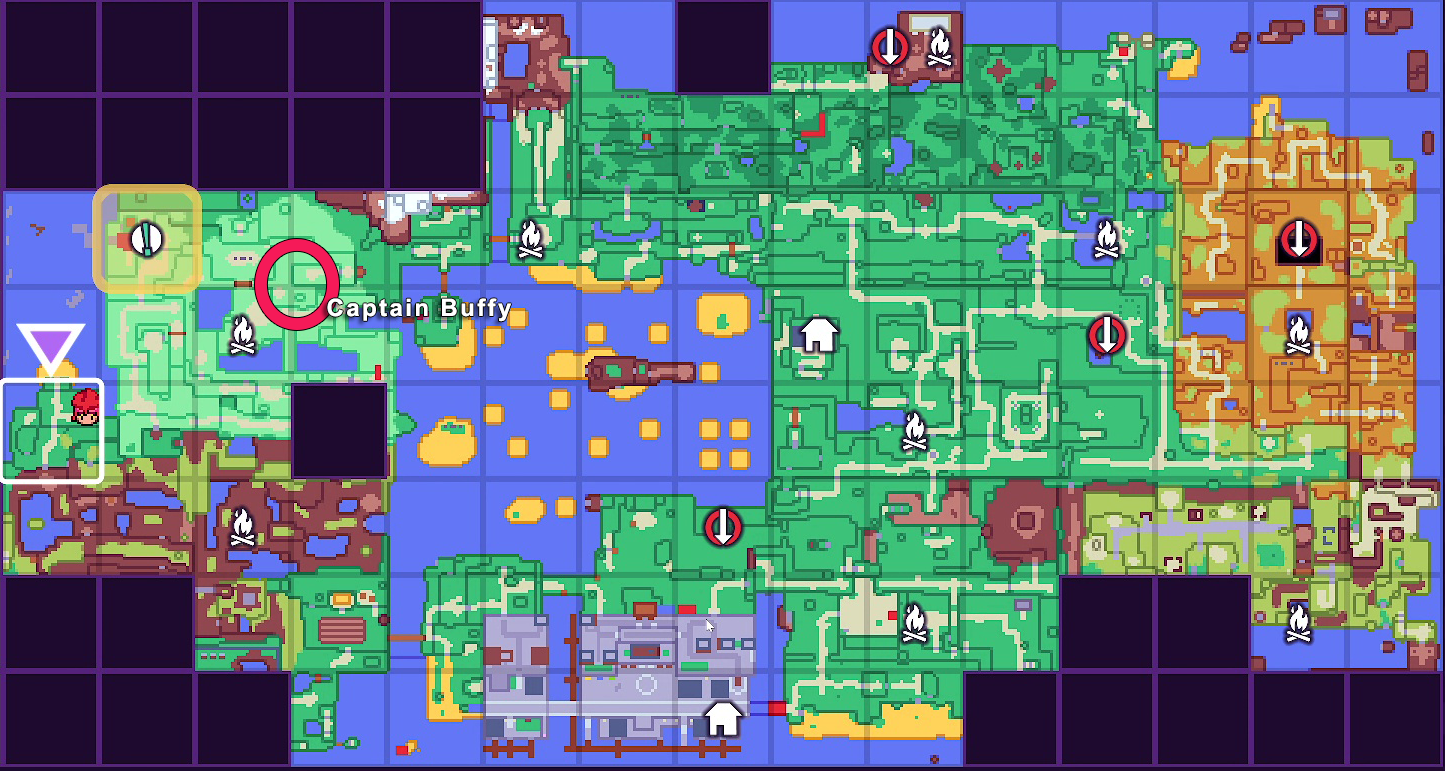
The next captain we take on in our quest to becoming a Ranger is Captain Buffy. Captain Buffy can be found at Cherry Meadow.
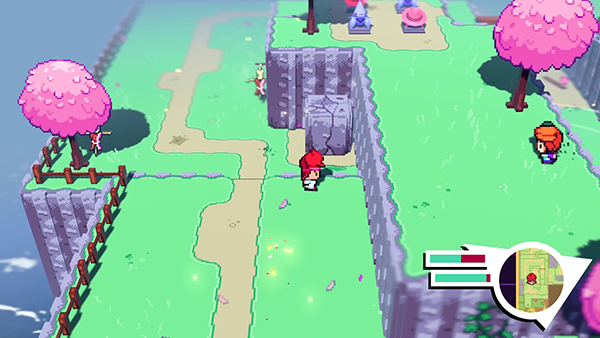
If you head to the east of Cherry Meadow you can find a smashable rock; use Bulletino Dash to break it and a whirlwind will appear, allowing you to get up onto the platform.

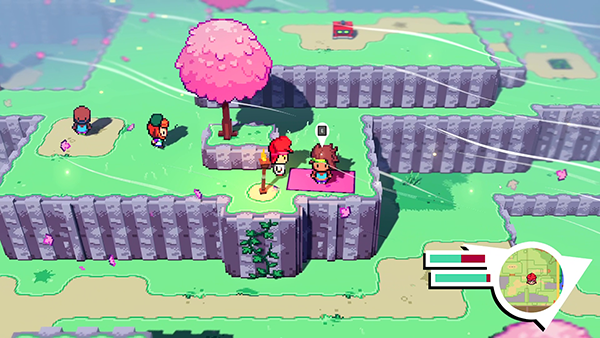
From there, you can make your way across the walls of Cherry Meadow; you'll come to a bridge you can raise by pulling a Lever. Just across from that you'll be able to find Captain Buffy.
Captain Buffy Fight
- Buffy: Liligator (Water), Grampus (Ice)
- Ranger: Dandylion (Plant)
During this fight, the Dandylion will help buff the Liligator by providing AP. When Liligator's AP bar is full, it will perform Last Rites, which will usually 1-hit KO your monster . Getting a defensive wall up during this phase is critical.
Plant type is weak to Fire so bring the hellfire down on the Dandylion.
After you take out Liligator, Grampus will be next on the chopping block. Grampus is Ice type; if you hit it with Fire it will turn to Water type. Grampus will also use the Last Rites move; if struggling, using Fusion can help tank a lot of the damage.
Rewards:
- AP Starter
- Fused Material
- Olive-Up!
Landkeeper

The final part of this walkthrough is another Landkeeper mission. This one can be found in Cherry Meadow.

You'll need to head down the west coast of Cherry Meadow; there will be a tall mountain ledge you can find that allows you to glide onto the roof of the Landkeeper's Hideout.
Landkeeper Fight
- Kingrave (Earth), Queenyx (Earth)
- Scampire (Beast). Ripterra (Beast)
This fight is actually quite tough! The Kingrave has all sorts of moves that can cause problems: Life Absorb will extract your health and heal it, Beast Wall for defense, Bish Bash Bosh for damage.
Whenever you defeat one of the monsters, they will also inflict Vengeful Curse, which can cause a variety of status effects and problems for you.
The Scampire can also deal out a lot of damage with its Energy Wave attack, that hits both monsters. You'll want to take this monster out as soon as possible.
Queenyx also has some hard-hitting damage with it's Dice rolll move. It does cast Gambit, which means you just need to survive for 3 turns.
Rewards:
- Wood x345
- Metal x3
- Wheat x10
- Pulp x2
And that wraps up part 6 of the Cassette Beasts Walkthrough! We are getting through these Archangels now!

Discussion