In Ender Lilies, every chapter ends with a major boss fight that you will need to take down in order to progress to the next level. These Boss Fights don't have an easy mode; instead you'll need to practice and learn the mechanics in order to purify them and rid the world of their Blighted forms.
Boss Tips and Tricks
You can improve your chances of taking down a Boss by making sure you're upgrading your Spirit Skills; upgraded Spirit Skills will deal more damage, attack faster and give you more projectiles that can help you take down bosses's faster.
Leveling up will increase your Attack Power and picking up Amulet Fragments and Amulet Gems will increase your HP.
Don't forget; there are several useful Relics you can equip that will make boss fights a lot easier, such as the Immortal's Crest which restores your HP as you're attacking.
Your skill load-out will depend on how you want to take on the boss; we completed the entire game using just three skills: Umbral Knight, Western Merchant and Dark Witch Eleine.
You can use any other skills you like but you cannot max all skills in the game so you want to stick with a select few as you progress through the game.
The best way to take down a boss is to keep trying; learning the mechanics of each boss will slowly start to become memorized and allow you to not waste damage early on so you can tank the more trickier parts of the fights.
Whilst there are major boss fights at the end of each chapter, there are also mini sub-bosses you'll come across throughout playing Ender Lilies. The mini-bosses tend to be easy walk-overs, assuming you've been collecting all items along the way.
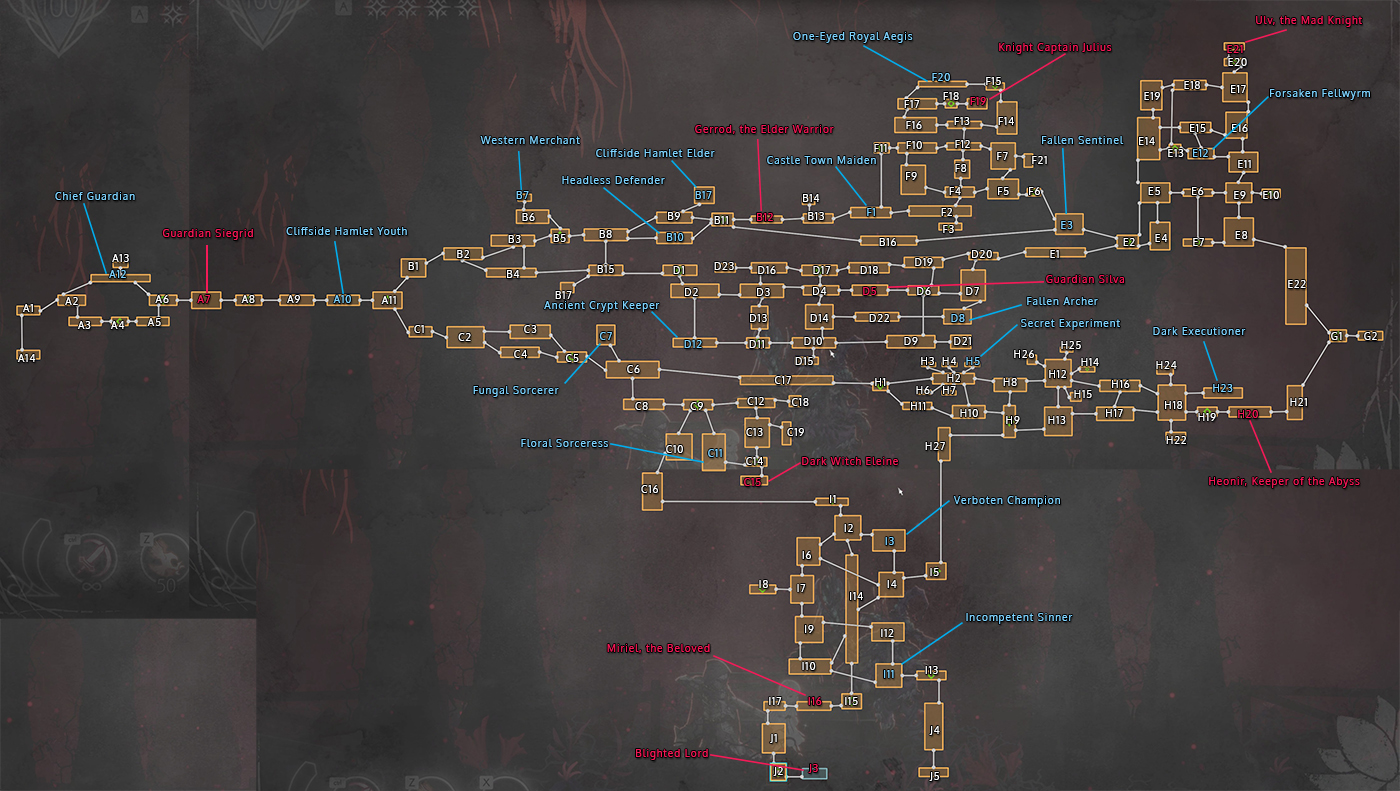
Boss Locations Map
All Bosses in Ender Lilies
This guide will show all the bosses throughout the chapters, including little tips and tricks to help you defeat them.
Chapter One
Check out the Chapter One guide for more information on these bosses.
Boss - Guardian Siegrid
Recommended Level: 2
Your first Boss Battle is against Guardian Siegrid. The first form has two attacks that you need to watch out for::
- Chain Swing - Swings around a chain whilst standing still.
- Somersault - Will jump towards you in a somersault fire.
You can get plenty of hits in when Chain Swing ends and once she lands with the Somersault. I wouldn't recommend trying to hit during the Chain Swing attack as it is quite tricky to dodge.
Once you deplete Siegrid's health, it will then begin the second form with a full bar of health. This new form may look scary- but don't worry, she has only three attacks:
- Rush - Rushes towards you and then delivers a big swipe.
- Swipe - A giant swipe
- Slam - Slams down onto the ground
This mode requires you to utilize your dodge skill at the right moments. The arena is quite large, so you can run away from the Rush attack or time your dive-dodge right so that you dodge behind her. Overall this boss is quite easy, but if you need help, check out the video below!
Chapter Two
Check out the Chapter Two guide for more information on these bosses.
Boss Fight - Cliffside Hamlet Youth
If you jump up to the top platforms in A10, you'll come across a mini-boss called Cliffside Hamlet Youth. It's quite easy; just watch out for it's diving attacks and you should have no trouble taking it down.
Once you defeat it, you'll get the new Spirit skill Cliffside Hamlet Youth which fires slugs at enemies, which is great for range attacks.
Boss Fight - Western Merchant
This fight can be a little tricky as the Western Merchant likes to fly away from you. This fight is best done if you have at least 2 Prayers- if you don't, head back to a Respite and then dodge all the mobs leading up to B7 to make sure you're at the most health possible.
Western Merchant is a mini-boss but the skill you get is very useful. Western Merchant acts very much like the Crow mobs- firing out a heat-seeking fireball. It can also fly towards you and scratch you, whilst also flying in the air it can deliver a three-way volley of fire arrows.
Your best bet is to use Double Jump and then hit it with three-way slash combos.
Boss Fight - Headless Defender
In B10, you can find the Headless Defender in the middle of the map. This mini-boss is pretty easy- he's just a bulkier Shield Knight with the same attack patterns. Dodge when he stabs and hit him from behind.
Defeating Headless Defender gives you a new shield-type skill that blocks attacks if timed right.
Boss Fight - Gerrod, the Elder Warrior
Recommended Level: 11
If you've been finding the game pretty easy up until now, this is your first real challenge. It took us some 10+ tries before we manage to beat him.
Gerrod, the Elder Warrior has three phases.
In Phase One, he has two attacks. A slam down attack that has a wide AOE and also a slow but hard-hitting whack attack. Both of these can be easily dodged, so keep your wits about you. Each time he uses one of these attacks, he will be easy pickings for some combo hits. If you're using Western Merchant, Cliffside Hamlet Youth or Guardian Siegrid, these are great for creating combo's and knocking out his HP.
Phase Two begins as soon as one third of his HP is down. In addition to his current two attacks, he gains two more. He will smash his bulky sword down to create a fire wave that rushes towards you. You can dodge it easily by jumping in the air.
He also has another whack-attack, this time it can hit behind him too- so you need to make sure you jump plenty away from him when this skill is used.
Phase Three begins at about 1/3rd of his HP left.
In Phase Three, he will do a triple jump attack that is similar to his phase one move but it happens three times. You should dodge all three and on the last one, hit him for some combos as he is slow at getting up.
He also has a new rush attack- try to stick close to him as this will prevent him using it too much- it's quite slow to power up so you have plenty of time to get out of the way.
Check out the video guide below on how to beat him.
Chapter Three
Check out the Chapter Three guide for more information on these bosses.
Boss Fight - Fungal Sorcerer
This fight should be pretty easy at level 22. The Fungal Sorcerer will cast Poison Mist and fire heat-seeking missiles at you, but you should be able to dodge them pretty easy. The boss doesn't have a lot of HP so this fight shouldn't last long.
You'll obtain the Fungal Sorcerer Spirit after, which allows you to cast your own Poison Mist. Not very good as most mobs/bosses move around a lot.
Boss Fight - Floral Sorceress
This mini-boss can be a bit tricky the first time you fight. It has three attacks; a rapid fire shot, a slow orb that follows you and summons a firestorm wherever you are standing.
You can dodge the firestorm by watching the ground to see where it's about to summon. This boss has low HP so you should be able to take it down with ease.
Once defeated, Floral Sorceress can be equipped to allow you to do a rapid-combo whirlwind. This is a great skill to equip for bosses.
Boss Fight - Dark Witch Eleine
Recommended Level: 25
Like most chapter-ending bosses, Dark Witch Eleine has three phases for you to beat. The first phase is pretty simple, as you would expect, with two attacks to watch out for.
The first attack is a super-fast fireball and the second is a series of fireballs shot at you. You can dodge them easily using your dive move; timing the super-fast fireball is key to this fight as you'll see later on.
In the second-phase, Eleine will now fire two consecutive super-fast fireballs at you. They're still easy to dodge, just make sure you give yourself enough room to dodge. Eleine will also summon a whirlwind that will cut-off part of the map as running through the whirlwind will hit you multiple times. When Eleine does summon the whirlwind, you'll have a small window to hit some combos on her; if you got the Floral Sorceress skill this is a great time to deploy it.
Third-phase happens for the last 3rd of Eleine's HP and she tranforms into an ugly giant witch. She will summon a volley of fireballs that will hit the entire map- but they have gaps in making it easy to dodge. She also has a new teleport-attack that usually happens after she fires either the super-fast fireballs or the small fireballs. When she uses this teleport attack, she is easy to hit for a few seconds.
If you need help defeating this boss, check out our video guide below:
Chapter Four
Check out the Chapter Four guide for more information on these bosses.
Boss Fight - Fallen Archer
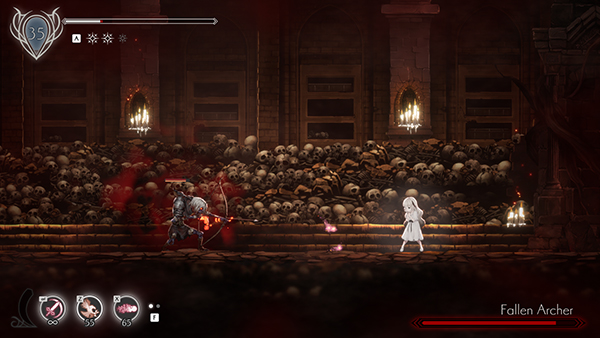
The most trickiest part of Fallen Archer's fight is that he has an incredibly long-held arrow shot that can put you off. He holds it for around 3 seconds, so timing your dodge is going to be crucial to surviving this fight.
Apart from that, this mini-boss shouldn't pose much of a threat. Once defeated, you'll get the Fallen Archer Spirit Skill.
Boss Fight - Ancient Crypt Keeper
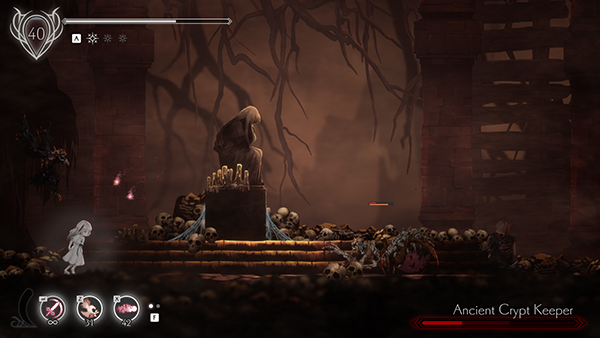
A fairly easy fight; his special move is a wide shot that can stun you for a few seconds. At this point you should be high enough level to take him out in a single life.
Ancient Crypt Keeper gets added to your Spirit skills once defeated.
Boss Fight - Guardian Silva
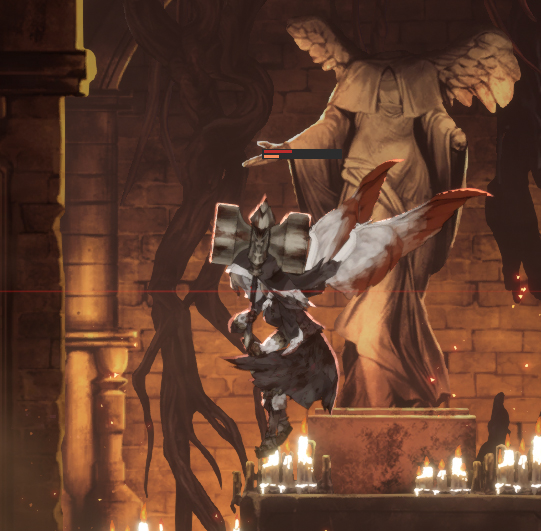
Recommended Level: 40
The final boss of Chapter Four is Guardian Silva, who has three phases.
The first phase has two main attacks to look out for: A volley of heat-seeking fire arrows and two-hit hammer slam attack. Both are easily dodged; just work on the timing of those Fire Arrows.
The second phase begins at 2/3rds of Guardian Silva's HP. Not much changes in this phase apart from Silva can teleport across the map to fire the arrow volleys.
Third phase begins when the HP reaches the last 5% and she transforms into something hideous. In this mode she has several new attacks: a Rush attack than runs towards you. She can also shoot out a giant spinning orb (easily dodged) and several melee claw swipes that you need to be careful of. She will also periodically float into the air and four red beams will come down- causing a huge area of attack that will hit hard. In reality, this phase is quite easy if you can get out of the way of the big AOE skill.
Check out this video guide for more help:
Chapter Five
Check out the Chapter Five guide for more information on these bosses.
Boss Fight - Fallen Sentinel
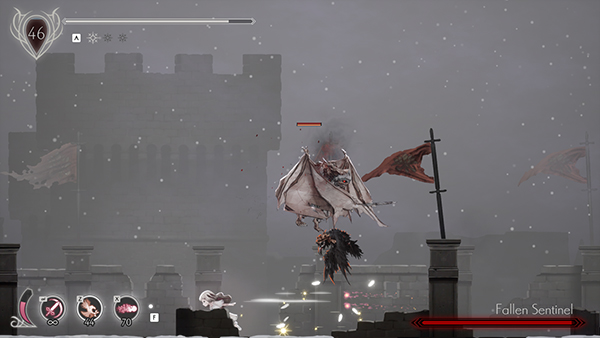
This mini-boss is easy to take down. Just watch out for his first jab-teleport attacks that can catch you unawares. If you have Dark Witch Eleine Spirit equipped you can take it out from long-range.
Once defeated, you can equip Fallen Sentinel to your arsenal of Spirits.
Boss Fight - Ulv, the Mad Knight.
Recommend Level: 60
Ulv, the Mad Knight does cause a lot of players problems because he has a lot of moves in his third phase that are hard to dodge. The key is mastering the first two stages so that you have enough health and heals left for the third phase.
Phase one is pretty simple: he has a rush forward + swipe attack and then another quick swipe either side of him attack. He will occasionally dodge out of your way and do a Somersault Blast attack too. All of these are easy to dodge and you can get some good hits in after he lands with his Somersault Blast Attack.
Phase Two begins about after killing about 1/3rd of his health. Immediately from the start he will hit you with a Cross-Bleed attack that will hit you at the exact spot you are standing and it's quite hard to dodge as it has a long lead-up time. He has a new Fire Wave attack, that is sent towards you and needs to be dodged rather than jumped over.
Phase Three begins with one third of the HP left and Ulv will immediately cast an attack that hits several beams with equal spacing across the map. You can dodge this attack by standing far back and correctly judging the distance you need to be from him. Or you can get up real close and dodge the initial slam-down attack. He will also use two Fire Wave attacks in succession- so it's always best to dodge in two different directions to avoid getting touch damage from Ulv.
Check out the video guide below for help:
Chapter Six
Check out the Chapter Six guide for more information on these bosses.
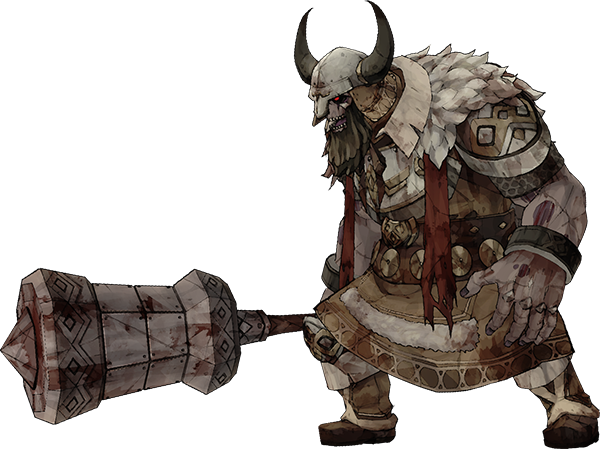
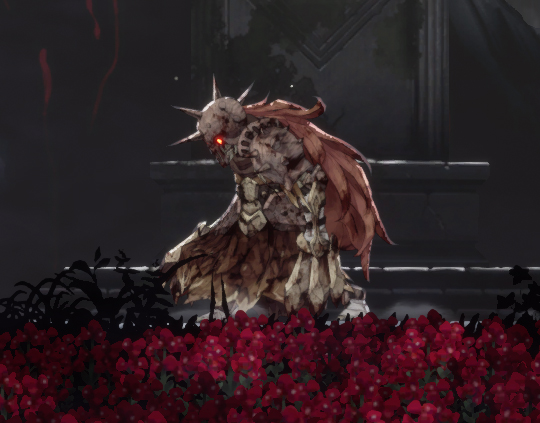
Boss Fight - Cliffside Hamlet Elder
That giant ogres in boss form isn't too difficult. If you move away from him he will spam his belly-flop move at you so make sure you've got your dodging button ready.
Defeating him gives you the Cliffside Hamlet Elder skill, which is a ranged attack. Not super useful.
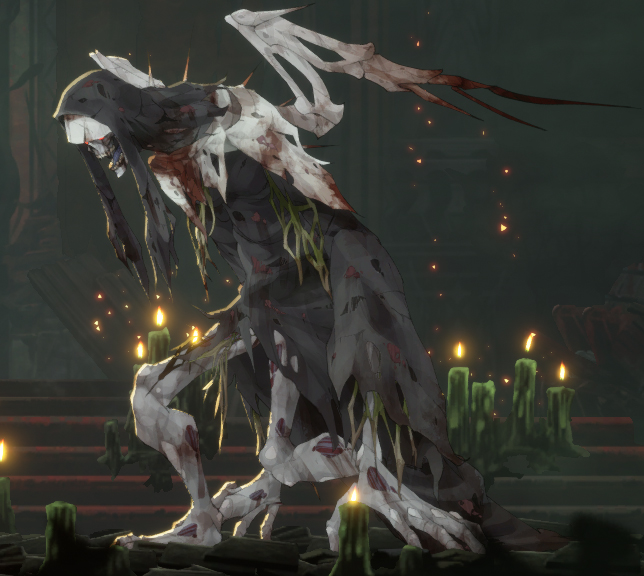
Boss Fight - Chief Guardian
A giant version of those Banshee mobs- by now you should be used to their mechanics. This is an easy-ish boss fight; just watch the floor for those fire whirlwinds and you should be good to go.
Boss Fight - Castle Town Maiden
This fight took us about four seconds to take down, so you should have no problems. If you do have problems, it might mean you're under leveled.
Castle Town Maiden becomes a new Spirit Skill when defeated; and it can be quite useful as it roams ahead for you to attack mobs.
Boss Fight - Knight Captain Julius
Recommended Level: 70
The first phase of this boss is very easy. He has just one attack to watch out for, which is a stabbing attack with his spear.
Phase two he has several new attacks: he will immediately leap forward at the beginning of the stage which you need to time a dodge right to get out of the way. He also has a whirlpool-type fire move which doesn't deal very much damage so it's not the worst one to get hit by. The key is getting up and close to prevent him using his main leap-forward attack.
Phase three begins with 1/3rd of his HP remaining. In Phase three he has a new move which allows him to cover the entire map with an attack beam- you can only dodge it by being behind him. Luckily, he has several seconds of charging up to recognize the move.
Use the video guide below for tips:
Chapter Seven
Check out the Chapter Seven guide for more information on these bosses.
Boss Fight - Forsaken Fellwyrm
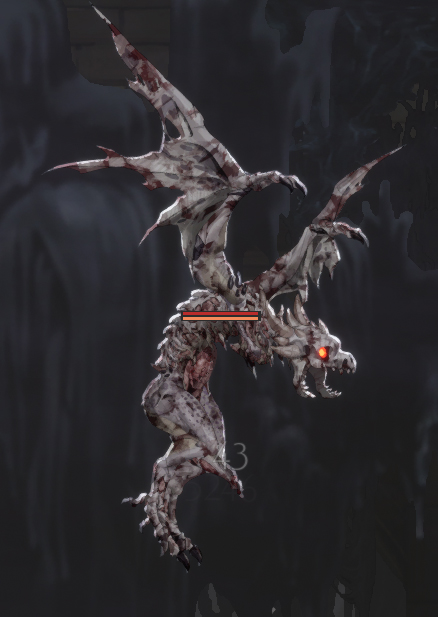
This mini-boss fight can be tricky as it has some quite annoying moves. It will constantly shoot out dark energy balls towards you that slowly follow you around the map. It can also do a Poison Mist attack that covers 2/3rds of the map and getting caught in it will hit you hard.
If you can equip range Spirit Skills you can take him out quite easy. Be wary of the mist attack and use your glide skill to get away from it.
Boss Fight - Secret Experiment
This pot hider worm monster thing is pretty easy to take down. It has only one decent attack which has a small area of attack and easy to dodge.
Defeating this boss gives you the Hidden Test Subject Spirit Skill.
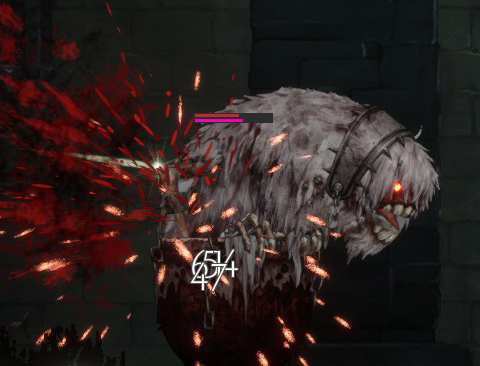
Boss Fight - Heonir, Keeper of the Abyss.
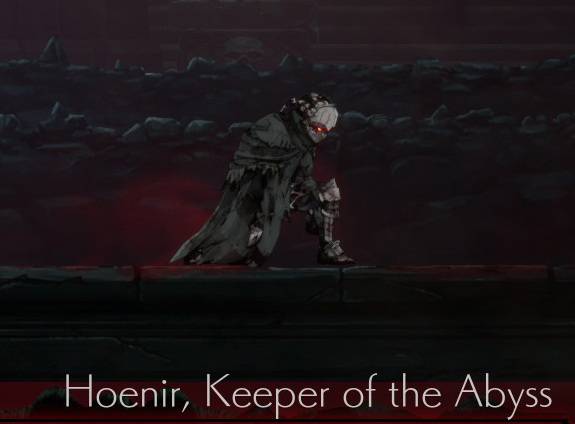
Recommended Level: 80
Heonir is a three-phase boss that is also accompanied by respawning mobs Dead Ghost Knights.
In Phase One, Heonir will simply jump away from you and fire a single-shot arrow at you. The difficultly is wiping out the mobs first so that you can concentrate on Heonir.
Phase Two Heonir gains a new sommersault ability where he will jump over you and fire down arrows on you. It's pretty simple to dodge and really the fight doesn't change much.
Phase Three Heonir goes into a berserk mode where he is a bit faster and more aggressive towards you. He has a new sommersault attack and if you get too close to him he can summon a spinning fire-disc attack.
Overall the fight is quite easy. Concentrate first on taking down the ads and Heonir will be yours!
If you need help, check out the video guide below:
Chapter Eight
Check out the Chapter Eight guide for more information on these bosses.
Boss Fight - Dark Executioner
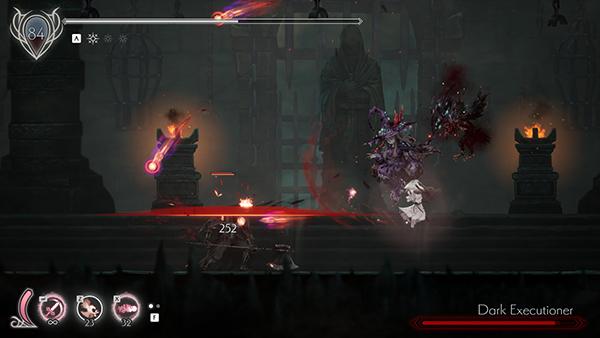
In the lead up to this boss, there are several mobs you need to take out before you face him. You should be patient so that you can preserve your HP before facing him.
Dark Executioner loves to use his invisibility + teleport attacks and so this fight is extremely annoying. Timing his swing attacks will make it easier; if you have range Spirit Skills equipped it will also be a lot easier.
Dark Executioner becomes a Spirit Skill once defeated.
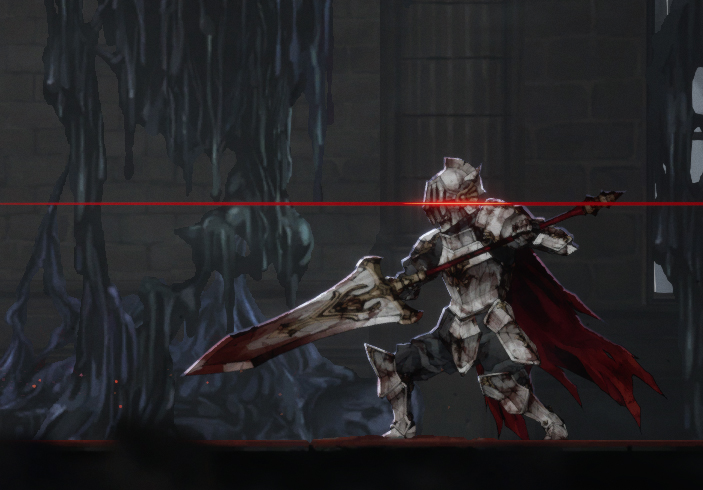
Boss Fight - One-Eyed Royal Aegis
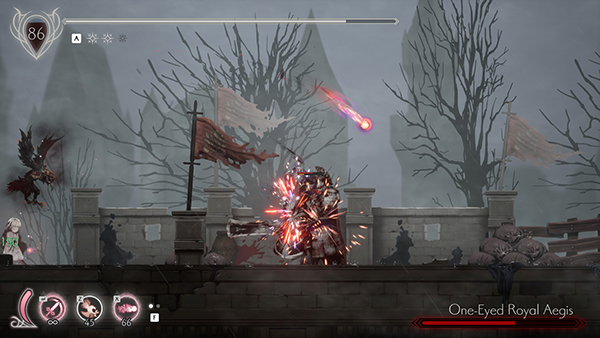
If you hated those shield mobs, then you won't really like this mini-boss fight either. The same tactics apply- dodge as soon as he slashes down hard with his sword attack, which leaves him vulnerable from the sides.
One-Eyed Royal Aegis becomes a Spirit Skill once defeated.
Boss Fight - Incompetent Sinner
This boss requires you to use your dodge skill and keep your distance from it's bubble jet blast. Overall it's fairly easy to take down.
This skill is quite useful for getting to certain platforms in the game, so defeating this mini-boss is well worth it.
Boss Fight - Miriel, the Beloved
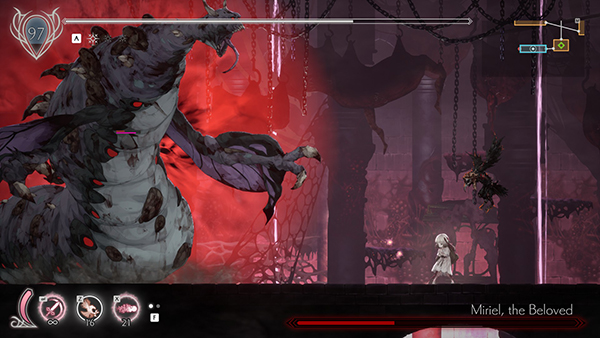
Recommended Level: 90
Miriel, the Beloved has three phases that get more and more tricky as you progress.
Phase one, Miriel will shoot out a giant explosive ball that will roll towards you. It does give touch damage, so you need to dodge it and then stand well clear of it as it will explode. If you get too close to Miriel, she will also swipe at you. She will also shoot out slow fireballs all around you, which are quite easy to dodge in this phase.
Phase Two, Miriel has a new attack which she will summon a giant claw beneath you that hangs around for a good few seconds. What's worse, is she usually does this move three consecutive times, making it harder to dodge. Your best bet is to use double jump as soon as it's summoned and then use your Glide ability to stay in the air longer. The fireballs in this phase also get faster and there is more of them.
In Phase Three you have more of the same- this time the giant claw will hit four times and the fireballs are really hard to dodge. Your better off getting really close to Miriel during the Fireballs as not many hit in this spot. If you have the Relic -, this can increase your Jump ability and allow you to dodge the claw easier.
Check out the video guide below for tips on how to beat Miriel, the Beloved.
Chapter Nine
Check out the Chapter Nine guide for more information on these bosses.
Boss Fight - Verboten Champion
The boss itself is easy, but it's the Spirit Skill we will need in order to get some of the last items in the game.
Verboten Champion skill will give you a small upwards boost when used, allowing you to jump upwards easier. Combine this skill with the Incompetent Sinner and you can get to every single platform in the game.
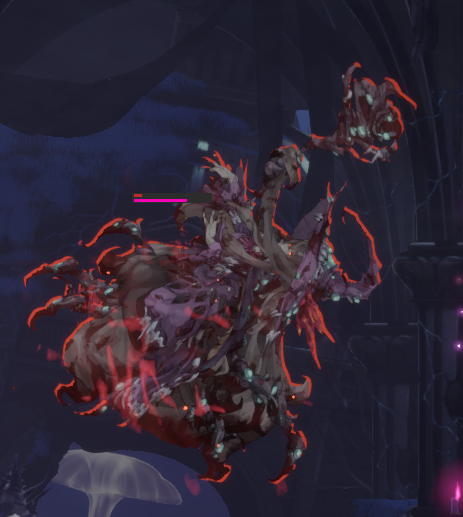
FINAL BOSS - Blighted Lord
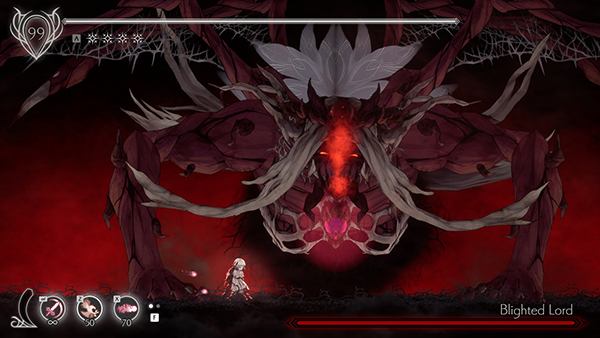
Recommended Level: 100
Assuming you have all the pieces of the Stone Tablet and have equipped the Luminant Aegis Curio Relic, the Blighted Lord has two rounds you'll face. Otherwise, you'll just face the first form of the boss.
The first round the Blighted Lord has three phases you'll have to deal with. The Blighted Lord will constantly summon those Floating Fish mobs; the trick is to make sure you're dealing with those all the time before concentrating on the boss. Usually, you can attack the boss and the mobs at the same time, but if not, don't let too many mobs spawn otherwise you'll get overwhelmed.
The Blighted Lord will occasionally use it's claws to hit the ground- they don't do much damage so you can ignore them. It will also use a swipe attack to your left or right so it's best to be positioned central.
The second phase begins of round one will begin with The Blighted Lord covers its face with its hands. In this round, the Floating Fish mobs are summoned a lot faster and you'll likely be dealing with two or three mobs at a time.
The Blighted Lord will also stab the ground and create a small fire wave along the floor that you'll need to watch out for.
The final phase The Blighted Lord has one new attack, which is an explosion that it summons in the middle of the map.
Round two will then begin assuming you have the Relic equipped.
Round two is very similar to previous rounds, just that The Blighted Lord will now summon Fireballs to chase you every now and then, but they are easily dodgable. Overall this part of the fight is just more of the same.
Use the video guide below for tips!

Discussion