In the last part of the ENDER LILIES Walkthrough we turned Gerrod, the Elder Warrior into mush and learned a new Action skill called Giant's Hammer. We can go back to a few of the maps we previously visited and unlock some previous inaccessible areas.
- Findings: B13, B13, C5, C7, C9
- Bosses: C7, C11, C15
- Amulet Fragments: B3, C3, C6, C11, C12, C13
- Actions: Witch's Bubble
- Relics: C8
- Chain Of Sorcery: A10, C11
- Stagment Blight: B8, C2, C3, C6, C12
- Furious Blight: B3, B13, C7
- Priestess Wish: B14
Mobs In This Area
Witch
This mob can spurt out Poison as well as shooting out a heat-seeking fireball.
+21 EXP
Witch 2
This mob will shoot out four purple-orbs in two patterns that will hit you from above. Pretty easy to dodge.
+19 EXP
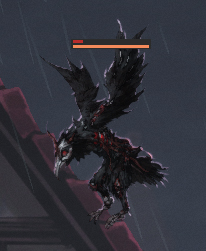
Crow
Crows shoot out a single heat-seeking fireball.
+10 EXP
Dog
Dogs will rush towards you as soon as you are in range- and they have a pretty big range. Projectile skills are great for dealing with them.
+14 EXP

Pot Hider
Pot Hiders are mobs that are pretending to be smashable pots. As soon as you hit the pot they will burst out and strike. They hit hard, so dodging through them to get some strikes in is a good way to defeat these.
+37 EXP

Tree Witch 1
This Tree Witch can summon Fire Whirlwinds and three Fireballs.
+25 EXP
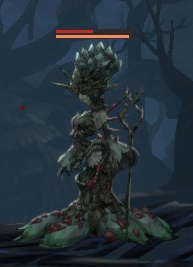
Tree Witch 2
This tree witch will summon thorns underneath you; you can easily dodge them as their is a floor indicator as to where the thorns will spawn.
+25 EXP
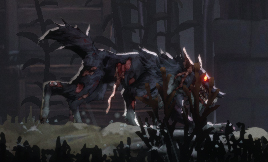
Tree Root
The Tree Root will shoot out three horizontal lines if you are far away from it; it can also disappear underground and appear behind you. It also has a heat-seeking orb but you can dodge it by standing really close to the mob.
+26 EXP
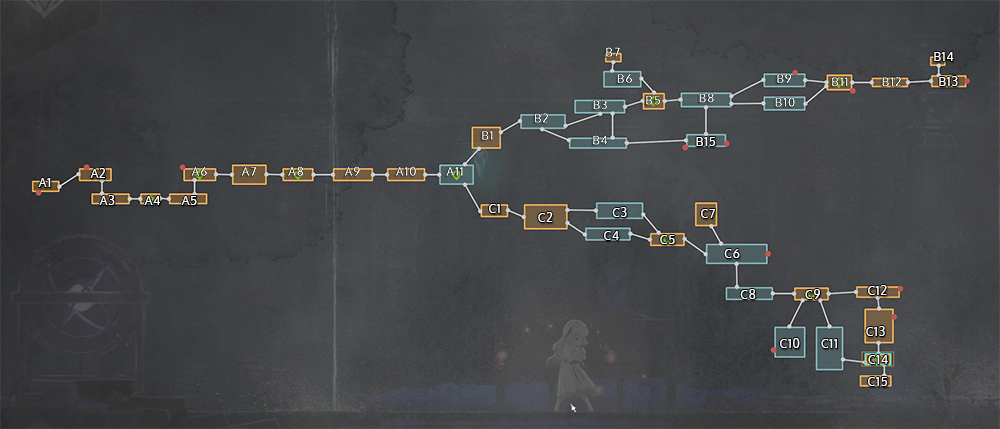
Tracking Back
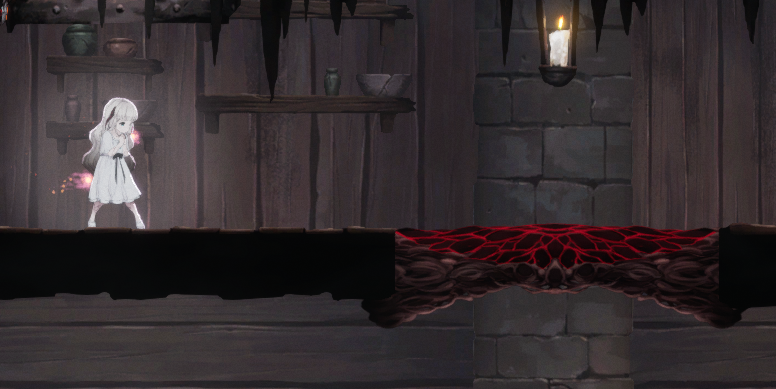
Before we go to any new areas, you should go back to a few maps as you can now break through those Red Pustulant Ground areas.
Head back to A10 where you can break through a Red Pustulant Ground and gain a Chain Of Sorcery.
In B3 you can break through Red Pustulant Ground at the left of the map and pick up an Amulet Fragment and 10x Furious Blight.
In B3, near the middle of the map, break through the Red Pustulant Ground to get to B4. You can pick up a Chain Of Sorcery on your left in a crate.
Head to B8 and break through the Red Pustulant Ground to access B15. You can pull a level that opens up a gate for us to use later on. There is another Red Pustulant Ground in B8 that you can break to get 10x Furious Blight.
Now head to B12 where we defeated Gerrod, the Elder Warrior and head right to B13. We can pick up [FINDINGS] Hamlet Scrawl at the entrance and [FINDINGS] Hamlet Request 2. At the end of the map on the right you'll find 10x Furious Blight.
You can also enter a house in B13 that leads you to B14. Break through the Red Pustulant Ground and you can pick up a Priestess Wish (increases the potency of your healing).
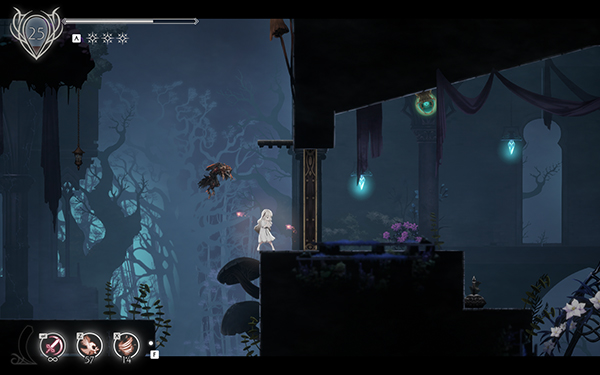
Witch's Thicket
Now we go onto a new area we haven't explored before called Witch's Thicket. Head to the Respite in A11 called Crossroads.
Our end route is C15 where the boss of this chapter will be but along the way we can pick up some useful Spirits and items to help us.
Head to C1 from A11. It's a nice linear route to your right that will introduce you two new mobs that you'll see a lot of. If you have Western Merchant at Level 3, it can help you take them out easier.
When you enter C2, jump down the bridge and head left. You'll find 10x Stagnant Blight after defeating a couple of Witches.
Head to C3, where you can pick up an Amulet Fragment at the lower right of the map if you swim across the water. You can also pick up 10x Stagnant Blight by jumping up to the middle platforms.
You'll then come to a new Respite in C5. Pick up [FINDINGS] Coven Handbook on your right.
You can ignore C4 as there isn't anything to pick up in that map yet.
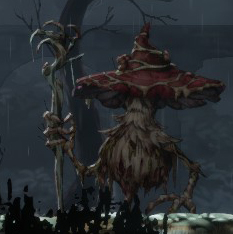
Head on to C6. Head all the way up the map until you come to C7. At the top of this map is a mini-boss.
Boss Fight - Fungal Sorcerer
This fight should be pretty easy at level 22. The Fungal Sorcerer will cast Poison Mist and fire heat-seeking missiles at you, but you should be able to dodge them pretty easy. The boss doesn't have a lot of HP so this fight shouldn't last long.
You'll obtain the Fungal Sorcerer Spirit after, which allows you to cast your own Poison Mist. Not very good as most mobs/bosses move around a lot.
After defeating the boss, you can pick up [FINDINGS] Lover's Letter on your right. Make your way down the map and jump through some Red Pustulant Ground to pick up 10x Furious Blight. Now head back to C6.
In C6, you can pick up an Amulet Fragment from a pot in the middle of the map. You should also see a door blocking your way that you can open by hitting the Green Light to make it easier to pass through this map. On the right most-side of the map down at the bottom is 10x Stagnant Blight.
Head down to C8 and you can find a Treasure Chest containing a Relic Manisa's Ring, which increases your Spirit uses. Head to C9 for a new Respite. You can pick up [FINDINGS] Sorcerer's Note at the right of the map. There are two rooms you can enter in this Respite. The one on your left (C10) contains nothing useful yet.
Take the room on your right to C11. Here you can find an Amulet Fragment in a hidden area as you go down the Elevator (the right side of the Elevator there is a hidden wall) on the left of the map. At the bottom of the map is an Elevator that will take you down to a mini boss. At the right of the Elevator you can pick up a Chain Of Sorcerer in a pot.
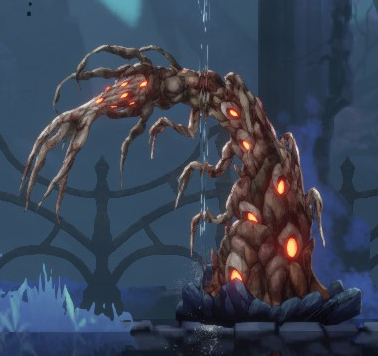
Boss Fight - Floral Sorceress
This mini-boss can be a bit tricky the first time you fight. It has three attacks; a rapid fire shot, a slow orb that follows you and summons a firestorm wherever you are standing.
You can dodge the firestorm by watching the ground to see where it's about to summon. This boss has low HP so you should be able to take it down with ease.
Once defeated, Floral Sorceress can be equipped to allow you to do a rapid-combo whirlwind. This is a great skill to equip for bosses.
Head back to the Respite in C9 and head to C12. You can pick up an Amulet Fragment at the bottom of the map in a pot and find yourself 10x Stagnant Blight on the right of the map. You can take the Elevator to C13.
In C13 you need to open up a locked door by hitting a Green Light. The Green light is situated to the left of the map; you have to dodge some of those swimming frog-like creatures to get to it- it's best to avoid them at this point. If you use the Waterfall that takes you towards C12, you can pick up 10x Stagnant Blight on the top of right side of the map. Make your way downwards to C14.
C14 is a Respite that you can use to heal before the big boss of the chapter. You can also pick up [FINDINGS] The Parish Way 3 on your left of the rest spot. Take the Elevator down to C15.
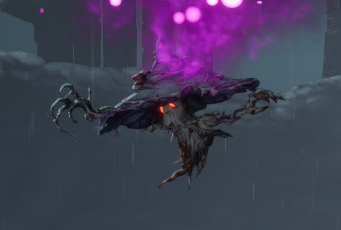
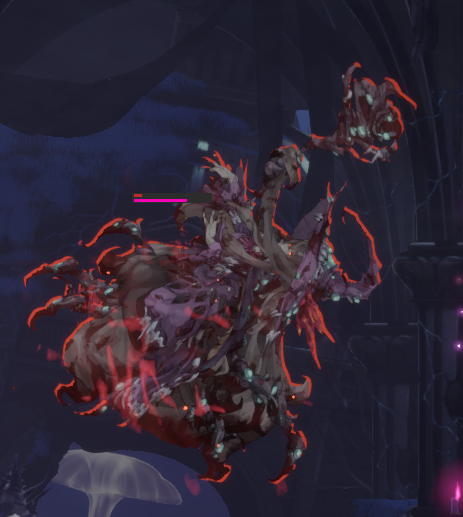
Boss Fight - Dark Witch Eleine
Recommended Level: 25
Like most chapter-ending bosses, Dark Witch Eleine has three phases for you to beat. The first phase is pretty simple, as you would expect, with two attacks to watch out for.
The first attack is a super-fast fireball and the second is a series of fireballs shot at you. You can dodge them easily using your dive move; timing the super-fast fireball is key to this fight as you'll see later on.
In the second-phase, Eleine will now fire two consecutive super-fast fireballs at you. They're still easy to dodge, just make sure you give yourself enough room to dodge. Eleine will also summon a whirlwind that will cut-off part of the map as running through the whirlwind will hit you multiple times. When Eleine does summon the whirlwind, you'll have a small window to hit some combos on her; if you got the Floral Sorceress skill this is a great time to deploy it.
Third-phase happens for the last 3rd of Eleine's HP and she tranforms into an ugly giant witch. She will summon a volley of fireballs that will hit the entire map- but they have gaps in making it easy to dodge. She also has a new teleport-attack that usually happens after she fires either the super-fast fireballs or the small fireballs. When she uses this teleport attack, she is easy to hit for a few seconds.
If you need help defeating this boss, check out our video guide below:
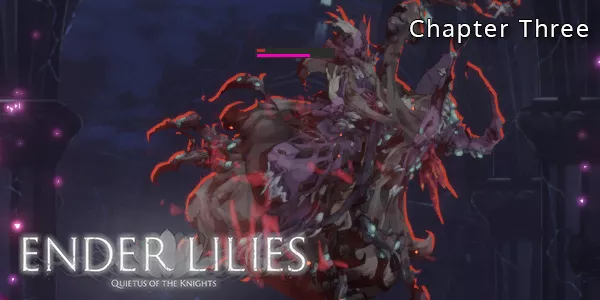
That wraps up Chapter Three of ENDER LILIES Walkthrough! We hope you found this guide useful- let us know if there is anything we missed in the comments and we will update the guide.

Discussion