Ruined Castle awaits us in ENDER LILIES Chapter Six as we head into the final stretch of the game. Previously we took down Ulv, the Mad Knight and that gave us the ability to climb walls with the new Action skill called Bloody Knight's Claws.
As always, after defeating a major chapter boss it's a good idea to go back on yourself and access those areas that we couldn't get to with our new skill, allowing us to increase our HP, obtain new Relics and more Spirit Skills.
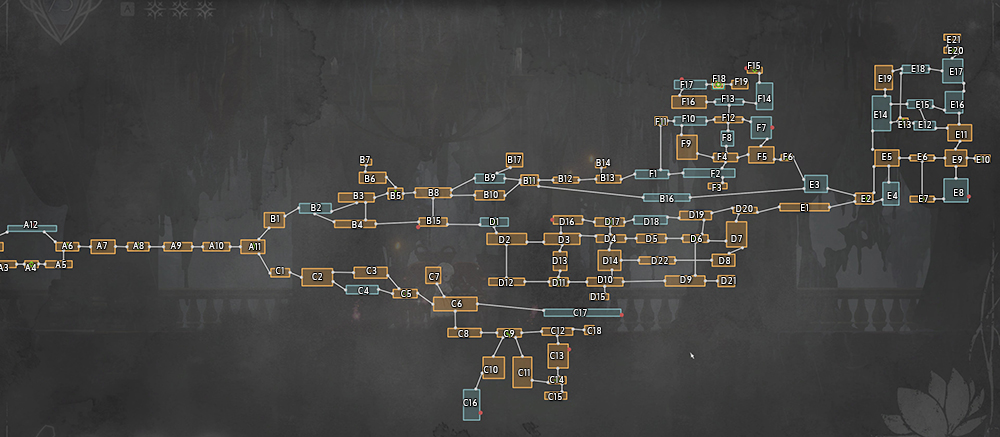
- Findings: C18, C18, F3, F6, F7, F7, F11, F15, F18
- Bosses: A12, B17, F1, F19
- Amulet Fragments: C18, E7, F2, F8, E18
- Actions:
- Relics: B6, C3, C18, F5, F9, F1
- Chain Of Sorcery: E5, E16, F9
- Stagment Blight: B17, B8, C11, D2, D17, E6, F5, F7, F9, F9, F9, F11, F16
- Furious Blight: B17, B8, D6, E8, E17, A12, F10
- Priestess Wish:
- Ancient Souls:
- Priestess Doll: F1
Tracking Back
Start by going back to B11 Respite and heading to B9. In B9 you'll notice a platform at the top right of the map that you can get to if you time a perfect double jump and glide to reach the edge. This will let you go to B17.
In B17 you can find 30x Stagnant Blight at the right of the map. You'll need to climb to the roof of the house and then use the Giant Hammer to break through the Red Pustulant Ground.
If you then head left and climb up you'll come across a mini-boss.
Boss Fight - Cliffside Hamlet Elder
That giant ogres in boss form isn't too difficult. If you move away from him he will spam his belly-flop move at you so make sure you've got your dodging button ready.
Defeating him gives you the Cliffside Hamlet Elder skill, which is a ranged attack. Not super useful.
Before leaving B17, climb up to the roof of the house where the mini-boss was. Go left and the use Giant Hammer to break more Red Pustulant Ground and pick up 30x Furious Blight.
Next head to B6, where you can climb up the walls of houses to open a Treasure Chest containing a Relic Bloodstained Ribbon, which gives you most Blight when killing monsters.
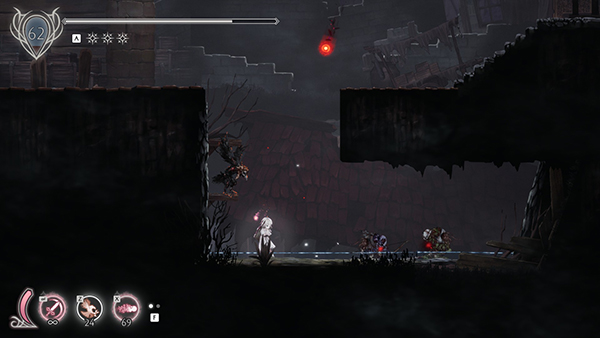
Next head to B8, climb up the wall of a house to use Giant Hammer to break Red Pustulant Gound and pick up 20x Stagnant Blight. There is also a hidden room in the middle of the map that you can jump to and claim x10 Furious Blight.
Take a trip to C3 where you can now climb up to the top most platform from the right side of the map; jump down to pick up a Relic Rusted Blue Ornament.
Next go to C11 and jump down the waterfall and head to the right-most wall. Climb all the way to the top and then jump left to find 30x Stagnant Blight.
Now go to C12 and head right; jump up the wall and it will give you access to C18. Here you can pick up a [FINDINGS] Eleine's Diary 1. Climb up to the top where you can find two Treasure Chests containing an Amulet Gem and Spellbound Anklet Relic. If you go higher, you can also pick up [FINDINGS] Eleine's Diary 2.
Head now to A6 where you can climb up the left-most wall to A12.
Head all the way left until you come to a new mini-boss.
Boss Fight - Chief Guardian
A giant version of those Banshee mobs- by now you should be used to their mechanics. This is an easy-ish boss fight; just watch the floor for those fire whirlwinds and you should be good to go.
Once defeated, head right and you can pick up 30x Furious Blight.
Now we go back to The Catacombs and head to D2. Head all the way to the right of the map and climb up the right-most wall; jump off when you get to the top to pick up 30x Stagnant Blight.
Now head to D17, which is The Great Hall Respite. You can climb up the right most wall, jump off and then dash across to get to the platform in the middle of the map to pick up 30x Stagnant Blight.
You can pick up 30x Furious Blight by going to D6 and heading below the map to D9. Then immediately climb up the wall back to D6 to find the loot.
Head back to E5 and go to the far left of the map. You can climb up a wall and pick up a Chain Of Sorcery from some crates.
Now head right to E6 and jump across the bridges to the far right of the map. You can climb up the right-most wall and pick up 30x Stagnant Blight. Jump down to E7 and head to the left-most wall. Climb up it to pick up an Amulet Fragment.
If you go to E9 and climb up the right-most wall and use it to then jump down to E8 you can pick up 30x Furious Blight. Now go to E17 and use your climb ability to get to the top right of the map to pick up 30x Furious Blight.
At E16, if you go to the right of the map you can climb up the outside using a combination of climbing+ Gliding and pick up a Chain Of Sorcery.
Head now to E18, where you can go under the bridge below the roaming Dragon mobs. Here you can see a Treasure Chest above you; you need to climb onto the opposite wall, jump off- attack in mid-air and then glide across to open it; this will give you an Amulet Gem.
Ruined Castle
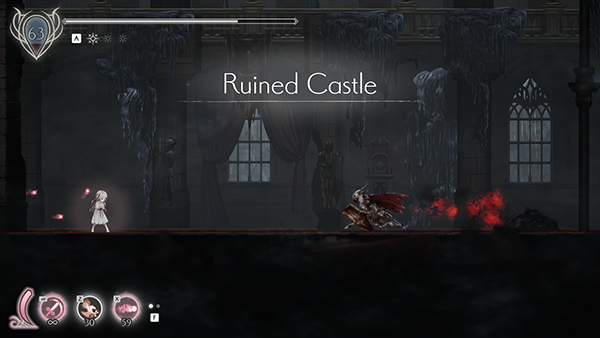
Mobs In This Area:
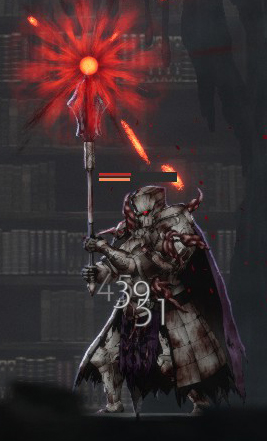
Advanced Knight
This knight will fire out a powerful blast of projectiles after summoning them for several seconds..
+240 EXP
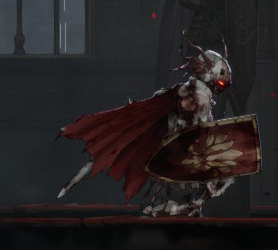
Agile Knight
This knight is faster than the other knight's you've come across; the same tactic applies of dodging his main stabbing attack to get behind him where he is vunerable.
+208 EXP
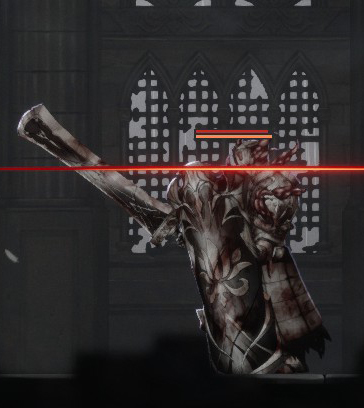
Mutant Shield Knight
The bulky shield knight is now mutated and can fire projectiles at you, whilst also delivering some powerful strikes.
+240 EXP
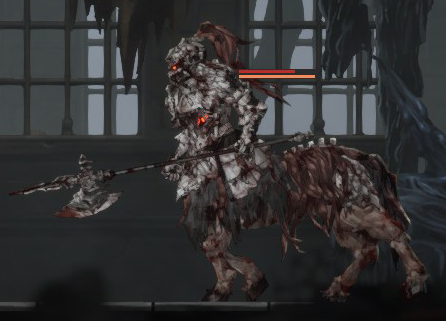
Horseman
There are two types of horseman; one with a bow and one with a polearm.
+229 EXP
Slug
This mob will launch at you as soon as it detects you. Use dive to dodge it.
+120 EXP
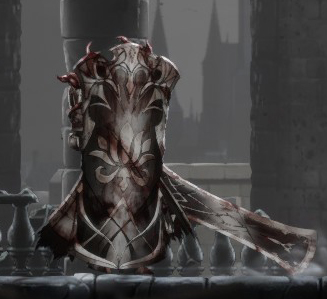
Bulky Shield Knight
Slow moving and hard to hit, the Bulky Shield Knight can ram you with his shield and hit you for hard damage with his sword. Once he uses his sword attack, that is the best time to attack!
+240 EXP
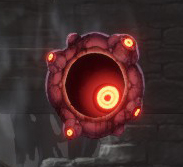
Red Eye
Does not move but will emit a pulsing red attack that covers a wide area- getting caught in it will hit you multiple times.
+149 EXP
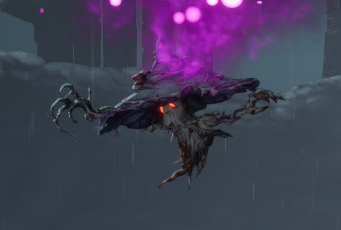
Witch 2
This mob will shoot out four purple-orbs in two patterns that will hit you from above. Pretty easy to dodge.
+150 EXP
Finally we're ready to head to the Ruined Castle. To get there, head back to B11 Respite and make your way to B13 past the area where we defeated Gerrod, the Elder Warrior.
In B13, you can climb up over the castle wall to get to our new destination: F1. In F1, you'll come across an easy mini-boss.
Boss Fight - Castle Town Maiden
This fight took us about four seconds to take down, so you should have no problems. If you do have problems, it might mean you're under leveled.
Castle Town Maiden becomes a new Spirit Skill when defeated; and it can be quite useful as it roams ahead for you to attack mobs.
Before you head off to F2, you can find a Priestess Doll on a elevated platform in the middle of the map.
In F2, on the top left platform is an Amulet Fragment you can pick up. Head all the way right and jump down to F3, which is a Respite area. Here you can pick up [FINDINGS] Report from a Verboten Mage. Head back up to F2.
From F2, head up to the top platforms and you'll be able to enter a room which is F4.
Take the route right and you'll come to F5; there are some areas in F5 that lock you in with lots of mobs so be careful! In F5, head all the way right and climb up the wall to find a secret area where you can pick up 30x Stagnant Blight. You can also enter a new Respite area in F6 in the same area and pick up [FINDINGS] Proof Of Founding.
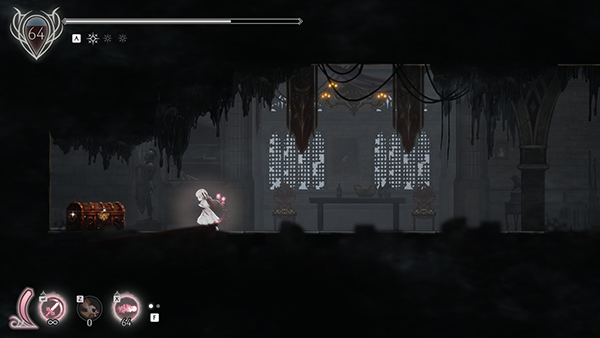
Head down to find an Elevator with a Lever on the right of the wall. Pull it and then ride the Elevator to the top. Head left and you'll come to a Treasure Chest containing a Royal Aegis Crest. Go back to the right slightly and you can enter F7.
In F7, go right and climb up the platforms until you come to a lever that activates an Elevator. Use the Elevator to ride upwards and continue climbing. At the top, on the right, is [FINDINGS] King Of The First Age's Diary 2. Now head left and you'll come across some platforms you need to jump across. Once you reach the other side you can pick up [FINDINGS] King Of The First Age's Diary 1. Before going all the way left, if you jump down the side of the platform you can pick up 30x Stagnant Blight.
Now head left to F12. If you keep going left you should see a lever directly in front of you on the wall. Pull it and then head down. You'll drop down to F8. In the middle of F8 is an Amulet Fragment you can pick up. Keep heading down and you'll end back at F4.
This time take the route left to F9. At the left-most part of the map is 10x Stagnant Blight you can pick up. If you climb up the left wall in front of it you can also pick up another 10x Stagnant Blight. Start climbing the stairs and on the right will be several mobs you get shut-in with. Defeat them and then pick up the Blightwreathed Blade Relic, which increases the amount of EXP you earn from mobs. If you climb up the wall that is the entrance to this area you can also pick a Chain Of Sorcery. At the top left of the map is another 10x Stagnant Blight. Head all the way up the stairs and you'll come to F10.
If you immediately go left, you can find a new Respite in F11. On the left of the map is [FINDINGS] Julius' Book. Jump down the left castle wall to find a hidden room with 30x Stagnant Blight. Jump down and you'll end up at F1 again, where you can pick up Decayed Crown Relic. Now head all the way back to F10.
From F10, you can pick up 30x Furious Blight by jumping onto a small piece of wall hanging from the ceiling and then letting go, attacking in mid-air, then gliding all the way across to a platform. Then head all the way right to F12. You can pull the lever on the wall that now lets you access the Elevator in the center of the map which takes you to F13. From F13, immediately head right to F14. From F14, work your way all the way up to the top of the map and you'll enter F15, which is a new Respite. Here you can pick up [FINDINGS] Priestess Castle Memo and a Priestess' Wish. Now head back to F13 and this time we're going left to F16.
F16 contains many locked-in zones where you have to fight mobs before you can move on. Patience is the key for this level. In the middle of the map you can pick up 30x Stagnant Blight. You'll eventually come to F17 at the top. Head right and eventually you'll come to F18.
When you get to F18, this is a new Respite where you can pick up [FINDINGS] King's Note 1. And from there you can now go to F19, which is where you'll find the chapter boss.
Boss Fight - Knight Captain Julius
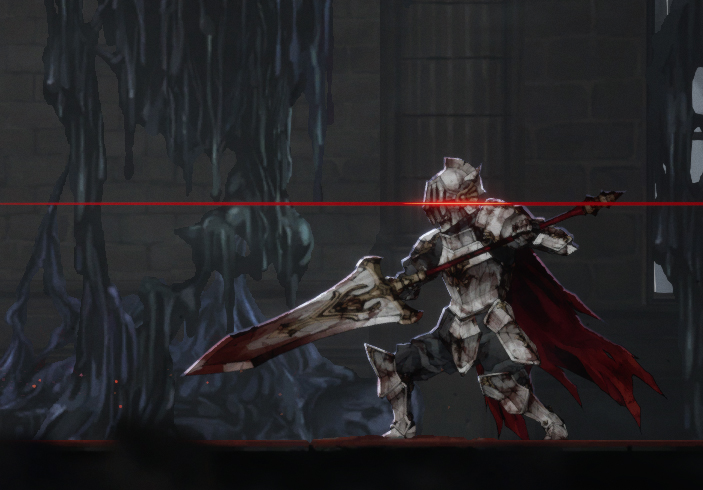
Recommended Level: 70
The first phase of this boss is very easy. He has just one attack to watch out for, which is a stabbing attack with his spear.
Phase two he has several new attacks: he will immediately leap forward at the beginning of the stage which you need to time a dodge right to get out of the way. He also has a whirlpool-type fire move which doesn't deal very much damage so it's not the worst one to get hit by. The key is getting up and close to prevent him using his main leap-forward attack.
Phase three begins with 1/3rd of his HP remaining. In Phase three he has a new move which allows him to cover the entire map with an attack beam- you can only dodge it by being behind him. Luckily, he has several seconds of charging up to recognize the move.
Use the video guide below for tips:
And that wraps up Chapter Six of the ENDER LILIES Walkthrough! Overall Knight Captain Julius is one of the easier bosses in the game- but let us know if you struggled with him in the comments!
Discussion
Btw what am i missing in F14..i have opened the gate in tower to the right too