Welcome to the Dinkum Walkthrough and Game Guide; we'll be following the Dinkum main scenario tasks for this game guide- but the game never really ends! There's always more farming to be done, more hunting to be had and lots of cool adventures awaiting for you!
- Dinkum New Game
- The South
- Dinkum Island - Base Tent
- Dinkum User Interface
- Island Travelers
- Adventure Journal
- Camp Fire and Fruit
Whilst the game is still in Early Access at the start of writing this Dinkum Walkthrough, we'll go back and rewrite anything if it becomes outdated. Just let us know in the comments!
For now, get comfortable and prepare to dive into your own unique world...
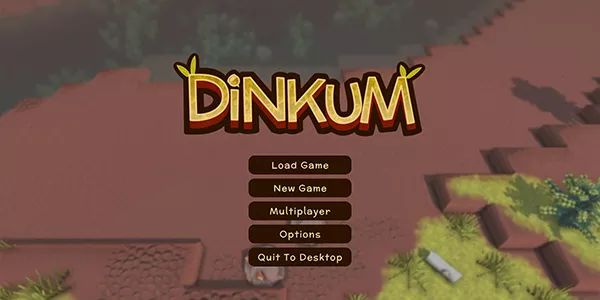
Dinkum New Game
You can create as many islands as you like; each New Game starts out the same with you starting with nothing but a blank canvas with the hopes one day turning your island into a sprawling village.
The game works on a night/day system, where each time you go to bed, your progress is saved and all the tasks you did that day are then translated into XP to level up your skills and progression.
There is plenty to do in Dinkum, so starting a new game can be a little overwhelming at first. But this walkthrough should hand-hold you until you get comfortable with the mechanics and want to go off and explore on your own.
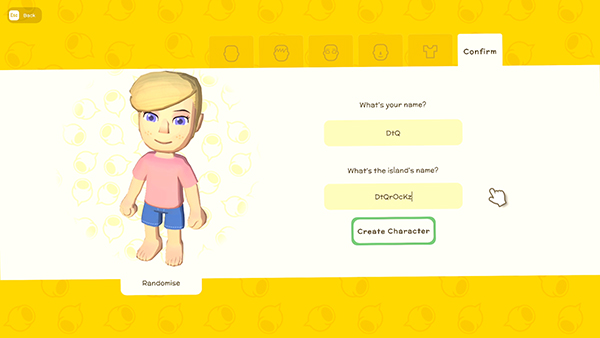
Before you start the game, you get to customize your character! Don't spend too long worrying about your outfit, as you'll have plenty of new items to find once you're on your island.
Give your character a name and name your Island.
The South
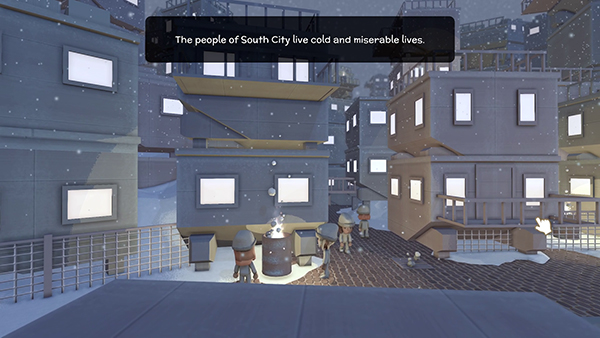
You begin your adventure in the depressing town of South City. There is no fun here, with it's bleak and grey colors.
But luckily for you, you see a notice looking for a "young go-getter" to help out the NPC Fletch on his old Island. This is your golden ticket out of here!
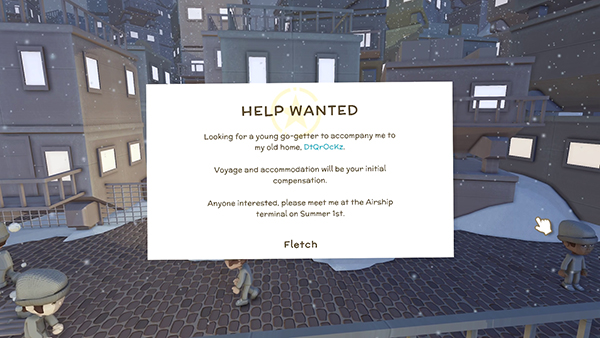
After meeting Fletch, you take off in an Airship and arrive at your Island.
Dinkum Island - Base Tent
Your Island is generated uniquely for each New Game that you start. Your Island will have it's own unique rivers and islets, it's own areas that are full of palm trees and others which are barren deserts. Pretty cool eh?
Once you land, speak to Fletch and he will give you your Base Tent and Map.

Your first task is to setup the Base Tent. The Base Tent is where you'll get to speak to Fletch at the start of a new day for new tasks.
Choosing your Base Tent location doesn't matter too much, but we do recommend somewhere that is closer in the middle, with access to water (for farming). With your Base Tent being in the middle of the map, you'll have closer access to all the areas around you.
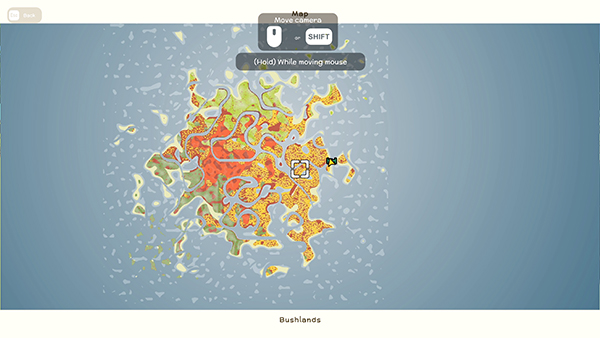
Press M to take a look at your Island. You can put down markers to help you navigate around; your Base Tent will always show up on the map.
TIP: As you move around the map looking for the perfect spot, start foraging items you find. You'll notice lots of trees full of fruit, bushes on the ground and shells on the beach. All of this stuff you can sell later for money, as well as leveling up your Foraging Skill.
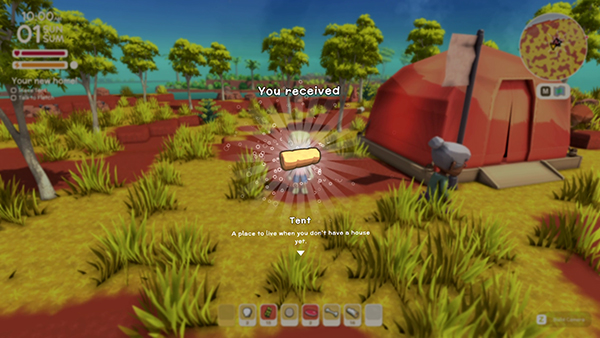
Once you've set up the Base Tent, Fletch will talk to you again. Fletch will give you your very own Tent that you can use as your own home until you get something a little more permanent.
You'll want to keep your own Tent nearby, so you don't have to do a lot of traveling when you want to access it. Right next to the Base Tent works fine!
Once you've placed your own Tent, head inside Base Tent and talk to Fletch.
Dinkum User Interface
Now is a good time to break down the Dinkum User Interface.
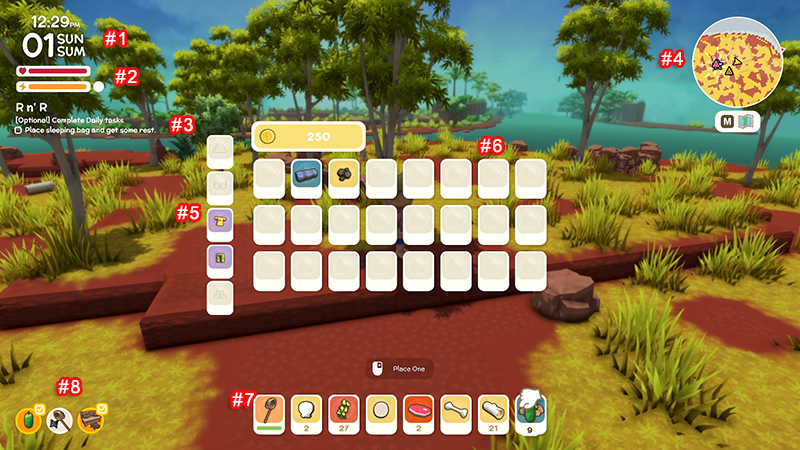
- Date and Time
- Your Health and Stamina Bars. Health goes down when you're attacked by animals; Stamina goes down when you perform actions like mining, fishing and swimming.
- Current Tasks; you can pin tasks to this menu from your Adventure Journal
- Mini Map
- Your clothes that you're currently wearing
- Your Storage Slots
- Your Toolbar; items in the Toolbar can be used by your character when selected.
- Your Daily Milestone Tasks
Island Travelers
Throughout your time on your Island, you'll get visitors.
Each visitor can offer you something unique in exchange for money or items and you can also befriend them by performing quests and buying their goods. Do it enough, and they'll want to stay on your island permanently.
Fletch mentions that Traveling Trader John is going to visit soon.
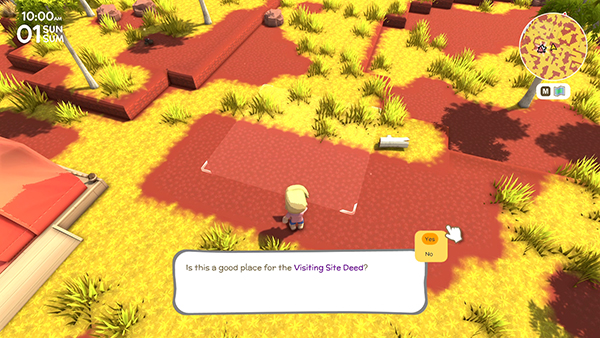
Fletch hands you the Visiting Site Deed, which is an area that you should setup near the Base Tent. This is where all your visitors will arrive at, allowing you to interact with them- so you want to keep it close to your own setup.
Adventure Journal
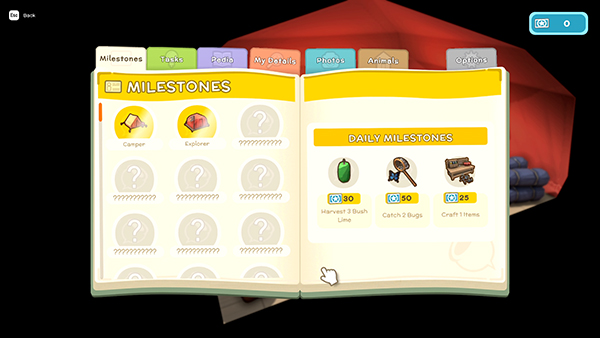
Once setup, head back inside the Base Tent and speak to Fletch. He will give you your Adventure Journal- this allows you to keep track of your Island's Progress, including any Tasks you're currently on.
You'll also get introduced to a new currency called Permit Points. You can earn these by completing Milestones and Daily Milestones, all viewable within the Adventure Journal.
There are lots of different Milestones to complete and it's best to dabble in a bit of everything at the beginning to start racking up the Permit Points.
Daily Milestones refresh each day; some Daily Milestones you won't be able to complete until you unlock various aspects of your Island.
Permit Points are incredibly important and you'll be using them to upgrade your skills, unlock new ones and upgrade your Island's facilities.
Camp Fire and Fruit
Next Fletch asks you to find something to eat.
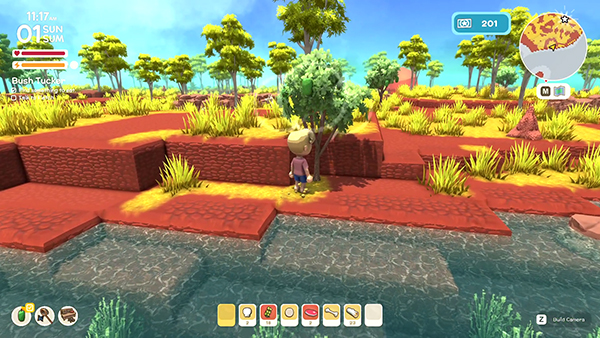
You can find all sorts of eatables on your Island, but perhaps the easiest is to find Fruit from a Bush Lime. These are found in areas Bushland and are very common.
Depending on where your put your Base Tent, you might also find Strawberries and Bananas and a whole other host of fruit!
You might also get lucky and find some Meat on the ground. Meat comes from animals on your Island, but since you don't have any weapons yet you can't hunt. However, sometimes the animals attack each other and drop meat for you!
Once you've found something, head back to Fletch.
You'll be given the Camp Fire recipe, which allows you to craft a Camp Fire at the Crafting Table in the Base Tent.
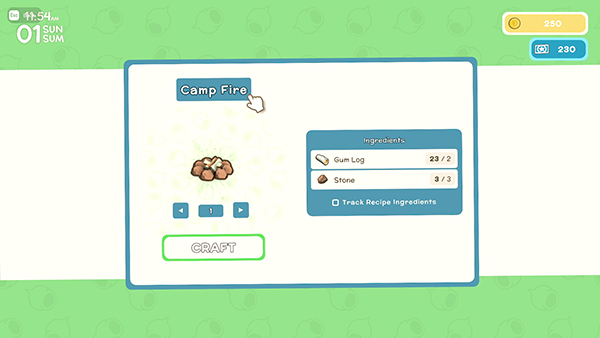
To craft a Camp Fire, you'll need 3 Stone and 2 Gum Log. Luckily, Fletch gives you 3 Stone automatically, so all you need to do is forage some Gum Log. These are in abundance everywhere on your Island, so hopefully you've been picking them up as you scouted for Fruit.
Head over to the Crafting Table in the Base Tent and craft a Camp Fire.
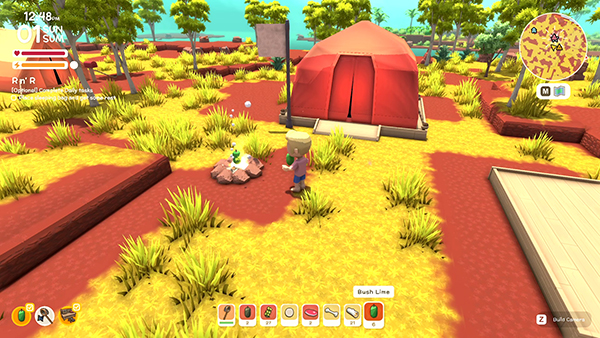
TIP: A Camp Fire can be used to Cook food. Cooked food, when eaten, will regenerate your health and stamina bars more than uncooked food. You can cook Meat and those Bush Limes.
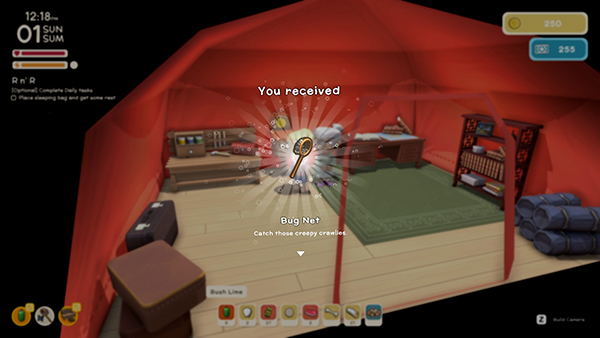
Once crafted, speak to Fletch again and this time he will give you a Bug Net and a Sleeping Bag.
A Bug net can be used to capture bugs on the Island. You'll be able to sell these Bugs later, so if you see any, make sure to capture them!
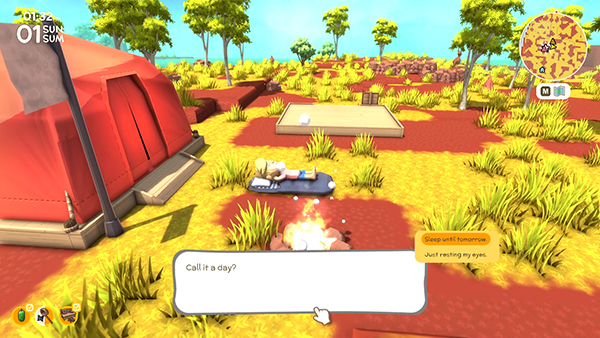
The Sleeping Bag item can be put down anywhere on your Island (inside and out!) and allows you to start the next day.
Your next tasks won't become available until the new day starts, so if you're done with all your foraging and using the Camp Fire, put out your Sleeping Bag and get some zzzs.
That wraps up part 1 of the Dinkum Walkthrough! We'll be slowly making our way through all the content available, so let us know if we missed anything in the comments! Oh- and don't forget to show off your Dinkum Island on our Forums!

Discussion