Welcome to part 1 of the Star Ocean: The Divine Force walkthrough series detailing our adventure on Aster IV! This walkthrough aims to give you tips and tricks for defeating bosses, highlighting hidden items and getting you through any tricky puzzles.
- Star Ocean: The Divine Force New Game
- Encounter With A Shooting Star
- Battle System Explained
- Larcasse Weald
- Mhedume Ruins
- Boss Fight - U.D. Hercules
This walkthrough will be split up into parts, so make sure to check the full Star Ocean: The Divine Force Walkthrough Guide page for other sections.
Star Ocean: The Divine Force New Game
There's nothing like starting a new game in a JRPG. Fresh level 1 characters, new story to dive into and lots of battle mechanics to learn.
The Divine Force begins by giving you some options to choose from before you start your game.
Choosing a Main Character - Raymond or Laeticia
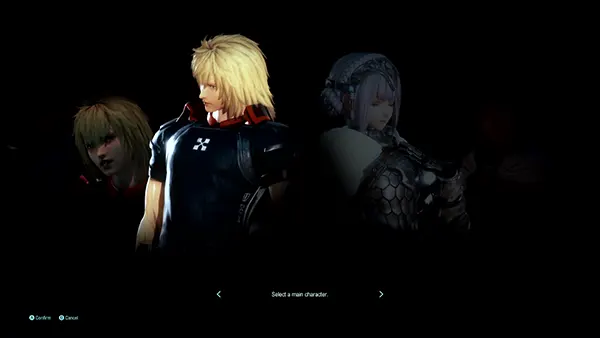
Interestingly, Star Ocean starts with you being able to choose a main character.
Your choice affects which cutscenes you see during certain parts of the game, giving you better understanding of the character's motivation. Don't worry though, you still can switch between each character in battle just fine.
Your choice is between Raymond or Laeticia.
Raymond's story revolves around his ship and crew mates crash landing on Alter IV, whilst Laeticia's is to do with the kingdom of Aucerius.
You won't be missing out too much no matter who you choose; if you ever plan to replay the game at a later stage it can add some extra context to certain situations though.
Selecting Difficulty
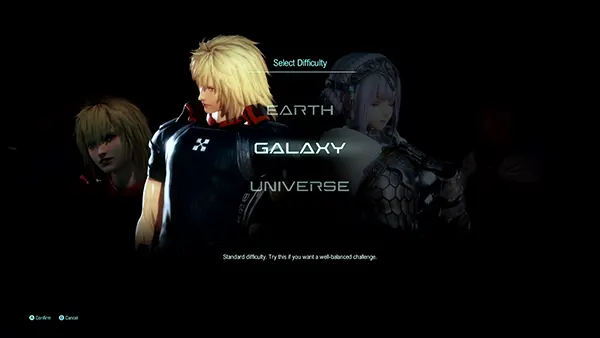
You also get to select the difficulty of enemies. You can change this on the fly at any stage, so it doesn't matter too much.
We recommend going with Galaxy as a sort of "medium" mode, which won't be too difficult but will provide some challenge along the way.
If you just want to enjoy the story, go with the Earth difficulty setting.
And for those who are Star Ocean veterans, you'll want to select the Universe mode.
Encounter With A Shooting Star
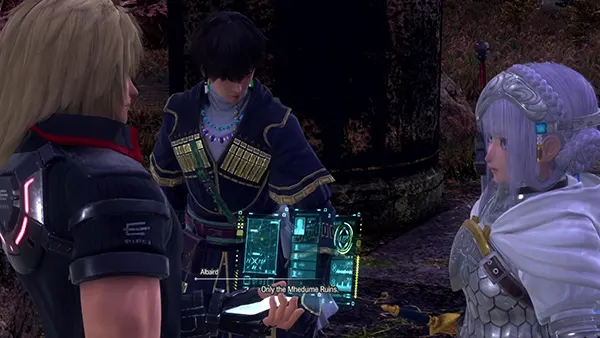
After several long cutscenes, Laeticia and Raymond agree to help each other out. Ray wants to go in search of his missing pod, which is located at the Mhedume Ruins. Laeticia and her companion Albaird agree to help him.
You'll be given several Accessory Items after the cutscene:
- Ridley
- Lezard
- Jack
- Lenneth
These are pieces for a mini-game called Es'owa Board Game. You can also equip them for some small stat boosts from the menu screen.
When entering a new region, we'll provide an overview map of where you need to go and the loot available in the area. Not all loot will be available right now due to not having all the mechanics, so you may wish to come back later anyways.
Battle System Explained
The Star Ocean: The Divine Force Battle System can be a bit confusing at first. Lots of different mechanics get introduced very quickly at the beginning so it's definitely a small learning curve.
Luckily, the opening monsters are easy to beat, so don't worry too much about having to master it.
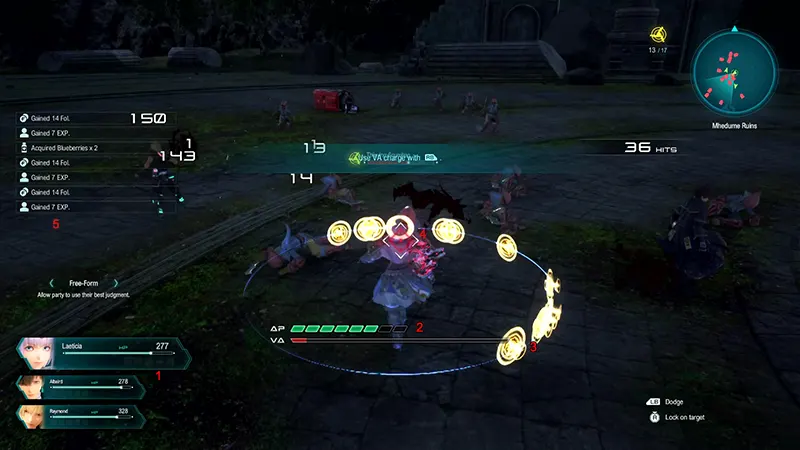
- This is your current active party. You have up to four members in your party at any one time and switch out reserves when they're available outside of battle. When you're not controlling a party member, they will attack on their own. You can switch to another party member on the fly using the arrow keys.
- This is your AP bar. You gain AP over time; if you continually use dodge, the AP won't replenish. AP is consumed by your skills. Doing special attacks, like a Surprise Attack (sneaking up on an enemy) will increase the amount of AP you have available during that battle.
- VA Gauge - This isn't available right away, but the VA Gauge allows you to generate a shield around you to dodge enemy attacks. You can also use it to rush enemies and "blindside them", giving you damage boosts. The VA Gauge fills up when you attack enemies.
- Locking onto an enemy will make you follow them around the battle field. This prevents you from getting lost in battle and wasting AP on hitting nothing.
- When you defeat an enemy, you'll get the spoils immediately. This includes items, EXP and Fol (currency).
That's generally the basics.
If you go to the menu, you can also setup Chain Commands. This allows you to press one button continuously to activate three different skills. You can also add healing items to your combos, which activate a lot faster than manually selecting an item.
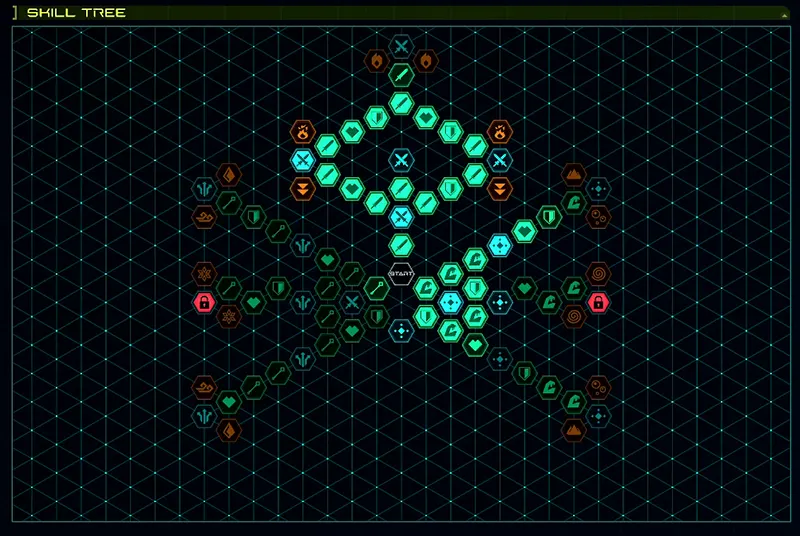
You can also upgrade skills and your characters using SP Points that you gain from leveling up. Each character has their own unique Skill Tree. You can unlock three types of skills:
- Combat Skills - use these in battle.
- Passive Skills - assign these to your character for passive benefits (such as healing!)
- Active Skills - these act as buffs that last for short amounts of time
Aside from skills, you also can unlock stat-boosting nodes that increase your ATK, INT, DEF, GUTS and elemental resistance.
Larcasse Weald
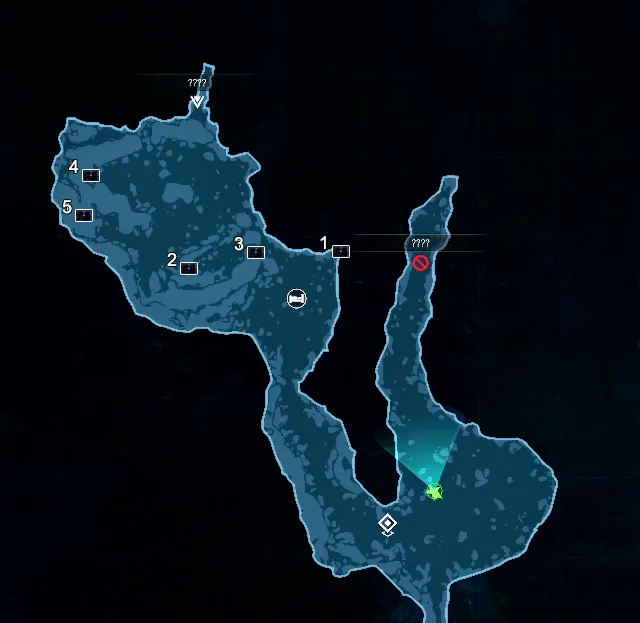
Treasure Chests:
- [1] - Treasure Chest: Fresh Sage
- [2] - Treasure Chest: Silver
- [3] - Treasure Chest: 200 Fol
- [4] - Treasure Chest: Aquaberries
- [5] - Treasure Chest: Fresh Sage
You begin in the Larcasse Weald. You'll want to be heading north-west to find the Mhedume Ruins. You can pull up your map at any time and the map shows an icon which points you in the right direction you need to go.
On your way, you'll encounter monsters to fight. Monsters will respawn if you go back on yourself and want to grind some early EXP and Levels.
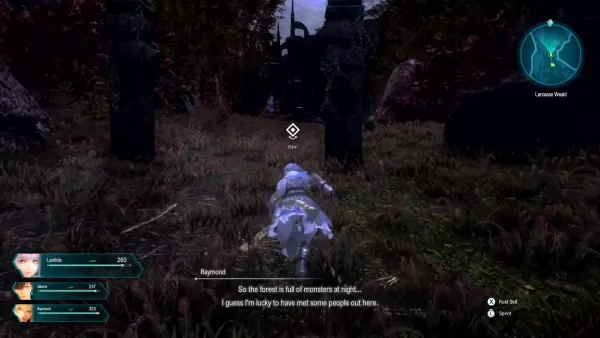
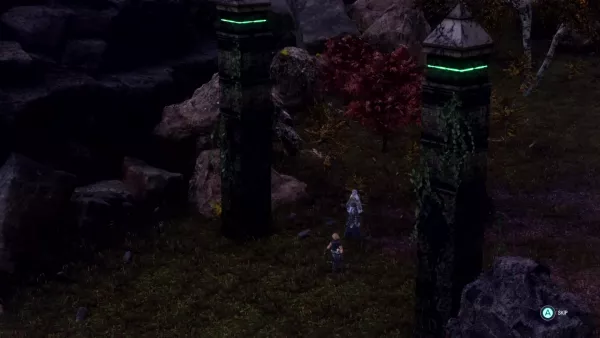
You'll know you're heading in the right direction by passing these pillars that pop up out of the ground. Use our map above to seek out hidden Treasure Chests for some extra loot.
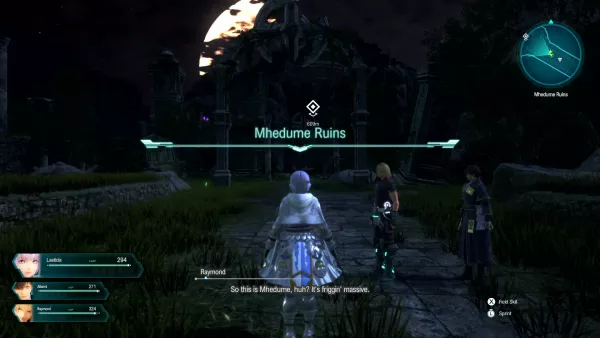
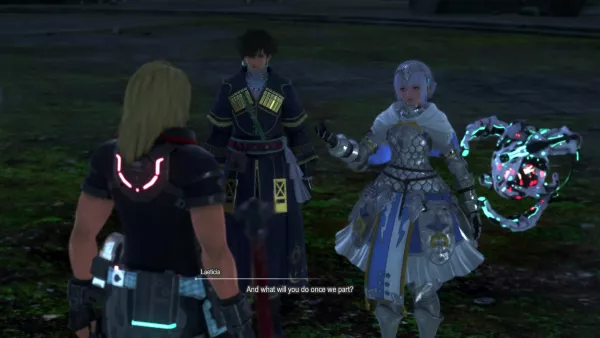
You'll arrive at an area just before the Mhedume Ruins with a short cutscene. We are doing our playthrough with Laeticia and the cutscene reveals that her and Albaird need Raymond on their side for whatever purpose they are to reveal.
You'll find a camp fire here; these will heal your party to full health and can be used unlimited times. Look out for the icon on your map.

If you head down towards the Mhedume Ruins you'll come across strange statues that can be broken. Some of these will drop items upon smashing them. You'll also notice those green orbs on the floor; these will give you an item also. They are usually potions and crafting materials.
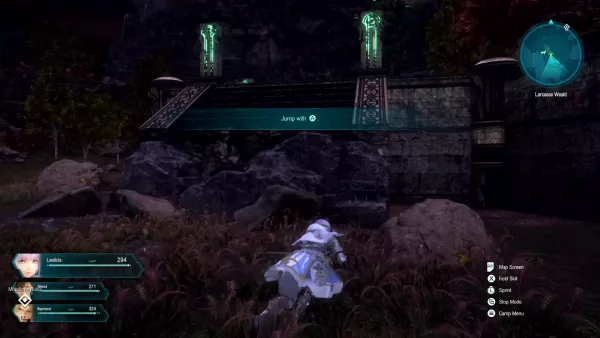
In this area some of the stairs are too high for you to jump up. Instead, look for the ones with rocks in front; you'll be able to climb up onto the rocks and then onto the stairs.
Make your way across them to the entrance to the Mhedume Ruins!
Mhedume Ruins
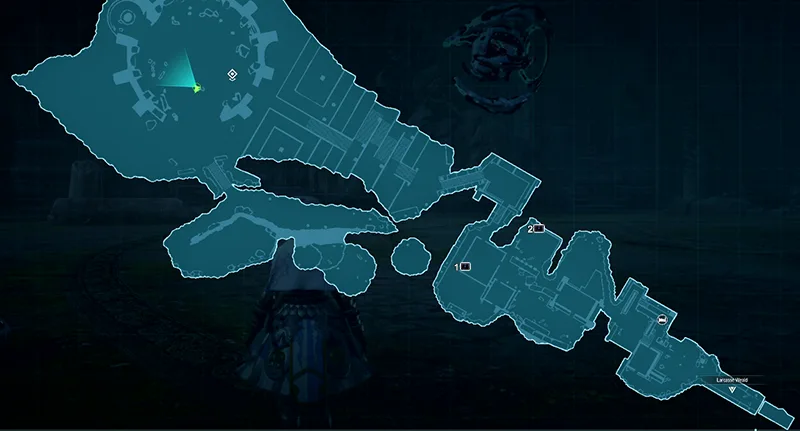
Treasure Chests:
- [1] Treasure Chest: Fresh Sage
- [2] Treasure Chest: Guardian Ring
Make your way through the Mhedume Ruins to the top of the map.
There is a camp fire in this map also for free healing so don't sleep on that!
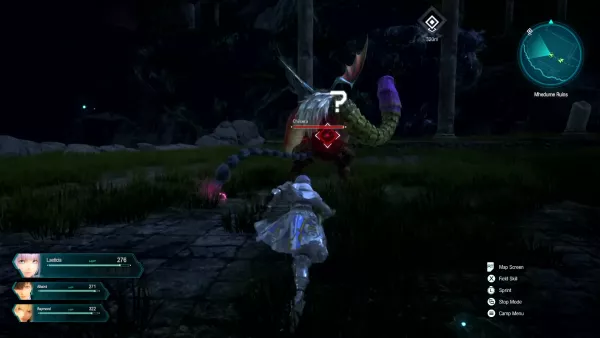
You'll also come across a new type of enemy called the Chimera.
This introduces a new battle mechanic that allows you to target enemy body parts; certain enemies have body parts that can be targeted.
Destroying them will weaken the enemy greatly and disabled certain attacks.
The Chimera's tail can be destroyed in this case.
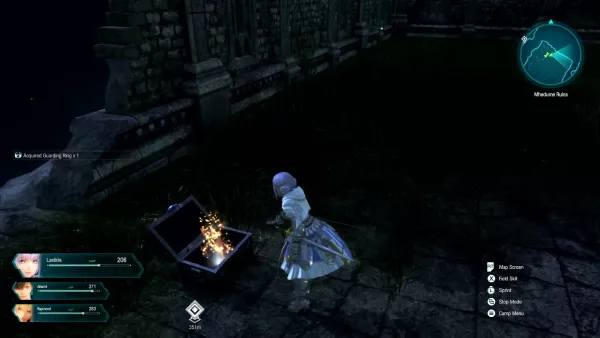
Don't forget to pick up the Guardian Ring accessory from a Treasure Chest nearby.
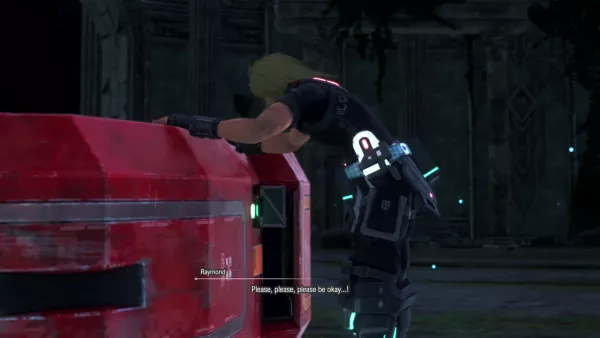
When you reach the top of the Mhedume Ruins a cutscene will happen as Ray discovers his pod. He opens it, only for a strange device to fall out. Introducing D.U.M.A!
D.U.M.A.
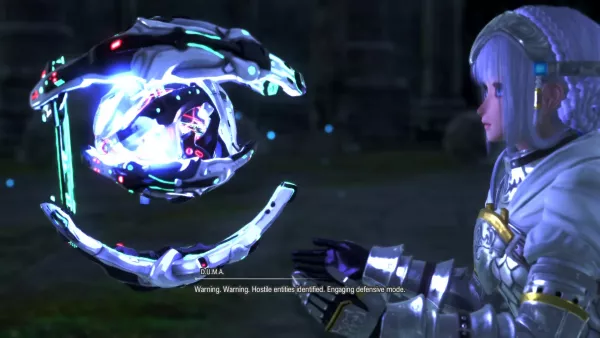
The D.U.M.A Robot adds a new mechanic to battling and traversing the world. If you hold RB, you can use your new D.U.M.A to rush towards enemy and damage them. Using D.U.M.A consumes the VA Gauge, which replenishes only when you deal attacks.
Pressing RB also activates a barrier, which can help you dodge close-range enemy attacks.
Blindside - You can also now use a new mechanic called Blindside; when you rush an enemy, changing directions to the side of the enemy will activate a "blindside" buff, allowing you to deal 2x damage. Changing directions whilst rushing will consume the VA Gauge or 50% if you perform a blindside.
You'll immediately be dropped into a fight against a pack of Thieving Scumbag mobs. Use this to practice your new D.U.M.A skills!
Boss Fight - U.D. Hercules
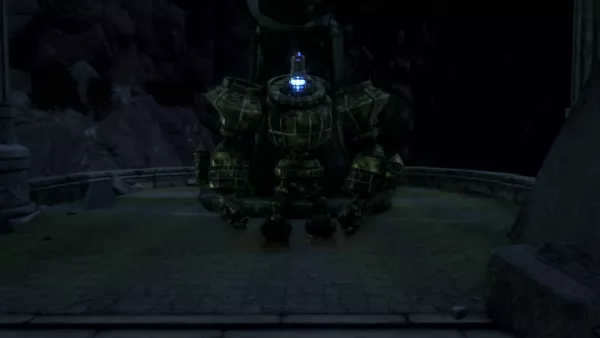
Recommended Level: 4
The first boss you'll have to fight is called U.D. Hercules- a giant mech controlled by a Thieving Scumbag. Not to worry though, this fight should be a piece of cake!
TIP: If you do struggling, activate the Auto-Healing passive ability in your character's Skill Tree for extra healing.
The boss has several body parts you can target. The boss's weakest spot is it's head and you'll deal a lot more damage targeting that part than the feet or hands.
If you need to heal up, don't be afraid to use your Aquaberries from your Inventory. You can use Stop Time function to select items to be used in battle.
Overall, this boss is super easy!
Rewards:
- Iron x10
- 218 Fol
- 109 EXP
After the fight, Laeticia agrees to help Raymond find his friends as long as he assists them on their journey too.
That wraps up part 1 of the Star Ocean: The Divine Force Walkthrough! Let us know if we missed anything in the comments.

Discussion