This is the final part of the Star Ocean: The Divine Force Walkthrough where we cover the last chapters of the story and see the final ending!
In the last part of the walkthrough, we took out Fused Remington and headed back to The Aldous ship, with Aster IV as our next destination.
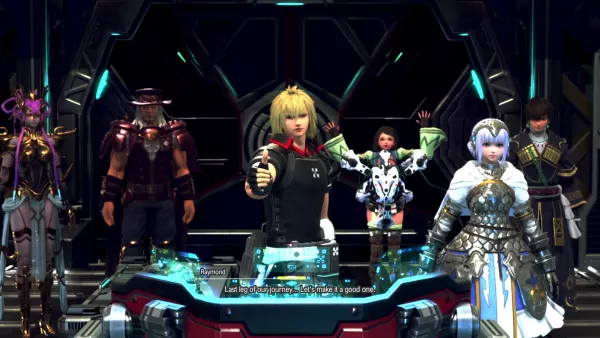
On the way to Aster IV, you can speak to all of your companions individually.
If you need help leveling up before the final bosses, try out our Level Up Fast Guide.
You can also pick up several new weapons from the item shop on board the Aldous
| Name | Stats | Factor | Character |
|---|---|---|---|
| Cruaidin Blade | ATK: 947 INT: 596 |
Raymond | |
| Snarvendill | ATK: 737 INT: 1099 |
Laeticia | |
| Aadellring | ATK: 807 INT: 1017 GUTS: -140 |
+10% damage dealt to Humanoids | Albaird |
| Angelus Prayer | ATK: 596 INT: 1158 |
Nina | |
| Alchemical Staff Of Azoth | ATK: 936 INT: 1000 |
Bestows the element of Fire to attacks | Midas |
| Aymr BA-A1 | ATK: 807 INT: 807 |
Deal +33% DMG when HIT count is 100 or above. | Elena |
| Wyrmkralle | ATK: 678 INT: 871 |
+15% damage dealt to beasts | Malkya |
| Raishodo MG3 | ATK: 877 INT: 877 GUTS: -149 |
20% chance of activating skills without consuming AP. | Marielle |

When you have spoken to everyone on board, head to The Bridge for a new cutscene as you arrive in Aster IV. It seems that Scorpium has invaded Aster IV, with a giant structure being erected in Nihlbeth.
Lola sends a transmission asking you to meet her at Castle Austerious, so you do. Head to the Council Room where you meet with the King.
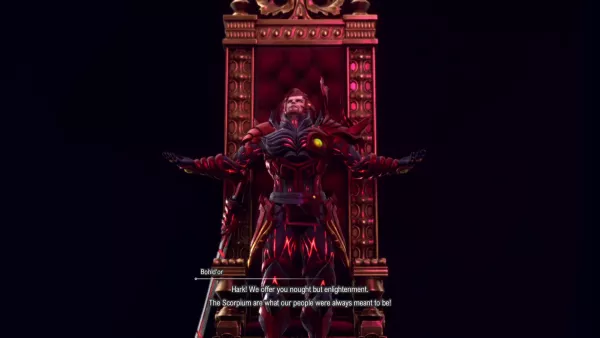
During the meeting Bohld'or sends a message to Ray, goading the party. You plan to head to the new structure in Nihlbeth.
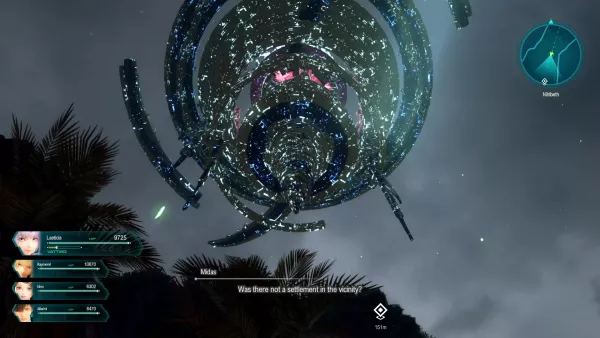
If you quick travel to Nihlbeth, you'll see the area has transformed slightly. The mobs are still the same and are not worth fighting as you should be higher level than them now.
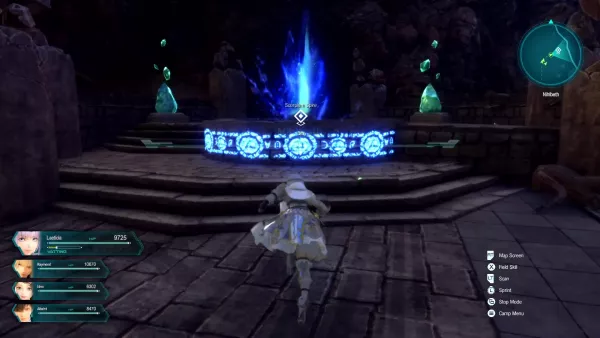
The spire can be accessed just before you reach the Thrathen Settlement by entering a blue teleporter.
Scorpium Spire
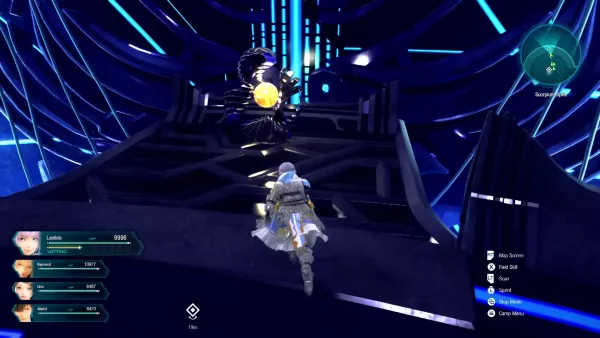
The Scorpium Spire is made up of several rooms and floors that you'll need to navigate. The first floor is quite simple and leads you directly to...
Boss Fight - Fused Gaston
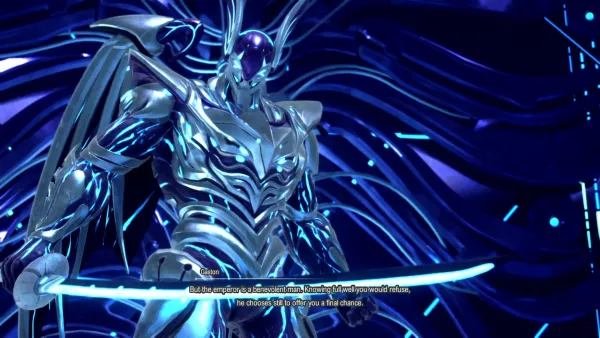
Recommended Level: 80
Fused Gaston is quite agile and will often dodge away from your attacks. He will summon semiomancy whirlwind towards you so keep an eye out of for his blade-slashing animations so you can dodge them.
Gaston will also periodically silence your D.U.M.A. making it unusable. This can put you in a tricky spot with trying to get out of the way of attacks, so make sure you're close to Nina for healing.
Gaston's main attack, Crimson Tempest, is where he will fly up into the sky in a fireball and hover for a few seconds before launching down. You can dodge this attack easily by using D.U.M.A. rush ability.
Apart from a few fireballs and wind attacks, Fused Gaston should be quite easy.
Rewards:
- Michael
- 23,800 Fol
- 42,940 EXP
After the fight, Gaston returns to his normal self and gives a few final words before he is finally finished off.
Head further on ahead and you'll come to a teleporter you can use to get to the next floor.
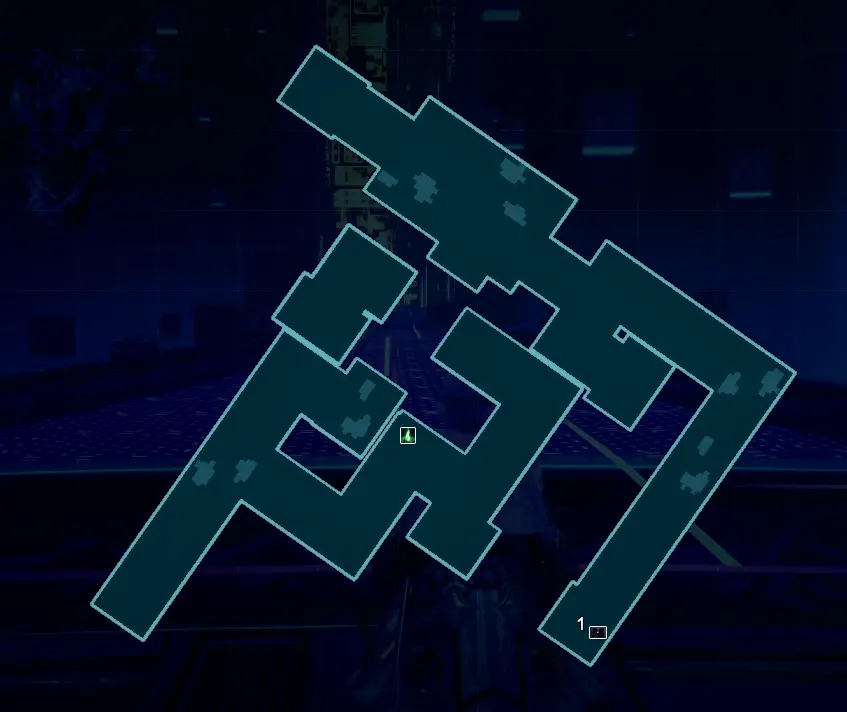
Floor 2
Treasure Chests:
- [1] Treasure Chest: Fire God Talisman
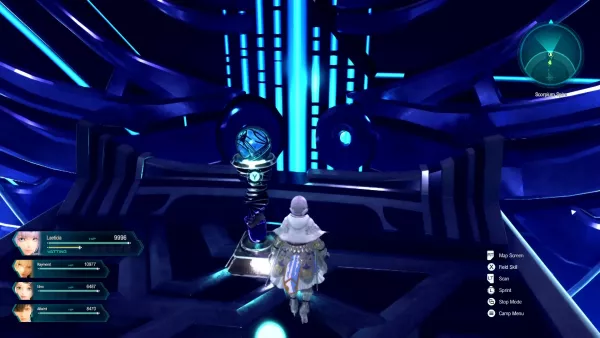
On floor 2 of the Scorpium Spire, you will come across a teleporter that takes you to a different room (on the same floor). Here you can pick up a Transport Orb. Take the elevator back and head to the last room.
In this room is another elevator that takes you to floor 3. However, you must first smash the Generator to take down the elevator's shield.
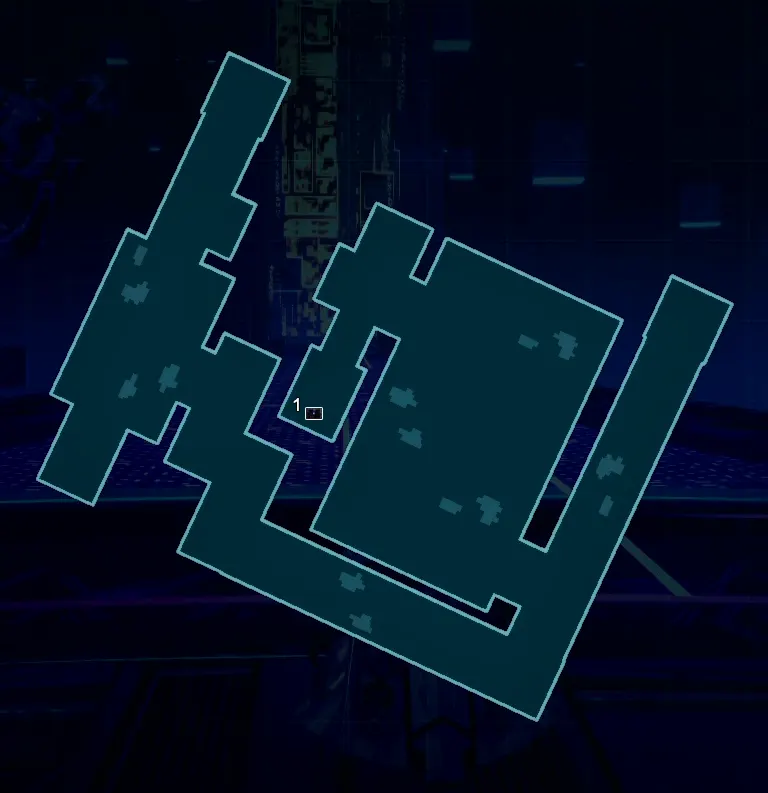
Floor 3
Treasure Chests:
- [1] Treasure Chest: Riot Potion x2
- [2] Treasure Chest: Kingly Wygar
On Floor 3, you first need to head to Elevator (1) and retrieve the Transport Orb by going to Elevator (2) and then returning. You need to then place the Transport Orb at Elevator (3) so you can destroy the Generator. This will then allow you to access the elevator that takes you to Floor 4.
From Floor 4 you can access Floor 5 and you come across...
Boss Fight - Fused Velanj
Recommended Level: 80
Velanj has multiple body parts you can hit. We recommend targeting his head as often as possible.
Velanj has one main AOE attack: one is a giant slam-down ice storm that will deal huge damage if you get caught inside. It's possible to avoid it by watching Velanj's animations.
The rest of his attacks are pretty tame; just don't get caught up in his multiple-punch move as it can deal enough damage to wipe you out if you have low HP.
You can blindside Velanj from behind and deal double damage and get your AP points up.
Rewards:
- Scorpium Chip x3
- 23,800 Fol
- 42,940 EXP
Boss Fight - Fused Bohld'or
Same strategy as before:
Bohld'or hits some very strong attacks so you need to be very careful on his attack patterns. His main melee is a three-hit slash attack that will almost wipe you out if you get hit by all three.
He'll summon Divine Might, where he glows red. He'll then teleport towards you and swipe- if you get hit by it it's almost certain death. You can easily dodge it though by running away just as he swipes.
Some of hit other moves include summoning a giant cross in the middle of the map where elementals will rain down on you. You can dodge this by heading to the edge of the arena away from it.
When he uses his sword shield, red swords will dance around Bohld'or's body and if you touch them you'll take damage.
Players like Nina who have low HP will likely fall early. The best tactic is to keep backing away, allowing HP to be regained and then running back into the battle. J.J. joins you as a guest character and cannot be killed, so he can deal some damage for you whilst you heal up.
Rewards:
- Dark Matter
- 17,575 Fol
- 42,072 EXP
After the fight, Bohld'or leaves his body once again. Now things start to get a little strange- D.U.M.A. proposes you "quasi-integrate" so you can fight the digital version of Bohld'or and end him once and for all.
Sounds about right.
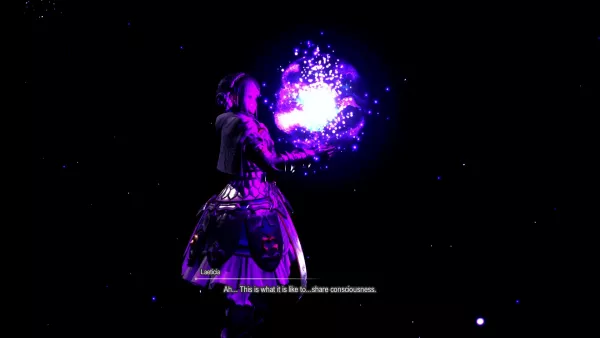
You'll then get a unique cutscene (Private Action) based on your strongest bond with your party members. Your bond's strength depends on how many Private Actions you have had with characters.
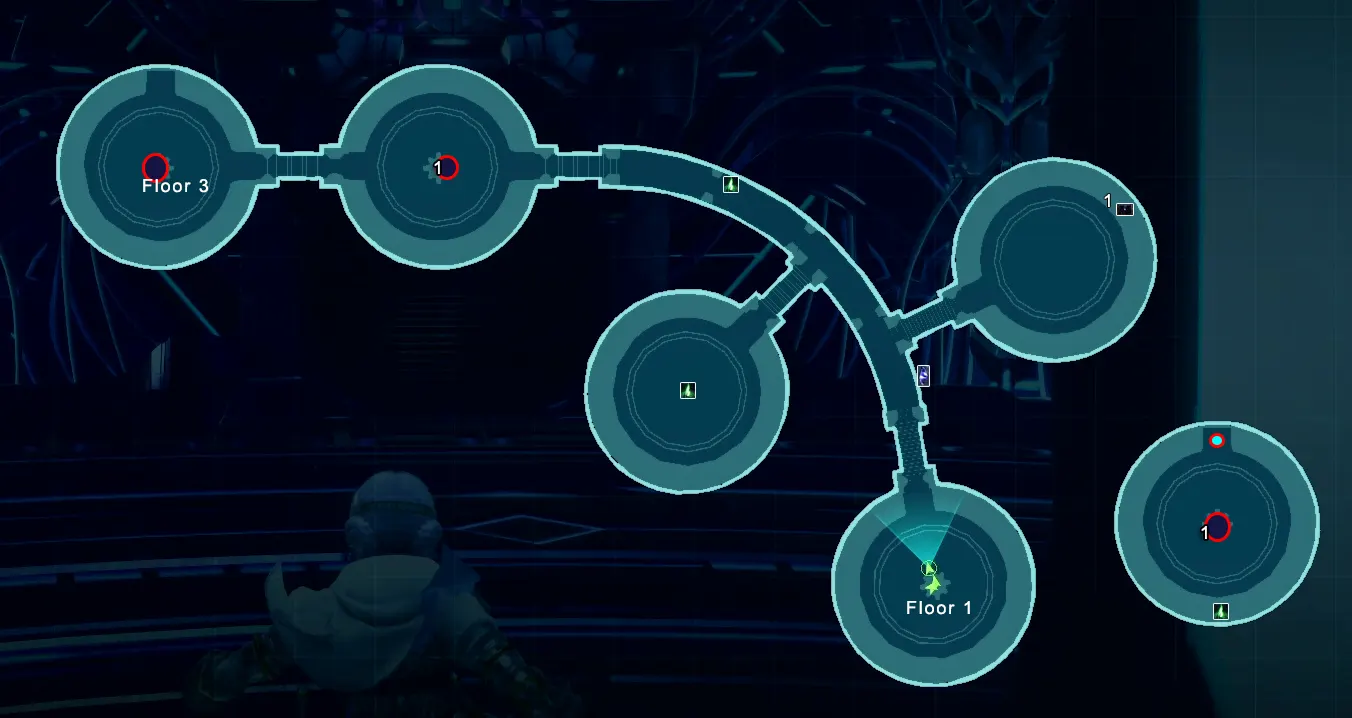
Scorpium Network
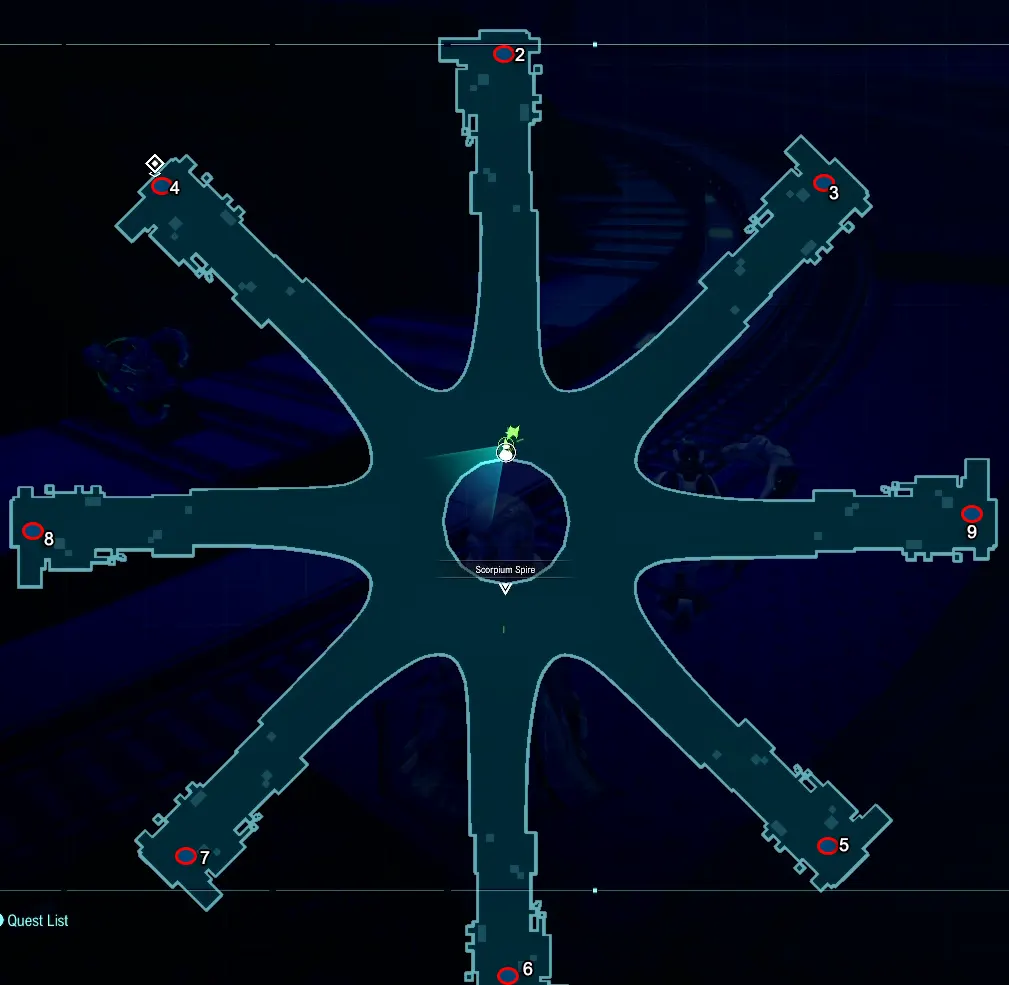
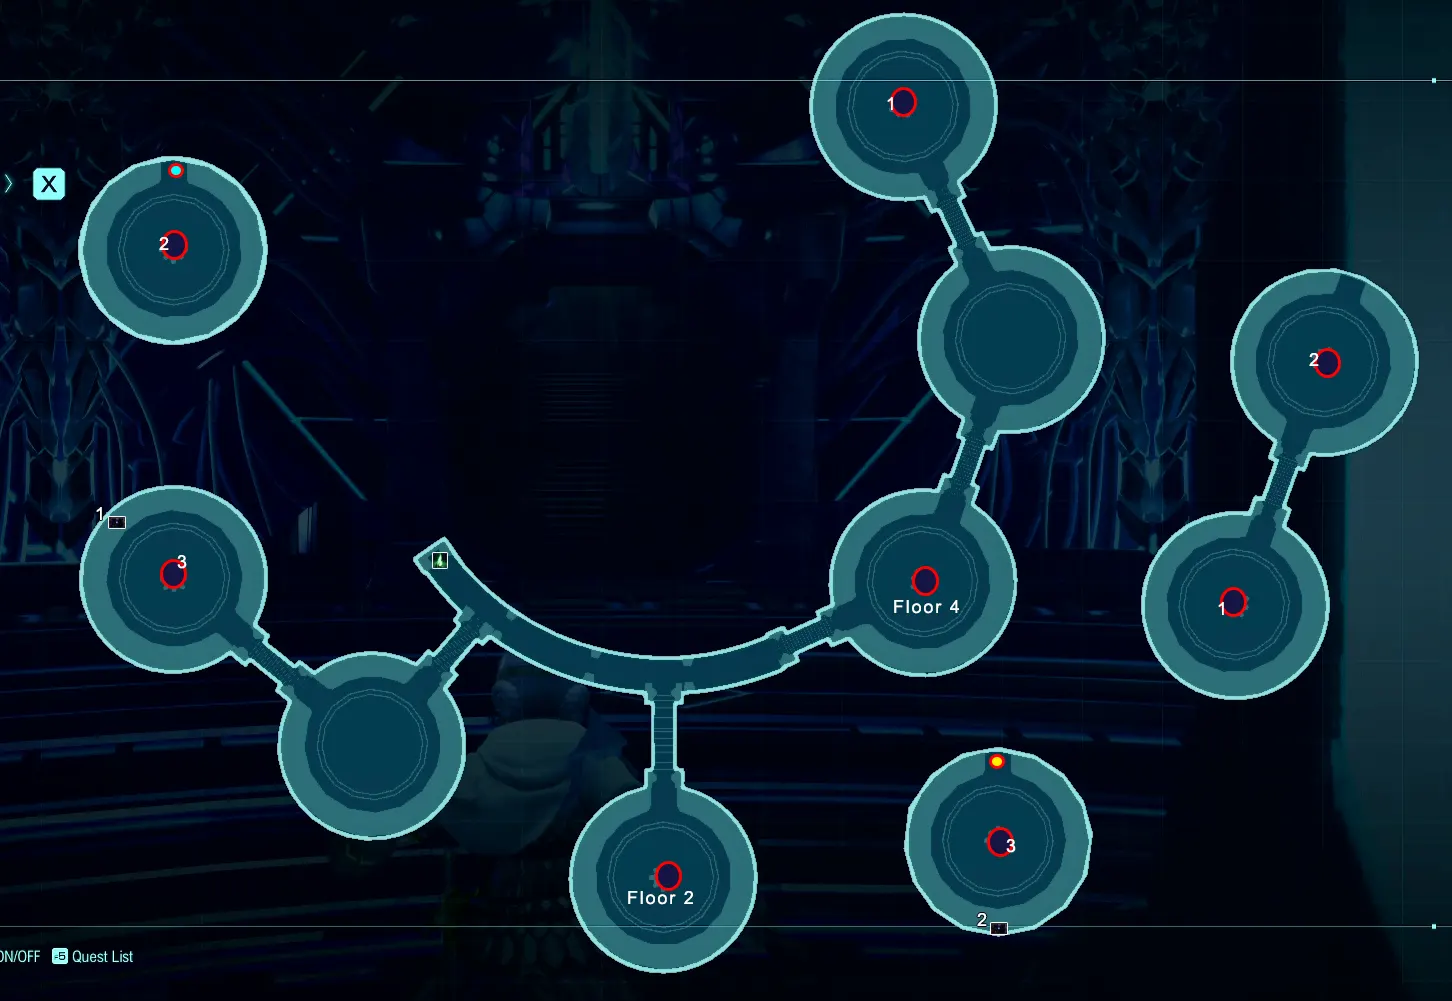
The final area of the game is a giant spiral network with different rooms you'll need to visit. The network has various Warp Gates and not all are unlocked at the beginning.
You'll need to enter these Warp Gates to unlock others. We've labeled each room on our map above.
Start by heading to room 4. You'll lose your party members as soon as you enter and will have to find them in the Warp Gates.
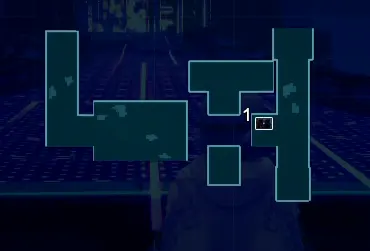
Room 4
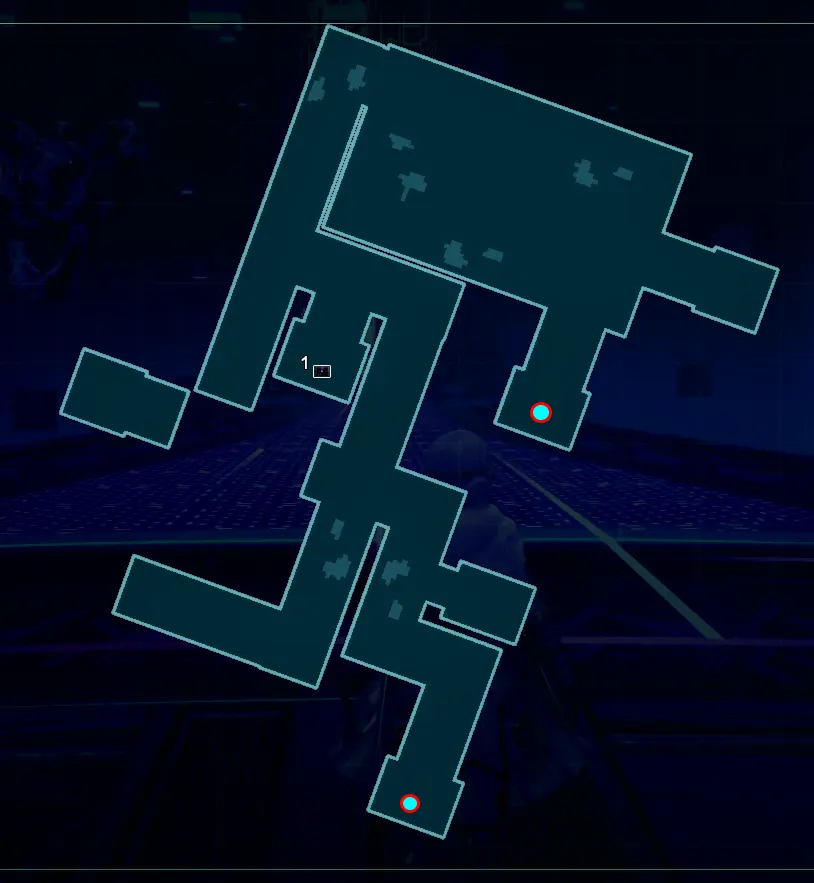
- [1] Treasure Chest: Resurrection Elixir x3
You can pick up two party members here. If you open your map, you'll see faint white dots for their location. You'll want to pick up at least one of them early on as the mobs will just wipe you out.
In room 4 you can pick up Elena and Albaird.
When you have cleared out all the mobs and rescued the two members, you can then use the Warp Gate to leave the room.
After a short cutscene, you'll return to the Scorpium Network. Now head to Room 6.
Room 6
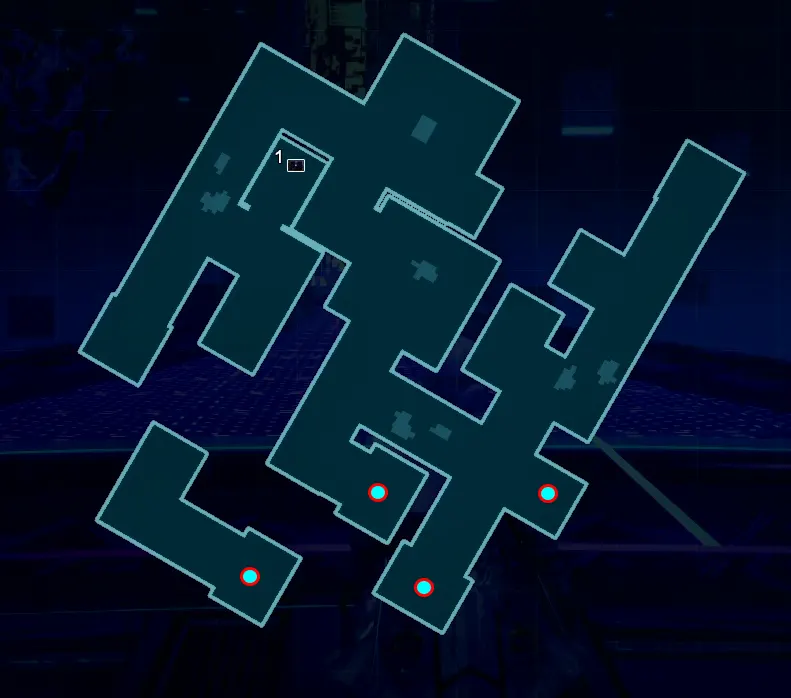
- [1] Treasure Chest: Lacnunga Chant
The same rules apply. Collect your party members (Malkya, Marielle, Midas and Nina), wipe out the mobs and then you can use the teleporter to escape.
After another cutscene, you'll return to the network. Your story marker will want you to access Room 8 that isn't possible yet. Instead, head to Room 7.
Room 7

- [1] Treasure Chest: Resurrection Unit x2
This room doesn't contain any party members, but if you follow it to the teleportation area, you'll be transferred to another room containing a Fused Remington boss.
This boss is exactly the same as the one you fought in part 11, so head to that guide if you're struggling.
Once defeated, you'll return back to the Scorpium Network. Now head to Room 3.
Room 3
- [1] Treasure Chest: Hildr Emblem
Nothing exciting in this room. Clear it and head to Room 5.
Room 5
- [1] Treasure Chest: Miraculous Device x2
Nothing exciting in this room. Clear it and head to Room 2.
Room 2
Head through Room 2 and you'll come across a Savage Holy Bird Memories boss.
This boss is the same as what you fought in Part 5. Head to that guide for tips on defeating this boss.
Once downed, return to the Scorpium Network and you can now access Room 8.
Room 8

Here you'll pick up Raymond. After a short cutscene, you'll then have another round with Fused Gaston boss. Mechanics are exactly the same as before.
Once defeated, head to Room 9.
Room 9
The last fight is against Fused Velanj, again with the same mechanics. Once defeated, head back to the Scorpium Network.
When you return you can now enter the teleporter at the north of the map (room 2). This is the finale of the game! Good luck.
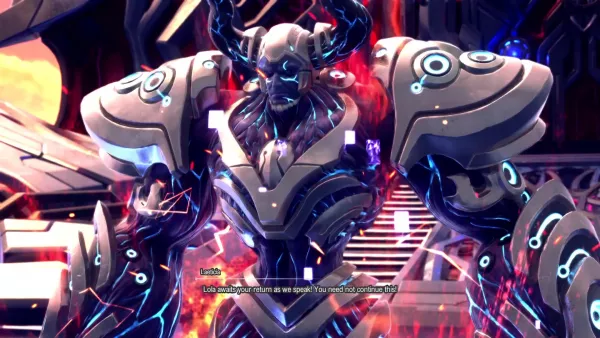
Final Boss - Bohld'or II Vey'l
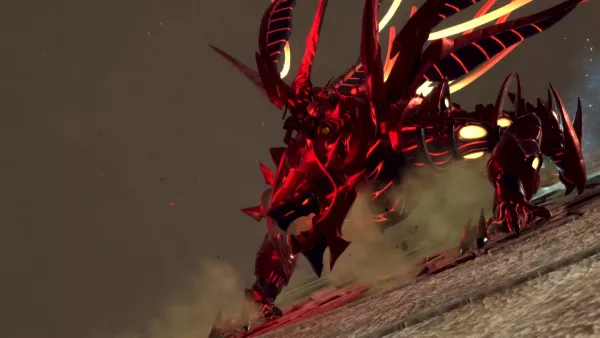
The final boss is another round Bohd'or, who has transformed yet again into a giant dragon.
He has several attacks you'll want to watch out for. His fire breathing skill will deal tons of damage if you get caught directly in it and it is very hard to jump out of the way once caught.
He can also fly into the air, rotate around the battle field shooting both Fire and Ice attacks. He will also launch himself at you, leaving behind a trail of fire.
He will surround himself with swords that deal damage if you get too close. If you get hit by ice, you'll be frozen for several seconds.
You can attack both the front and the tail of Bohld'or. You may find more joy hitting the tail end of the boss; but either is fine because Bohld'or will rotate so often that you cannot avoid many of his attacks.
Nina should be constantly using Tingling Chimes - Ceremony; stay as close to her as possible to keep your health up. She should also be resurrection any down party members. If Nina goes down, take yourself out of the battle and use a Fresh Sage to keep her alive.
Check out the video below for more tips:
That concludes the final part of the Star Ocean: The Divine Force Walkthrough! We'll be updating our guides with post-game details now. Let us know if you have any tips for defeating the final boss in the comments below.
Thanks everyone!

Discussion