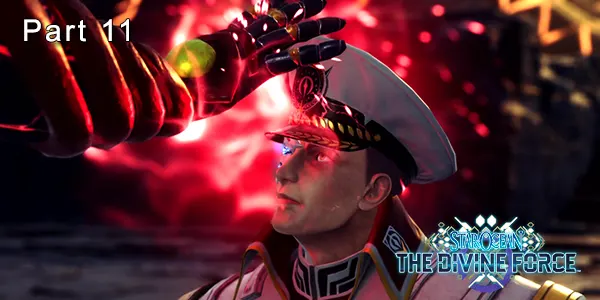
After our fight with Fused Bennett, it's time to travel to our next destination Verguld in this part of the Star Ocean: The Divine Force Walkthrough.
It's time to leave Parrapoeiam and head back to our ship The Aldous. When you get back on board, head to The Bridge where The Vellga Gulf contacts you.
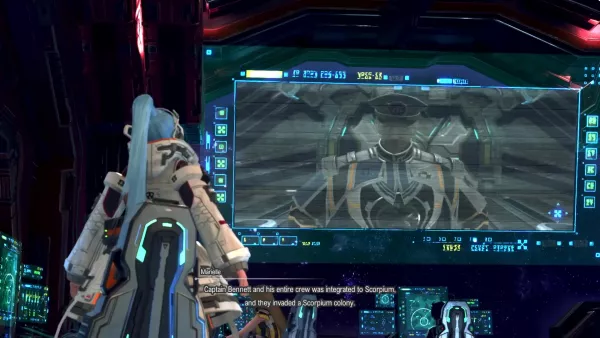
They managed to escape unharmed from the Centralist attack. They turn their attention to Verguld, Raymond's home planet. They believe the centralists may be targeting them for integration.
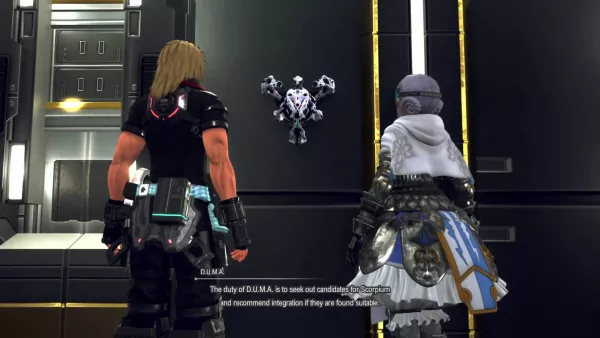
After the cutscene, go find D.U.M.A. and Ray at the Residental Area on the ship. D.U.M.A seems to be struggling with the idea of the centralists. Head to your bed to start the next day.
Paladurnia
You'll arrive at Verguld (Paladurnia) in the midst of an invasion from the centralists; you'll have to fight your way through the area.
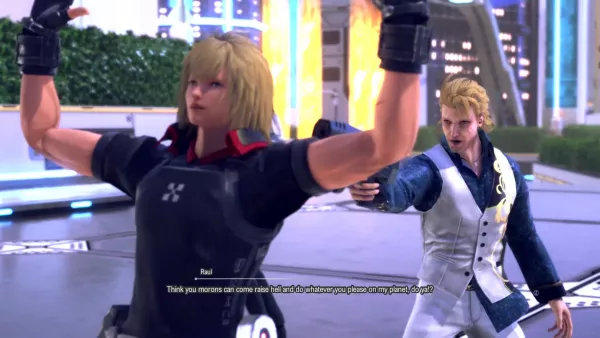
After a short cutscene with Raymond's father, Raul, we learn that our destination is the Museum Of Symbology.
Before setting off, get the latest weapons for your party from the merchant.
| Name | Stats | Factor | Character |
|---|---|---|---|
| Chrysaor's Sword | ATK: 715 INT: 378 |
Bestows the element of Water to attacks. | Raymond |
| Matia Tis Alitheias | ATK: 662 INT: 715 |
Laeticia | |
| Sbrul-nag 'dom-dgu | ATK: 560 INT: 706 |
Bestows the element of Water to attacks. | Albaird |
| Sanationis Sonos | ATK: 450 INT: 734 |
+30% bestowed buff effects when AP is under 50% | Nina |
| Sagarahru Beam | ATK: 609 INT: 609 |
Bestows the element of Water to attacks. | Marielle |
| Gandirnagl | ATK: 556 INT: 715 |
Malkya | |
| Earth Mistilteinn | ATK: 568 INT: 755 |
Bestows the element of Earth to attacks | Midas |
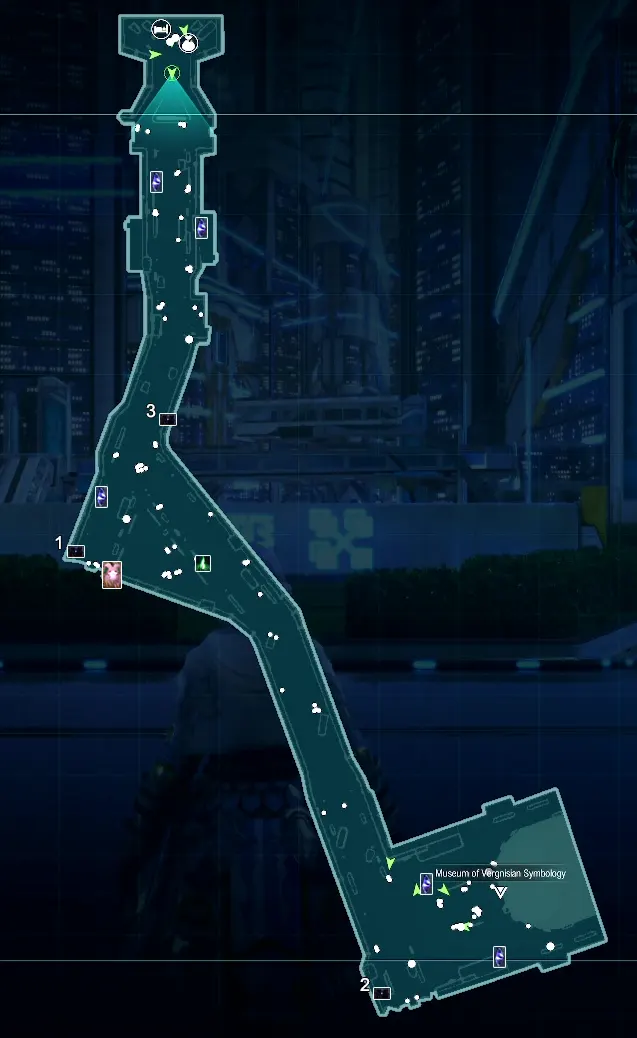
Treasure Chests:
- [1] Treasure Chest: Electromagnetic Bomb (M)
- [2] Treasure Chest: Sage Bangle
- [3] Treasure Chest: Sagarahru Beam

The Museum Of Symbology runs deep under ground. It contains the Symbo-Drive; a device that is used to create Elena. It appears the Centralists are after it.
There is a General Merchant inside that will sell Fire Incantation items that can be used for the Item Creation quest.
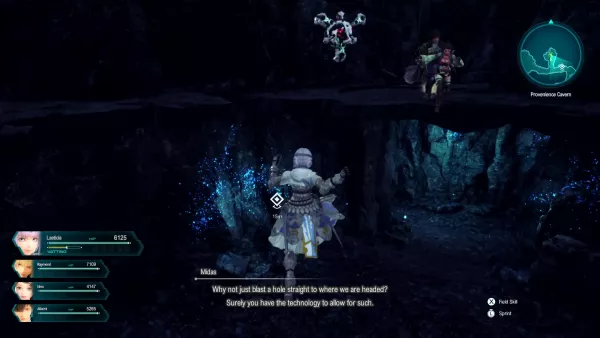
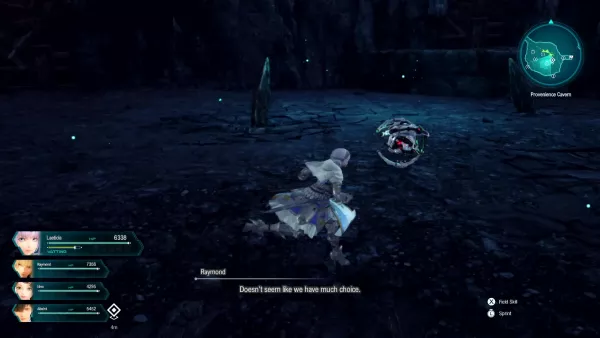
Provenience Cave
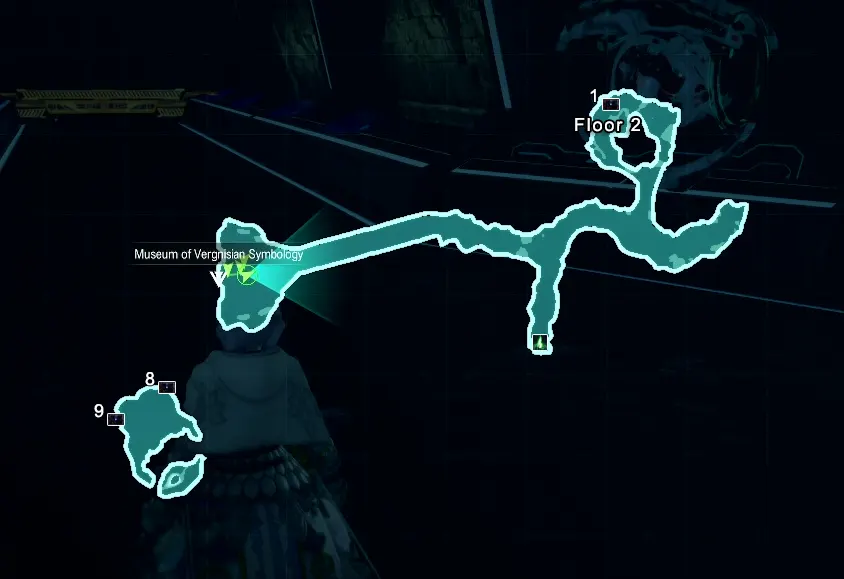
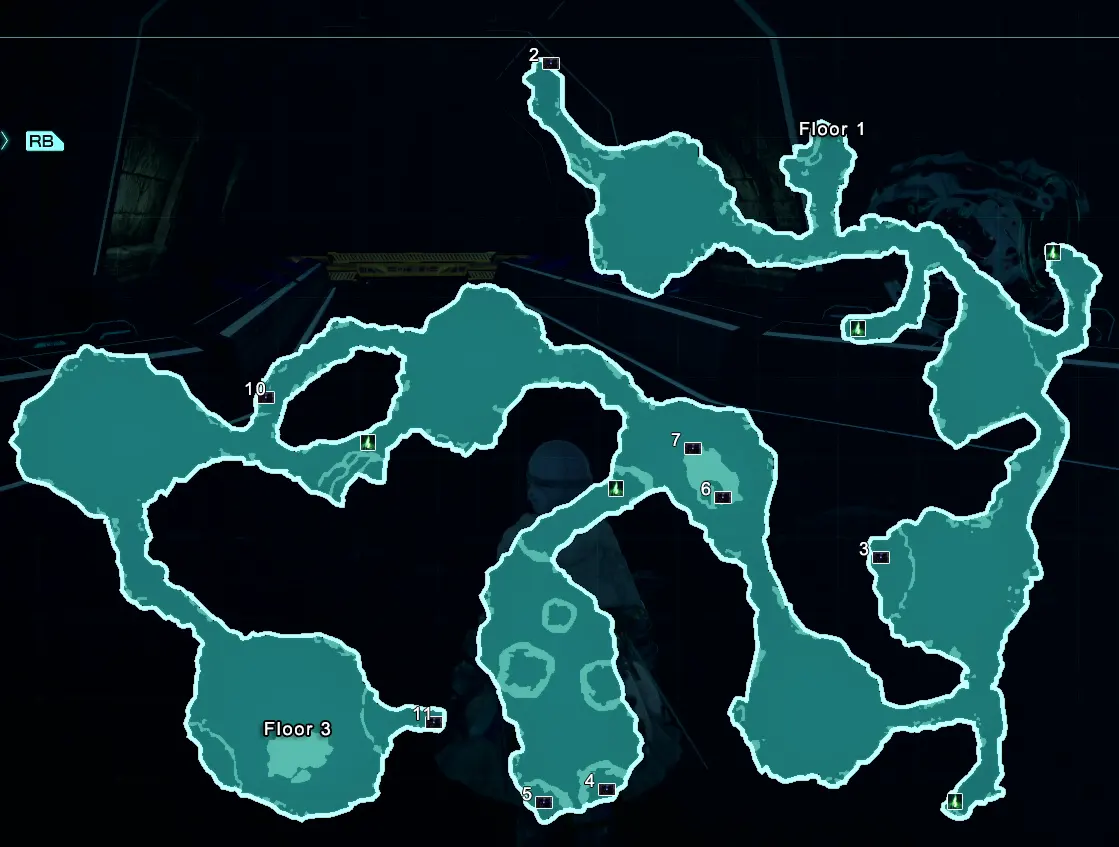
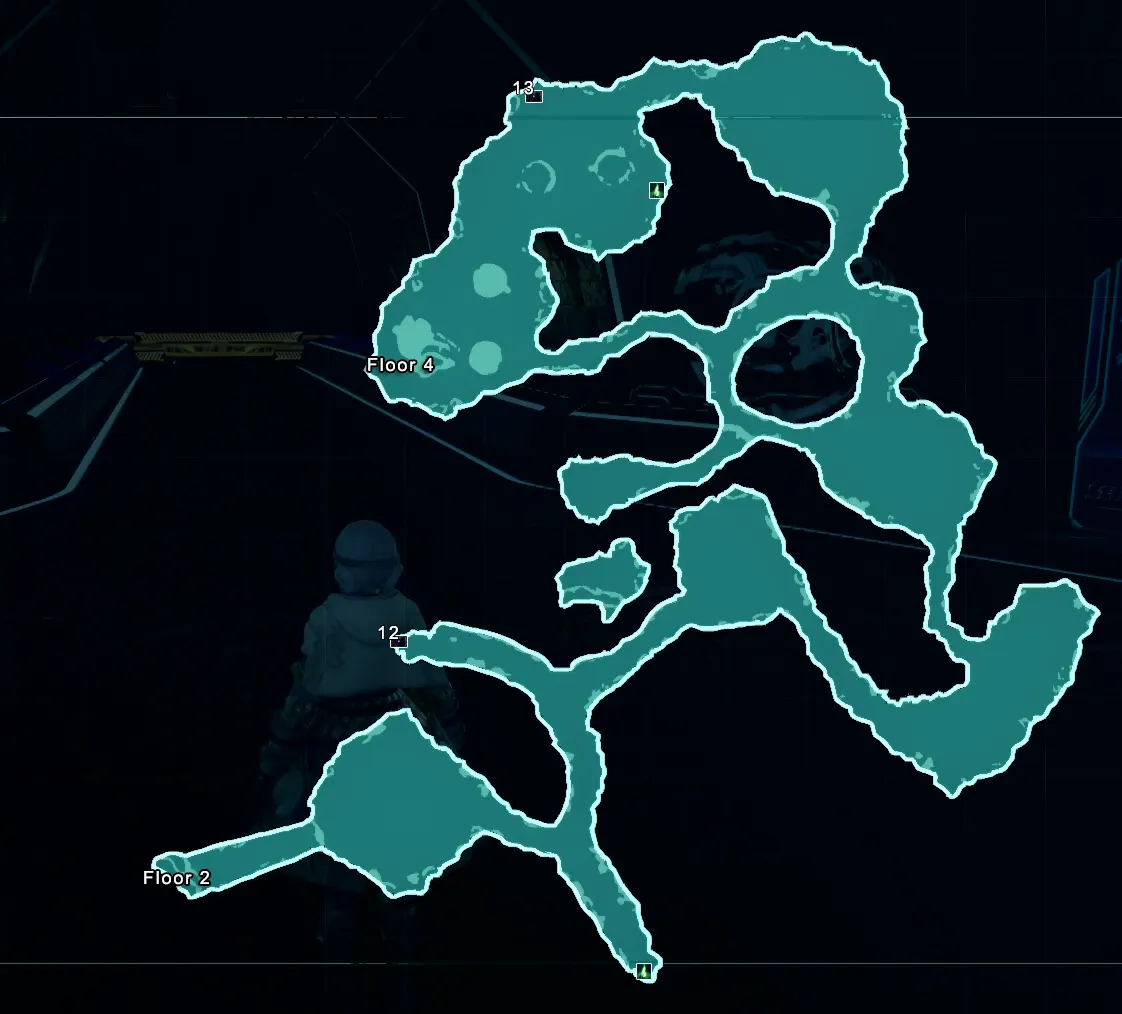
Provenience Cave is made up of 4 floors. To go down a floor, you'll need to smash through rock layers.
Treasure Chests:
- [1] Treasure Chest: Prayerful Device
- [2] Treasure Chest: Lucky Fight Coin
- [3] Treasure Chest: Corn Potage Umbaio x4
- [4] Treasure Chest: Physical Stimulant x3
- [5] Treasure Chest: Sukudu Ray
- [6] Treasure Chest: Spirit Ether
- [7] Treasure Chest: Miraculous Device x2
- [8] Treasure Chest: Resurrection Unit
- [9] Treasure Chest: Jeanne
- [10] Treasure Chest: 11,920 Fol
- [11] Treasure Chest: SP Seed
- [12] Treasure Chest: Resurrection Elixir x2
- [13] Treasure Chest: Healing Device+ x2
On the first floor, you'll find a hole in the ground that lets you drop down to Floor 2.
On Floor 2, you'll come across rocks sticking out of the ground. If you use D.U.M.A Rush, you can smash them. Sometimes they will reveal new holes in the ground.
When you reach Floor 3, you'll come across a device known as Hex Gems. These gems, as long as they're active, will disable D.U.M.A. You need to destroy them with attacks in order to reactivate D.U.M.A.
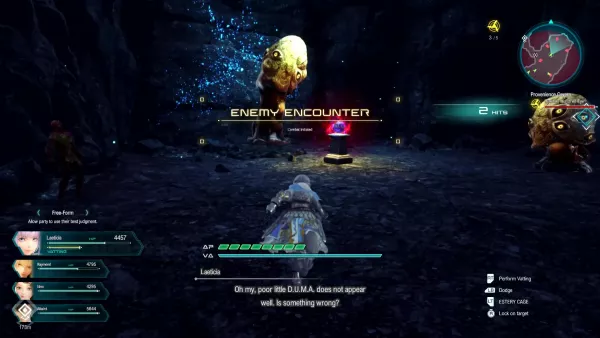
Once you reach Floor 4, prepare yourself for two back-to-back boss battles.
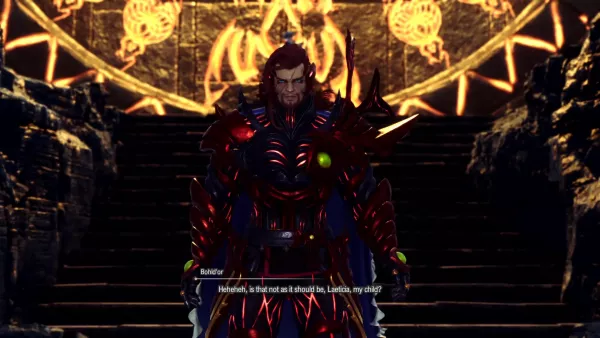
Boss Fight - Fused Bohld'or
Recommended Level: 75
Fused Bohl'dor is back for round 2. He has pretty much the same moves as last time. We'll just quote the same boss advice from the last chapter:
Bohld'or hits some very strong attacks so you need to be very careful on his attack patterns. His main melee is a three-hit slash attack that will almost wipe you out if you get hit by all three.
He'll summon Divine Might, where he glows red. He'll then teleport towards you and swipe- if you get hit by it it's almost certain death. You can easily dodge it though by running away just as he swipes.
Some of hit other moves include summoning a giant cross in the middle of the map where elementals will rain down on you. You can dodge this by heading to the edge of the arena away from it.
When he uses his sword shield, red swords will dance around Bohld'or's body and if you touch them you'll take damage.
Players like Nina who have low HP will likely fall early. The best tactic is to keep backing away, allowing HP to be regained and then running back into the battle. J.J. joins you as a guest character and cannot be killed, so he can deal some damage for you whilst you heal up.
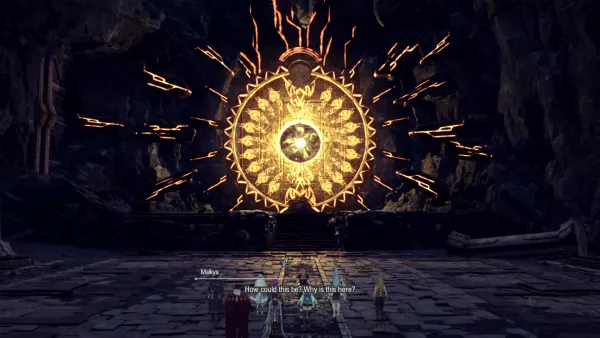
The real challenge is up next...
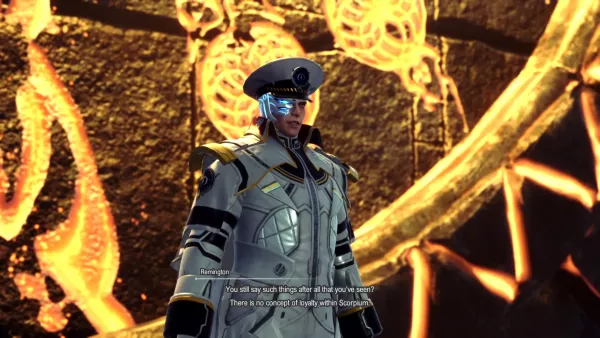
Boss Fight - Fused Remington
Recommended Level: 75
This fight is slightly different. You'll notice that your attacks do 0 damage and that Remington has a VA Gauge under his health bar.
You'll need to deplete his VA Gauge in order to deal damage; when his VA Gauge is down, Remington will be stunned for around 15 seconds and you'll need to deal as much damage as possible to take him out. If you don't, his VA Gauge will replenish and you'll have to work it down again.
To take the VA Gauge down, you just need to attack him as normal.
Watch out for Remington's spicy attacks. Possibly the strongest boss in the main-story game, Remington has a move that causes him to duplicate into four versions and anyone trapped in his circle is almost 100% instant KO'd. It's quite annoying, especially as your party members are pretty dumb and just get caught up in it.
Be mindful of his whirling wind attack- getting hit by this deals 2K damage, and you can sustain multiple hits if you don't get out of the way.
He can easily wipe your party out if your HP is low. Leveling is a good way to help tank some of these hits as you gain lots of HP on level up.
The best tactic for this fight is to level up Nina's Tingling Chimes - Ceremony skill and her Resurrection skill: Reverberate and make sure these two skills are the only ones assigned to her Chain Combo.
Tingling Chimes - Ceremony is a AOE healing skill. But this version allows Nina to cast the healing ward multiple times and they persist as she moves around the battlefield. This will allow you to have several healing areas up at once for you to fall back on. Every time Nina goes down, get her up ASAP using Fresh Sage or Resurrection Elixirs.
When you get Remington's VA gauge down to around 50%, he'll start summoning mobs to the fight. You'll want to take them out as it can make the battlefield overwhelming.
Check out the video below for more tips:
Rewards:
- Writing Distaster x20
- 17,600 Fol
- 43,133 EXP
After the fight, Remington and Bohld'or both perish and you hold a meeting with Captain Curtis and Luca. They decide to not arrest Marielle- Phew!
Head back to the ship before the big finale!
That wraps up part 11 of the Star Ocean: The Divine Force Walkthrough!

Discussion