In this next part of the Star Ocean: The Divine Force Walkthrough we head to the Delryk Mines to deal with the trouble that is brewing there.
- Heading to Larcette Village
- Larcette Village
- Your Next Destination: Delryk
- Delryk Village
- Delryk Mines
- Boss Fight - Mother Worm
Previously we had just defeated our first boss at the Mhedume Ruins and after a short break, Raymond, Laeticia and Albaird have decided to team up again and head to a new village called Larcette.
With D.U.M.A. now activated, we can use it's flying ability to reach new heights and find new treasure we couldn't reach before.
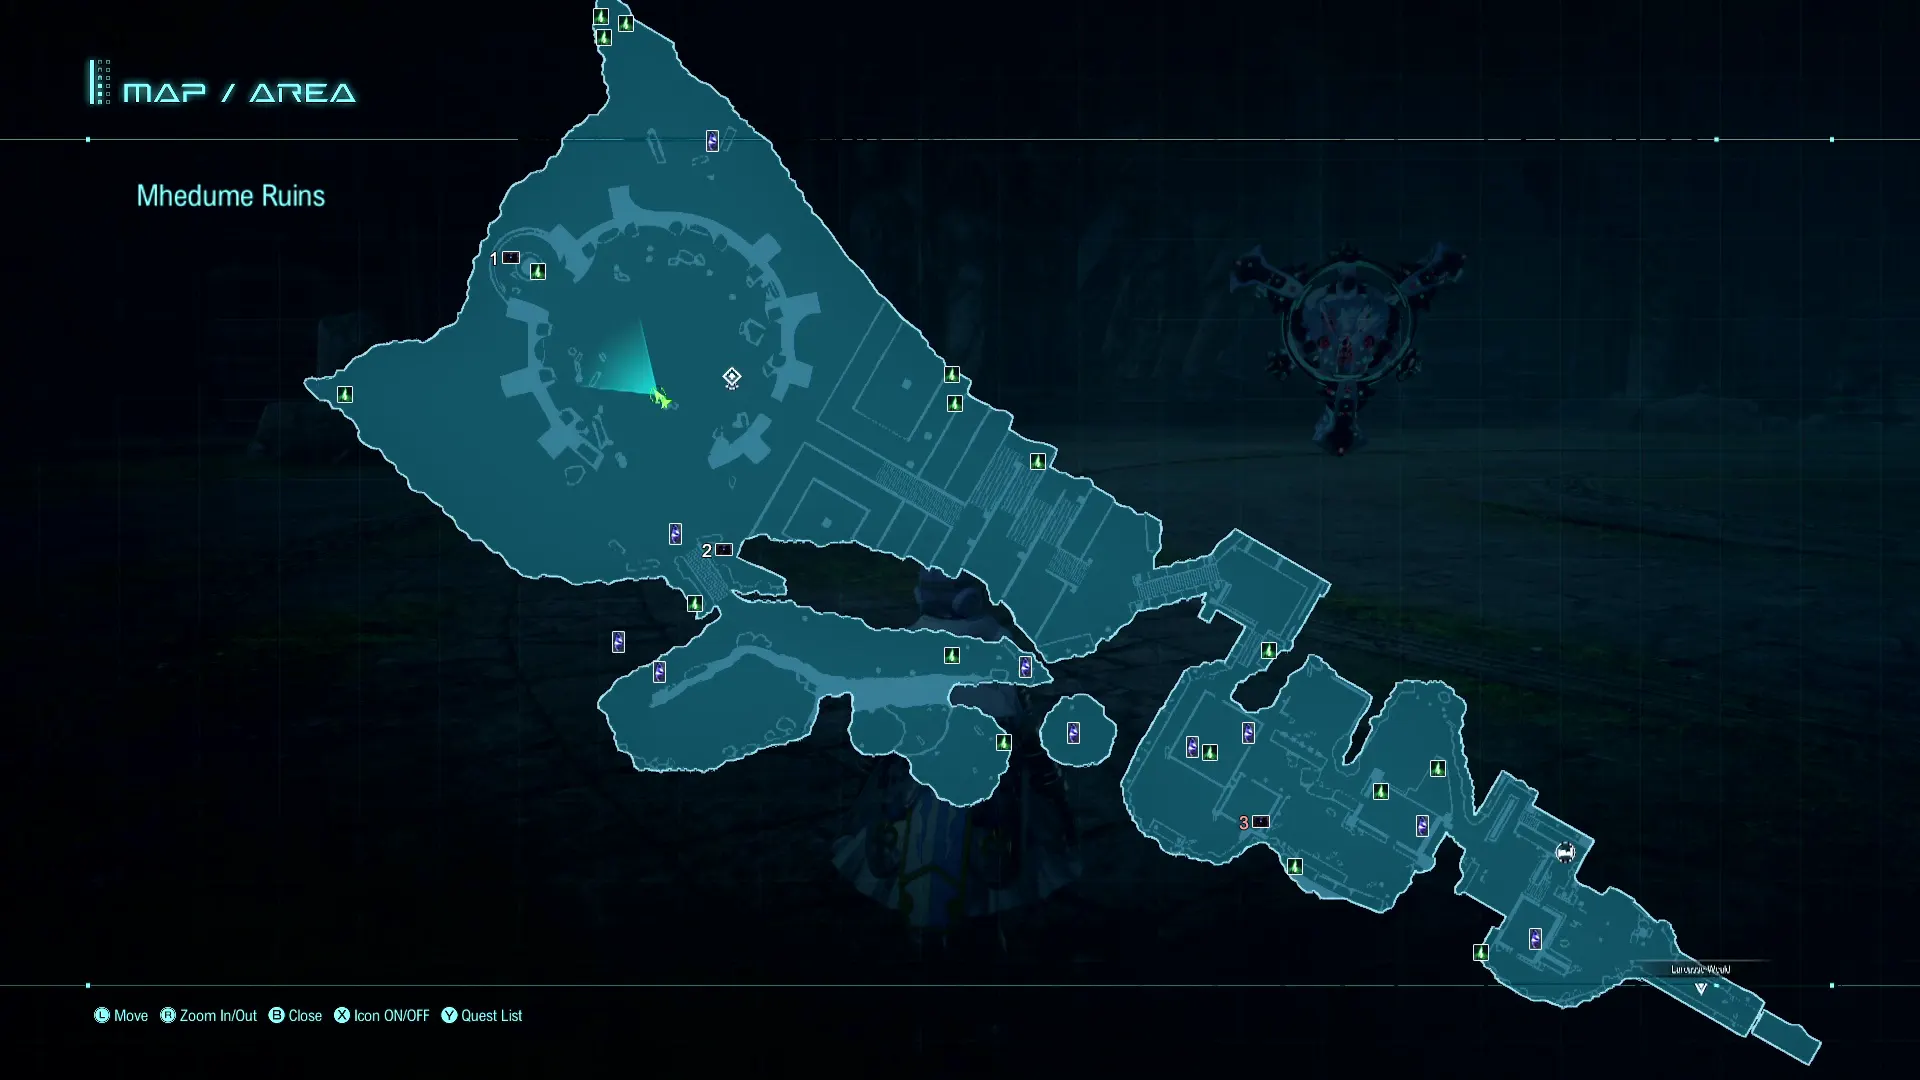
We've updated the Mhedune Ruins map with new treasure you can find:
- [1] - Treasure Chest: Silver
- [2] - Treasure Chest: SP Seed
- [3] - (roof) Treasure Chest: Blueberry Potion
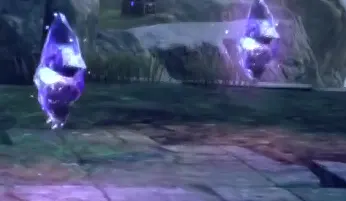
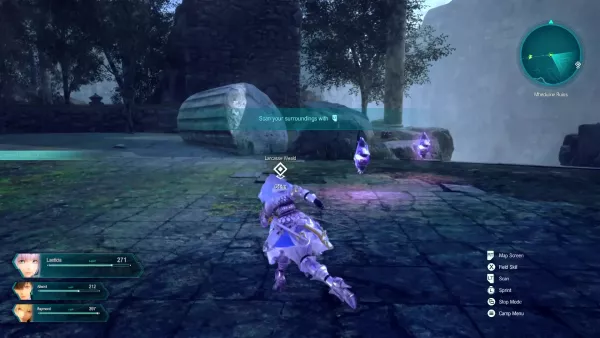
You'll also want to keep an eye out for the D.U.M.A. crystals (these purple things!) as they give you DP points that you can use to upgrade D.U.M.A. skills from the menu. If you're into exploring for treasure, we definitely recommend upgrading the scan feature.
You'll want to exit the Mhedune Ruins from the stairs (near Treasure Chest [2]) where you can pick up some DP. Glide across the gaps using D.U.M.A.
When you arrive back towards the beginning of the Mhedune Ruins, you'll be able to pick up several DP and Treasure Chests using D.U.M.A's glide.
Heading to Larcette Village
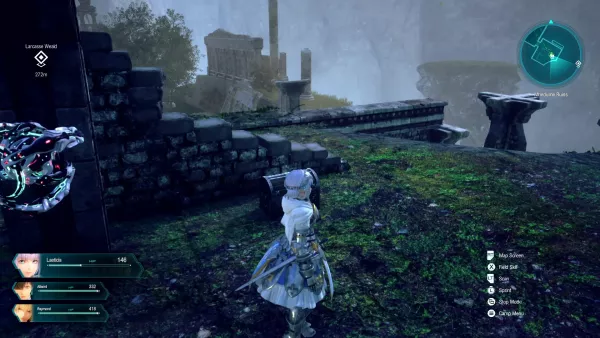
Larcasse Weald
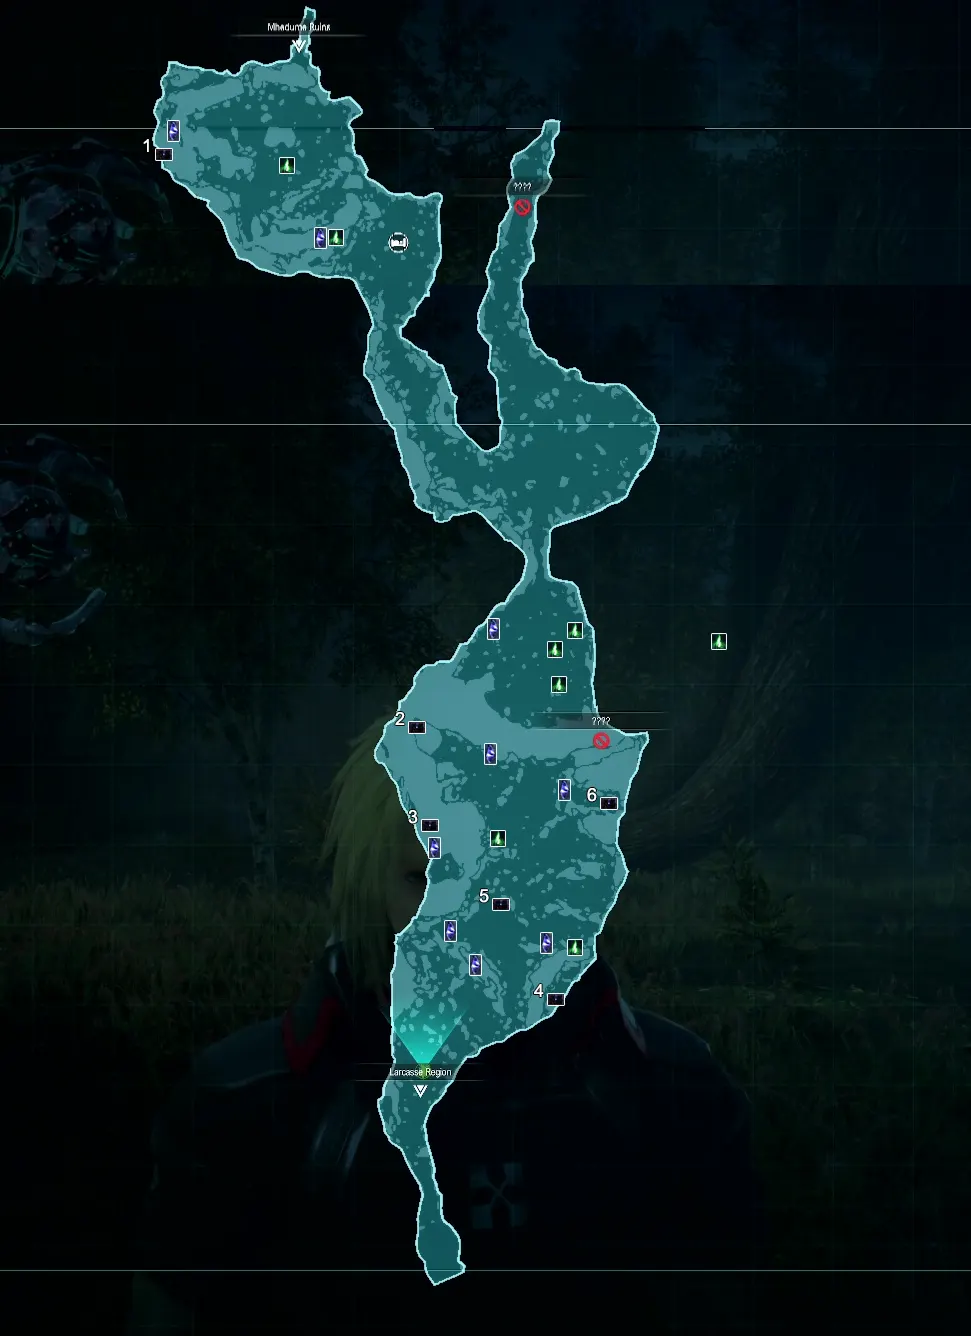
- [1] Treasure Chest: Blueberry Potion
- [2] Treasure Chest: Minor Wind Blade x2
- [3] Treasure Chest: Sapience Ring
- [4] Treasure Chest: Soldier
- [5] Treasure Chest: Aquaberries
- [6] Treasure Chest: 150 Fol
After exiting the Mhedume Ruins, you'll be back at the Larcasse Weald. Raymond mentions about stopping off at his pod first, so head in that direction (south!).
When you reach the pod, they'll be a short cutscene where Ray's brother apologizes for his rude behavior and asks you to take care of Ray.
Continue going south. You'll come to a giant wall separating the Larcasse Weald; head further south until you come to the Larcasse Region.
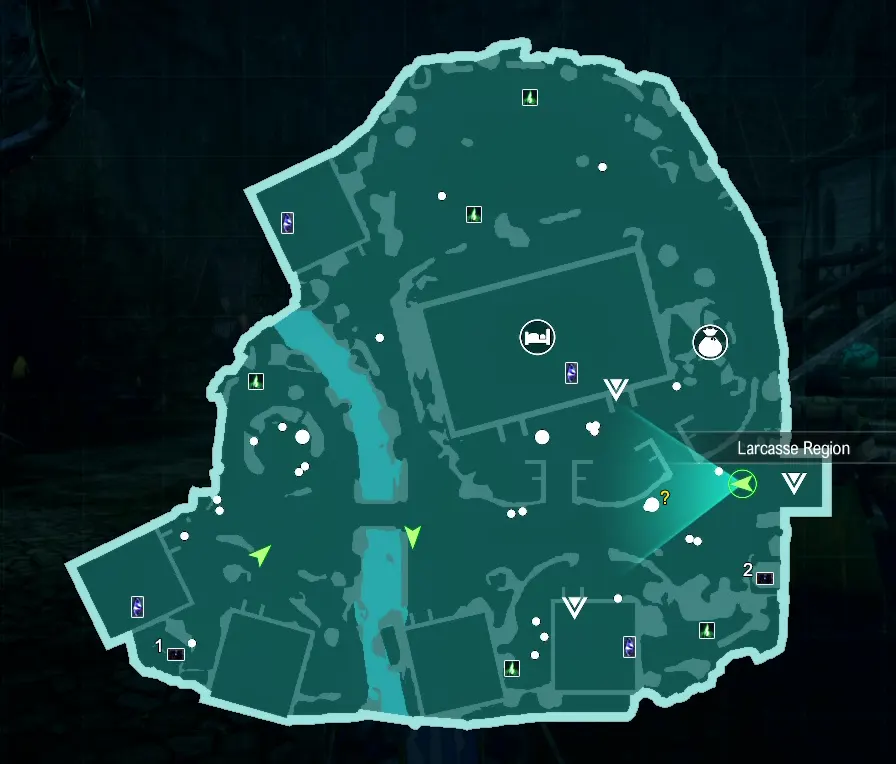
Larcasse Region

- [1] Treasure Chest: Berserker
- [2] Treasure Chest: Blueberry Potion
- [3] Treasure Chest: 100 Fol
- [4] Treasure Chest: Lucky Rabbit
- [5] Treasure Chest:
You are close now to Larcette Village. It is on the east of the Larcasse Region.
The mobs here are a little stronger than what you would have found at Larcasse Weald, so make sure you're upgrading your Skill Trees for your characters as you won't be getting any new weapons for a little while yet.
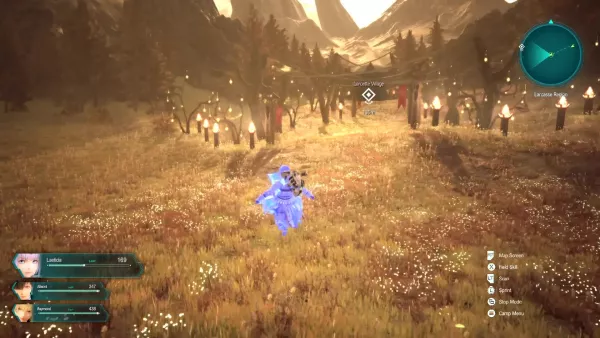
You'll see the Larcette Village by the lights hanging from trees.
Larcette Village
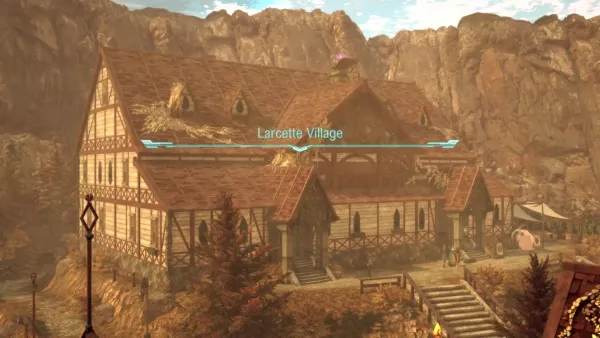
You'll have a short stay in Larcette Village but it does introduce a few new game mechanics to look out for.
You should first loot up in the village, as there are plenty of DP crystals on roof tops.
- [1] Treasure Chest: Opera
- [2] Treasure Chest: Tenacity Charm
Once you've done all your looting, head inside the Inn for a rest.
TIP: You can also purchase food from Inns to give you a buff in battle. They aren't really useful for random field monsters, but against bosses they can prove very fruitful!
SideQuests
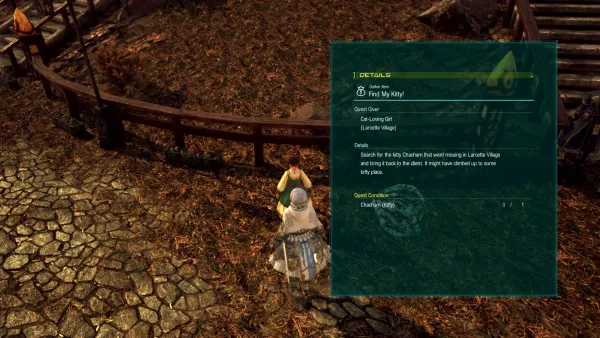
You can find your first side-quest in Larcette Village. If you check your map, you'll see a yellow highlighted dot, which means a new quest is available. We've created a Star Ocean: The Divine Force Sidequest page for all the quests in the game.
This particular quest is called Find My Kitty, where you need to find her lost Chamcham.
Private Actions
One of Star Ocean staples is the Private Action feature. These features offer unique cutscenes at random intervals. If you play them out, your relationships with characters improves. Whilst staying in Larcette Village, you can pick up two Private Actions: one by talking to Albaird and another talking to Ray.
Your Next Destination: Delryk
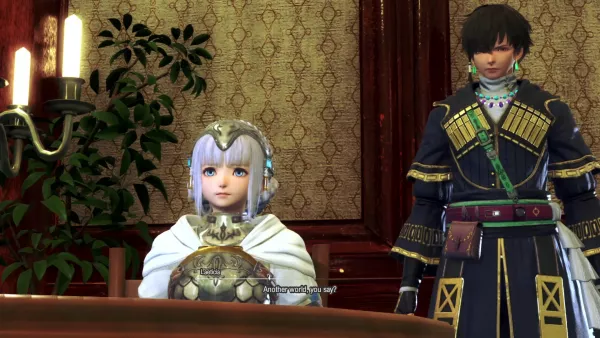
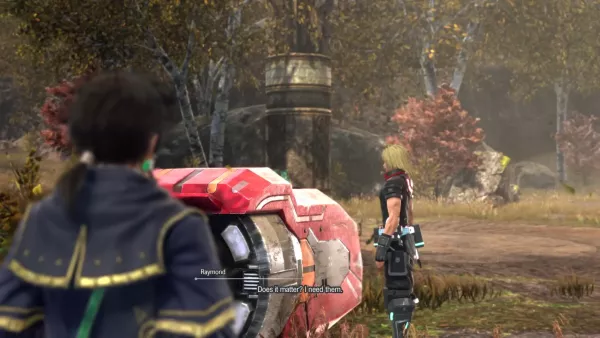
After staying at the Inn, you will have a short cutscene with Laeticia and Ray who explains what he is doing on Aster IV and where he is from to Laeticia.
He mentions his ship, the Ydas, was attacked and he had to crash land on Aster IV and is looking for his crewmate Chloe.
We also learn that Laeticia is running around the Mhedume Ruins looking for Midas Felgreed- a former Maester who practiced Semiomancy.
After, Laeticia wakes up at night and allows you to explore the village. You can find two Private Actions here. Interact with your bed when you're done.
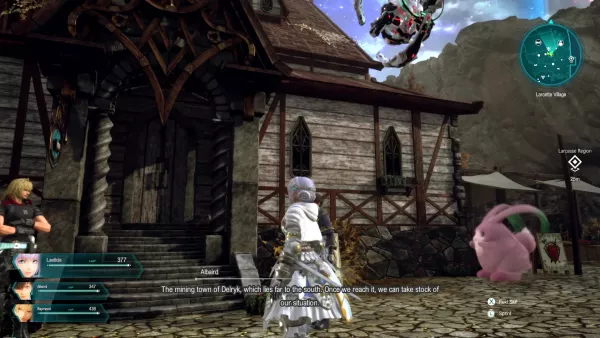
When you head outside the next day, Albaird tells you are heading to the Mining Town of Delryk.
Before leaving, speak to the Merchant who can sell you some new items. There are no new weapons to be found here, but you can buy some new armor and accessories.
Leave Larcette Village. You'll now want to continue going south in the Larcasse Region, heading towards the Del'vyre Region.
Del'vyr Region
- [1] Treasure Chest: Fire Spirit Talisman
- [2] Treasure Chest: Water Spirit Talisman
- [3] Treasure Chest: Silver
- [4] Treasure Chest: Erys
- [5] Treasure Chest: Aquaberry Potion
- [6] Treasure Chest: Takoyaki Umaibo
- [7] Treasure Chest: Agni Hast
Again, the mobs here get stronger and so you might struggle here. You do get more EXP from these monsters, so not a bad time to grind out some levels and boost your skills.
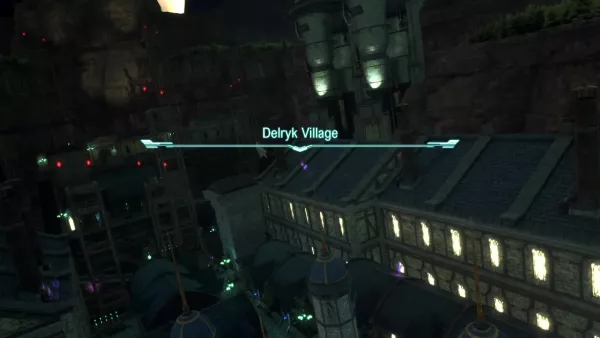
Delryk Village is to the south, so not long to go!
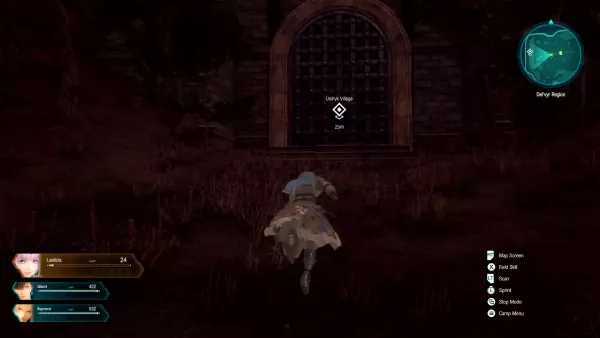
You'll have reached Delryk Village when you see a gated doorway.
Delryk Village

- [1] Treasure Chest: Sacrificial Doll
- [2] Treasure Chest: Linen Cuirass
- [3] Treasure Chest: Gold
- [4] (inside house) Treasure Chest: Secret Spice
- [5] Treasure Chest: Fire Charm
- [6] Treasure Chest: Chisato (requires double DUMA jump)
Delryk is a mining town and has plenty of buildings for you to explore. You can also pick up two more quests here: Why Is It Only Me? and Delryk Oddball.
Make sure you stop by at the item shop as you can buy new weapons for everyone in your party!

Head to the Inn, where you are interrupted with a quick cutscene as a young girl bumps into Albaird. She seems to recognize him. When you've looted up the town, head to sleep at the Inn to begin the next phase of your adventure.
You're looking for the town's iatrimancer; speak to a man outside the Inn who will point you in the right direction. He tells you the Infirmary is up the large hill in the village.
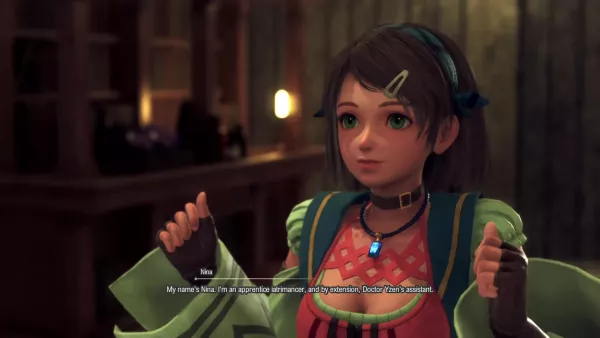
When you enter the Infirmary, you'll be greeted by Nina, an apprentice iatrimancer. It looks like the person you're after, Doctor Yzen, is out at the moment collecting samples from the mines.
And just as you're about to get comfy, a man barges into the Infirmary declaring that the Delryk Mines are under attack!

The mines are located at the top of Delryk Village on the hill. As you reach them, you'll have a quick battle against some Enigma Worm monsters. They cannot be blindsided (as they have no eyes!)
Enter the Delryk Mines after the fight.
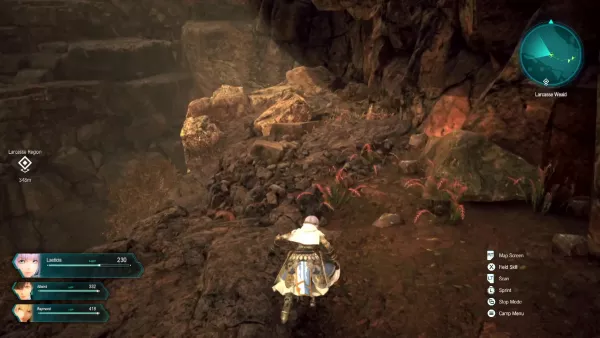
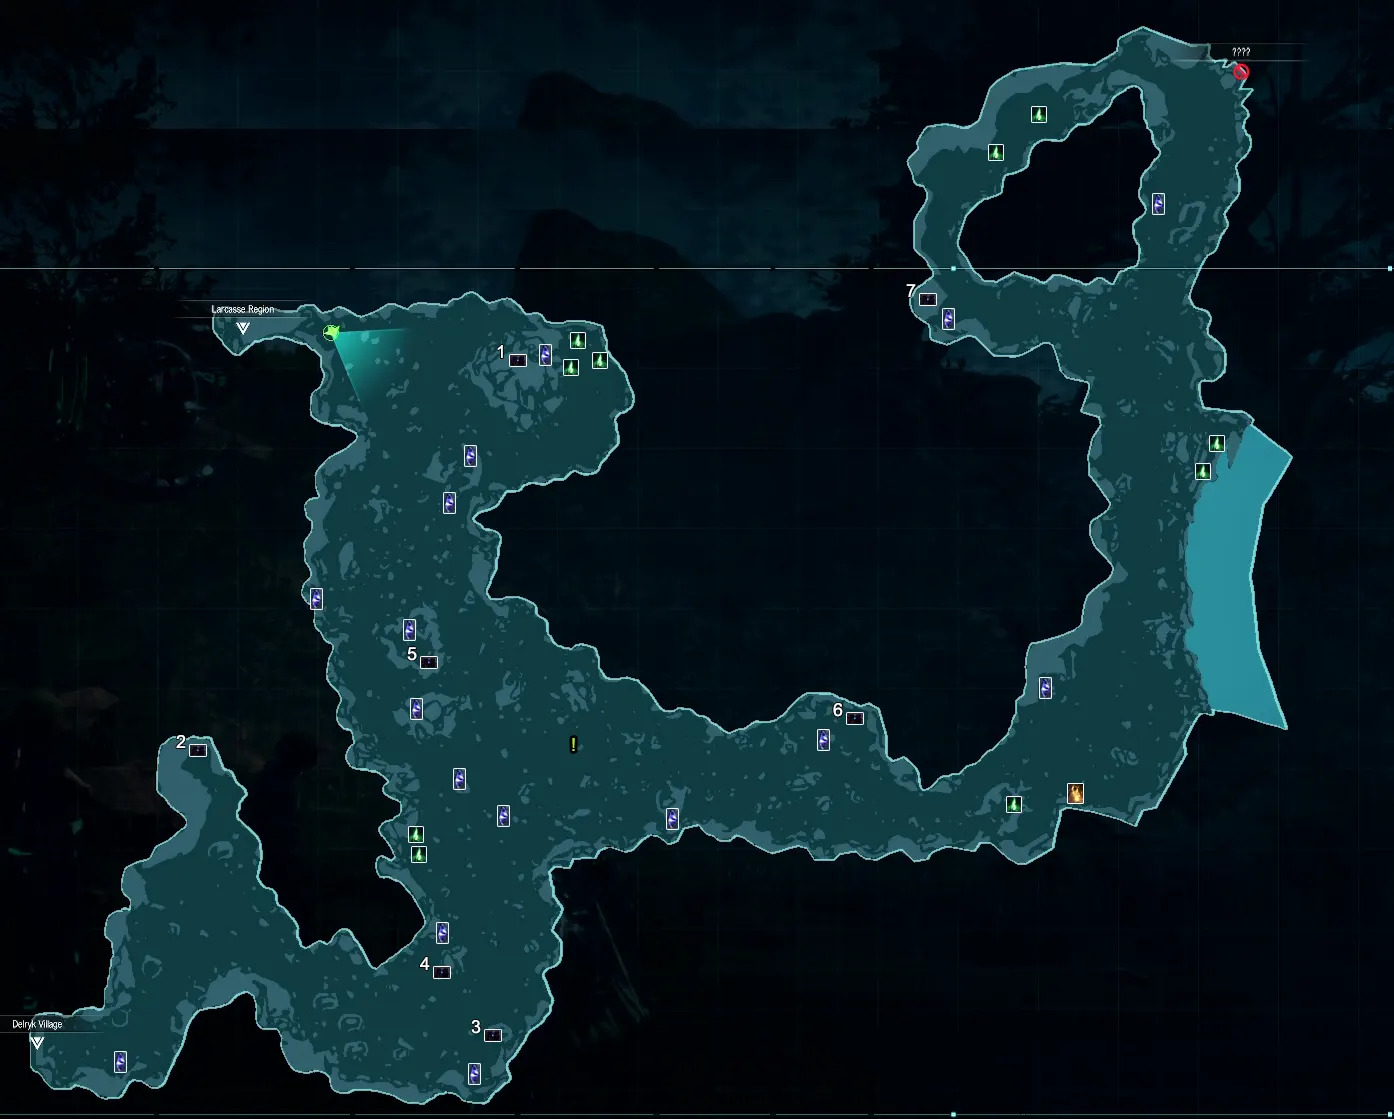
Delryk Mines
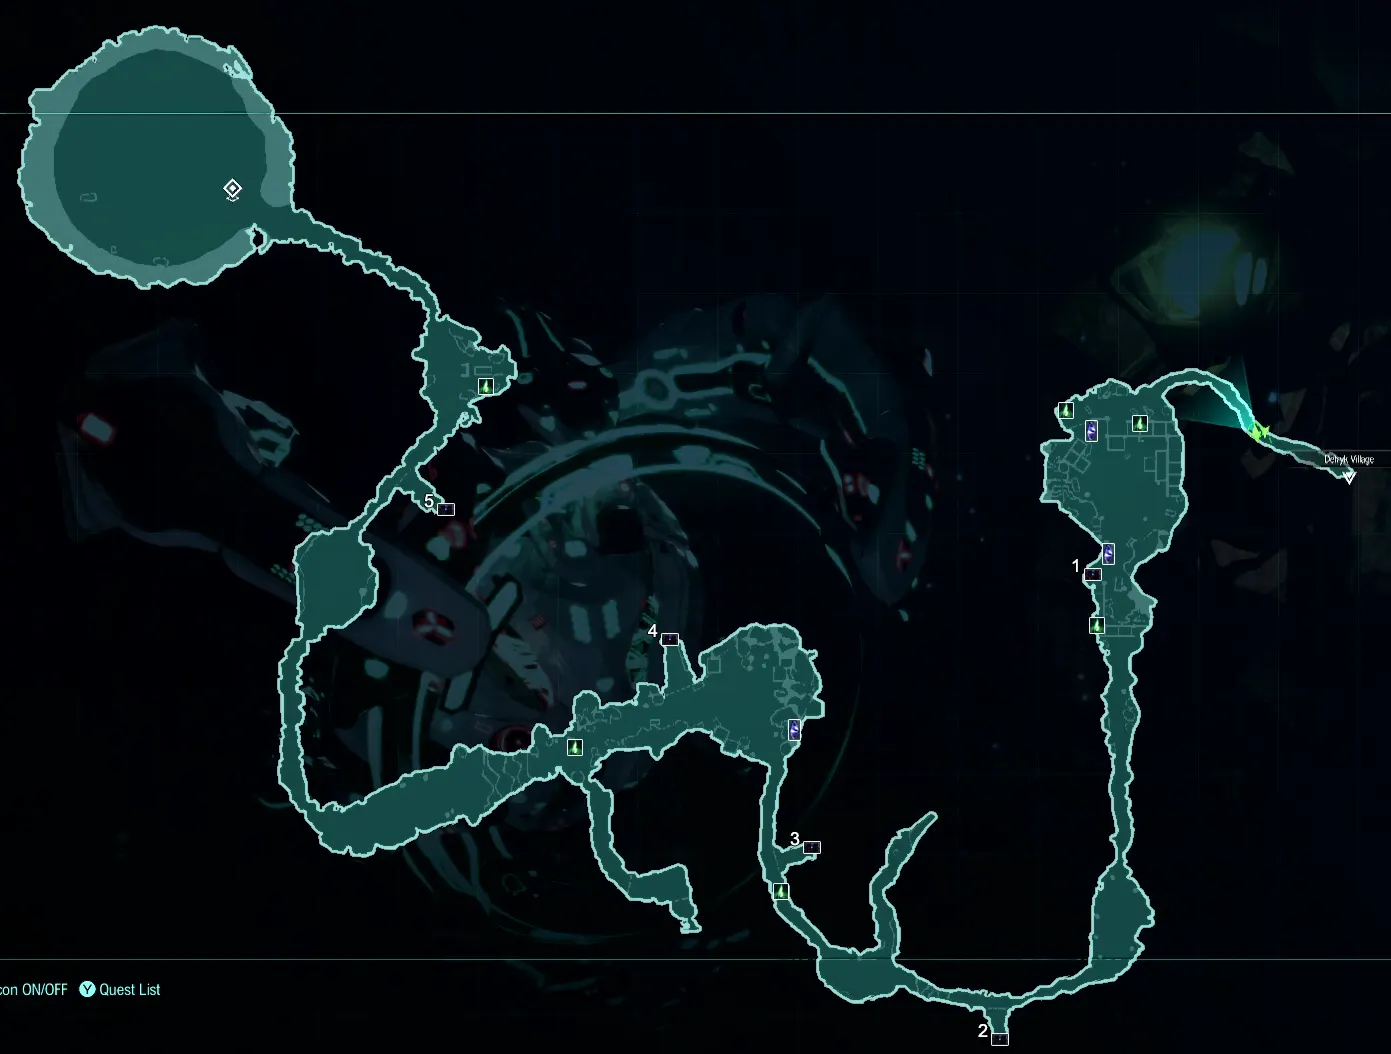
- [1] Treasure Chest: Takoyaki Umaibo
- [2] Treasure Chest: 110 Fol
- [3] Treasure Chest: Earth Spirit Talisman
- [4] Treasure Chest: Morale Potion
- [5] Treasure Chest: Fresh Sage x2
The Delryk Mines are quite simple to navigate; a nice linear path with some branching paths that lead to Treasure Chests. You'll encounter more of those Enigma Worms along the way.

There are several large crystals in the Delryk Mines that you can destroy to give you loot. They are scattered throughout the mines.
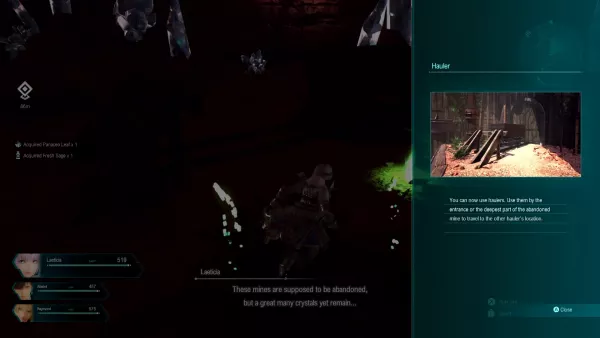
Towards the end of the Delryk Mines, you'll come across a Hauler Mine Cart. You can use this to take you back to the beginning of the dungeon.
Pro-tip: Before initiating the next boss fight, head back to Delryk Village and stay at the Inn to consume some food. This buff will then pass onto you when you take on the next boss fight by using the Hauler to teleport to the end of the Delryk Mines.
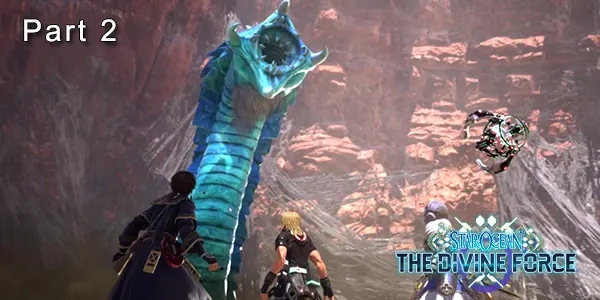
Boss Fight - Mother Worm
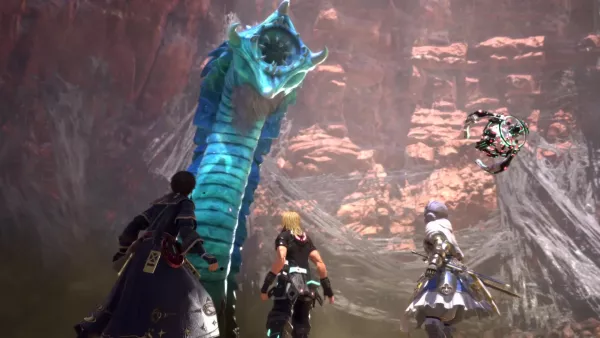
Recommended Level: 10
The Mother Worm will be your first real test! It has a lot of HP and some annoying moves that are really tricky to dodge.
First, make sure all your party have the Auto-Healing passive skill attached. This will keep them alive for longer. In reality though, your party members are pretty stupid and will just take too much damage to survive for very long.
This boss cannot be blindsided; but you do want to use your D.U.M.A. rush skill to target the Mother Worm and get in a flurry of attacks. When you consume all your AP, you will then want to run away from the boss to recharge.
When the Mother Worm roars at the sky, it will summon several Enigma Worm mobs also. You should try to take these out as they can add too much chaos to the fight.
The Mother Worm has four specific attacks you will need to watch out for:
- A sideswipe with it's head that attacks up-close party members. You can watch out for this move as it will stay stationary and then roar just before it commits.
- A lunge move; when the worm dives into the sand with just it's head protruding, it will launch out in straight line. Best to use D.U.M.A to run away when you see this move coming.
- It will also summon fireballs or a ground eruption; it takes several seconds for the worm to make this move, so you know when it's coming. You'll want to be sprinting away from this as often as possible. You can use the D.U.M.A rush skill to also get away from them.
- Sandstorm - The mother worm will dive into the sand and cause a sandstorm that will suck any party members nearby in.
When it's health gets to around 50%, it will use its Upthrust move, where it will disappear in the sand and reappear elsewhere. If you attack it's body during this stage, it will keel over and allow you to get in lots of damage.
Check out the video below for more tips:
Rewards:
- Earth Spirit Talisman
- 564 Fol
- 1356 EXP
After the fight, you find Marquis Yzen, the iatrimancer of Delryk Village!
And that wraps up part 2 of the Star Ocean: The Divine Force Walkthrough! We hope you found this useful- let us know in the comments if we missed anything.

Discussion