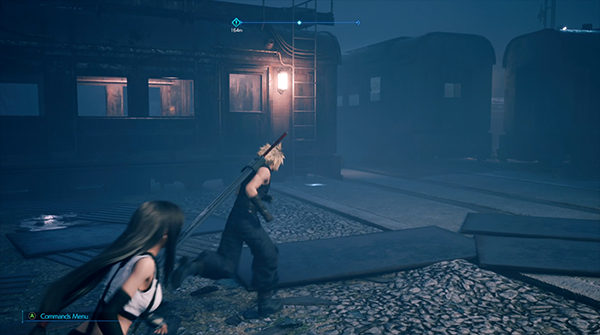
Haunted is Chapter Eleven of Final Fantasy VII Remake and it sees us head into the Train Graveyard, a familiar location to players of the original Final Fantasy 7 game.
- Train Graveyard - Switchyard
- Abandoned Station - Maintenance Facility
- Boss Fight - Ghoul
- Boss Fight - Eligor
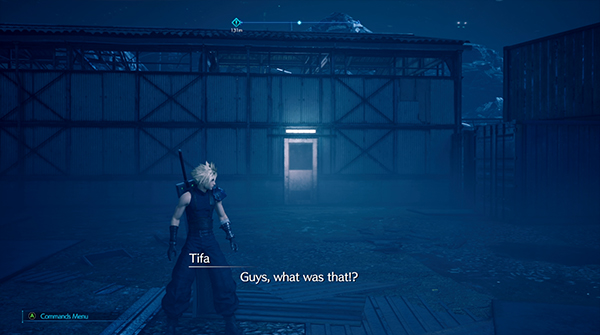
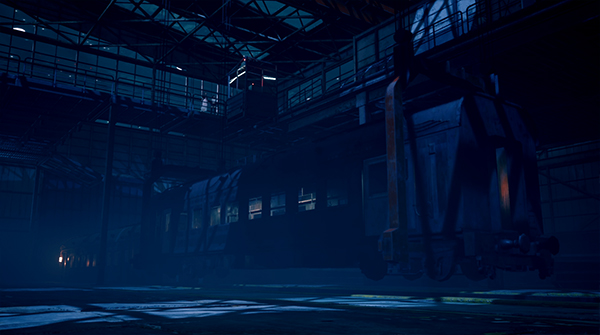
After escaping the sewers, you'll find yourself in an old abandoned train yard. You can heal up and buy supplies from the nearby Vending Machine and Bench.
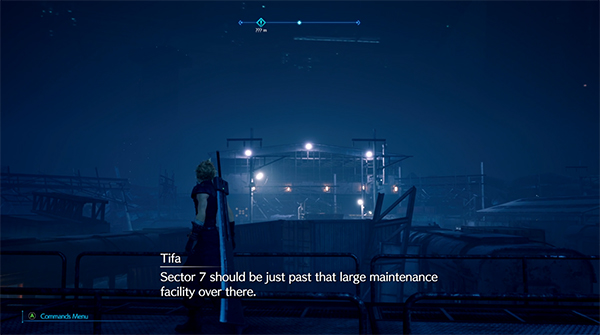
Our plan is to get through the Train Graveyard so we can get back to Sector 7 and see for ourselves whether Don Corneo was telling the truth about destroying it.
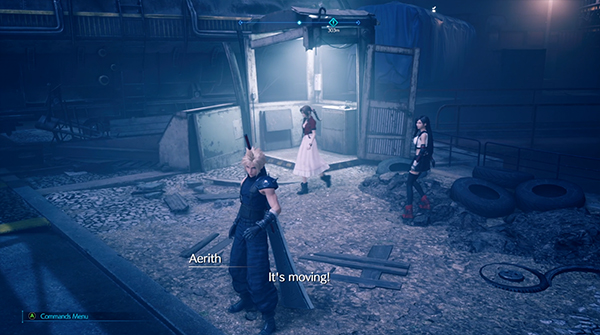
Train Graveyard - Switchyard
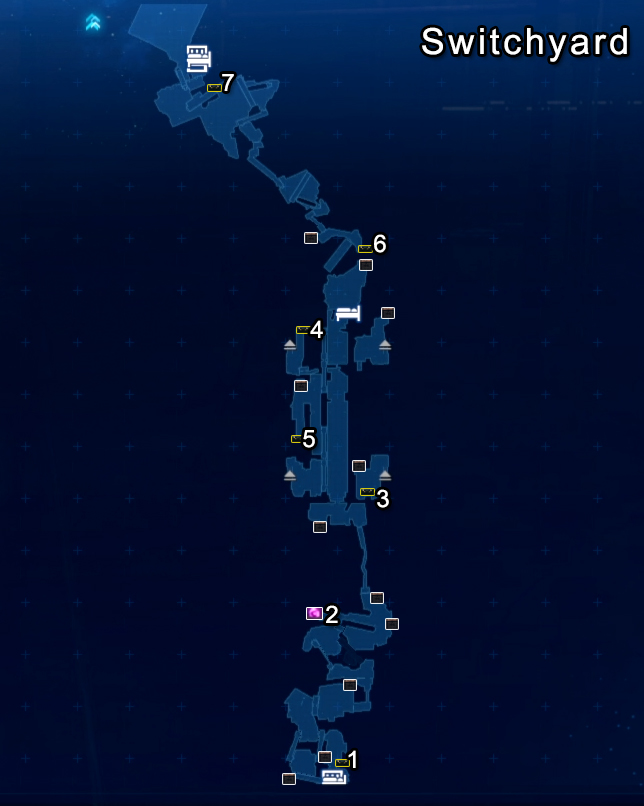
- 1 [Treasure Chest] - Mythril Rod
- 2 [Materia] - HP Up Materia
- 3 [Treasure Chest] - Gothic Bangle
- 4 [Treasure Chest] - Mist x3
- 5 [Treasure Chest] - Mist x3
- 6 [Treasure Chest] - Hi Potion
- 7 [Treasure Chest] - Mega Potions x2
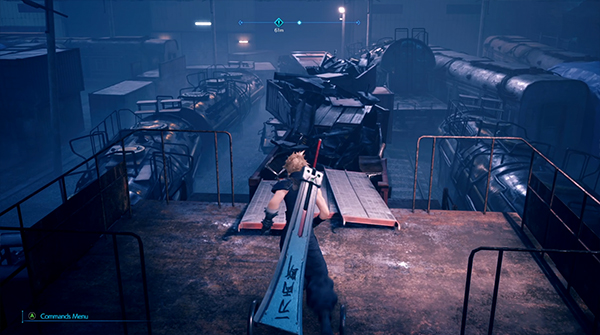
The train graveyard is full of old broken trains; you'll be able to climb up over them and go through the abandoned carriages to reach new areas.
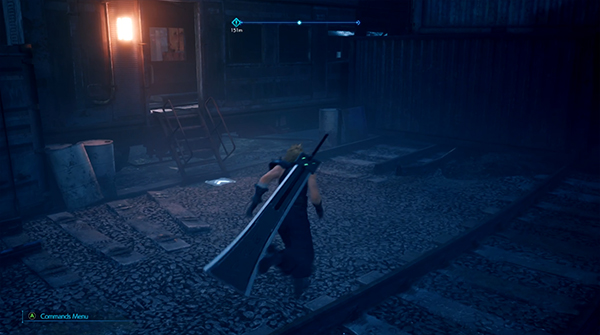
One of the first areas you come to is full of Wererats. Before you climb up onto the train carriage, take the path that allows you inside a train carriage so you can pick up the Treasure Chest (1) to Aerith's Mythril Rod.
Now climb up over the trains and you'll come to a section where a door suddenly flaps. It'll burst open as you approach it and a bunch of Cripshay monsters will attack you. They are weak to Ice.
Head through the building the Cripshay came through, entering another carriage that you have to squeeze through.
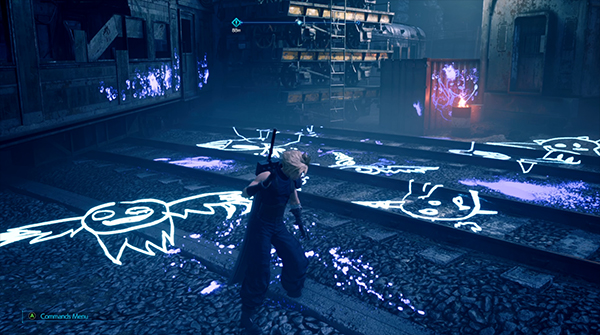
In the next area some Ghost Graffiti will show up, followed by another round of mobs.
Take the ladder up over the train to the next area, fighting more Cripshay.
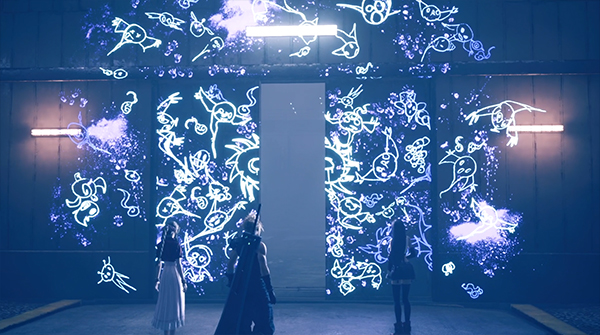
Pick up the HP UP Materia (2) and then climb up onto a long path of trains. You'll fall through one of the carriages and then be greeted by more Ghost taunts.
If you head to your left, you'll find a huge door that will open up for you.
Abandoned Station - Maintenance Facility
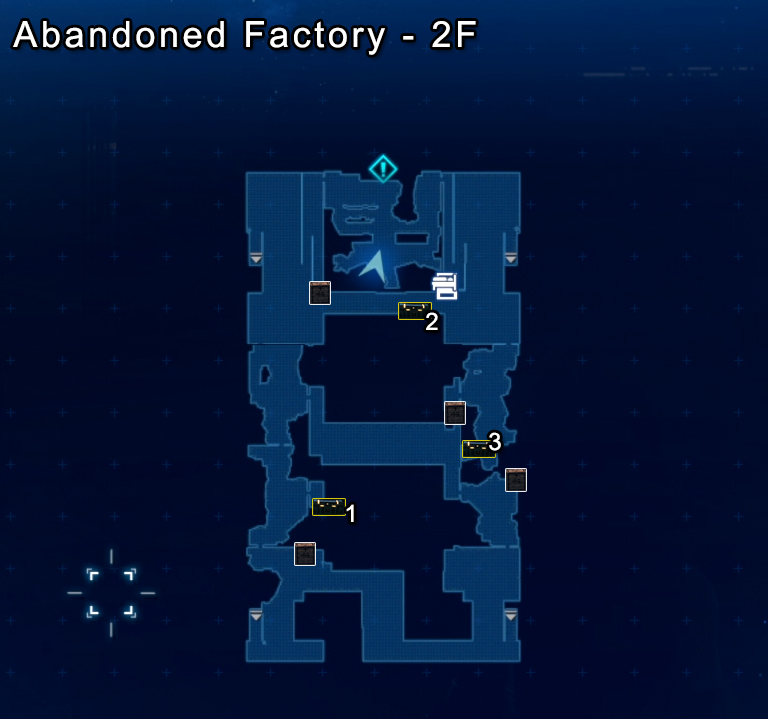
- 1 [Treasure Chest] - Mega Potions x2
- 2 [Treasure Chest] - 1,000 Gil
- 3 [Treasure Chest] - Moogle Medal
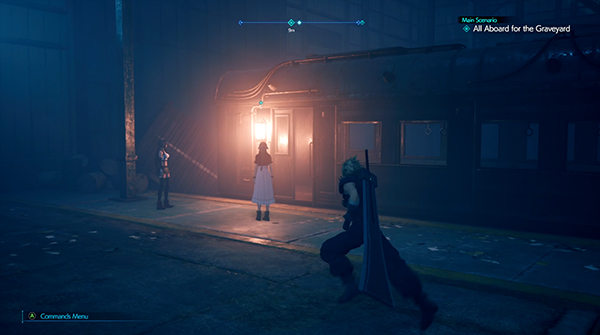
Inside the Abandoned Station you'll find a ghost boy who reveals himself to be a Ghost mob.
Ghosts are weak to Fire and can switch between being immune to either melee or magic, so you have to time it right to take them down.
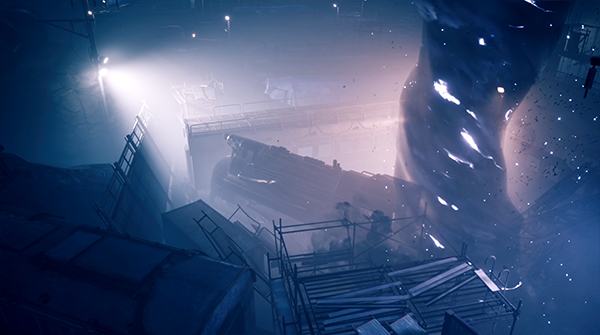
After the ghosts drop a train carriage on you, head back to the facility door where it will close on you.
The ghosts will then open up a side door on one of the carriages to your left.
You'll come to some stairs which takes you to the Maintenance Facility second floor.
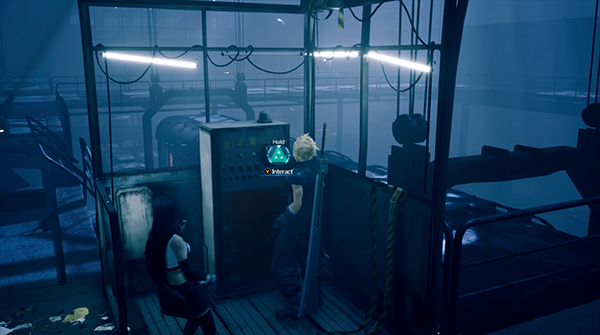
Here you can interact with a console that can be used to move the trains out of your way. Unfortunately, there is no power.
You'll need to find the Control Room, which is at the other end of the second floor.
Head to your right and take the stairs down to the maintenance facility, where you'll meet a Lesser Drake. You can also pick up Treasure Chest (3) here. Head back up to 2F.
Head into the room on the right and Aerith will find some Ghosts in a locker.
Take them out and exit the room and cross over to your left where you can enter another room where another Ghost will appear. You can also enter the room that was previously locked and find a Treasure Chest (1) outside of it.
If you now head forward towards the Control Room, you'll find the door is locked.
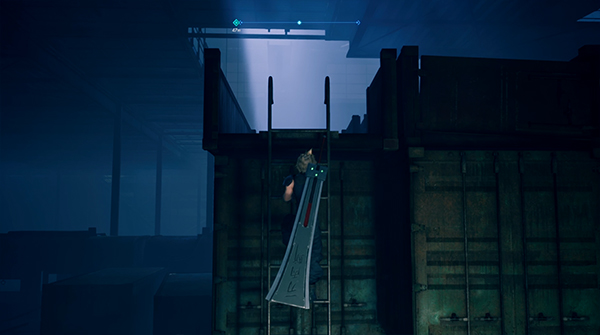
You'll need to head down the stairs to the first floor where you can find a Treasure Chest (4) and a ladder that takes you over some containers.
This will allow you to get to the other side and access the Control Room.
You can also access Treasure Chests (2) and (3) on the second floor.
Just before you enter the Control Room, you can find a Vending Machine and Rest Bench. You can purchase Music Disc - #6 - Let The Battles Begin!
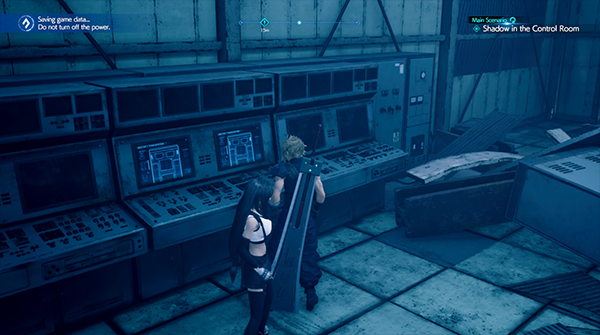
Head inside the Control Room and interact with the computer console.
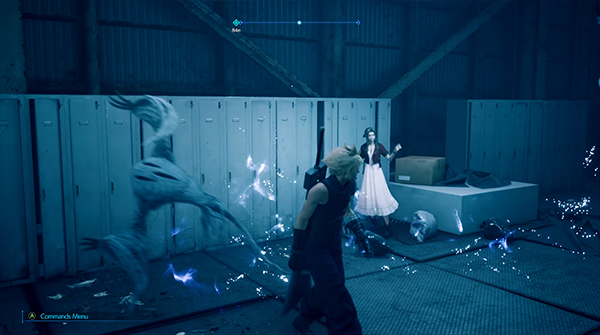
Boss Fight - Ghoul
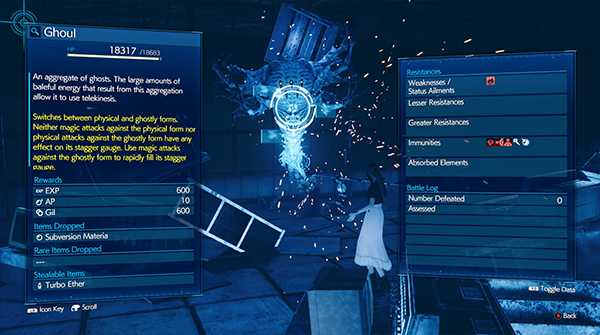
You'll have to navigate through all the furniture in the Control Room to attack the Ghoul (even Aerith's attacks get blocked sometimes). The Ghoul will switch to a Ghostly form periodically that makes it's stagger bar vulnerable to magic attacks. When it's not in that mode, you'll want to use physical attacks against it to charge your ATB.
It is weak to Fire magic, so throw some Fira its way during the Ghostly form.
It can be quite tricky to know when it is in Ghostly Form just by looking at it; however, if you use Physical Attacks against it and it keeps saying Immune, this means it is in Ghostly form and ready for you to hit it with Magic.
At 50% HP, it will switch to its second phase. It will summon Balefire to follow you; it's quite slow and easy to dodge so just make sure you are navigating the furniture correctly.
The same tactics apply; the Ghoul will periodically rearrange the furniture and keep using it's Telekinesis attacks to throw furniture at you. It's piercing scream ability can cause players to become stunned and Incorporeality will make it disappear before hitting you with another attack.
Check out the video below for more help:
Reward: Subversion Materia
You can now use the console to move the trains out of your way, so head back to the beginning of the second floor. Once you've lowered the train, head down the stairs and you can enter the carriage to make your way out of the facility.
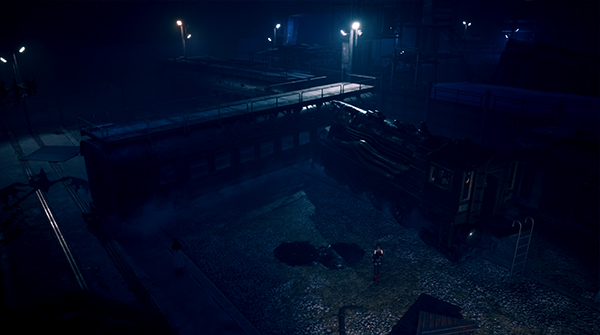
Outside you can find another console to move the turntable. This will initiate a battle with several mobs; clear them up and pick up Treasure Chest (6).
Head up the ladder and you'll come to an area where you can operate a Train to clear your path. After a short cutscene confirming our worst fears about Sector 7, head up onto the trains via a ladder and then drop down into another area.
You'll come to another train that can clear your path. You'll then be come to an area where you'll fight a Cerulean Drake and a Lesser Drake.
From this area you can find another Train that will connect the rooftops of the train carriages. You can find the ladder on one of the carriages in this area.
You'll come to a Vending Machine and Bench to rest up.
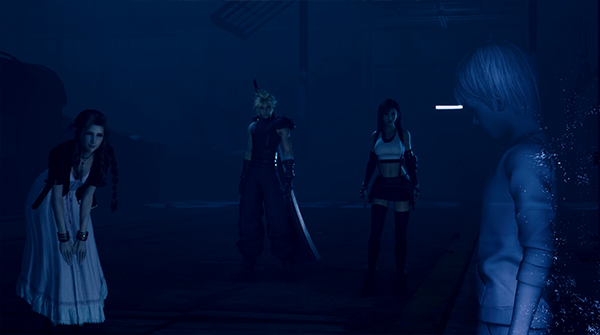
As you move to the next area, Aerith gets taken away by the ghosts, but luckily for her, you turn up to save the day.
Boss Fight - Eligor
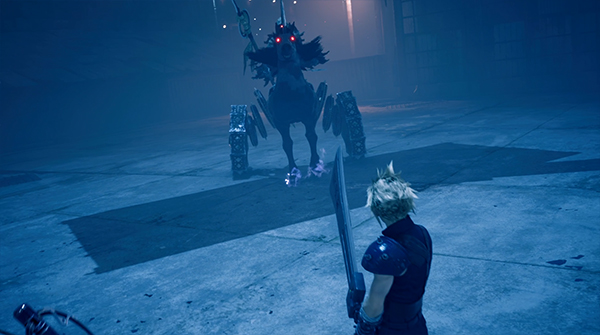
Eligor rides a cart; it's wheels cannot be hit so make sure you aim for the back or front of him.
Eligor is weak to Ice attacks and when he launches into the air you can hit him with Wind attacks to get his stagger bar going.
Watch out for his Sweeping Gaze move, which is a close-range red laser that if hit will deal damage. He also has a rush skill called Trample that can be difficult to dodge.
After the first stagger, Eligor will begin the second phase where he jumps into the air and casts Reflect. He also drops a container in the middle of the map that you can use as cover.
He will eventually come back down to earth and you can continue pummeling him with attacks. Aerith should be your healer whilst switching between Tifa and Cloud to deal damage.
After the second stagger, it will begin its final phase and cast Winds of Gehenna. In this phase you can cripple his Wheels, doing so will temporarily stun him also.
You can also use Steal to get a new weapon for Aerith.
Check out the video below for more help:
And that wraps up Chapter Eleven of Final Fantasy VII Remake! How did you like the new re-imagined Train Graveyard compared to the original? Let us know in the comments!

Discussion