
Chapter Fifteen The Day Midgar Stood Still is the beginning of the end as we go on our hunt in search of Aerith. After picking up the Grappling Guns from our friend Leslie, we now find ourselves ascending the giant mess of Sector 7 in order to reach Shinra HQ.

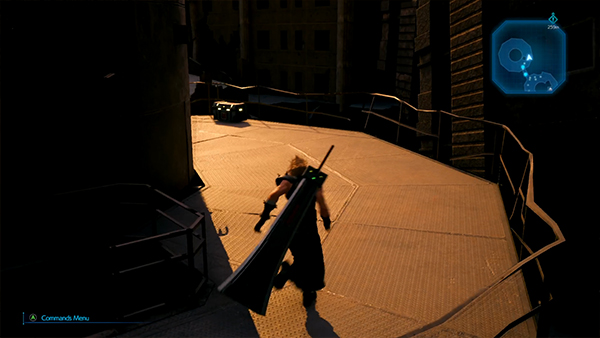
You'll start the chapter walking through a ruined street, with buildings occasionally collapsing around you. As you pass the Neighborhood Watch Member, you'll begin your climb to the top.
You'll find a Vending Machine and Bench at the bottom to heal up. Start your way up the ladders...
There are plenty of mobs you'll fight on your way up, including Byobapolis (weak to Ice/Wind), Cerulean Drake and Shinra Guards.
At 55M above ground, you can find a Treasure Chest on one of the platforms containing a Mega Potion.
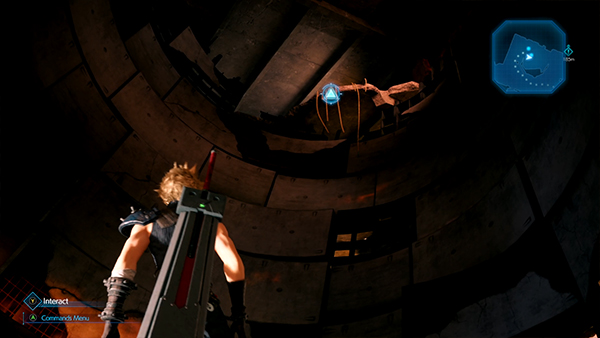
When you arrive at 80M above ground, you'll finally get to use your Grappling Gun.
It's very easy to use, just point and shoot. You'll get indicators on your screen when you're near a spot you can use the Grappling Gun.
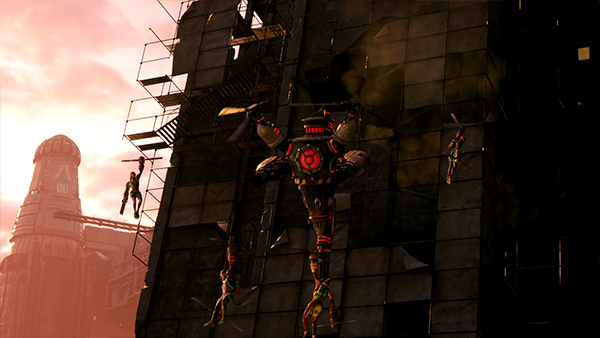
You also get a short cutscene of the Kill Squad that stands between you and Shinra. Follow the path along and two 3-C Soldier's will pop out.
As you move along, you'll find another Grappling Gun point, but unfortunately the weight of all three of you cause you to crash down. Fight off the Elite Security Officers and carry on going forward.
Move enemies will come to you, so take your time to heal as often as possible. You'll have to face a variety of Elite Security Officers, Guard Dogs, Helitroopers and Elite Grenaders.
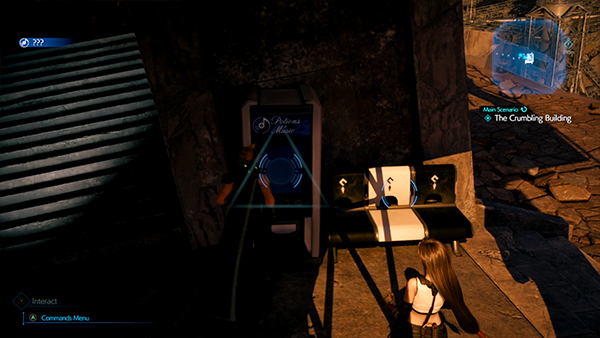
You will come across a Vending Machine and Bench, where you can buy Music Disc #5 - Lurking In The Darkness.
Before heading up, head to the back of the stairs where you can find a Treasure Chest (after taking out some mobs) containing 3,000 Gil.
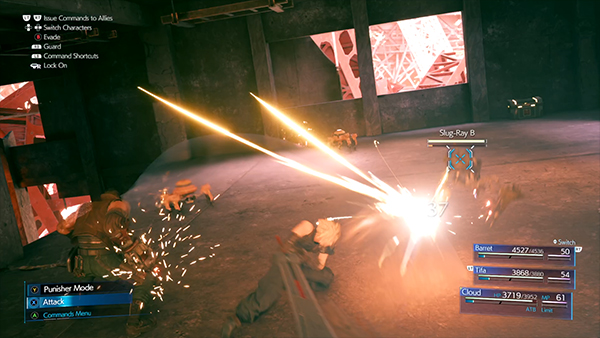
Now climb up the stairs to an old broken building and you'll find a new Grappling Gun point. On this level you'll come across several Slug-Ray mobs. Find the next Grappling Gun point and zoom up.
On this level there is more Slug-Ray and a Treasure Chest you can open to find a hi-potion.
Make your way around the level to find a new Grappling Gun point. Here you should see some scaffolding outside the building. Head all the way down it to find an Enchanted Ring in a Treasure Chest and then use the Grappling Gun (from the area with the Treasure Chest) to go back up.
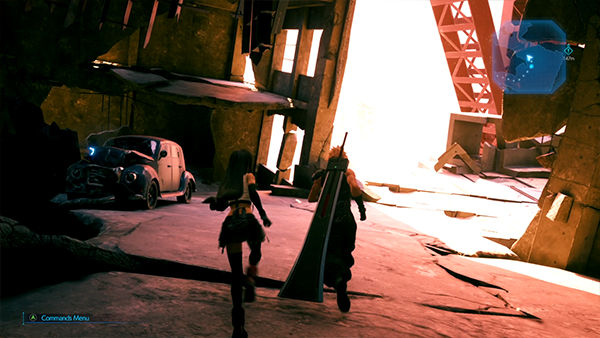
You can now exit this building pass the blue car and a Blast Ray mob will jump out.
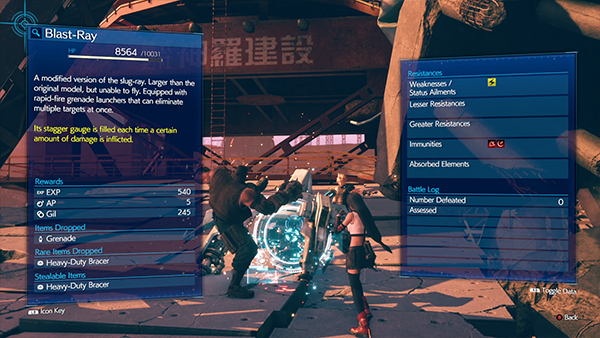
When this mob is staggered, it has a force field around it, so only magic and ranged attacks can damage it.
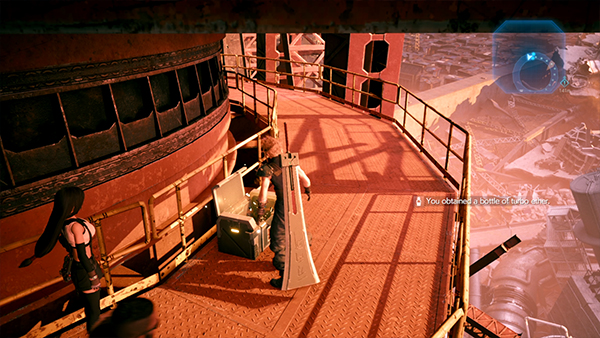
Climb up the ladder in front of you and you can find a Treasure Chest at the back containing a Turbo Ether. On the next level up there is another Treasure Chest containing Smelling Salts. Head around the back of the containers to find another ladder that will take you to the rooftop.
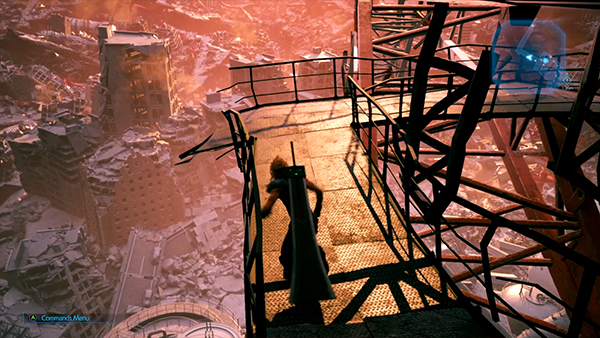
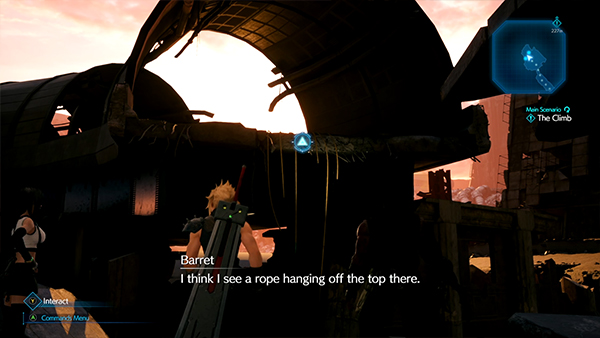
Here you'll come to frail looking walkway where you can get a good view of the destroyed Sector 7. Use the ladder to climb up onto the broken bridge.
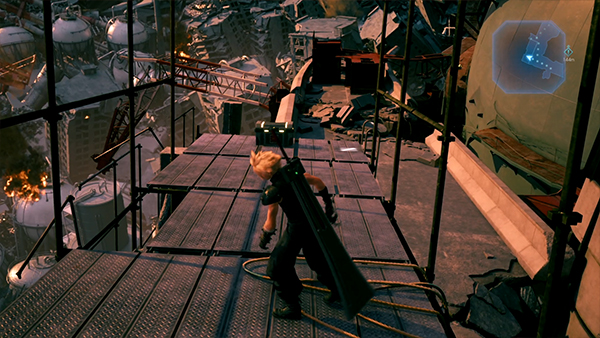
Make your way across the bridge where you'll come across a crop of Byobapolis mobs. You can find a Treasure Chest on some scaffolding containing a Magicians Bracelet.
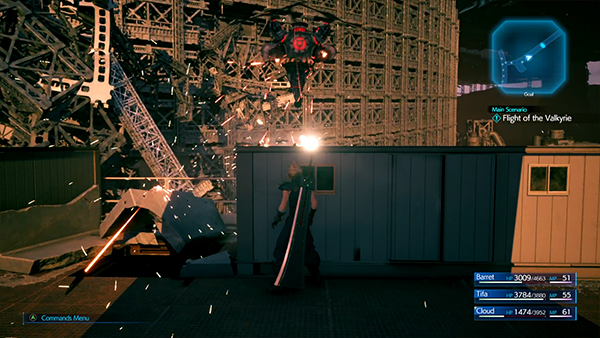
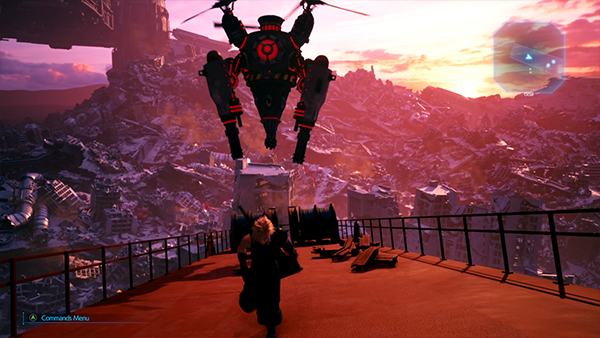
Follow the route around and you'll eventually come across the giant mech unit called The Valkyrie. You'll have to time it's reloads to get across the bridge as each time it hits you you get knock backed.
Head down the stairwell where you'll come across two Blast Ray mobs.
Use the ladder to climb up to the next rooftop where you'll be greeted by two Elite Helitroopers. Remember, these guys are weak to Wind and easily staggered when using that Materia.
On this level is another Bench and Vending Machine to stock up on and rest. Up the stairs is a Treasure Chest containing an Antidote.
Follow the path round and use your Grappling Hook to reach the top...
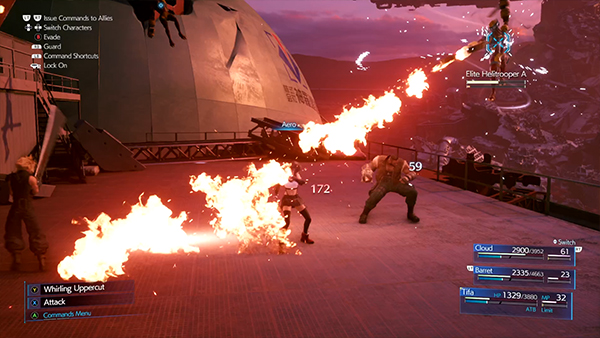
Boss Fight - The Valkyrie
In the first phase of this boss fight it is very hard to hit as he stays out of range from melee attacks. Make sure Barret has his Gun equipped so he can damage it from far range.
In the first phase the boss will send some firepower your way, but it should be easily dodged by hiding behind the containers on the platform. It is weak to Lightning Materia and Wind Materia, so use those to start filling up it's stagger bar.
When you take about 5-10% of its HP off, it'll move to the second phase. Here you'll want to hit it with as much Wind magic as possible to get it staggered so it falls to the ground making it easier to hit.
Watch out for it's Antipersonal Gas attacks that will deal damage to anyone standing close. When it uses Drill Dive, this is your opportunity to get in some hard-hitting melee attacks as The Valkyrie will stay stuck in the ground for around 5 seconds.
At around 50% HP, it'll reach it's third phase. A drone shoots out of it which will slowly move towards you. When it finds a character standing still, it'll then send down a powerful laser beam.
You can actually use the drone to help damage the boss by positioning yourself next to The Valkyrie and then quickly dodging away when the laser beam comes down. It's a quick way to end the fight.
Check out the video below for more tips:
Reward: Cog Bangle
After the fight the boss explodes and it takes some sweet Grappling Gun usage to get out of the sticky situation.
That wraps up Chapter Fifteen of Final Fantasy VII Remake! Onto Shinra HQ next...

Discussion