
Chaper 17 is the penultimate chapter of Final Fantasy VII Remake and after rescuing Aerith from Hojo's laboratory, we now need to find our own way out of this strange secret lab.
- The Drum
- Boss Fight - Swordipede
- Boss Fight - Jenova Dreamweaver
- Boss Fight - Rufus
- Boss Fight - The Arsenal
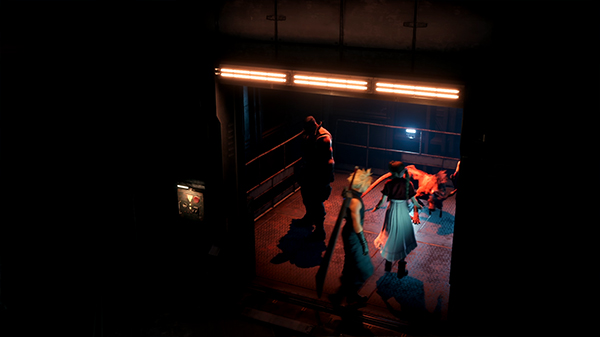
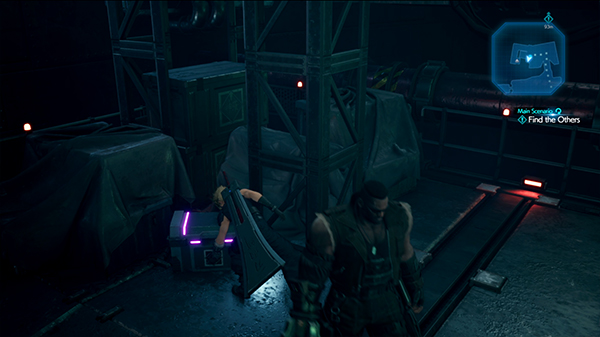
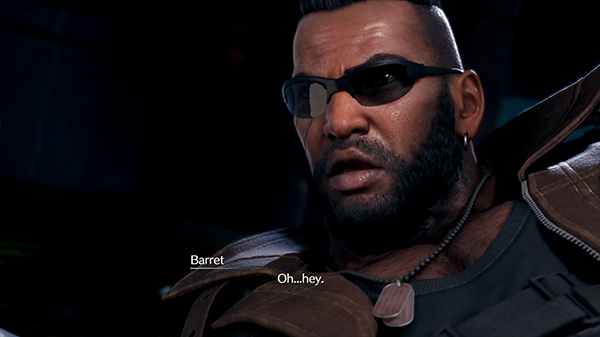
You begin the chapter with Cloud waking up after collapsing inside a room that they used to keep Aerith and her mother when she was a child.
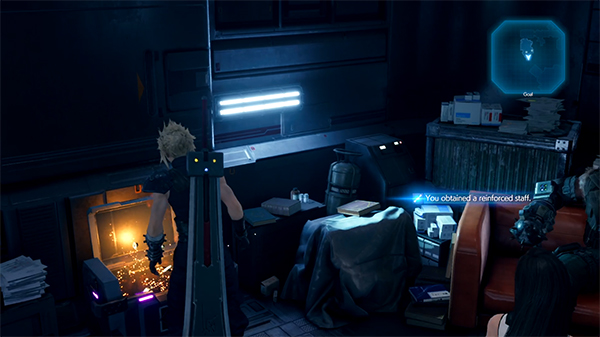
There is a Treasure Chest in the room that will give you a new Aerith weapon: Reinforced Staff.
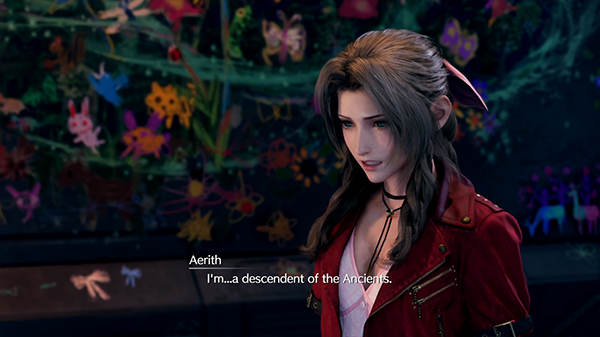
Aerith opens up about who she actually is, a descendant of the Ancients who called themselves the Cetra. Red XIII reveals that those shadowy hooded figures are Whispers, who are there to enforce destiny.
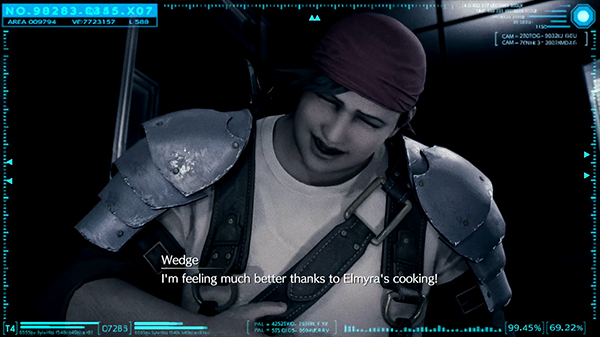
After a while, Wedge interrupts on the monitor. He says an Avalanche helicopter will pick you up from the roof of the Shinra Building. Time to escape...
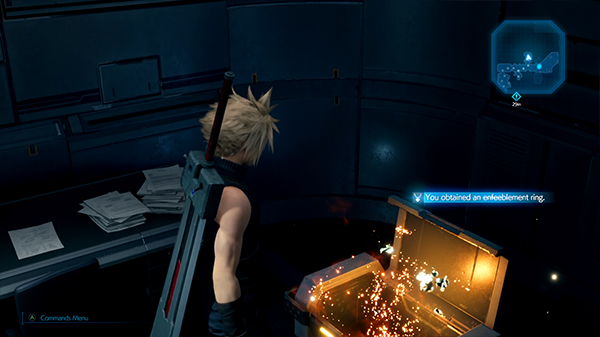
If you exit Aerith's room, search the room on your left and you can find a Treasure Chest containing an Enfeeblement Ring.
The last room on the right contains a Treasure Chest with a Phoenix Down. And there is another Treasure Chest by the exit door containing an Ether.
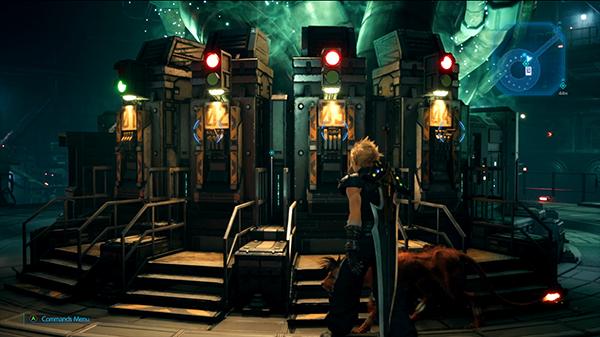
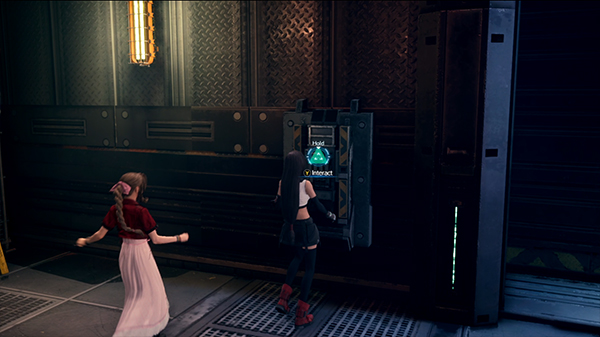
On your left is a Rest Bench and Vending Machine. Head right, following your party and you should come to an Elevator.
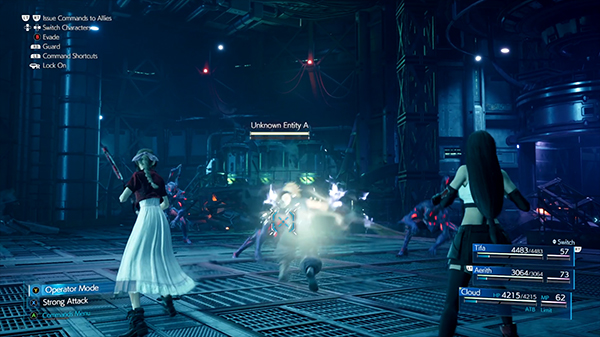
In the next room, some new mobs called Unknown Entity will surprise you whilst Barret and Red XIII attempt to unblock the passage. They are weak to Ice Materia.
Once defeated, head up the path that Barret and Red XIII unblocked and you should come to the hallway where Cloud collapsed.
Now you can ride the Elevator up.
The Drum
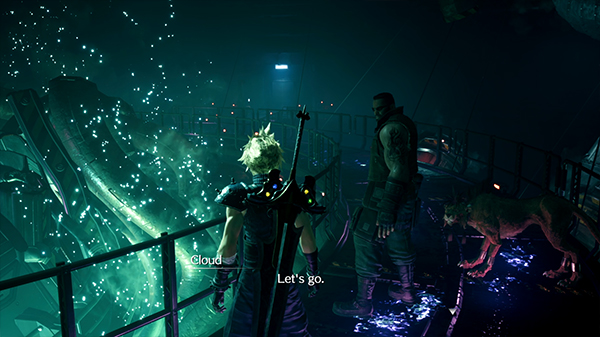
You'll arrive at Hojo's Laboratory: Restricted Level and a maze of rooms called The Drum. Head to your right and you'll eventually come across Jenova.
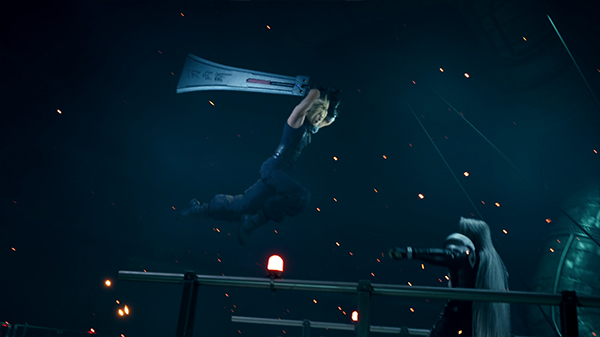
Sephiroth joins you and has a quick skirmish with Cloud, causing Cloud to fall.
Cloud wakes up on his own in the lower levels of The Drum. This area has many different levels and is home to all of Hojo's creations.
Head to your right and press the switch to bring out the pods so you can cross. Make your way through the broken pods; there's a path on your right that leads to some Poison Materia.
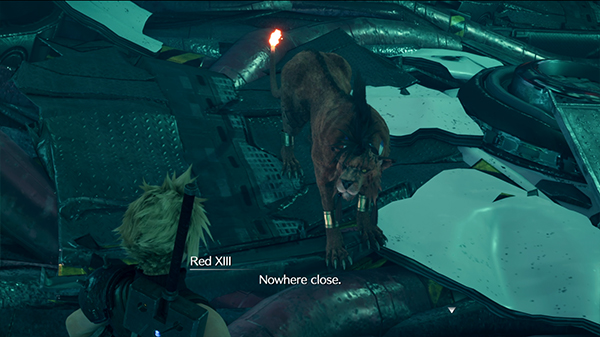
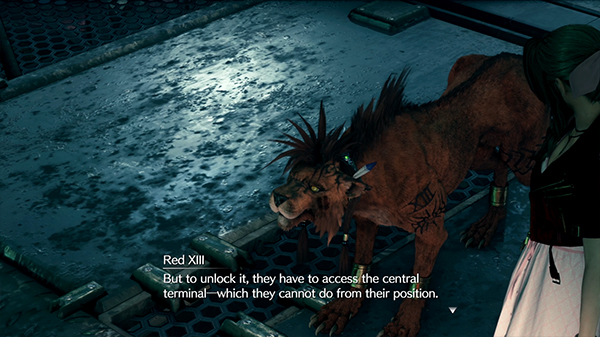
You'll eventually come across Red XIII. He can aid you in battle, but is unable to be controlled or have weapons equipped to him. Together you aim to find where the others have gotten to.
Follow the path upwards and you'll come to another crossing.
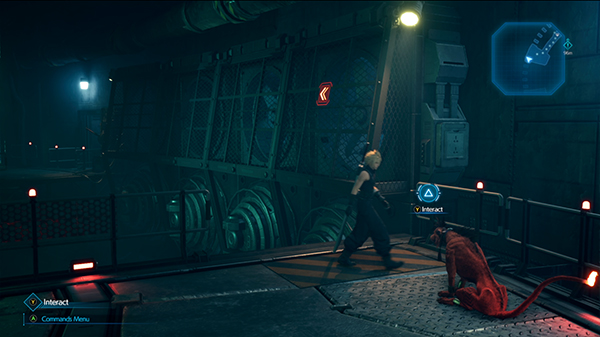
This time you can command Red XIII to jump across and pull the lever on the other side to bring out the crossing pods.
On this platform is a room where you can find a Rest Bench and a Vending Machine.
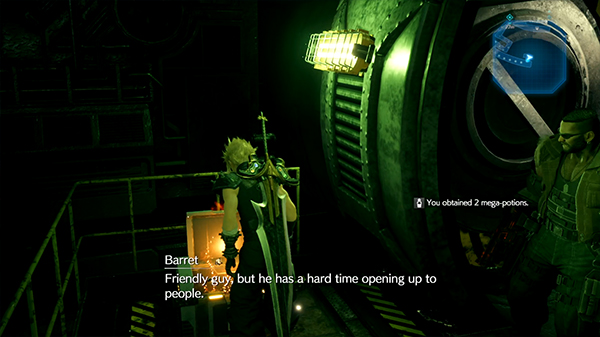
If you head through The Drum - 1st Ward door you'll come to find Barret. Defeat the Mark Monodrive mobs and be careful of the M.O.T.H unit. It is weak to both Lightning and Wind Materia. It has a constant spinning blade, making it really hard to hit with Cloud. Barret is best with his range attacks.
Exit the room and you'll find a purple Treasure Chest on your left containing a Twin Stinger weapon for Cloud.
Head up the stairs and you'll get ambushed by some Unknown Entity mobs, but Tifa and Aerith will save the day.
Have Red XIII cross over and pull the lever to activate the crossing pods.
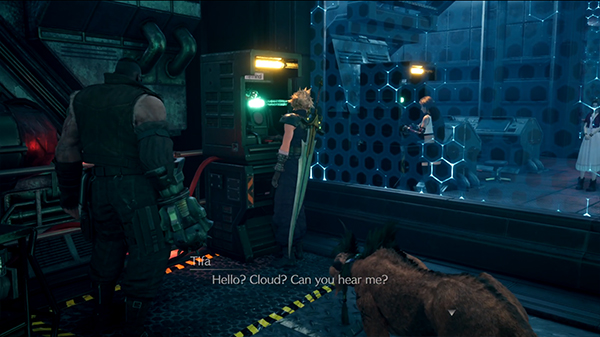
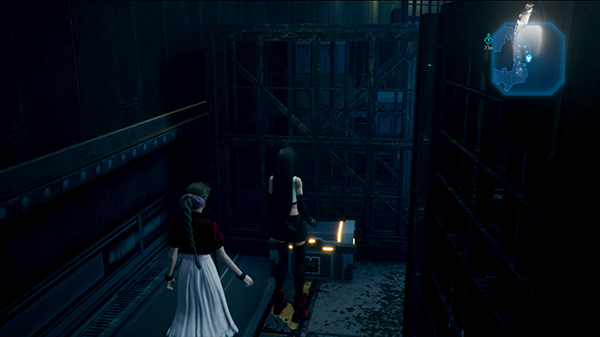
You can speak to Tifa and Aerith through a phone console on the left side of the building they are in.
For this next part, you're going to have to be switching back and forth between Tifa and Aerith parties. Hojo announces he has several experiments he wants you to participate in before you can escape.
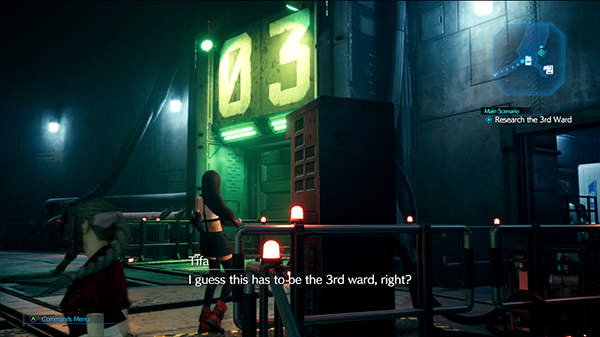
Switch parties so you're in control of Tifa and Aerith. Head upstairs until you come to the 3rd Ward Doorway.
Use the lever on the left side to activate the crossing pods, which will also activate the crossing pods below so that Cloud, Barret and Red XIII can cross over too.
Pick up the Treasure Chest containing an Ether, then head back to the 3rd Ward Doorway and use the control phone to switch parties with Cloud.
Head over to the platform that Tifa and Aerith made accessible and you'll come across a Blast Ray mob.
Once taken out, you can now activate a switch to access the central terminal in the middle of the map.
Once across, pick up the Time Materia and then flip the switch for the 3rd Ward.
This will allow Tifa and Aerith access to it; use the phone console to switch parties (its right next to the ward switches).
Have Tifa and Aerith enter the 3rd Ward door and use a switch to open the gate. Here you'll have to fight a bunch of Unknown Entity mobs.
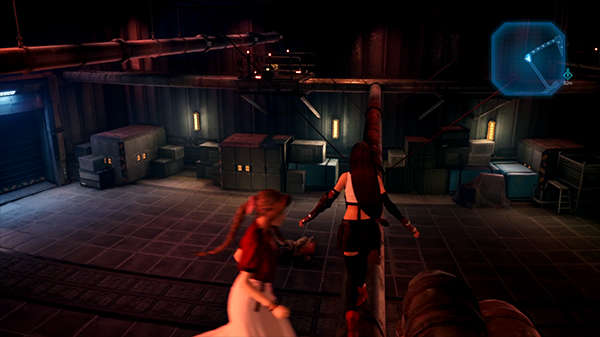
Squeeze through a gap in the wall and you'll come to an area filled with cages. Pick up the Treasure Chest nearby to find a Mega Potion.

Follow on to the next room where you'll have to fight several Bloodhound mobs.
This fight can be quite dangerous, so make sure you keep your health up. Use Tifa's Divekick combo to help take out the Bloodhounds, who move around a crazy amount.
Follow the path around until you come out to a dark tunnel. There is a Treasure Chest on your left containing 5,000 Gil.
Head right and you'll come across a Zenene mob, which should be easy enough to take out. Head into the side room and use the switch to open the gate.
Head into the room on your right and you'll come to a room that has a pipe you can cross. Unfortunately you fall and have to face off against two Zenene mobs. You can use the ladder in the room to find a Treasure Chest containing a Mega Potion.
Before crouching underneath the metal door to escape, use the switch on your left to open the other metal gate and find a Treasure Chest containing a Force Bracelet.
You'll now have completed the 3rd Ward.
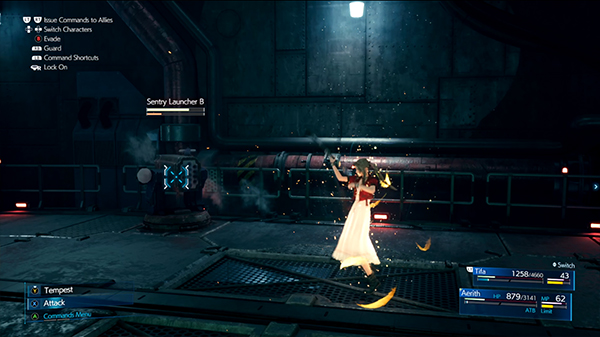
Head down the stairs and to your left, where you'll come across several Sentry Launchers. Make sure you have full health when engaging these as they hit very hard.
Climb up the ladder once defeated, press the switch to activate the pods and switch parties back to Cloud, Barret and Red XIII.
Have Cloud activate the 2nd Ward Door at the central terminal and then cross over the bridge to the out circle path. You should be able to access the 2nd Ward Door over the crossing pods and pick up a Treasure Chest in the left corner of the platform containing a Mega Potion.
Enter the 2nd Ward and you'll come to a room that traps you in, where you'll have to fight off two Zenene mobs.

Take the door on your right and you'll come to a dark tunnel. There is a Treasure Chest on the right of the room containing an Astral Cuff.
You'll come to another room that locks you in, this time facing a M.O.T.H Unit. Once defeated, take the door on your right and you'll come to another locked room.

This time Red XIII gets caught by Hojo and it's just Cloud and Barret.
You'll have to take on an annoying mob that is very much like Whack-A-Mole. These Sledgeworm mobs are weak to Lightning Materia.
Head through to where Red XIII is being imprisoned and free him. If you take the corridor to your right you can find a Treasure Chest with 2 Remedies.
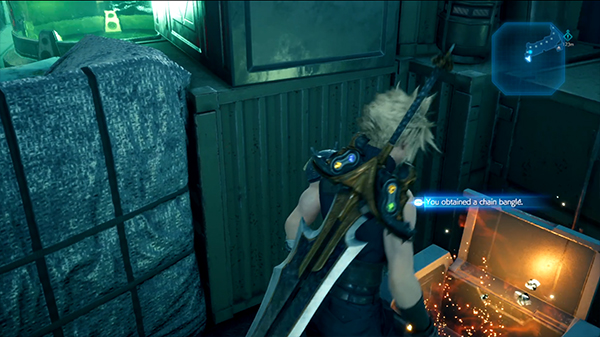
Head in the direction Hojo went and you'll eventually come to a room with green test pods where you can find a Treasure Chest in the corner containing a Chain Bangle.
Head up the stairs and you'll come to a room full of metal trollies.
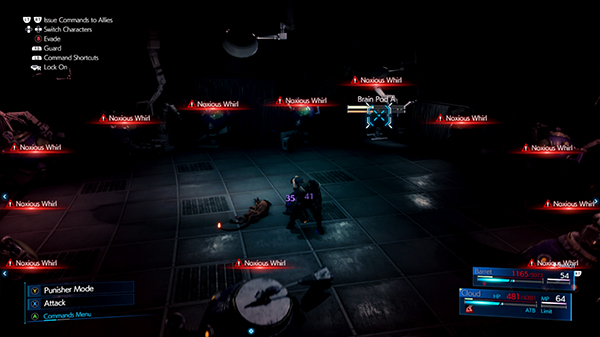
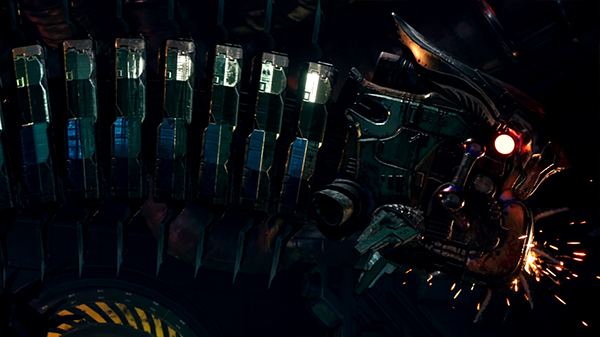
Before you can leave, however, you'll have to fight the drain that imprisoned Red XIII called Brain Pod. He will duplicate himself halfway through the fight and surround you.
Have Cloud use his Braver skill as often as possible to take out as many as you can in one hit.
Once defeated you can leave the 2nd ward. Head upstairs to find the locked 4th ward and then head back downstairs on the right side. Use Red XIII to release the crossing pods and then switch parties with Tifa and Aerith.
Red XIII will get flung down below, so you're going to need Tifa and Aerith to go rescue him.
Dispose of the Sledgeworms and head down the ladder to find some Enhanced Shock Troopers.
Climb underneath the crossing pods and follow to your left until you come to some stairs with several Unknown Entity mobs waiting for you.
Red XIII joins Tifa and Aerith; you now need to head back to the Central Terminal to open the 4th ward gate. Head down the stairs and have Red XIII activate the crossing pods.
You'll find a locked Elevator, but ignore it for now and pull the lever on the platform to activate a route to the Central terminal.
Activate the 4th ward and switch back to Cloud and Barret.
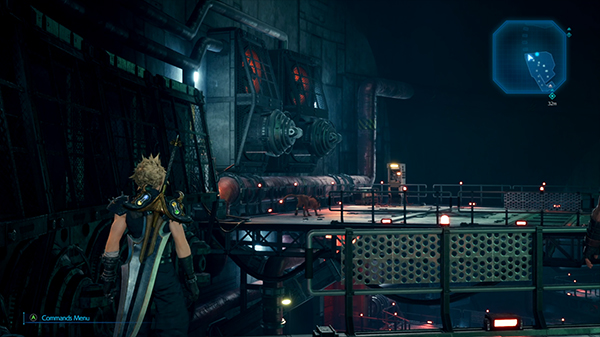
Have Cloud and Barret enter the 4th Ward. Head up the stairs until you come to a pipe you can enter; on your left is a Treasure Chest containing 2 Mega Potions. On your right is a switch to open the pipe's door.
You'll come to an empty room, head up the ladder on the other side and get ready...
Boss Fight - Swordipede
The Swordipede has a body that is immune to melee attacks, so always concentrate your attacks on his head. Have Cloud dode it's Live Wire attacks and when it uses Energy Volley, you can easily watch out for the slow moving bubbles above you to dodge.
At about 60% HP, the Swordipede will burst out of the room and you'll now have to fight it with Tifa, Aerith and Red XIII.
You're on a narrow platform, so his attacks are harder to dodge. It's Saw-Toothed Spin can be dodged; you just have to make sure you're on the right side of the platform when it comes spinning by you. After it uses this move, its the perfect time to deal some hard hitting damage as it goes down for several seconds.
Tifa should be your main attacker with Aerith casting heals with Pray and Cure.
Check out the video below for more tips:
Reward: Force Bracelet
After the fight, Hojo unlocks the Elevator and allows Aerith and Tifa to go up the 4th Ward.
You can open up the locked door to find Cloud and Barret in the red tunnel. Head back to the Elevator and take it up to the next floor.
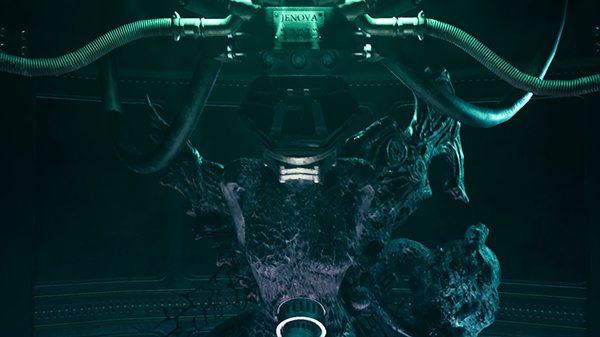
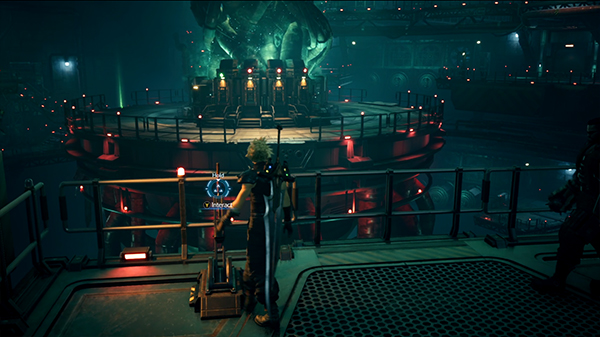
Here you'll find that Jenova has been ripped from it's container and there's a trail of Mako on the floor. Follow it to the Elevator and head to the roof.
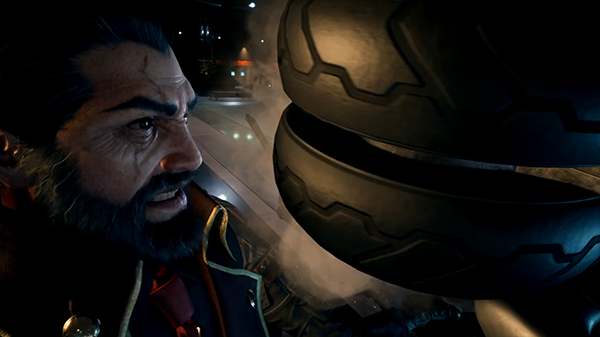
You'll come to the 70th Floor - President's Office. Head outside to find President Shinra hanging on for dear life.
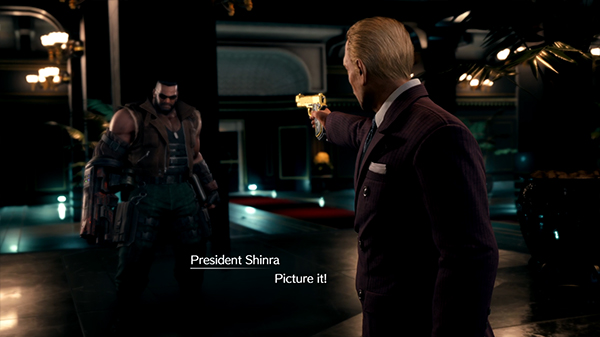
Barret saves his life, but President Shinra double crosses him straight away. But that's not the only surprise in store...
Boss Fight - Jenova Dreamweaver
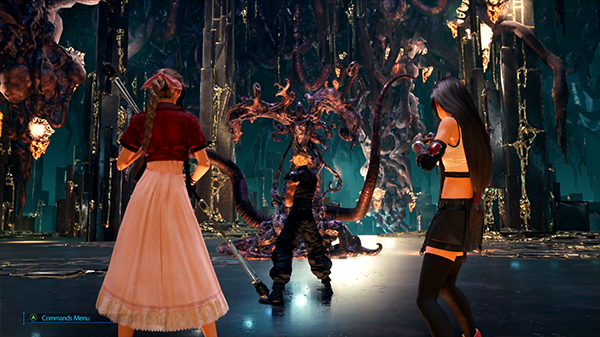
Jenova Dreamweaver has two tentacles either side of it that you can take out. These will regrow, but destroying them constantly will allow you to get more attacks in.
The boss has several hard-hitting attacks that can fling you across the room; have Aerith casting Pray as often as possible to keep the party's health up. Keep an eye on the floor as it casts several pools that will deal damage to you if you stay in them.
When Jenova Dreamweavers casts Rejection, it will reflect any magic attacks back at you so be careful.
At 50% HP, it'll spawn several more tentacles all around the arena. Tifa is great at taking these out as she can move fast across the floor.
Jenova can cast Quiet and Freeze you, so always be switching party members whenever they get one of these status effects.
With it's last 25% HP, it will start dripping it's mako poison from the sky that will damage you slowly if you get hit.
Check out the video below for more tips:
Reward: Astral Cuff
After the fight head outside to chase down Sephiroth. He manages to escape off the top of the Shinra Building.
And just as you're about to get rescued, Shinra's Rufus shows up.
Boss Fight - Rufus

You'll fight Rufus and his pet Darkstar. The fight phase of this fight is rather easy. You'll want to try and block/guard most attacks and then counter with several attacks of your own.
Focus on getting rid of Darkstar first; if you find you're taking too much damage you can run away and wait for your ATB to charge and heal up, as the arena is massive and most of their attacks go out of range.
When Darkstar gets to 50% of it's HP, the fight gets more difficult. The key to this fight is to strike when you see Rufus Reloading. This will flash up above his name and it's one of the only times you can strike freely.
The rest of Rufus and Darkstar attacks you'll want to dodge and block. If you get caught by then, you can end up getting in a chain of attacks and taking significant damage.
Once you defeat Darkstar, the third phase begins. Now Rufus can teleport all around you and so it's a lot harder to run away to heal.
The same tactic applies, wait for him to reload and then strike. Braver is slow to hit but you can time it right so that it hits just as he reloads.
You can also save your Limit Break for this part of the fight, which can instantly stagger him.
Check out the video below for more tips:
After the fight, you'll join Barret, Aerith and Red XIII descending the Shinra Tower.
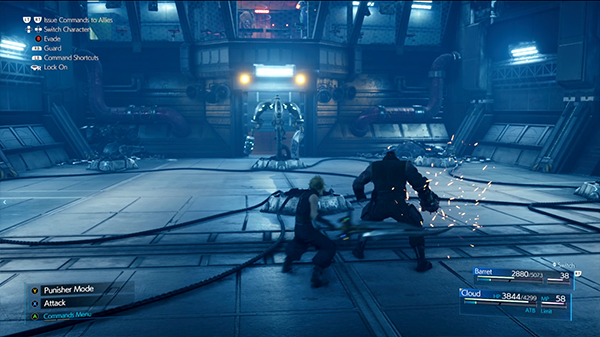
Boss Fight - The Arsenal
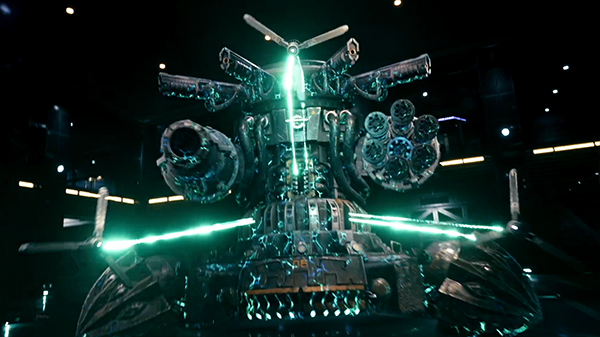
The Arsenal is surrounded by three drones that are helping reduce any damage dealt to the main mech unit. You should focus on these drones one by one at the beginning of the fight.
The arena is filled with debris and things you can hide behind to take cover for most of it's attacks. When you see it using Primary Fire, you'll need to hit the main cannon to prevent the attack; have Barret use his Focus Shot or Aerith's Judgement Ray skill.
When it uses Homing Laser, just use your Guard/Block ability to negate most of the damage.
When all three drones are destroyed, the next phase of the fight begins. The Arsenal can use Charge and rush attack you; you'll just need to use your dodge roll to escape it.
You can stagger The Arsenal by hitting the main cannon as it's about to unleash the Primary Fire attack.
At about 50%, The Arsenal will use it's Pulse Cannon attack. This can't be stopped; you'll need to take cover behind the debris or pillars to not get hit by it.
It will also use an attack called Firewall, trapping whoever it targets inside a small slice of the arena. When this happens, switch to another character (hopefully outside of the zone) to attack.
When it gets to its last 10% HP, it'll use Cry Havoc. You can take cover behind a piece of debris to block it, but after that you need to burst damage the boss to take it down.
After the fight, Barret, Aerith and Red XIII get surrounded by Heidegger.
Luckily for them, Cloud and Tifa turn up and escape via motobike and van!
And that wraps up Chapter 17 of Final Fantasy VII Remake! Only one more to go now...

Discussion