
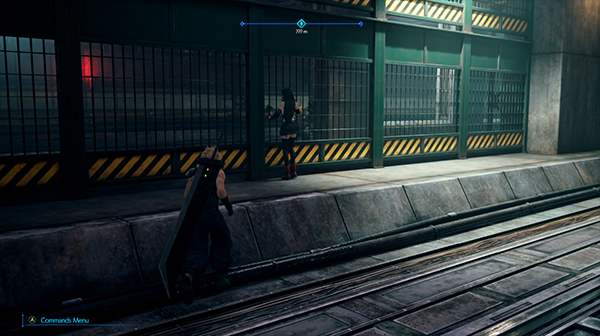
Chapter Five sees us return to Midgar and the Shinra Reactors for another mission coordinated by Barret and Avalanche. After reaching the Sector 7 Slum Train Platform, Cloud, Tifa and Barret all enter the train heading for Sector 4.
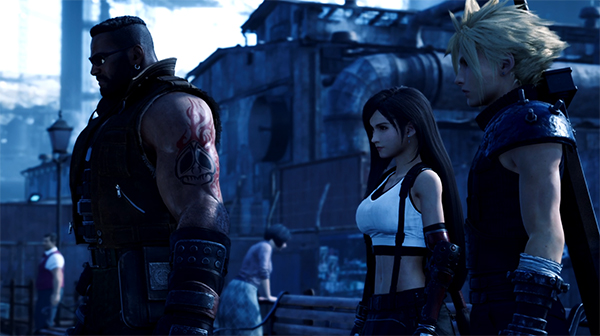
The overall plan is to attack Mako Reactor 5. You split up on the train so as to not draw too much attention to yourselves.
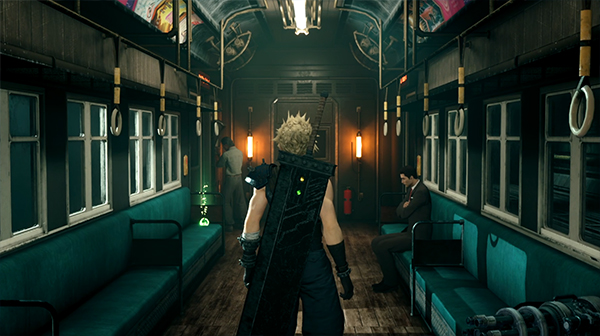
You'll be asked by Tifa to go check on Barret, who in turn tells you to check on Tifa. Looks like nobody wants you around! Make sure you pick up the Healing Materia on the floor in Barret's carriage.
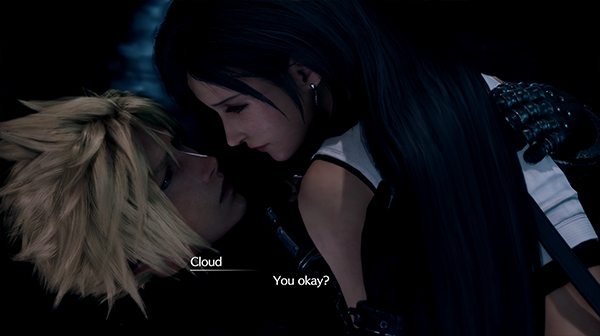
Upon returning to the Tifa, however, your fake I.Ds seem to fail and trigger the intruder detection system.
You'll need to take care of several Slug-Ray opponents; a single Lightning Materia strike will down them in one hit.
Corkscrew Tunnel
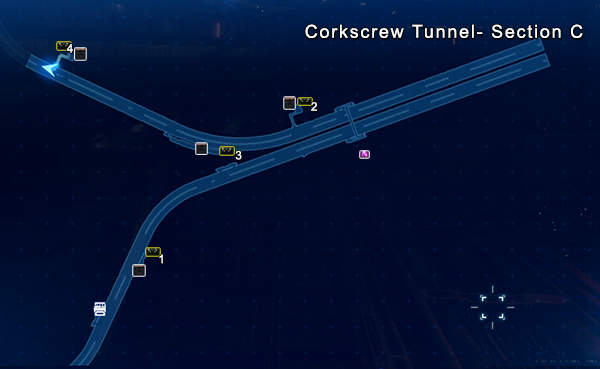
- 1 [Treasure Chest] - Hi-Potions x2
- 2 [Treasure Chest] - Elixir
- 3 [Treasure Chest] - Star Pendant
- 4 [Treasure Chest] - Ether
You end up deciding to jump off the train and land back in Corkscrew Tunnel.
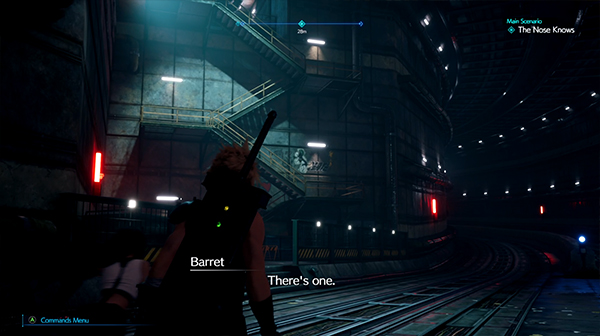
You need to go link up with Barret; so head up the tunnel, past the Vending Machine and Rest Spot. The place is filled with Slug-Ray opponents and the occasional Shinra Guard.
As you head towards Barret, a short cutscene involving Heidegger happens, which gives us an idea that he has something big planned for us.
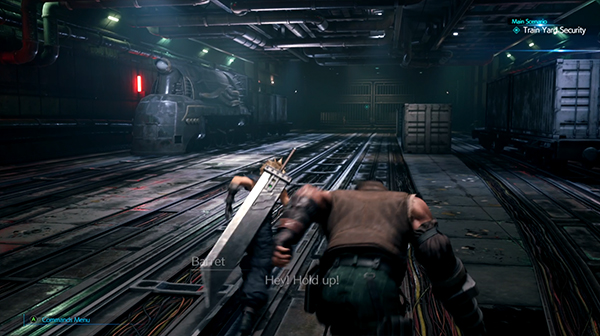
You'll eventually come upon Barret on the other side of the tunnel; you'll need to climb some stairs on your right to get to him. Dispatch the mobs and Barret will take a time out to show you where you're headed.
This place looks the same everywhere, so you'll need to follow the blue lights in the tunnel to keep you on the right track. If you go the wrong way, Barret and Tifa will give you hints.
You can pick up an Elixir in a Treasure Chest (2) in one of the side rooms in this tunnel.
The gang also mention looking out for a picture of a dog named Scamp. This will guide you to where you need to go. Make sure you also pick up the Star Pendant from the Treasure Chest (3) on your left as you go down the tunnel. It's on a raised platform surrounded by some Wererats.
You should eventually come to a set of stairs with a picture of Scamp on the wall. Head up them.
Section D
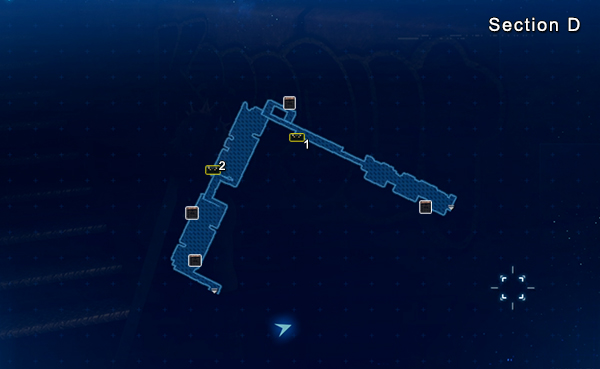
- 1 [Treasure Chest] - Antidotes x2
- 2 [Treasure Chest] - Hi-Potions x2
Make your way into Section D of Corkscrew Tunnel, taking out a few Wererats and finding a Treasure Chest with 2 Antidotes inside.
You'll come to an area filled with cobwebs and monsters called Grashtrike. They're weak to Ice Materia.
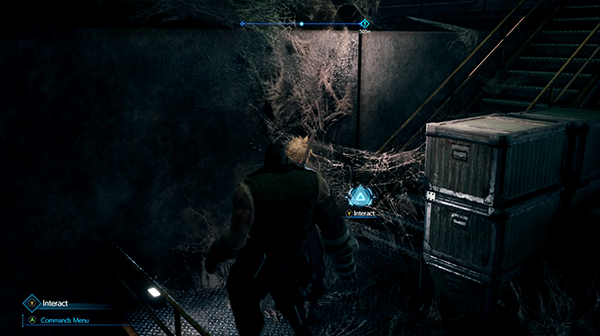
Once wiped out, head towards the stairs and interact with the cobweb blocking your path to remove it. Take out the Grashtrike in this area and then on the right is another blocked path by cobwebs.
In the next area you'll come across a new mob called Queen Grashtrike. These are more powerful and bigger versions of the Gashtrike you just previously took out, again they're weak to Blizzard.
After taking out the Queen Grashtrike, you'll find another blocked off area by cobwebs. In this area, there is a Vending Machine that sells Poison Materia.
Section E
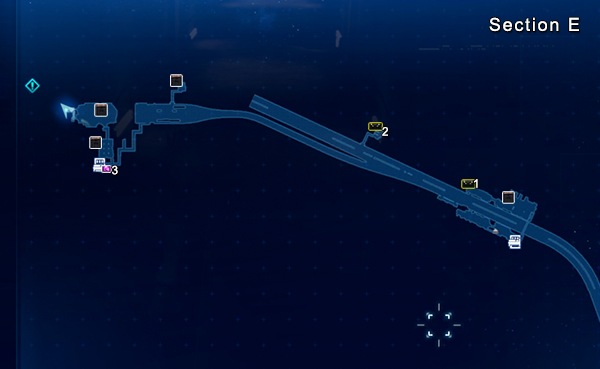
- 1 [Treasure Chest] - Phoenix Down x3
- 2 [Treasure Chest] - Leather Bracelet
- 3 [Materia] - Lightning
- 3 [Music Disc] - #28 - Stamp
Head up the stairwell and across to find some Shinra Guards, including a new enemy called Flametrooper. They have a lot of health but are weak to Fire magic.
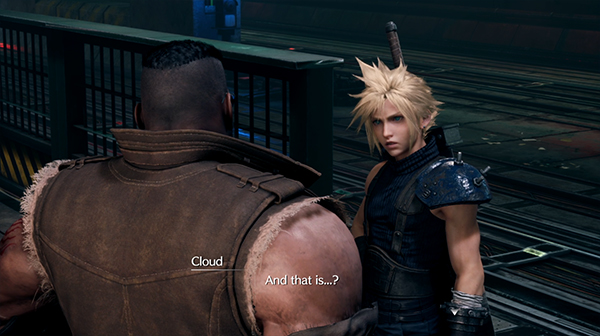
There is a gate that will lead you back onto the tracks. Barret will once again explain the direction in which you are going.
Afterwards, use your map to figure out the location you need to go (it's left). You'll come across Corkscrew Tunnel Rail Yard. Here you'll have to take out 2 Flametroopers and 2 Sentry Launchers. Sentry Launchers are weaking to Thunder.
After taking them out, head up the stairs and you'll be able to find Lightning Materia, a Vending Machine and a Rest Spot.
After resting up, prepare for a boss fight...
Boss Fight - Crab Warden
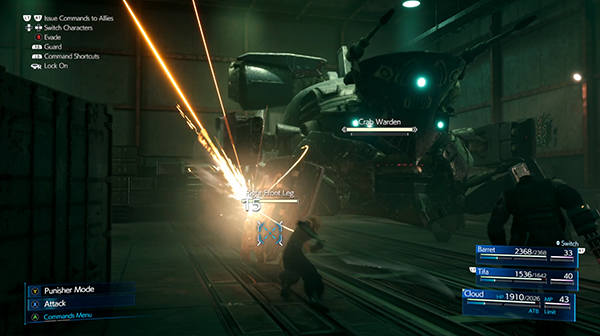
Like most Final Fantasy 7 Remake Bosses, this one has multiple phases after each time you hack away it's HP.
The first phase the Crab Warden is harmless. Focus on disabling it's legs- it's weak to Thunder Materia so make sure you have plenty equipped. Each time you cripple a leg, it will set the stagger bar to 50%.
You can dodge it's EMF field attack by moving to the back of the boss.
At about 60% HP, it'll summon Slug-Ray mobs. One Thunder hit takes these out. You'll also get the opportunity here to use Summon Magic.
Crab Warden will now use Missile Barrage, which sends several rockets your way (but can be dodged). Keep focusing on it's leg to get it to stagger again.
At 30% HP, it's next phase begins. It has two Auxillary Weapons that you can destroy to prevent it from attacking you. They will also boost the stagger bar by 99%.
It can use a deadly Surge attack, but just look at the patterns on the floor to dodge it. It will also use Flamethrower attack but moving out of it's line of fire is quite easy.
At some point, it will reveal a Pilot that can be attacked to take it out.
Check out the video below for more help:
Rewards: Metal Knuckles.
After a short cutscene with Heidegger, you can now squeeze through two containers and head down into the Service Tunnel. You'll find an elevator that takes you down towards Mako Reactor 5.
That wraps up Chapter 5 of the Final Fantasy VII Remake Walkthrough!

Discussion