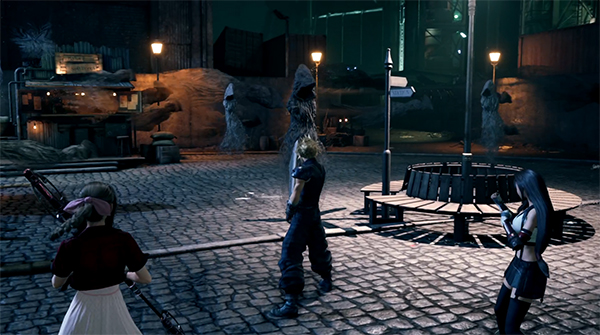
We arrive back in Sector 7 and chaos is brewing as Shinra attempt to take down the support pillar that is holding up the Midgar Plate in Final Fantasy VII Remake.
Cloud, Tifa and Aerith arrive at the Sector 7 Station, but they are stopped in their tracks by the Enigmatic Spectre.
This fight is similar to the one in Chapter Three; just focus on the Mysterious Spectre mobs; when you wipe one out it makes the Enigmatic Spectre vulnerable to attacks for a short period. You can wipe out a chunk of its HP using Cloud's Braver/Infinity End and Tifa's combo moves.
Once you stagger it, the Enigmatic Spectre is easy to take down in a couple of hits.
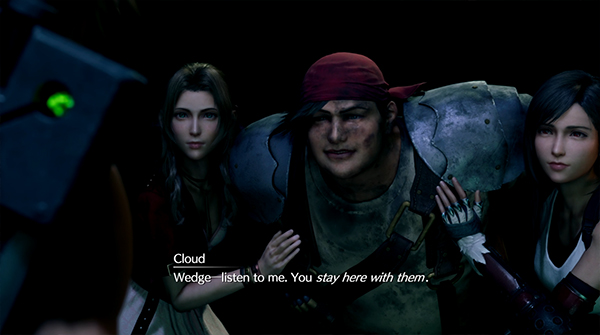
After the fight, head towards the Pillar where Wedge will come crashing down to you.
Cloud is heading up alone, and you'll start at the bottom of the Pillar (there's 13 floors to navigate through!). Before you begin, heal up at the Vending Machine and Bench.
The first two floors are pretty easy; a couple of Elite Shinra Guards and Riot Shield Guards stand in your way. Make sure to use magic on the Riot Shield Guards to take them out quickly.
On Floor 3F you can find a Treasure Chest containing 2 orbs of Gravity.

On floor 4F you'll come across an injured Biggs.
Make your way up to floor 5F where you'll come across Helitrooper mobs.
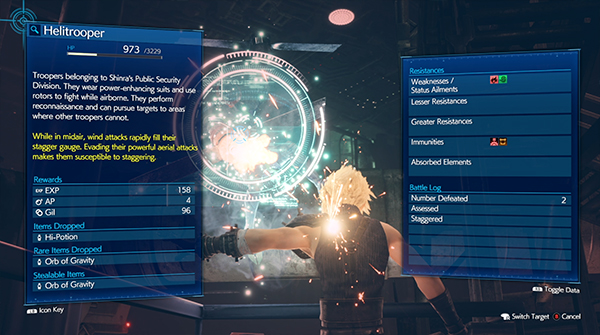
These mobs are really annoying; they fly away from Cloud's melee attacks and hit real hard with their Propeller attacks. They are weak to Fire and Wind Magic; Wind Magic will cause them to stagger a lot faster; Staggering them will cause them to fall to the ground for easy cleaning up.
You can also find a Treasure Chest on 5F containing an Ether.
Make your way up to 7F and you'll come across the Turks in a helicopter.
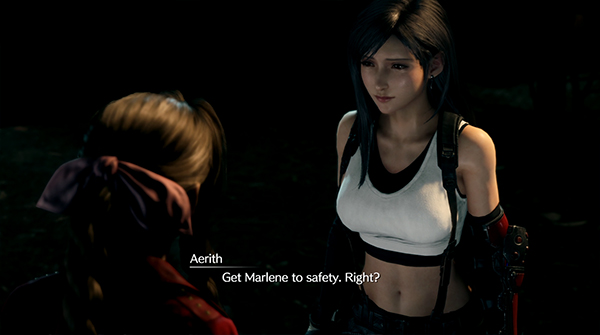
You'll return back to Tifa, Aerith and Wedge. Tifa wants to go help Cloud and asks Aerith to go save Marlene at Seventh Heaven.
Wedge will lead the way and start trying to get people to rescue.
After a brief interaction with Marle, Aerith reaches Seventh Heaven, but then a Helicopter falls from the sky and blocks the way.
You'll need to make your way around the slums to get to the bar.
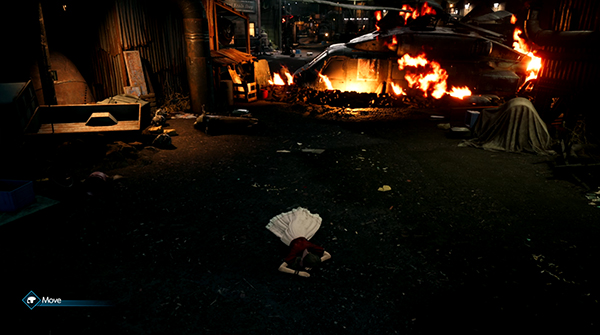
You'll end up helping one of the children to safety before getting knocked unconscious by an explosion. This starts a short cut scene where Tseng (member of The Turks) spots Aerith on the ground.
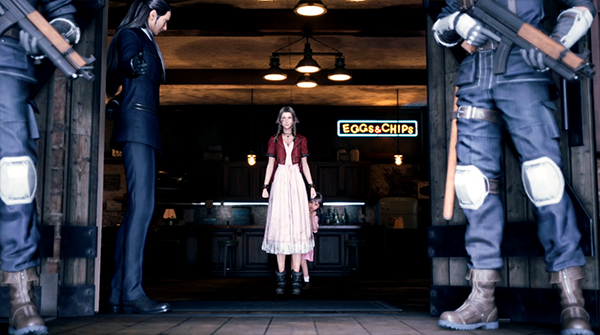
Aerith recovers and you can now head to Seventh Heaven, where you'll find Marlene hiding behind the bar.
Before you can leave however, Tseng turns up and Aerith appears to broker a deal with him.
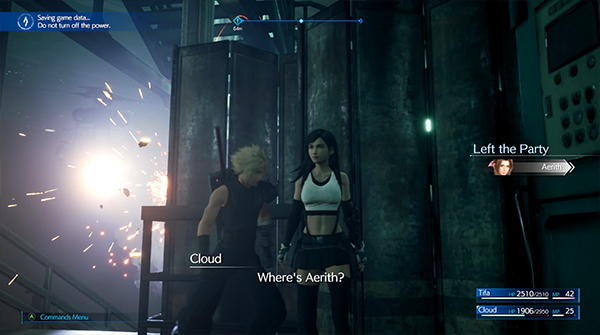
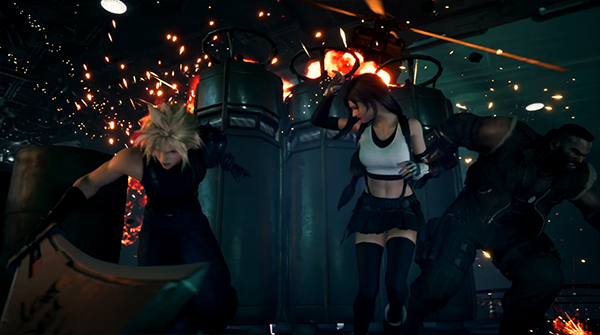
You return back to Cloud and Tifa turns up to help. The Turks will follow you in their helicopter, periodically shooting you.
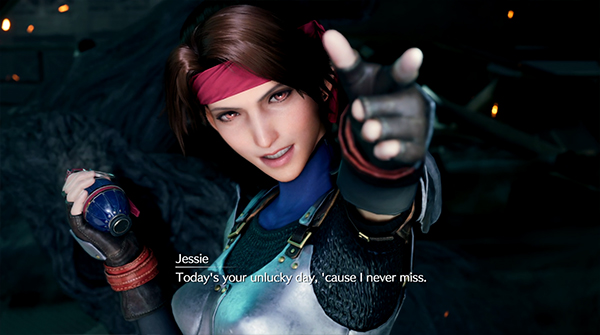
So make your way up the Pillar Tower to floor 11F; you'll have a short cut scene where Jessie launches a Grenade at a Helicopter.
Fight your way through floor 12F and open the Treasure Chest to find an Elixir.
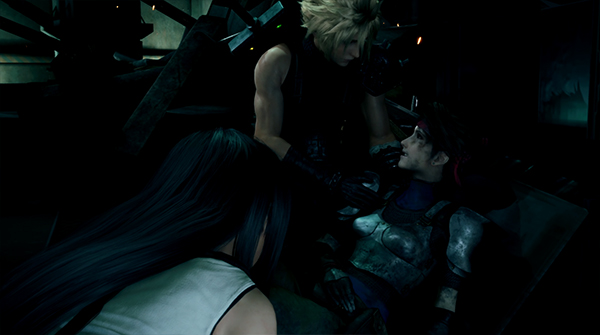
On floor 13F you'll find Jessie in a pile of rubble. After an emotional cut scene, head to floor 14F where you can rest up on a bench and purchase discounted items from a Vending Machine.
Now head to the top of the pillar where you'll be reunited with Barret...
Boss Fight - Reno and Rude
The first phase of this fight sees you fight Reno. This time it's three versus one, so you should be able to handle him.
His Flashfoot, EMP Triple Shot and rush abilities are all quite tame in the first phase. If you find Cloud getting hit too much, switch to both Tifa and Barret to keep unloading attacks.
The only ability that is concerning is his Electroblast, which will cause a giant shockwave to anyone nearby. After he uses the attack, he is slow to get up, allowing you to get in several hard-hitting hits.
You lose your main healer with Aerith gone, so make sure to keep an eye on everyone's HP and cast Cure and Cura when needed.
At <60% HP, phase two starts. Rude will drop bombs periodically and so when he is the focus of the fight have Barret unleash his ranged attacks.
Reno now has some new skills, including a Pyramid move which will freeze a player in a golden pyramid. You'll have to destroy the Pyramid to release the party member.
Once Barret shoots down the Helicopter, phase three begins. This time you'll have to face both Reno and Rude at the same time.
The fight can be a bit chaotic; it's best to focus on one of the Turks as the fight becomes a lot easier when there is only one of them.
Rude can use Flashfire and Seize attacks; during these you'll want to switch to other characters so you're not wasting valuable time when you're stunned or knocked out.
You should get access to summons towards the end of the fight and keep an eye on your Limit Breaks as they can easily end the fight a lot sooner for you.
Check out the video below for more help:
And that wraps up Chapter Twelve of Final Fantasy VII Remake! Whilst it's quite a short chapter, it's also a really pivotal part of the story.

Discussion