| #001 |
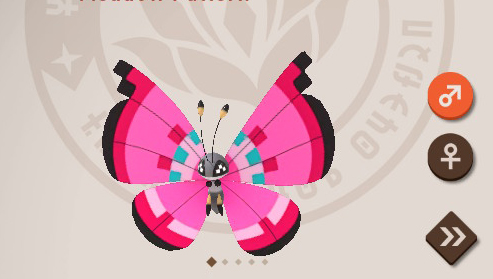
Vivillon |
Florio |
1 Star
2 Stars
3 Stars
- Reef (Evening) Pattern in Maricopia Reef
4 Stars
- Outaway Cave Jungle Pattern
|
| #002 |
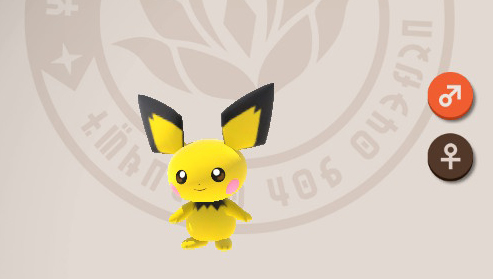
Pichu |
Florio |
1 Star
- At the beginning of Park (Day) close-up
2 Stars
3 Stars
- Throw an Illumina Orb at Pichu so that he does his shock move.
4 Stars
- End of Park (Day) Level 3 throw an Illumina Orb into the bush
|
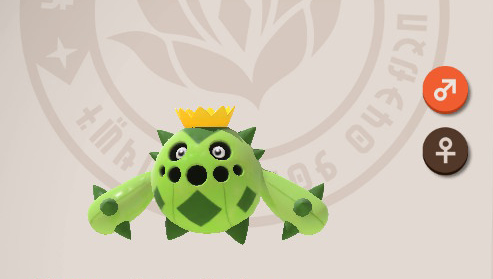
| #003 |
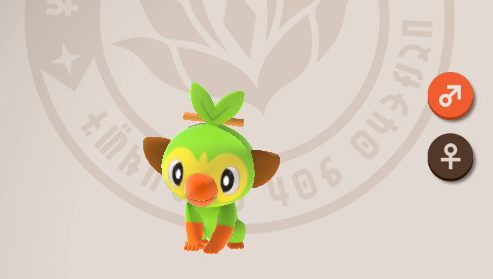
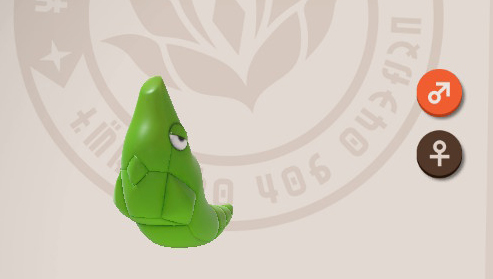
Grookey |
Florio |
1 Star
- Sleeping Grookey in Park (Night)
2 Stars
- Close-up of Grookey (On Alert) in Park (Day)
3 Stars
- Close-up of Grookey at the beginning of Park (Day) Level 3 when he's playing his drum
4 Stars
- Grookey performing a one-handstand in Park (Day) Level 3 at end of the level.
|
| #004 |
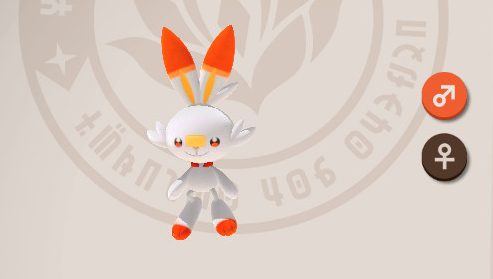
Scorbunny |
Florio |
1 Star
- Scorbunny running on fire
2 Stars
- Illumina Orb on Scorbunny
3 Stars
- In Sweltering Sands when Skorpus dives into the ground
4 Stars
- Towards the end of Park (Day), throw an Illumina Orb at Pichu in the field of flowers. Pichu, followed by Grookey and Scorbunny will follow it to the Crystalbloom.
- Throw another Illumina Orb at the Crystalbloom and Scorbunny will fall over laughing. Snap away! This will also complete the LenTalk Request Three Friends among Flowers
|
| #005 |
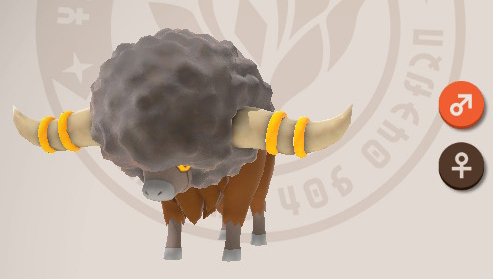
Bouffalant |
Florio |
1 Star
2 Stars
- Illumina Orb on Bouffalant
3 Stars
- Sleeping Bouffalant at end of Park (day) with flowers on his head.
4 Stars
- Two Bouffalant fighting each other in Park (Day) Level 3.
|
| #006 |
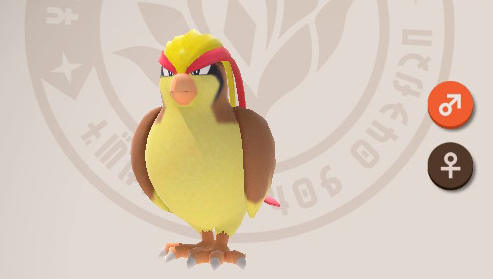
Pidgeot |
Florio |
1 Star
- Close-up of Pidgeot in air
2 Stars
- Close-up of Pidgeot in Park (night) on alert
3 Stars
- Throw an Illumina Orb at Pidgeot and capture it reacting
4 Stars
- Feed Pidgeot Fluffruit through the Park (night). At the end, Pidgeot will pose for you with a happy face for the 4 star.
|
| #007 |
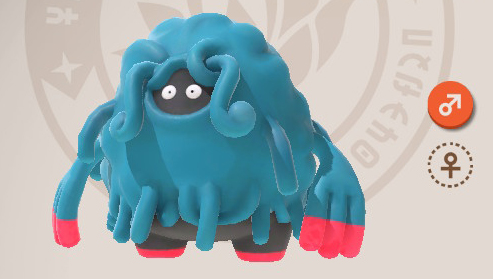
Tangrowth |
Florio |
1 Star
2 Stars
- Throw a Fluffruit at Tangrowth and capture him annoyed
3 Stars
- Capture Tangrowth in Park (Day) Level 3 throwing his arms up.
4 Stars
- Capture Tangrowth in mid-air Park (night) Level 3 as it jumps across the map at the middle stage. You will need to throw an Illumina Orb at it to wake it up.
|
| #008 |

Emolga |
Florio |
1 Star
- Capture close-up of Emolga in-flight
2 Stars
- Capturing close-up of Emolga being hit by a Fluffruit
3 Stars
- Capture Emolga eating a Fluffruit being happy in Park (Day) Level 3. Throw a Fluffruit next to the ones at the base of a tree (burned) and Emolga will jump down to them.
4 Stars
- In Park (day) Level 3, throw an Illumina Orb at a Crystalbloom near the Heracross on the tree. Emolga will fly down onto a cliff-top nearby.
|
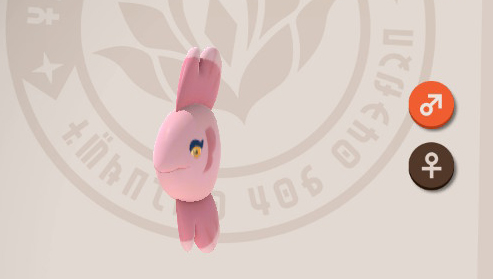
| #009 |
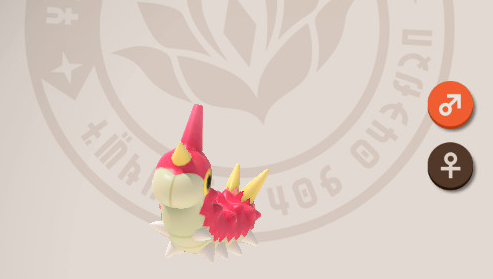
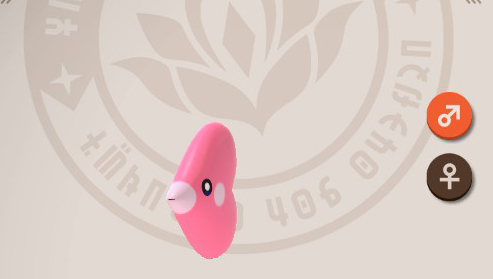
Wurmple |
Florio |
1 Star
- Close up of Wurmple on a tree branch
2 Stars
- Capture it being on-alert (camera flash)
3 Stars
4 Stars
- As you come to the tree with the sleeping Hoothoot, snap some Taillow flying in mid-air. They will then fly towards Wurmple just around the corner. Throw an Illumina Orb at Wurmple and it will use a Poison Attack for the 4 star.
|
| #010 |
Murkrow |
Florio |
1 Star
- Capture close-up of Murkrow in flight
2 Stars
- Capture Murkrow in Park (night) before they take off (noteworthy behaviour)
3 Stars
- Capture the two Murkrow in Park (Night) next to the Torterra; one will open its mouth and capture the shot.
4 Stars
- Feed a Fluffruit to Murkrow and capture it being happy.
|
| #011 |
Caterpie |
Florio |
1 Star
- Park (Day) - Capture Caterpie on a tree standing up.
2 Stars
- Capture caterpie eating a fluffruit
3 Stars
- In Park (Night), play music at the Florio Map Sign Post towards the end of the level. 4 Caterpie will come out from behind the sign.
4 Stars
- In Park (Night), play music at the Florio Map Sign Post towards the end of the level. 4 Caterpie will come out from behind the sign. You can get 4 star diamond by capturing all 4 Caterpie that come out in a close-up.
|
| #012 |
Heracross |
Florio |
1 Star
- In Park (Day), get a picture of Heracross eating the Tasty Sap
2 Stars
- Get a picture of Heracross being hit with a Fluffruit
3 Stars
- Get a picture of Heracross falling off the tree (throw Fluffruit at him)
4 Stars
- In Park (Night) you will come to an area where Heracross is usually wrapped around a tree in Park (day). This time he is not there, but instead a mound of dirt is next to a crystalbloom. Illuminate the crystalbloom and then use your Camera scan to get the Pinsir to come out of the dirt. Keep pressing the scan until Heracross falls out of the tree. Then towards the end of the course, Heracross and Pinsir will have a battle and this is where you'll get your 4 star shot.
|
| #013 |
Pinsir |
Florio |
1 Star
- In Park (Night), get a close-up of Pincir (scan to make him come out of his dirt pile).
2 Stars
- In Park (Night), Pincir will walk towards you from around a corner. Snap a shot of him reacting to you.
3 Stars
- In Sweltering Sands (Day), get a picture of Pincir jumping out of the sand in mid-air.
4 Stars
- In Park (Night) you will come to an area where Heracross is usually wrapped around a tree in Park (day). This time he is not there, but instead a mound of dirt is next to a crystalbloom. Illuminate the crystalbloom and then use your Camera scan to get the Pinsir to come out of the dirt. Keep pressing the scan until Heracross falls out of the tree. Then towards the end of the course, Heracross and Pinsir will have a battle and this is where you'll get your 4 star shot.
|
| #014 |
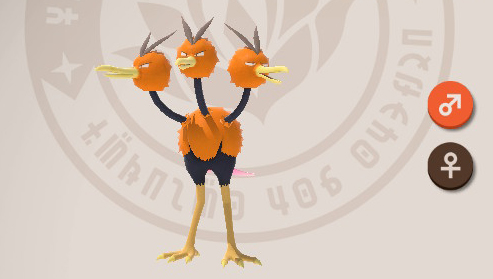
Dodrio |
Florio |
1 Star
- Get a close-up of the three-headed bird in Park (Day).
2 Stars
- Wake up Dodrio by throwing a Fluffruit at him; then capture a shot of the three birds with their beaks all open.
3 Stars
- In Park (Night), there is a Dodrio at the end of the course that does a strange dance. Snap for 3 stars!
4 Stars
- In Park (Night), Dodrio will jump high into the air in you throw an Illumina Orb at him; capture a shot for 4 stars.
|
| #015 |
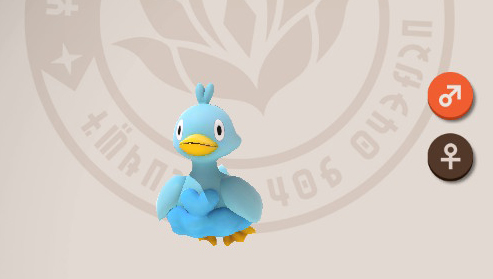
Ducklett |
Florio |
1 Star
- In Park(Night) capture a close up of Ducklett swimming down the river.
2 Stars
- In Park (Day), capture Ducklett with it's parent eating a Fluffruit.
3 Stars
- In Park (Day) feed a Fluffruit to Ducklett and capture it being happy.
4 Stars
- In Park (Day) capture the ducklett flying in mid-air. You can also get 4 star Ducklett the same way you get 4 star Swanna.
|
| #016 |
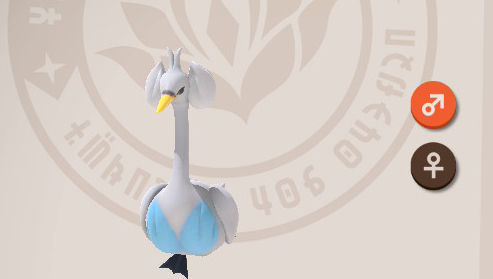
Swanna |
Florio |
1 Star
- Capture a shot of Swanna close up and centered.
2 Stars
- Capture a shot of Swanna on Alert (use scan).
3 Stars
- As the Swanna comes down the river in Park (Night), use the Camera Scan to scare it. Swanna will cry into the air, snap for the 3 star.
4 Stars
- In Park (night), you'll notice Swanna flying around in the middle section of the course (where the Torterra are). Eventually, one of the Swanna will land in the water; if you play music the Swanna will then swim really fast around the island for the 4 star. This is also completes the Lenstalk Request.
|
| #017 |
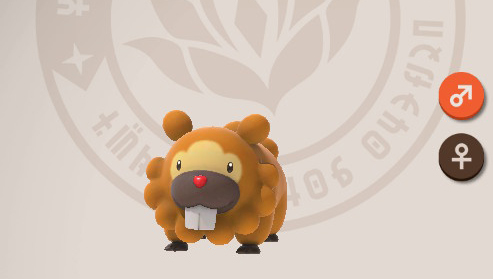
Bidoof |
Florio |
1 Star
- Capture a picture of the two Bidoof at the beginning of Park (day).
2 Stars
- Capture a Bidoof happy after eating a Fluffruit.
3 Stars
- In Park (night), capture the three Bidoof swimming in the lake with the Swanna and Ducklett.
4 Stars
- In Park (night), throw an Illumina Orb at the sleeping Bidoof on his dam. He will then spring up out of the top of it for the 4 star shot.
|
| #018 |
Taillow |
Florio |
1 Star
- In Park (Day), get a close-up of the Taillow on the Florio Park Map Sign.
2 Stars
- Throw a Fluffruit at Taillow on the Florio Park Map Sign and get a shot of you hitting it.
3 Stars
- Play music for the Taillow on the Florio Park Map Sign.
4 Stars
- In Park (Day), Taillow will by flying around the middle part of the course (where the Ducklett and Swanna are). Just before you go around the corner, Taillow will fly out. If you scan them in mid-air, Taillow will change direction. As you go around the corner, a Caterpie will by being attacked. Throw an Illumina Orb at the Caterpie and he will spray the Taillow with Poison. This is your 4 star shot.
|
| #019 |

Torterra |
Florio |
1 Star
- Get a close up of the Torterra with a Scorbunny on it.
2 Stars
- Throw a Fluffruit at Torterra and capture it being hurt.
3 Stars
- Throw an Illumina Orb at the Torterra with a Scorbunny on it for 3 star.
4 Stars
- Throw two Fluffruit at Torterra and capture a picture of it roaring.
|
| #020 |
Magikarp |
Florio |
1 Star
- Get a close-up of Magikarp in Lental Seafloof.
2 Stars
- Get a picture of Magikarp eating a Fluffruit in Founja Jungle (day).
3 Stars
- Throw an Illumina Orb at Magikarp in Park (Night) that's sleeping on land when you take the route pass the Bidoof Dam.
4 Stars
- In Lental Seafloor, at the end of the course a Frillish has caught a Magikarp in it's hand. Capture a close-up of the two for the 4 star.
|
| #021 |
Hoothoot |
Florio |
1 Star
- In Park (night), you'll see Hoothoot on the Florio Park Map sign near the end of the course. Snap it close-up.
2 Stars
- In Park (night), you'll see Hoothoot on the Florio Park Map sign near the end of the course. Use your Camera scan to put it on alert and snap it.
3 Stars
- In Park (night), you'll see Hoothoot on the Florio Park Map sign near the end of the course. Throw a Fluffruit at it and snap it. This also completes the LenTalk Request Hoothoot's Hidden Foot
4 Stars
- In Park (night), you'll see a Hoothoot on a tree branch just after you come past the Bidoof Dam. Play music to the Hoothoot and two more Hoothoot will fly around the tree; snap them for the 4 star.
|
| #022 |
Comfey |
Florio |
1 Star
- In Park (day), get a close-up of Comfey and centered in-flight.
2 Stars
- In Park (day), get a close-up of Comfey spinning in mid-air.
3 Stars
- In Park (day), get a close-up of Comfey being happy in mid-air. This pose happens randomly so keep focusing on Comfey.
4 Stars
- In Park (day), as you come to the flower fields at the end of the course, Illuminate the Crystalbloom so that Comfey swarm to them.
- Throw Fluffruit on the ground and snap Comfey eating them. This also completes the LenTalk Request Don't Be Scared!
|
| #023 |
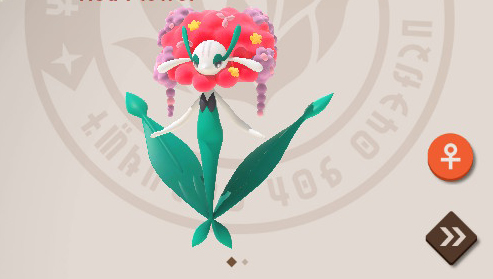
Florges |
Florio |
1 Star
- In Park (day), get a close-up of Florges.
2 Stars
- Scan Florges to get a shot of it on alert.
3 Stars
- Throw a Fluffruit at Florges and wait until Florges turns to you and waves.
4 Stars
- Throw an Illumina Orb at Florges and Florges will summon it's pink whirlwind attack.
|
| #024 |
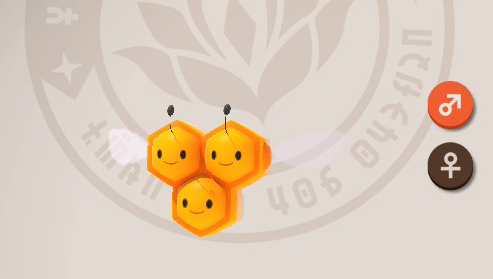
Combee |
Florio |
1 Star
- In Park (night), at the end of the course get a close-up shot of Combee.
2 Stars
- In park (night), scan Combee with your camera to get it on alert and snap.
3 Stars
- In Park (night), throw an Illumina Orb at the Crystalbloom in the flower field.
- Combee will swam to it; snap Combee Illuminated and looking happy.
4 Stars
- In Park (night), summon Vespiqueen by throwing an Illumina Orb at the Crystalbloom nearest to you in the flower fields on your right.
- Then throw a Illumina Orb at Vespiqueen and snap the Combee dancing with Vespiqueen.
|
| #025 |
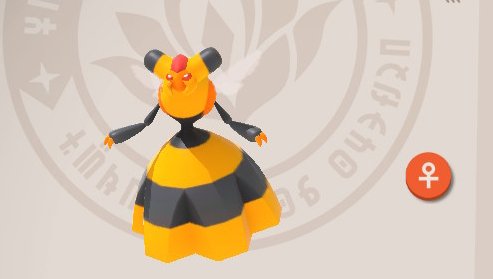
Vespiquen |
Florio |
1 Star
- In Park (night), summon Vespiqueen by throwing an Illumina Orb at the Crystalbloom nearest to you in the flower fields on your right.
- Snap a close-up of Vespiqueen.
2 Stars
- In Park (night), summon Vespiqueen by throwing an Illumina Orb at the Crystalbloom nearest to you in the flower fields on your right.
- Snap a close-up of Vespiqueen as she does the pose where she's moving her arm to the left.
3 Stars
- In Park (night) Research Level 1, summon Vespiqueen by throwing an Illumina Orb at the Crystalbloom nearest to you in the flower fields on your right.
- Vespiqueen will stop just in front of you.
- Snap away and try to get a picture of gesticulating to Combee.
4 Stars
- In Park (night), summon Vespiqueen by throwing an Illumina Orb at the Crystalbloom nearest to you in the flower fields on your right.
- Throw an Illumina Orb at Vespiqueen so it spins in mid-air. Snap away.
|
| #026 |
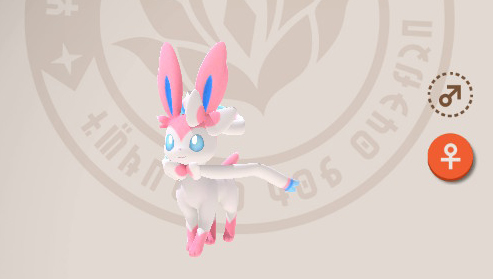
Sylveon |
Florio |
1 Star
- In Park (night), you can find Sylveon sleeping behind the Torterra.
- Snap a shot of it sleeping for 1 star.
2 Stars
- In Park (night), you can find Sylveon sleeping behind the Torterra.
- Throw an Illumina Orb and snap just as it wakes up.
3 Stars
- In Illumina Spot (Florio), you can find a Sylveon on the right hand side of the map asleep at the beginning of the course.
- Throw an Illumina Orb to wake it up and snap Sylveon as it jumps down from the hill-top.
4 Stars
|
| #027 |
Shaymin |
Florio |
See the Shaymin Guide for all star rankings. |
| #028 |
Meganium |
Florio |
1 Star
- In Illumina Spot, get a close-up of Meganium walking slowly whilst Illuminating.
2 Stars
- Snap Meganium sniffing a Crystalbloom.
3 Stars
- Snap Shaymin jumping on Meganium's head. See the Shaymin guide for how to get Shaymin to appear.
4 Stars
- In Illumina Spot, as Meganium approaches the Crystalbloom by the tree, throw an Illumina Orb at the Crystalbloom.
- Throw at least two Illumina Orbs at Meganium so that Meganium then does a happy pose and glows.
|
| #029 |
Eevee |
Florio |
1 Star
- In Research Camp, get a shot of Eevee asleep in the Lab.
2 Stars
- In Research Camp, get a shot of Eevee being hit by a Fluffruit.
3 Stars
- In Research Camp, get a shot of Eevee being hit by Trubbish's poison gas attack (throw a Fluffruit at Trubbish to get him to release his gas) on the table.
4 Stars
|
| #030 |
Pikachu |
Florio |
1 Star
- Get a close-up of Pikachu
2 Stars
- Get a picture of Pikachu eating a Fluffruit
3 Stars
- In Blushing Beach (day), at the end of the course you'll see a Pikachu sleeping on the beach.
- Throw Fluffruit to lure him towards a spade in the sand.
- Pikachu will put his hand out to take the spade (snap away).
4 Stars
- In Blushing Beach (Night), there are two Pikachu on the beach together right at the beginning of the course. Snap a picture of them together.
|
| #031 |
Cutiefly |
Research Camp |
1 Star
- In Research Camp, take a close-up of Cutiefly with an Illumina Orb
2 Stars
- Snap Cutiefly eating a Fluffruit
3 Stars
- In Research Camp, start the course from the opposite end of the lab and work your way towards the lab.
- In front of the lab is a Cutiefly. Feed it a Fluffruit.
- As you make your way towards Audino, Cutiefly will follow.
- Snap a picture of Cutiefly spinning in the air
4 Stars
- In Research Camp, as you come to towards opposite end of the lab, you'll find a Cutiefly in the grass. Throw an Illumina Orb at it so it comes towards you.
- Play music and snap a picture of it dancing from side to side.
|
| #032 |
Bunnelby |
Research Camp |
1 Star
- In Research Camp, capture a close-up of Bunnelby.
2 Stars
- Feed Bunnelby a fluffruit and take a picture of it happy.
3 Stars
- Throw a Fluffruit at Bunnelby in Research Camp when it is in one of three holes.
4 Stars
- When you find Bunnelby in the three holes, first throw an Illumina Orb at it. Then throw a Fluffruit at Bunnelby and snap as it does a big leap out.
|
| #033 |
Stoutland |
Research Camp |
1 Star
- Snap a close-up of Stoutland.
2 Stars
- Feed Stoutland a Fluffruit and snap it being happy.
3 Stars
- Start Research Camp and feed Stoutland a Fluffruit. He will then charge into the middle of the camp, snap away.
4 Stars
|
| #034 |
Starly |
Research Camp |
1 Star
- Get a close-up of Starly sitting on the log filled with water.
2 Stars
- Feed Starly a Fluffruit and snap it being happy.
3 Stars
- Snap Starly drinking from the log filled with the water.
4 Stars
|
| #035 |
Meowth |
Research Camp |
1 Star
2 Stars
- Snap Meowth eating a Fluffruit
3 Stars
4 Stars
- In Research Camp, wake Meowth up by throwing a Fluffruit at him
- Next, lure Meowth under the decking near the lab with Fluffruit.
- Meowth will chase out a Rattata.
- Next lure Meowth towards the Sudowoodo at the end of the camp.
- Meowth will then use Fury Swipes on Sudowoodo- snap away!
|
| #036 |
Audino |
Research Camp |
1 Star
- Get a close-up of Audino for 1 star.
2 Stars
- Feed a Fluffruit to Audino and capture it being happy.
3 Stars
- Capture Audino shaking her tail.
4 Stars
- In Research Camp, start the course from the opposite end of the lab and work your way towards the lab.
- In front of the lab is a Cutiefly. Feed it a Fluffruit.
- As you make your way towards Audino, Cutiefly will follow.
- Audino will do a little dance; throw an Illumina orb for 4 star.
|
| #037 |
Rattata |
Research Camp |
1 Star
- Capture a close-up of Ratatta
2 Stars
- Throw a Fluffruit at Ratatta
3 Stars
- In Research Camp, start the course from the opposite end of the lab.
- Throw an Illumina Orb at the campfire and snap Rattata
4 Stars
|
| #038 |
Trubbish |
Research Camp |
1 Star
- Capture a close-up of Trubbish rubbing his eyes.
2 Stars
- Capture a shot of Trubbish being hit with a Fluffruit
3 Stars
- Throw a Fluffruit at Trubbish on the table (with Eevee) and he will propel poison gas.
4 Stars
|
| #039 |
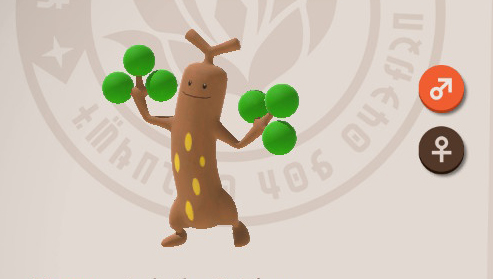
Sudowoodo |
Research Camp |
1 Star
- Get a close-up of Sudowoodo and throw an Illumina Orb at him
2 Stars
- Throw a Fluffruit at Sudowoodo and snap him being annoyed
3 Stars
4 Stars
|
| #040 |
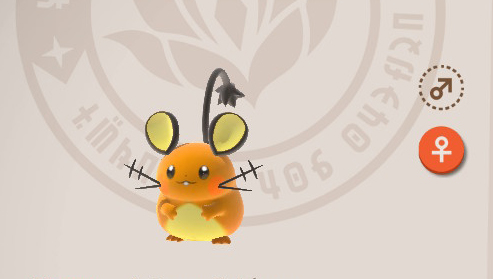
Dedenne |
Research Camp |
1 Star
- Snap a close-up of Dedenne with an Illumina Orb
2 Stars
- Capture a close-up of Dedenne being hit with a Fluffruit
3 Stars
- Hit Dedenne with a Fluffruit off the NEO-ONE in Research Camp and snap it on the ground.
4 Stars
|
| #041 |
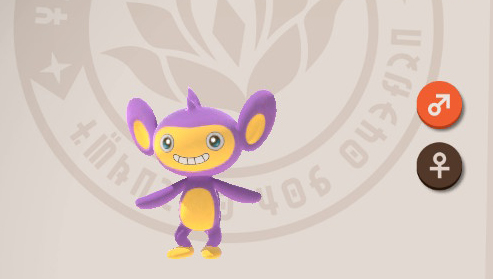
Aipom |
Founja Jungle |
1 Star
- In Founja Jungle, Aipom will pose for you by sitting on his tail after you pass the swamp area.
2 Stars
- In Founja Jungle, snap a close-up of the first Aipom that meets you.
3 Stars
- Throw Illumina Orb at Aipom as they run across the fallen tree log in Founja Jungle (day)
4 Stars
|
| #042 |
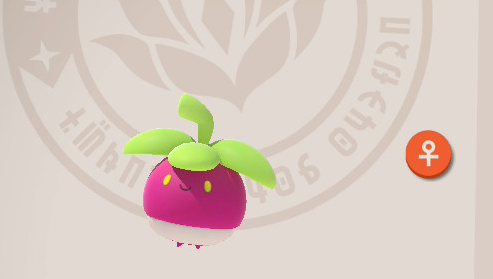
Bounsweet |
Founja Jungle |
1 Star
- Snap a close-up of Bounsweet sleeping
2 Stars
- Throw a Fluffruit at Bounsweet and snap it being hurt
3 Stars
- Play music for Bounsweet and snap them dancing.
4 Stars
|
| #043 |
Metapod |
Founja Jungle |
1 Star
- Snap a close-up of Metapod in Founja Jungle (Day)
2 Stars
- Snap a close-up of you hitting Metapod with a Fluffruit
3 Stars
- As you pass the fallen logs in Founja Jungle (going across the river) you'll find sleeping Metapod. Throw Illumina Orbs at them so they descend and snap away.
4 Stars
- As you come to the waterfall route in Founja Jungle (day), turn around and you'll find three Metapod on the floor. Play music and they will use their harden ability.
|
| #044 |
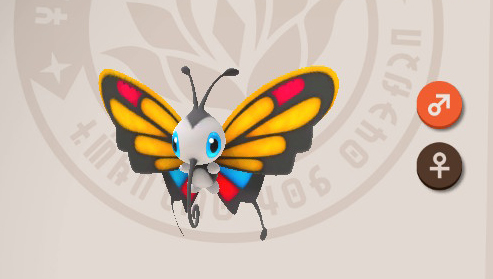
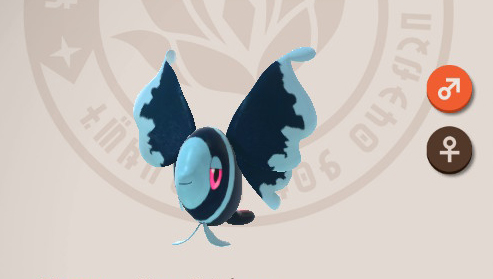
Beautifly |
Founja Jungle |
1 Star
- Snap a close-up of Beauitfly
2 Stars
- Throw a Fluffruit at Beautifly and snap it being hurt.
3 Stars
- Throw a Fluffruit at Beautifly and snap it doing a pose after being hit.
4 Stars
|
| #045 |
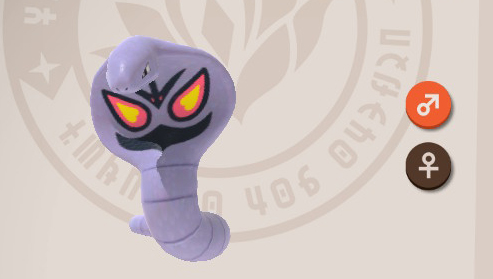
Arbok |
Founja Jungle |
1 Star
- Snap a close-up of Arbok as it runs away in Founja Jungle (day)
2 Stars
- Snap Arbok after it's eaten a Fluffruit and is happy.
3 Stars
- Snap a picture of Arbok staring down Venasaur in the LenTalk Research Staredown Venusaur
4 Stars
|
| #046 |
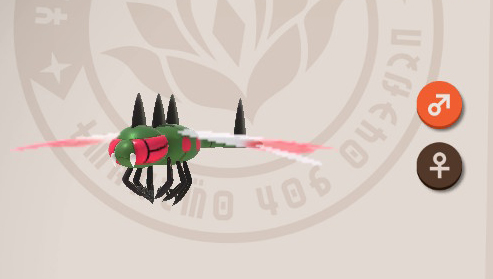
Yanmega |
Founja Jungle |
1 Star
- Snap a close-up of Yanmega in Founja Jungle (day)
2 Stars
- Throw a Fluffruit at Yanmega and snap it being hurt
3 Stars
- In Founja Jungle (night), snap a picture of the Yanmega sleeping on a branch at the beginning of the course.
4 Stars
|
| #047 |
Pikipek |
Founja Jungle |
1 Star
- Snap a close-up of Pikipek in Founja Jungle (night)
2 Stars
- Snap a picture of Pikipek in flight.
3 Stars
- Snap a picture of the two Pikipek in Founja Jungle (night) asleep next to the Liepard (near the waterfall route).
4 Stars
|
| #048 |
Toucannon |
Founja Jungle |
1 Star
- Snap a close-up of Toucannon in Founja Jungle (day)
2 Stars
- Throw a Fluffruit at Toucannon and snap it looking hurt.
3 Stars
- Snap Toucannon as the Pikipek come up to his nest in Founja Jungle (day)
4 Stars
|
| #049 |
Aridos |
Founja Jungle |
1 Star
- Snap a picture of Aridos asleep on his web in Founja Jungle (night)
2 Stars
- Throw an Illumina Orb at Aridos (awake) and snap him.
3 Stars
- In Founja Jungle, as you come to the swamp alternative route, play music which will cause Aridos to come down from a string of web. Snap away.
4 Stars
|
| #050 |
Morelull |
Founja Jungle |
1 Star
- Snap a close-up of Morelull
2 Stars
- Play music and snap the Morelull being happy
3 Stars
- Snap the two sleeping Morelull in Founja Jungle (night).
4 Stars
- Snap the four sleeping Morelull in Founja Jungle (night).
|
| #051 |
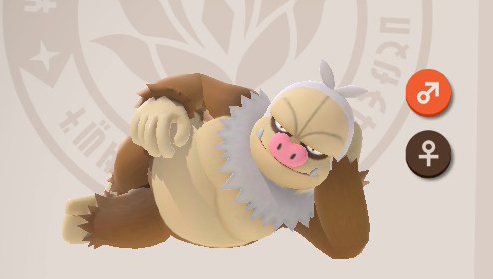
Slaking |
Founja Jungle |
1 Star
- In Founja Jungle (night), take the alternative path through the tall grass and you'll see Slaking. Throw an Illumina Orb at it's back and snap away for 1 star.
2 Stars
- In Founja Jungle (night), take the alternative path through the tall grass and you'll see Slaking. Press Scan so that it pauses for consideration and snap away.
3 Stars
- In Founja Jungle (day), there is a Slaking to your left near the beginning. Play music from your camera and Slaking will turn over. Snap away!
4 Stars
|
| #052 |
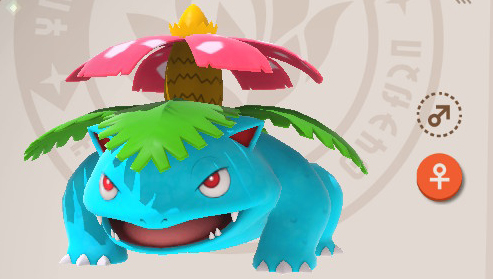
Venasaur |
Founja Jungle |
1 Star
- Snap a close-up of Venasaur asleep in Founja Jungle (day).
2 Stars
- Throw a Fluffruit at Venasaur and snap it roaring.
3 Stars
- Snap a picture of Venasaur running away during the LenTalk Request Staredown Venusaur
4 Stars
- Complete the LenTalk Request Staredown Venusaur.
- Venasaur will then appear at the end of the course on a rock in the lake. Wake him up by playing music and the Sobble will water him with water spouts.
- Next throw an Illumina Orb at the Crystalbloom next to the Sobble; they will fire a jet of water at Venasaur, causing him to roar. Snap away before he jumps into the lake.
|
| #053 |
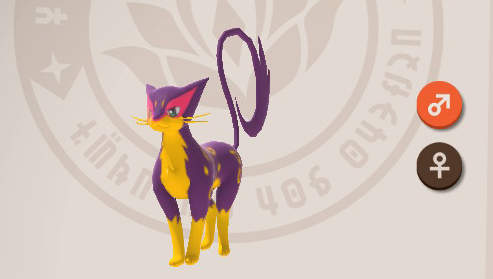
Liepard |
Founja Jungle |
1 Star
- In Founja Jungle (night), throw an Illumina Orb at Liepard sitting on the rock just before the waterfall route.
2 Stars
- Snap a close-up of Liepard on alert as you approach them in Founja Jungle (day)
3 Stars
4 Stars
|
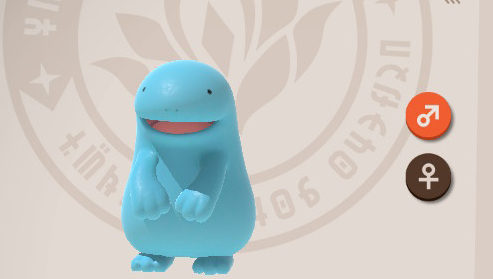
| #054 |

Wooper |
Founja Jungle |
1 Star
- Snap a close-up of Wooper before it jumps into the water in Founja Jungle (day)
2 Stars
- In Founja Jungle (night), there is a Wooper in the grass to your right near the beginning (just before the tall-grass route). Throw an Illumina Orb at it and it will pop-out, looking alarmed. Snap away.
3 Stars
- In Founja Jungle (night), there is a Wooper in the grass to your right near the beginning (just before the tall-grass route). Throw an Illumina Orb at it and it will pop-out, looking alarmed. Wait for it to close its eyes and snap away.
4 Stars
|
| #055 |
Quagsire |
Founja Jungle |
1 Star
- Snap a close-up of Quagsire in Founja Jungle (day)
2 Stars
- Throw a Fluffruit at Quagsire and snap it looking hurt
3 Stars
- In Founja Jungle (night), snap a picture of the sleeping Quagsire.
4 Stars
- Snap a picture of the Quagsire jumping into the lake in Founja Jungle (day) at the end of the course.
|
| #056 |
Swampert |
Founja Jungle |
1 Star
- Snap a picture of the Swampert asleep in Founja Jungle (night) behind the waterfall
2 Stars
- Snap a picture of Swampert being hit by a Fluffruit and looking hurt.
3 Stars
- Snap Swampert digging into the Swamp in Founja Jungle (night). Check out the LenTalk Request Why So Still for how to activate it. Once Swampert comes out of the Swamp, do not throw an Illumina Orb at it so that it dives back into the mud.
4 Stars
|
| #057 |
Ledian |
Founja Jungle |
1 Star
- Snap a close-up of Ledian in-flight in Founja Jungle (night)
2 Stars
- Snap a Ledian clinging to a tree in Founja Jungle (night).
3 Stars
- Snap a Ledian eating a Fluffruit whilst flying (see LenTalk Request An Unusual Spot)
4 Stars
- Snap a Ledian eating a Fluffruit whilst on the ground (see LenTalk Request An Unusual Spot)
|
| #058 |
Sobble |
Founja Jungle |
1 Star
- Snap Sobble with Leafeon behind the waterfall in Founja Jungle (day)
2 Stars
- Throw a Fluffruit at Sobble and snap it being hurt
3 Stars
- Snap Sobble eating a Fluffruit
4 Stars
- Go behind the waterfall in Founja Jungle (day) and throw an Illumina Orb at Leafeon and Sobble.
|
| #059 |
Leafeon |
Founja Jungle |
1 Star
- Snap a close-up of Leafeon in Founja Jungle (night)
2 Stars
- Snap Leafeon eating a Fluffruit in Founja Jungle (night); you can do this behind the waterfall.
3 Stars
- Snap Leafeon sleeping next to Sobble in Founja Jungle (night) behind the waterfall.
4 Stars
- At the end of Founja Jungle (night), Leafeon will settle down to a Crystalbloom. Illuminate the Crystalbloom and Leafeon will sit down next to it.
- Wait until you're almost around the corner and play some music; Bounsweet will come out and play with Leafeon. Snap away!
|
| #060 |
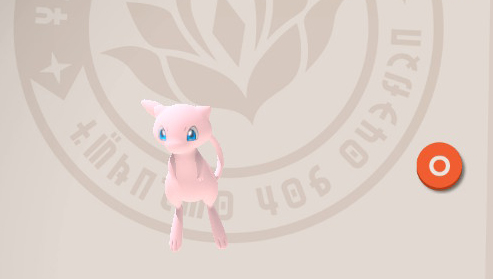
Mew |
Founja Jungle |
See the How To Find Mew Guide |
| #061 |
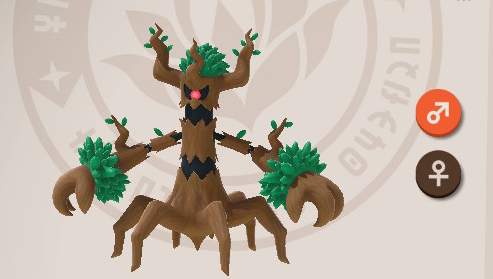
Trevenant |
Elsewhere Forest |
1 Star
- Snap a close-up and centered picture of Trevenant
2 Stars
- Play music for Trevenant at the beginning of Elsewhere Forest and snap him looking happy (arms in the air)
3 Stars
- Snap Trevenant eating a Fluffruit
4 Stars
- Complete LenTalk Request Sylvan Sentinel's Secret Side
|
| #062 |
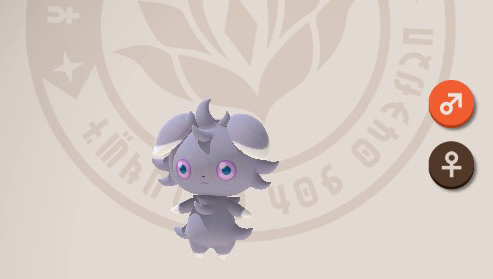
Espurr |
Elsewhere Forest |
1 Star
- Snap a close-up of Espurr; throw an Illumina Orb at it for Diamond.
2 Stars
- Snap a picture of Espurr happy after eating a Fluffruit
3 Stars
- In Elsewhere Forest, snap the three Espurr looking at the glowing rock near the alternative route at the beginning.
4 Stars
- In Elsewhere Forest, when you come to the 3rd area with the Crystalblooms on your right, Illuminate the first three so that Deerling follows you.
- On the third one, also Illuminate the one in front of it, so that an Espurr comes down.
- The Deerling and Espurr will play together; snap away
|
| #063 |
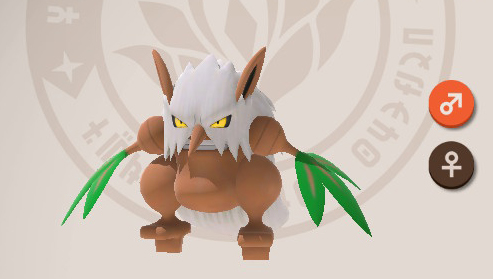
Shiftry |
Elsewhere Forest |
1 Star
- Snap a close-up of Shiftry in Elsewhere Forest
2 Stars
- Snap the two Shiftry at the beginning of Elsewhere Forest when they are talking to each other.
3 Stars
- In the third area of Elsewhere Forest, you'll see a sleeping Shiftry. Wake up the Shiftry and snap it running away.
4 Stars
- Complete the Lentalk Request Gust with Gusto!
|
| #064 |
Kecleon |
Elsewhere Forest |
1 Star
- Snap a close-up of Kecleon; you will need to throw an Illumina Orb at Kecleon to get him to show up.
2 Stars
- Throw a Fluffruit at Kecleon and snap him being hurt.
3 Stars
- Snap the upside down Kecleon in Spring Season (see Lentalk Request Upside-Down Hide-and-Seek)
4 Stars
- In Elsewhere Forest, you can find three Kecleon on your right at the beginning of the course. Throw an Illumina Orb to reveal all of them and snap away.
|
| #065 |
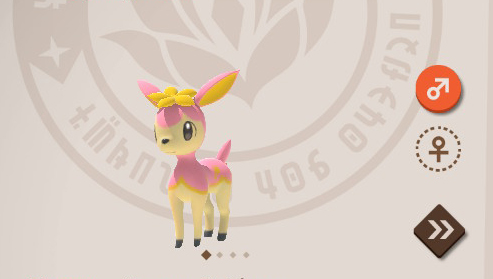
Deerling |
Elsewhere Forest |
1 Star
- Snap a close-up of Deerling
2 Stars
- Snap Deerling eating a Fluffruit
3 Stars
- Complete LenTalk Request Little Lost Deerling; snap only when its with Espeon.
4 Stars
- Complete LenTalk Request Little Lost Deerling
|
| #066 |
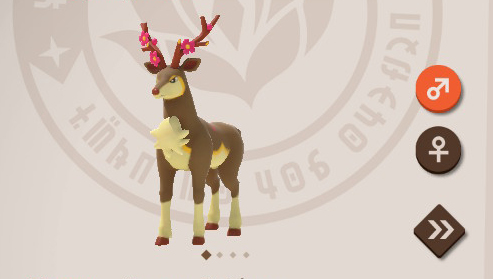
Sawsbuck |
Elsewhere Forest |
1 Star
- Snap a close-up of Sawsbuck
2 Stars
- Snap Sawsbuck with an Illumina Orb, looking around at you.
3 Stars
- Snap Sawsbuck scratching itself in Summer Season.
4 Stars
- Snap a close-up of Sawsbuck when you activated Little Lost Deerling
|
| #067 |
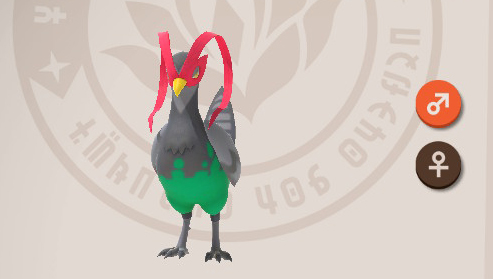
Unfezant |
Elsewhere Forest |
1 Star
- Snap a close-up of Unfezant
2 Stars
- Snap a close-up of Unfezant when it's laying on it's nest in Summer Season.
3 Stars
- Feed a Fluffruit to Unfezant and snap it being happy.
4 Stars
- Complete the LenTalk Request Egg Patrol
|
| #068 |
Drampa |
Elsewhere Forest |
1 Star
- Snap a close-up of Drampa in-flight
2 Stars
3 Stars
- Snap a sleeping Drampa in the final area of Elsewhere Forest.
4 Stars
- Complete the LenTalk Request Angry Drampa
|
| #069 |
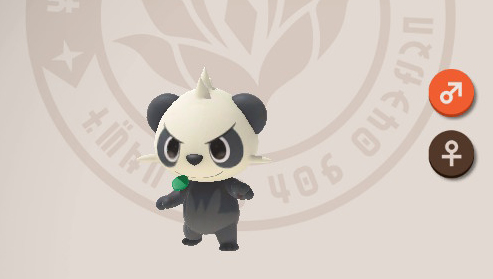
Pancham |
Elsewhere Forest |
1 Star
- Snap a close-up of Pancham
2 Stars
- Snap a close-up of Pancham reacting angrilly to you.
3 Stars
- Snap Pancham in Summer Season hitting the bamboo tree (throw an Illumina Orb at Pancham to hit the tree).
4 Stars
- Snap PanCham riding the Drampa in LenTalk Request Angry Drampa
|
| #070 |
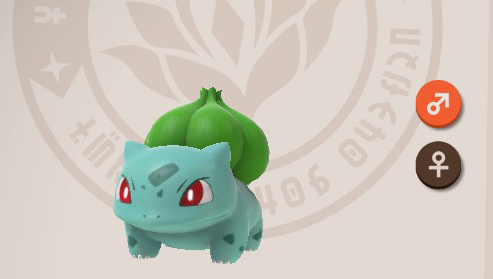
Bulbasaur |
Elsewhere Forest |
1 Star
- Snap a close-up of Bulbasaur
2 Stars
- Snap a close-up of Bulbasaur being on alert.
3 Stars
- Complete the LenTalk Request Weird Crossing
4 Stars
- Snap Bulbasaur riding the Drampa in LenTalk Request Angry Drampa
|
| #071 |
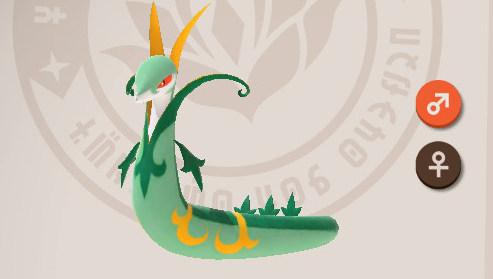
Serperior |
Elsewhere Forest |
1 Star
- Travel to Autumn Season and snap Serperior on the left side of the river
2 Stars
- Travel to Autumn Season and snap Serperior looking on Alert.
3 Stars
- Travel to Autumn Season and when you see Serperior, play music. This will cause it to slither further upstream; hit it with Illumina Orbs until it performs it's spin attack. Afterwards, snap Serperior being happy.
4 Stars
|
| #072 |
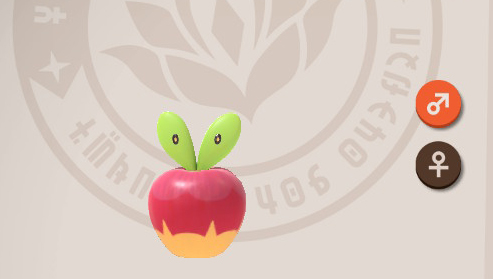
Applin |
Elsewhere Forest |
1 Star
- Snap Applin eating a Fluffruit.
2 Stars
3 Stars
- Snap Applin rolling away from Deerling in the Autumn Season.
4 Stars
|
| #073 |
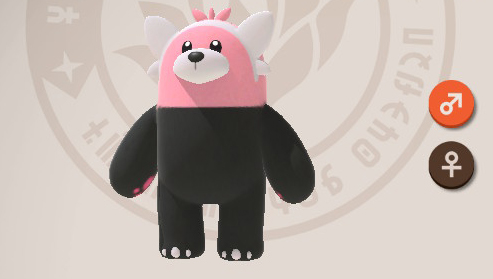
Bewear |
Elsewhere Forest |
1 Star
- Snap a close-up of Bewear
2 Stars
- Throw a Fluffruit at Bewear and snap it being hit.
3 Stars
- Head to Winter Season and snap Bewear with it's arms up at you.
4 Stars
- Head to the last stage of Elsewhere Forest and snap the Bewear about to run after you.
|
| #074 |
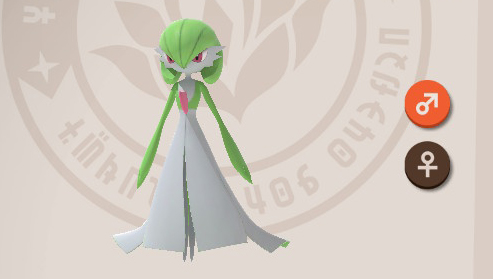
Gardevoir |
Elsewhere Forest |
1 Star
- Snap a close-up of Gardevoir.
2 Stars
- Snap a picture of Gardevoir being hit with a Fluffruit.
3 Stars
- Snap Gardevoir teleporting a Fluffruit up to eat.
4 Stars
|
| #075 |
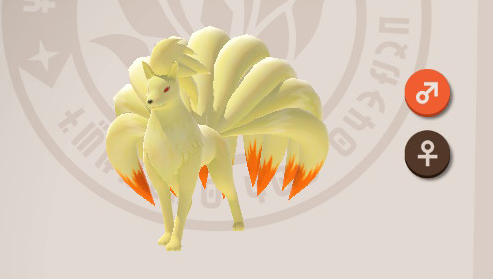
Ninetales |
Elsewhere Forest |
1 Star
- Snap a close-up of Ninetails
2 Stars
- Snap a close-up of Ninetails as it appears on the mountain cliffside in Winter Season
3 Stars
- Snap Ninetails with all it's tails standing up in Winter Season
4 Stars
|
| #076 |
Lotad |
Elsewhere Forest |
1 Star
2 Stars
- Snap a picture of Lotad being hit with a Fluffruit
3 Stars
- Snap a picture of Lotad with Bulbasaur riding it (see Lentalk Request Weird Crossing)
4 Stars
|
| #077 |
Espeon |
Elsewhere Forest |
1 Star
- Snap a picture of Espeon stretching.
2 Stars
- Snap a picture of Espeon Illuminated next to the Crystalbloom in the 3rd area of Elsewhere Forest.
3 Stars
- Snap a picture of Espeon eating a Fluffruit
4 Stars
- At the beginning of Elsewhere Forest, take the alternative path to your right. Espeon will run past you and wait in front of you; throw an Illumina Orb at it and snap it being happy.
|
| #078 |
Celebi |
Elsewhere Forest |
See How To Find Celebi guide |
| #079 |
Milotic |
Elsewhere Forest |
1 Star
- Snap a picture of Milotic swimming on the surface.
2 Stars
- Snap a picture of Milotic sticking it's head out of the water looking around.
3 Stars
- Snap a picture of Milotic interacting with Serperior (see LenTalk Request Milotic's Mighty Leap)
4 Stars
|
| #080 |
Wingull |
Blushing Beach |
1 Star
2 Stars
- Snap Wingull being hit with a Fluffruit
3 Stars
- Snap a picture of Wingull doing a loop-the-loop (play music near them when they're in the air)
4 Stars
- Throw a Fluffruit into the water near the Finneon and snap Wingull carrying Finneon in it's mouth.
|
| #081 |
Exeggutor |
Blushing Beach |
|
| #082 |
Crabrawler |
Blushing Beach |
|
| #083 |
Drifblim |
Blushing Beach |
|
| #084 |
Zangoose |
Blushing Beach |
|
| #085 |
Seviper |
Blushing Beach |
|
| #086 |
Bellossom |
Blushing Beach |
|
| #087 |
Inkay |
Blushing Beach |
|
| #088 |
Pyukumuku |
Blushing Beach |
|
| #089 |

Machamp |
Blushing Beach |
|
| #090 |
Stunfisk |
Blushing Beach |
|
| #091 |
Octillery |
Blushing Beach |
|
| #092 |
Corsola |
Blushing Beach |
|
| #093 |
Finneon |
Blushing Beach |
|
| #094 |
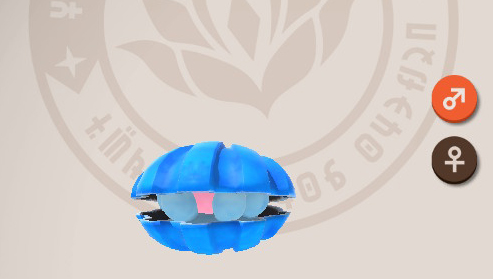
Clamperl |
Blushing Beach |
|
| #095 |
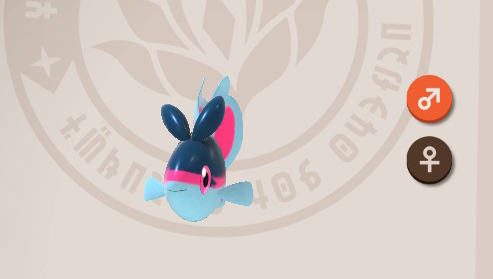
Primarina |
Maricopia Reef |
|
| #096 |

Raichu |
Blushing Beach |
|
| #097 |
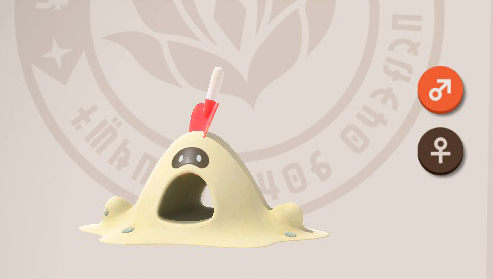
Sandyghast |
Blushing Beach |
|
| #098 |
Sharpedo |
Maricopia Reef |
|
| #099 |
Squirtle |
Maricopia Reef |
|
| #100 |
Blastoise |
Blushing Beach |
|
| #101 |
Lapras |
Maricopia Reef |
|
| #102 |

Mantine |
Maricopia Reef |
|
| #103 |
Pelipper |
Maricopia Reef |
|
| #104 |
Wailord |
Maricopia Reef |
|
| #105 |
Mareanie |
Maricopia Reef |
|
| #106 |
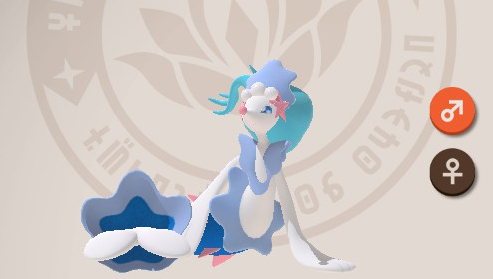
Vaporeon |
Maricopia Reef |
|
| #107 |

Manaphy |
Maricopia Reef |
|
| #108 |
Luvdisc |
Lental Seafloor |
|
| #109 |
Alomomola |
Lental Seafloor |
|
| #110 |
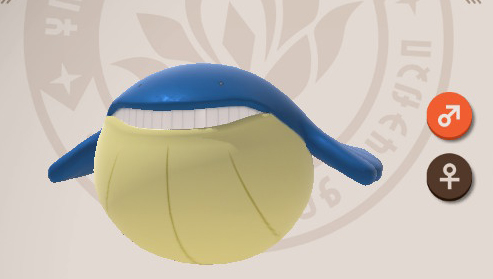
Wailmer |
Lental Seafloor |
|
| #111 |
Cradily |
Lental Seafloor |
|
| #112 |
Lumineon |
Lental Seafloor |
|
| #113 |
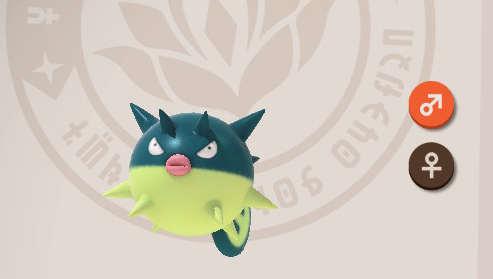
Qwilfish |
Lental Seafloor |
|
| #114 |
Clawitzer |
Lental Seafloor |
|
| #115 |
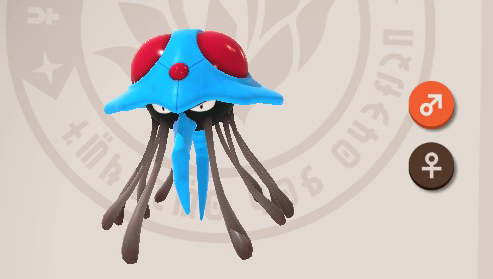
Tentacruel |
Lental Seafloor |
|
| #116 |
Chinchou |
Lental Seafloor |
|
| #117 |
Lanturn |
Lental Seafloor |
|
| #118 |
Starmie |
Lental Seafloor |
|
| #119 |
Frillish |
Lental Seafloor |
|
| #120 |
Golisopod |
Lental Seafloor |
|
| #121 |
Lugia |
Lental Seafloor |
|
| #122 |
Wishiwashi |
Lental Seafloor |
|
| #123 |
Skorupi |
Sweltering Sands |
|
| #124 |
Cacnea |
Sweltering Sands |
|
| #125 |
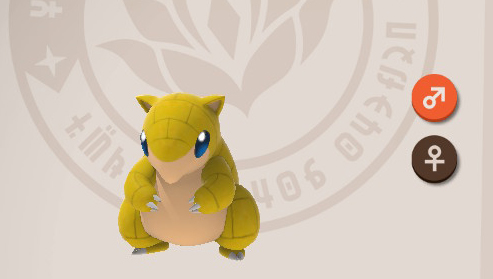
Sandshrew |
Sweltering Sands |
|
| #126 |
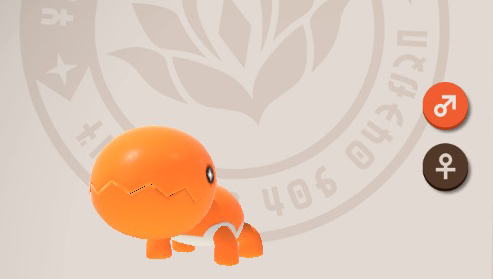
Trapinch |
Sweltering Sands |
|
| #127 |
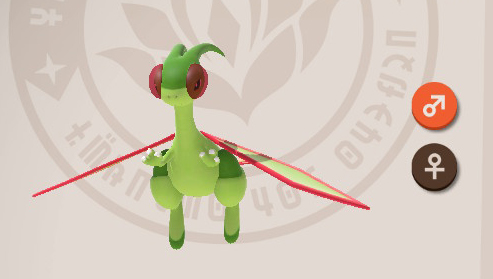
Flygon |
Sweltering Sands |
|
| #128 |
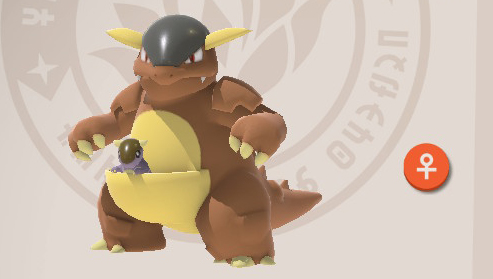
Kangaskhan |
Sweltering Sands |
|
| #129 |
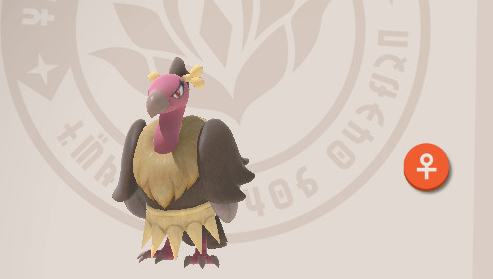
Mandibuzz |
Sweltering Sands |
|
| #130 |
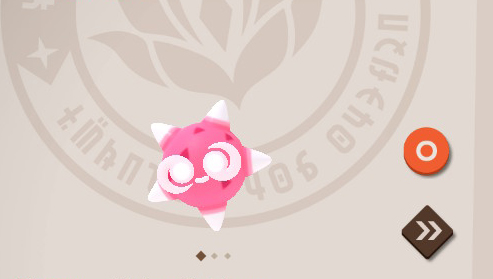
Minior |
Sweltering Sands |
|
| #131 |
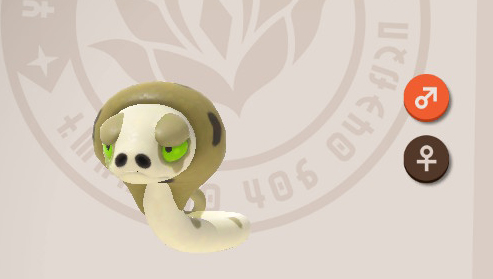
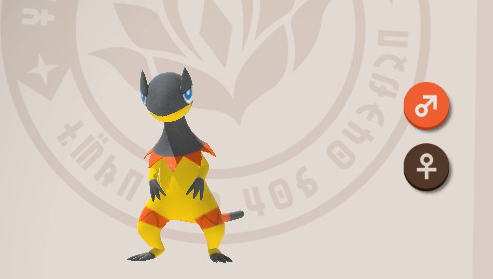
Silicobra |
Sweltering Sands |
|
| #132 |
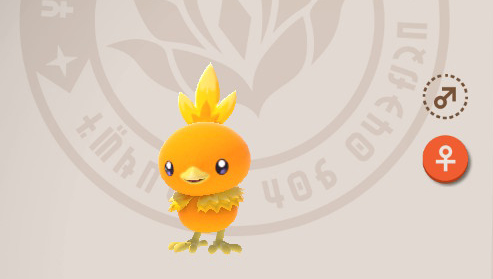
Torchic |
Sweltering Sands |
|
| #133 |
Heliolisk |
Sweltering Sands |
|
| #134 |

Lycanroc |
Sweltering Sands |
|
| #135 |
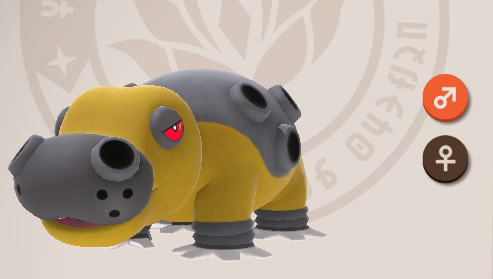
Hippowdon |
Sweltering Sands |
|
| #136 |

Tyranitar |
Sweltering Sands |
|
| #137 |
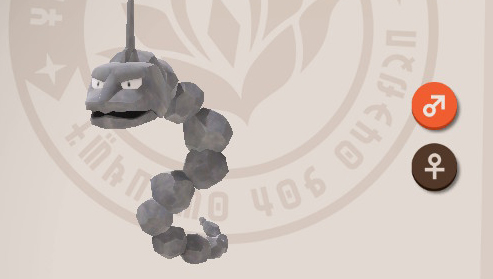
Onix |
Sweltering Sands |
|
| #138 |
Altaria |
Fireflow Volcano |
|
| #139 |
Shinx |
Fireflow Volcano |
|
| #140 |
Luxray |
Fireflow Volcano |
|
| #141 |
Talonflame |
Fireflow Volcano |
|
| #142 |
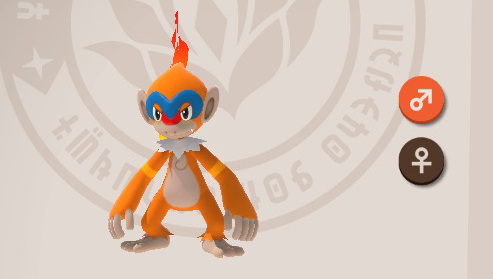
Monferno |
Fireflow Volcano |
|
| #143 |

Aerodactyl |
Fireflow Volcano |
|
| #144 |
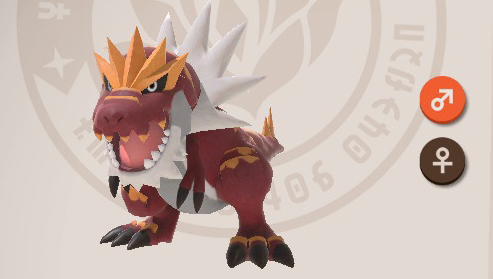
Tyrantrum |
Fireflow Volcano |
|
| #145 |
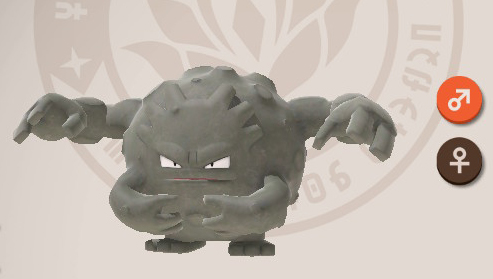
Graveler |
Fireflow Volcano |
|
| #146 |
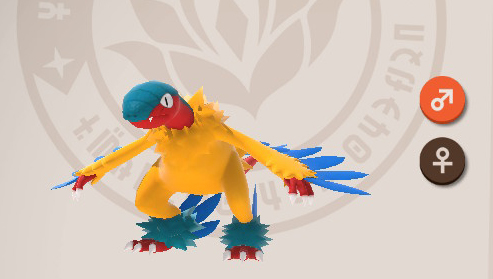
Archeops |
Fireflow Volcano |
|
| #147 |
Slugma |
Fireflow Volcano |
|
| #148 |

Torkoal |
Fireflow Volcano |
|
| #149 |
Charmander |
Fireflow Volcano |
|
| #150 |
Charizard |
Fireflow Volcano |
|
| #151 |
Typhlosion |
Fireflow Volcano |
|
| #152 |
Flareon |
Fireflow Volcano |
|
| #153 |
Ho-Oh |
Fireflow Volcano |
|
| #154 |

Volcarona |
Fireflow Volcano |
|
| #155 |
Furret |
Shiver Snowfields |
|
| #156 |

Cubchoo |
Shiver Snowfields |
|
| #157 |
Beartic |
Shiver Snowfields |
|
| #158 |
Mightyena |
Shiver Snowfields |
|
| #159 |
Weaville |
Shiver Snowfields |
|
| #160 |
Braviary |
Shiver Snowfields |
|
| #161 |
Swinub |
Shiver Snowfields |
|
| #162 |
Mamoswine |
Shiver Snowfields |
|
| #163 |
Skarmory |
Shiver Snowfields |
|
| #164 |
Sandslash |
Shiver Snowfields |
|
| #165 |
Abomasnow |
Shiver Snowfields |
|
| #166 |
Vulpix |
Shiver Snowfields |
|
| #167 |
Delibird |
Shiver Snowfields |
|
| #168 |
Snom |
Shiver Snowfields |
|
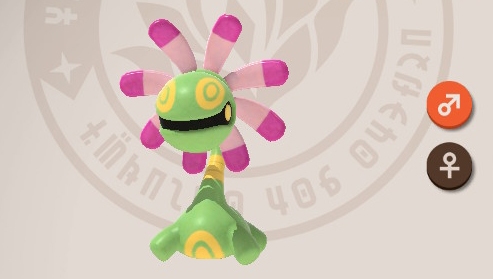
| #169 |
Frosmoth |
Shiver Snowfields |
|
| #170 |
Crabominable |
Shiver Snowfields |
|
| #171 |
Snorunt |
Shiver Snowfields |
|
| #172 |
Glalie |
Outaway Cave |
|
| #173 |

Froslass |
Shiver Snowfields |
|
| #174 |
Jynx |
Shiver Snowfields |
|
| #175 |

Spheal |
Shiver Snowfields |
|
| #176 |
Piplup |
Shiver Snowfields |
|
| #177 |
Vanilluxe |
Shiver Snowfields |
|
| #178 |
Avalugg |
Shiver Snowfields |
|
| #179 |

Dewgong |
Shiver Snowfields |
|
| #180 |
Aurorus |
Shiver Snowfields |
|
| #181 |
Glaceon |
Shiver Snowfields |
|
| #182 |
Suicune |
Shiver Snowfields |
|
| #183 |
Crobat |
Outaway Cave |
|
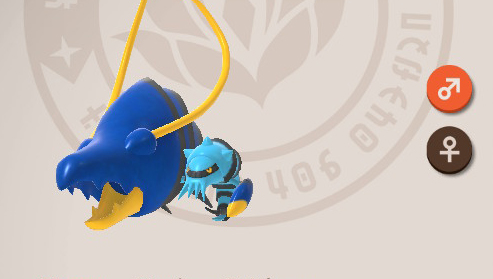
| #184 |
Joltik |
Outaway Cave |
|
| #185 |
Geodude |
Outaway Cave |
|
| #186 |
Carbink |
Outaway Cave |
|
| #187 |
Gengar |
Outaway Cave |
|
| #188 |
Noibat |
Outaway Cave |
|
| #189 |
Pumpkaboo |
Outaway Cave |
|
| #190 |

Croagunk |
Outaway Cave |
|
| #191 |
Drifloon |
Outaway Cave |
|
| #192 |
Clefairy |
Outaway Cave |
|
| #193 |

Sableye |
Outaway Cave |
|
| #194 |
Rampardos |
Outaway Cave |
|
| #195 |
Hydreigon |
Outaway Cave |
|
| #196 |
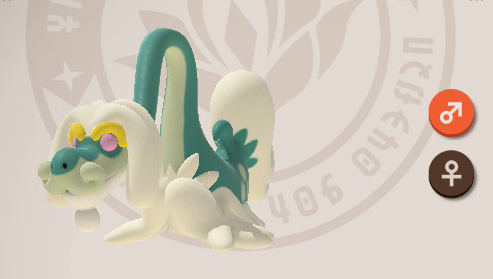
Goodra |
Outaway Cave |
|
| #197 |
Mawile |
Outaway Cave |
|
| #198 |
Jolteon |
Outaway Cave |
|
| #199 |
Diancie |
Outaway Cave |
|
| #200 |
Steelix |
Outaway Cave |
|
| #201 |
Houndoom |
Ruins Of Remembrance |
|
| #202 |
Eldegoss |
Ruins Of Remembrance |
|
| #203 |
Natu |
Ruins Of Remembrance |
|
| #204 |
Absol |
Ruins Of Remembrance |
|
| #205 |
Salandit |
Ruins Of Remembrance |
|
| #206 |
Noivern |
Ruins Of Remembrance |
|
| #207 |
Woobat |
Ruins Of Remembrance |
|
| #208 |
Sigilyph |
Ruins Of Remembrance |
|
| #209 |
Beheeyem |
Ruins Of Remembrance |
|
| #210 |
Golurk |
Ruins Of Remembrance |
|
| #211 |
Chandelure |
Ruins Of Remembrance |
|
| #212 |
Umbreon |
Ruins Of Remembrance |
|
| #213 |

Jirachi |
Ruins Of Remembrance |
|
| #214 |
Xerneas |
Ruins Of Remembrance |
|

Discussion