Now that we've opened up Dawn Valley, we can finally enter The Pyramid Of Sart and take on the third Titan: Sart!
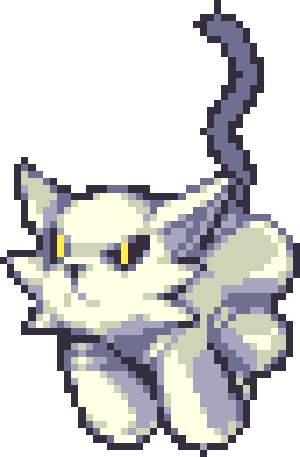
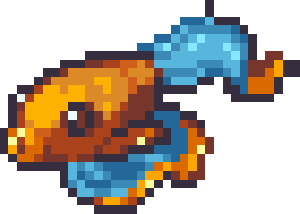
If you haven't already, getting a Water-Type Coromon in your Squad is a great way to blast through this part of the game. A good one is Chonktoad (which evolves from Taddle); sand attacks also deal less damage due to being ineffective against water.
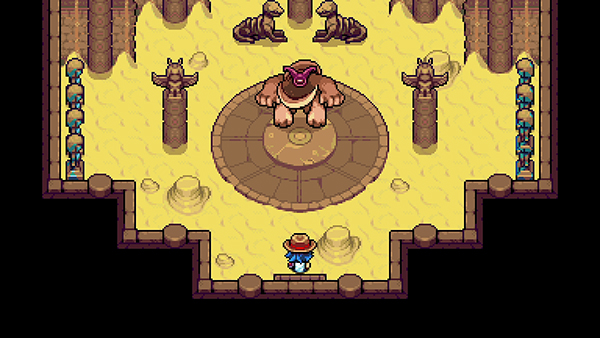
The Pyramid Of Sart
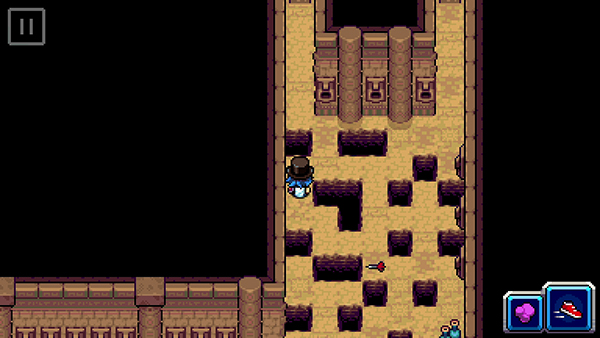
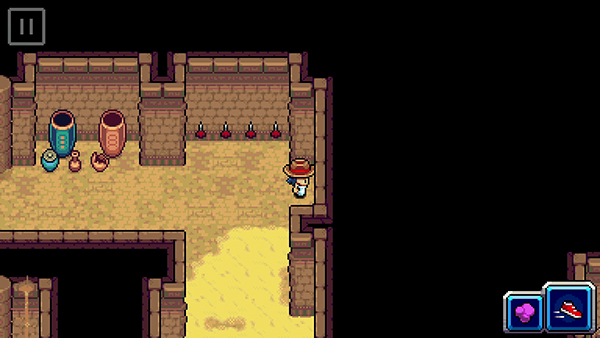
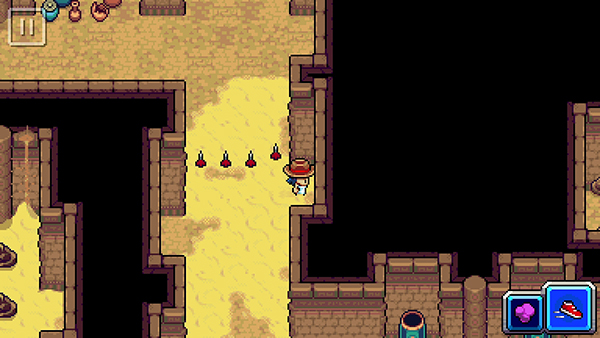
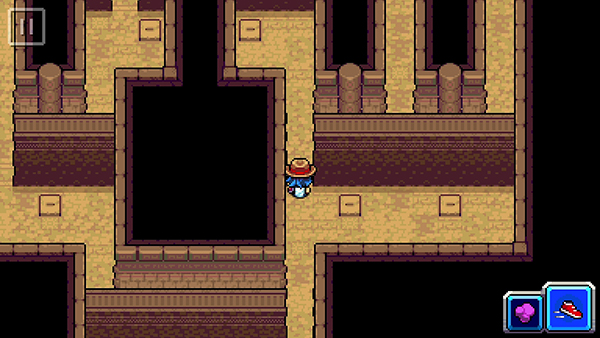
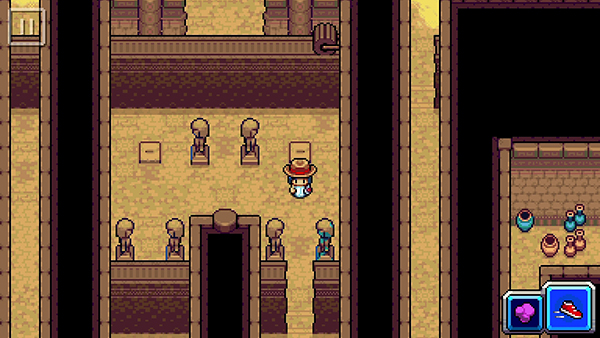
The Pyramid Of Sart has 11 Floors of puzzles, traps and the occasional trainer battles. On the top floor you'll face the Titan Sart; there are wild encounters in the sand, with levels ranging from 25-35.
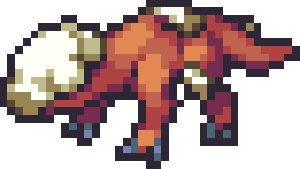
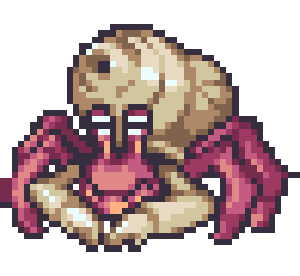
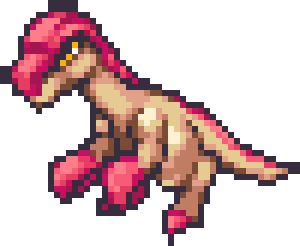
Coromon found in Pyramid Of Sart


Floor 1
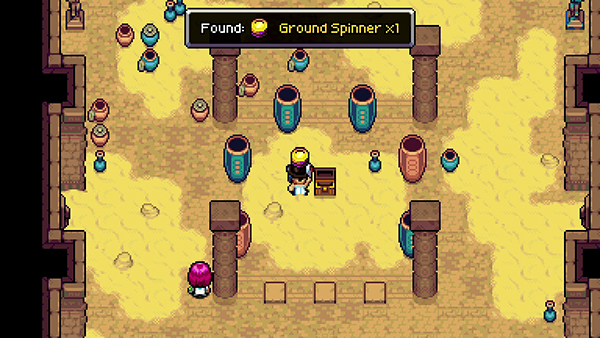
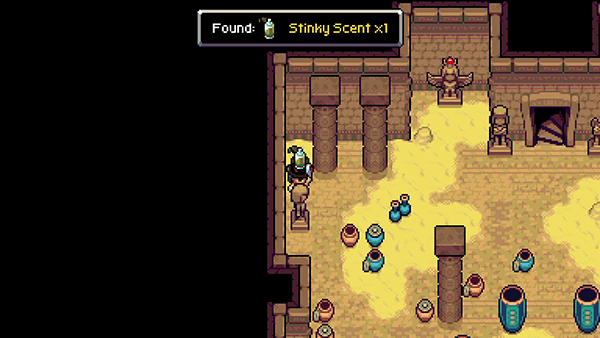
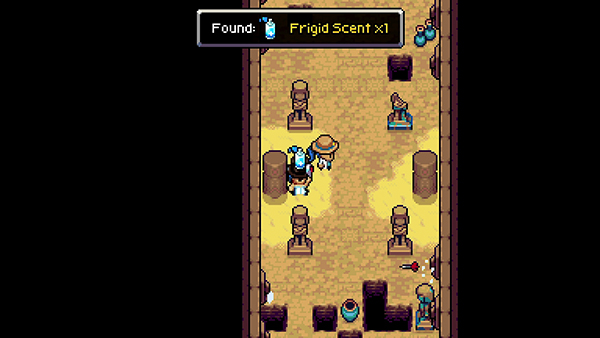
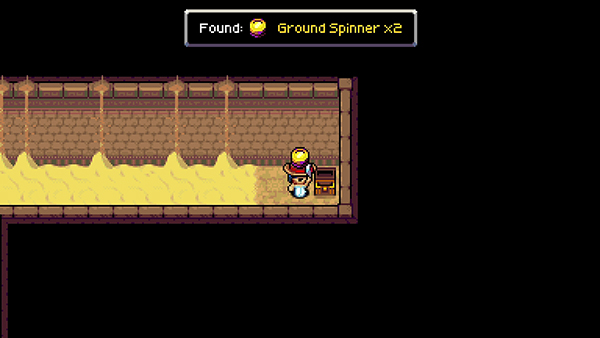
On the ground floor you'll find a Treasure Chest in the center of the room containing a Ground Spinner. You can also pick up a Stinky Scent next to a statue on the left.
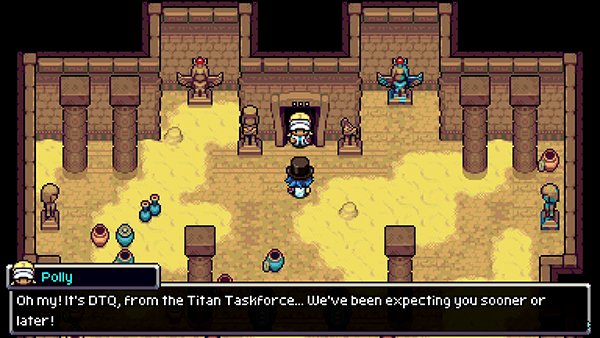
As you go to enter the next floor, Polly from Lux Solis pops out and mentions they've been uncovering lots of traps upstairs.
Floor 2
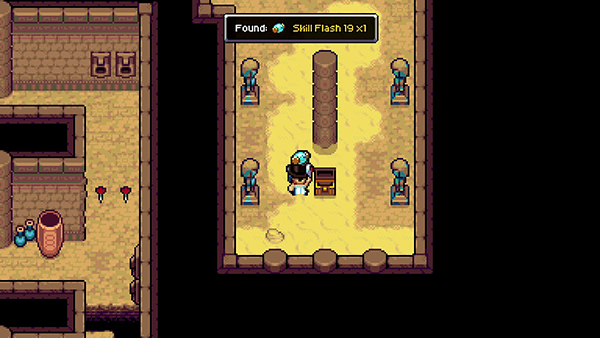
On Floor 2, head immediately right and open the Treasure Chest to pick up Skill Flash 19.
The first puzzle is to dodge the flying darts. If you get hit by a dart, you restart from the nearest checkpoint.
The key to getting through the first round is to watch for the pattern and move one tile at a time.
Once you get passed those, you'll meet Gul from a battle.
![]() Trainer Battle with Gul
Trainer Battle with Gul
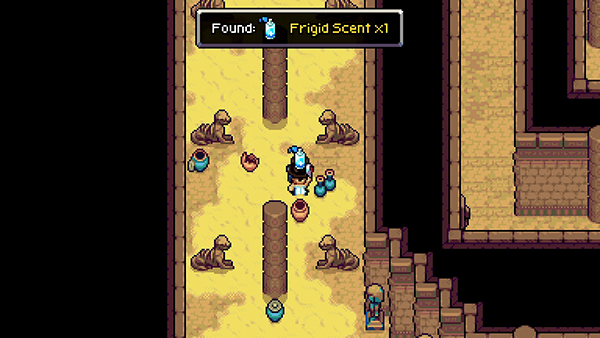
Pick up the Frigid Scent on the way down to the next puzzle.
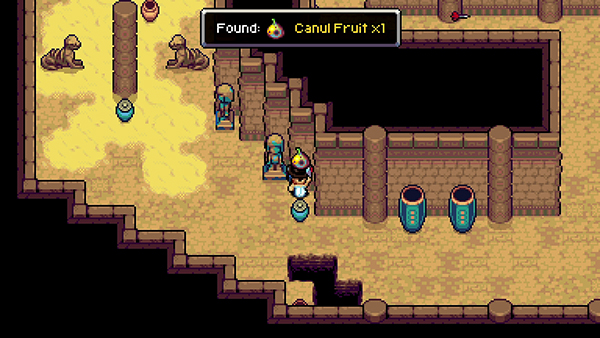
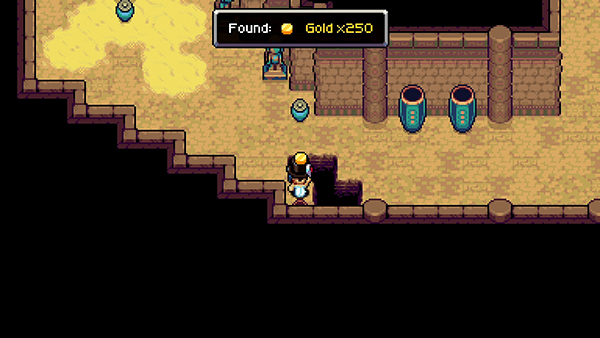
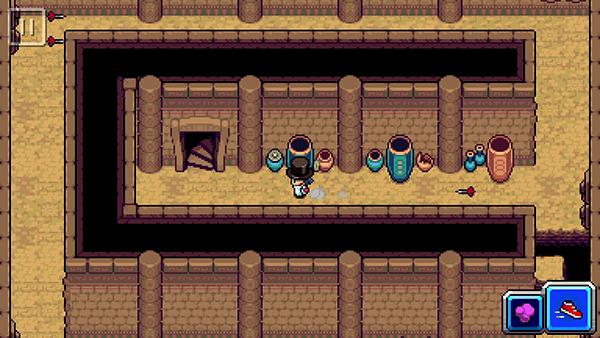
You can pick up a Canal fruit by a pot and 250x Gold.
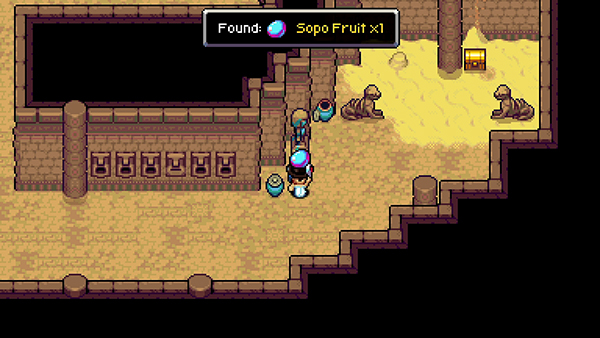
If you keep heading right you'll come across more flying darts (ignore the path to the center for now). Here you can pick up a Sopo Fruit and a Treasure Chest containing a Defense Cake (L) and Attack Cake (L).
Now head to the center. To get through this puzzle, you need to run at full sprint clockwise around the path.
Each path will fire two poison darts and there are no safe spots, so you just need to outrun them.
Wait for the darts from your left to go past and then sprint left towards them. As soon as you sprint up, a second round of darts will follow you.
Eventually, you'll get to the center, where you can reach the exit to Floor 3.
Floor 3
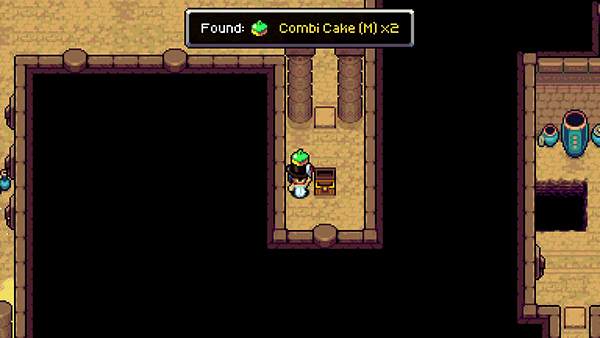
On Floor 3, head right and you'll notice a Treasure Chest in front of you. As soon as you hit the tile, a dart will fly towards you. To avoid it, you need to sprint directly forward (over the tile) and then make a quick turn to the left or right to dodge the dart (all the while sprinting).
The Treasure Chest contains Combi Cake (m) x2.
If you then head left, you'll come across more flying darts. The first four are easy enough; just take one tile at a time as the darts go past.
Next to Beatrice you'll find another Frigid Scent.

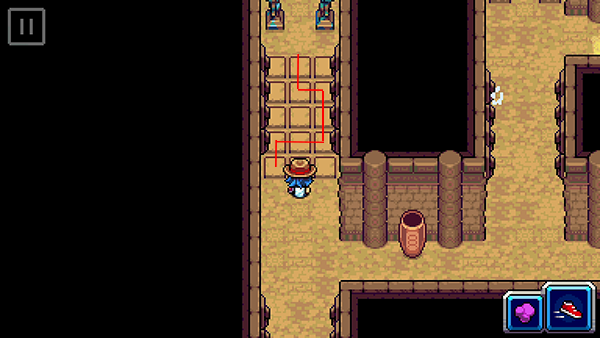
The next round of flying darts requires you to navigate a mini-maze. Wait for the first two darts to shoot, and then sprint to the safe spot on the image above. Then wait for the second two darts to go and run around to get out of the maze.


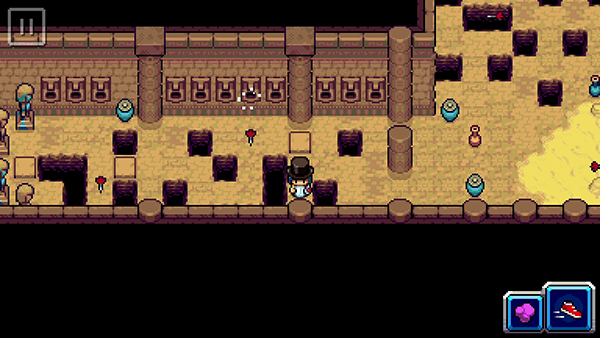
The next part requires you to move out of the way of an flying dart that you activate as soon as you stand on the tile. There are safe spots at every dart interval.
The final part of Floor 3 requires you to navigate a maze of flying darts either side of you, as well as 3 darts coming towards you. Luckily, there are safe spots along the way.
First move to the spot in front of the first hole block.
Then move further up two rows before the first dart on your right.
Keep moving up a couple of rows at a time to the safe spots above and you'll eventually come out and face Seif.
![]() Trainer Battle with Seif
Trainer Battle with Seif


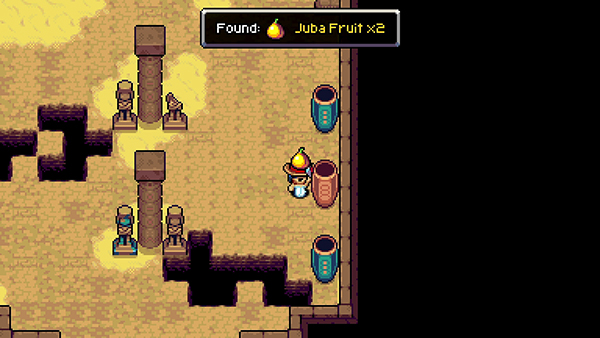
Before leaving for Floor 4, pick up the Juba Fruit and Canal Fruit x2 by the pots.
Floor 4
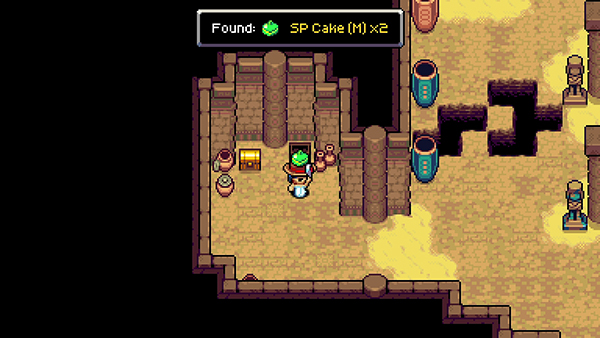
First, pick up the SP Cake and Ber Fruit on the right.
Floor 4 introduces a new mechanic of moving walls you can control by standing on tiles. Your job is to align the walls so that all 3 gaps allow you to pass through. They need to be centered in order for you to get to the next stage.
Press the following tiles to complete this puzzle:
- 3
- 3
- 5
- 5
- 2
If for some reason you already moved the walls before reading this guide, you'll have to figure out the pattern yourself.
The first two tiles (1&2) move the first row backwards and forwards. So you don't need to worry about this being moved around as you can align it at any time.
The second two tiles (3&4) move the top two walls.
The third two files (5&6) move the top and bottom walls.
So first you should get the middle wall aligned properly (3 & 4). Once that is done, you want to align the top row using (5&6) and then move onto the bottom wall using (1&2).
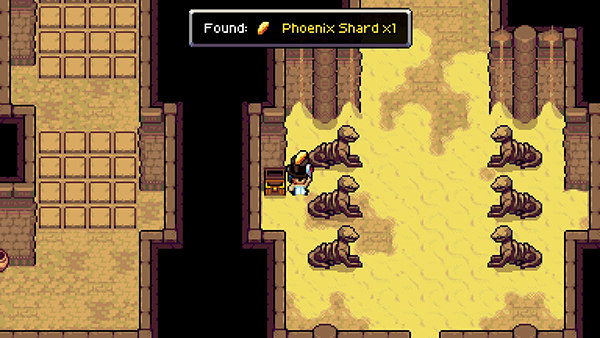
Once you make it through, pick up the Phoenix Shard from the Treasure Box.
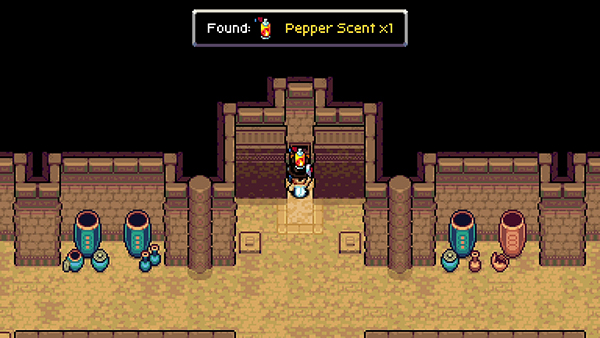
Up ahead you'll see a wall that you can move left and right with two tiles to reveal a Treasure Chest containing a Pepper Scent, Doom Scent and Frigid Scent.
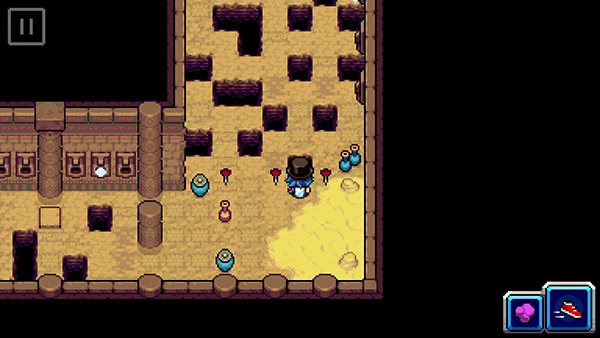
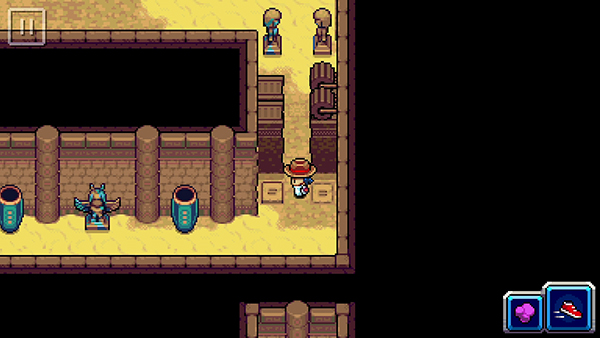
Head left to find a block of tiles. Each time you touch one, it will activate an dart to fly towards you. To get through, you need to sprint from right to left and head to the safe spot as pictured above.
Do the exact same for the next set.
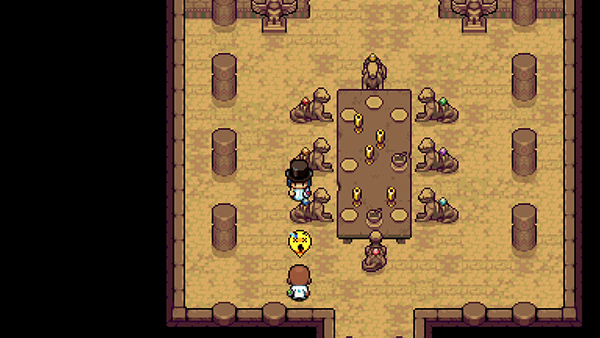
You'll then come to a room with several gems on a long table. You need to place them in order to what the table rules are (use the Inspect option to find these out). Once you have all the rules, you can work out the positions.
The positions are:
- Yellow [Top of the table]
- Red [Corner top-left]
- Orange [middle-left]
- Blue [bottom-left]
- Magenta [bottom of the table]
- Turquoise [bottom-right]
- Purple [middle-right]
- Green [top-right]
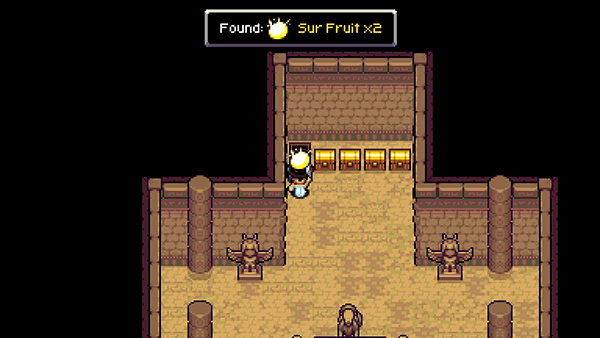
This will activate a hidden wall allowing you to get four Treasure Chests: Sur Fruitx2, Chaik Fruit x2, Mais Fruit x2, HP Cake (L) x3, Cowboy Hat, SP Cake (L) x3, Ras Fruit x2, Pix Fruit x2, Sopo Fruit x2.
Now go back to the center of the room and head to the right.
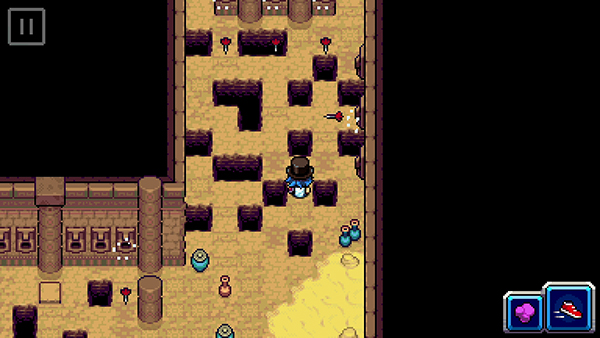
This time you'll have to dodge more flying darts coming towards you.
Start from the right-most wall and sprint down to the safe spots.
After that, pick up the Treasure Chest containing a HP Cake (M) and battle the trainer Tia.
Head up to Floor 5.
Floor 5
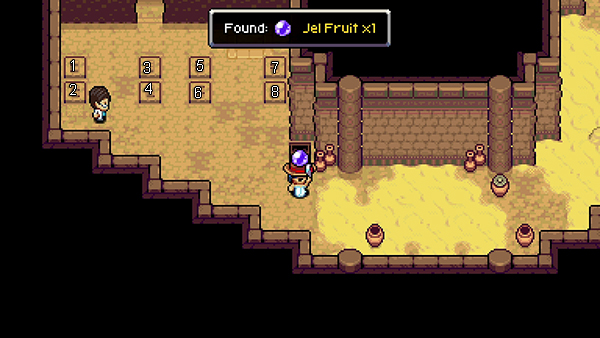
On floor 5, pick up the Treasure Chest containing Jel Fruit just before you come to another set of walls and control tiles. Fight the trainer Spencer before proceeding.
![]() Trainer Battle with Spencer
Trainer Battle with Spencer

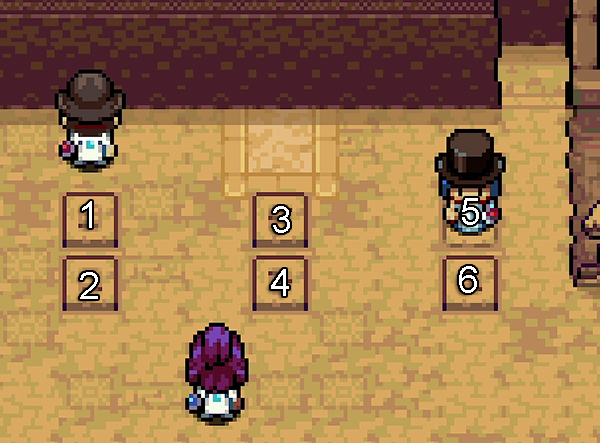
Floor 5 contains several puzzles to complete. The first requires you to move four walls to the right to create a gap to the next puzzle.
The first set of walls also can be moved to the left to reveal a Treasure Chest containing: 3000x Gold, Ground Spinner x3, Skill Flash 52.
You can see which tiles move which walls by looking at the markings on them. You should first move the top most wall using the 3rd lot of tiles (5&6) and then once that is aligned, move the second wall (7&8) and then once that is aligned, move the third wall using (1&2) and then finally align the bottom wall with (3&4).
To move the walls to the left follow this pattern (get Treasure Chest):
- 6
- 8
- 8
- 8
- 8
- 1
- 1
- 1
- 1
- 4
- 4
To move the walls to the right, follow this pattern after getting the Treasure Chest:
- 6
- 6
- 6
- 6
- 6
- 6
- 1
- 1
- 1
- 1
- 1
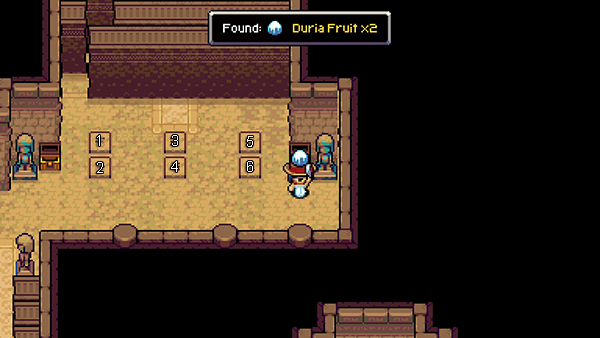
Once on the next level, get the Treasure Chest Grapa Fruit x2 and the other Treasure Chest with Dura Fruit x2.
For the next set of walls, you need to align them to the middle.
Follow this pattern:
- 2
- 2
- 6
- 6
- 6
- 4
Next you'll come to a fork where you can go left or right.
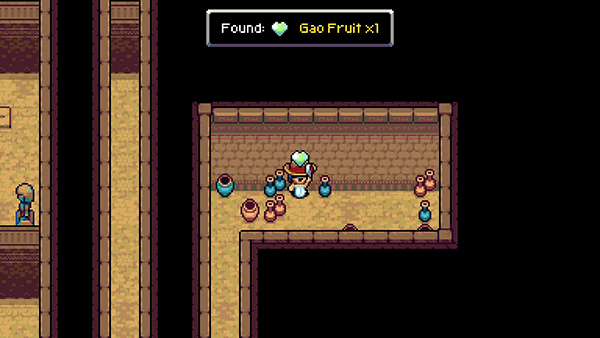
Go right first and move the wall so you can reach the right most corridor. Here you'll find lots of pots and can pick up the following: Gao Fruit, Hor Fruit, Unip Fruit.
Now go back and align the wall so you access the inner wall. Head up past the first wall and move the second wall so that it unblocks the middle column of the right fork.
Head up the middle column and open the Treasure Chest containing Ground Spinner x2.
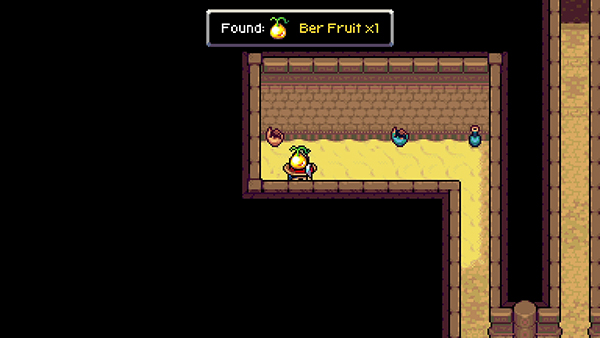
Now go back to the fork and take the left by moving the wall and then moving the next wall to the left too. Head up to the sand and collect the Ber Fruit from a pot.
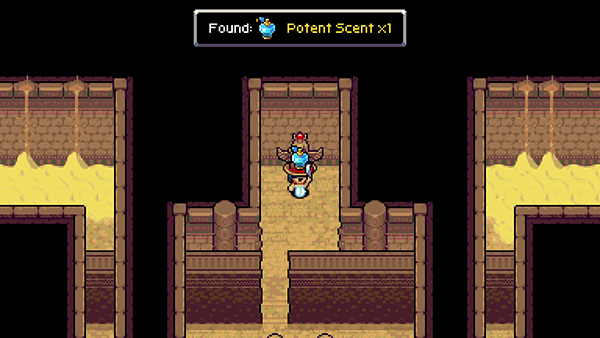
Next you want to go back down and move the wall so you can access the inner- right column. From here you can move the wall to access the top statue and pick up a Potent Scent.
Then you want to align the wall so that it unblocks the middle column. Head up that column to find Floor 6.
Floor 6
On floor 6, head immediately left to find some flying darts. Slowly move up them as each dart passes across, one tile at a time.
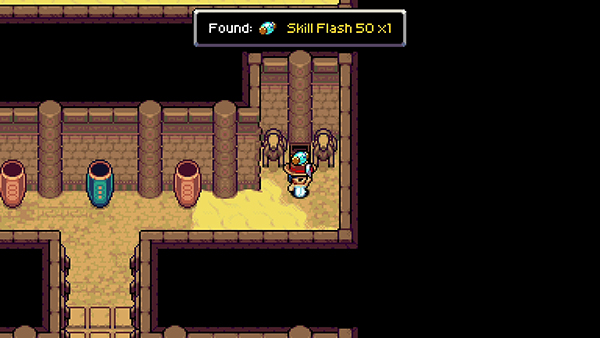
On the right you can find a Treasure Chest containing Skill Flash 50.
Head back to the left and you'll find several tiles. Follow the tile path as pictured above as these ones won't activate the flying darts; open the Treasure Chest to get Trick Spinner x2, Heal Spinner x2, Dream Spinner x2.
Now head up the middle column past more flying darts. Go to the right and align the walls using the switches.
Floor 7
You'll be glad to know that from here on out, there are no more puzzles!
On Floor 7, you can open two Treasure Chests containing SP Cake (m) x2 and HP Cake (m) x2.
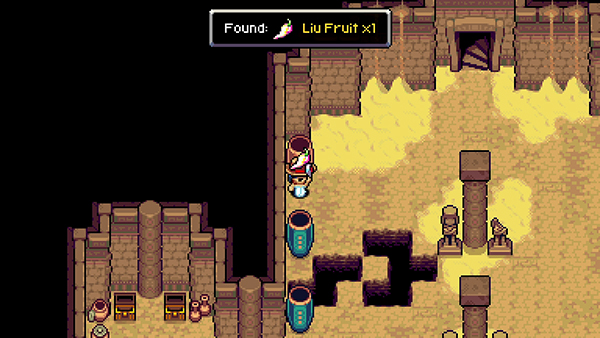
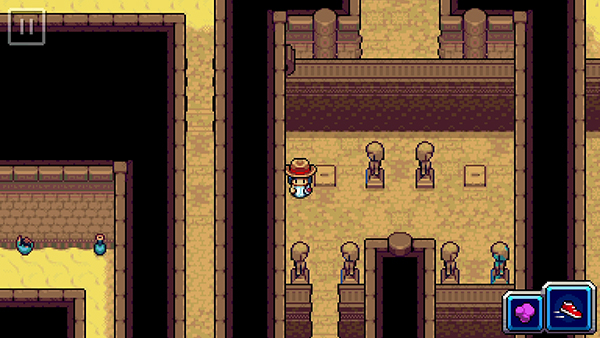
You can also pick up a Juba Fruit x2 from one of the large red pots. In the top corner there is a Treasure Chest with Juba Fruit x5 and on the left pick up a Liu Fruit from a red pot.
Floor 8
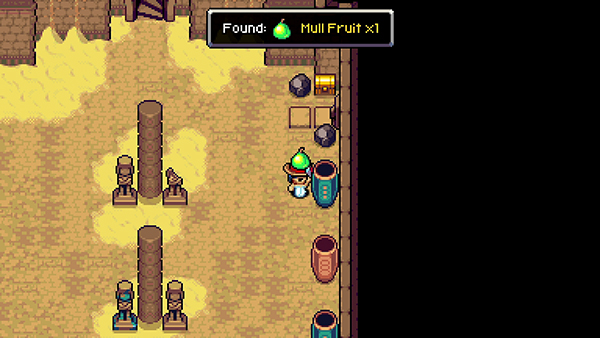
On Floor 8 you can pick up a Mull Fruit from a blue pot on the right and Juba Fruit x2 from a red pot on the right.
You can also open a Treasure Chest by using the Push Module on the bolder in the top right corner containing a Phoenix Stone.
Floor 9
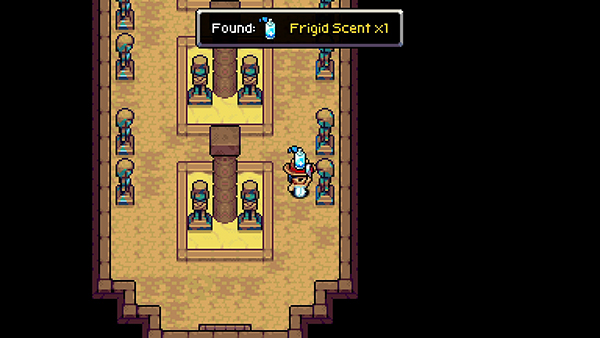
Pick up the Frigid Scent from a statue on the right and a Ground Spinner x1 from the Treasure Chest.
Floor 10
On Floor 10, open the Treasure Chest to find a Phoenix Stone.
Head to floor 11 to face the Titan Sart!
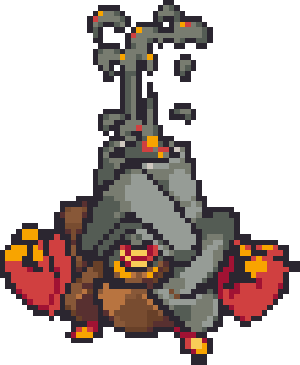
Boss Fight - Sart
Of the Titan's you've faced so far, Sart is actually quite easy, especially if you have a Water-type Coromon. Again, we recommend having a Chonktoad in your Squad, as it's powerful Cloudburst skill deals lots of damage and lowers the accuracy of Sart.
Sart has 833 HP and doesn't have any regeneration skills so you should be able to take him down with a full squad of 40-50s level Coromon.
Sart likes to use Suffocate, which doubles the SP cost of your Skills. He has several sand-type attacks including Sand Piston, Seismic Wave, Stalagmites and Desert Hurricane.
His Rock Wall move will prevent you from damaging him for 3 turns; you can use these turns to either heal up or buff up.
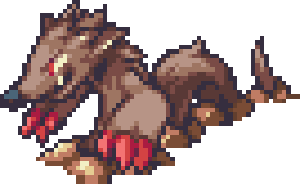
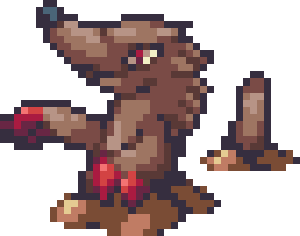
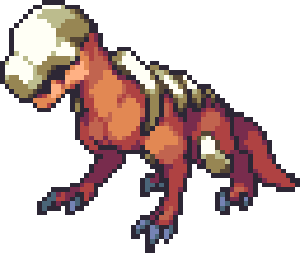
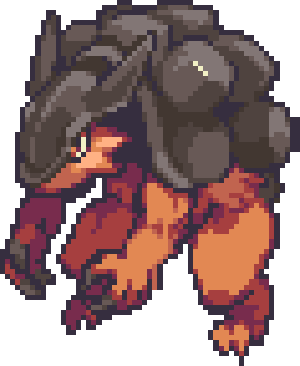
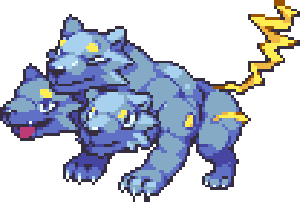
At around 50% HP left, he will summon two Coromon to fight: a Level 35 Serpike and Level 35 Caradune. Chonktoad's Cloudburst can hit both of them in a single hit here.
He'll also use his Pure Essence, which cures any status ailments Sart has and sends a barrage of rocks on your whole squad, damaging them all at the same time!
After that though, the fight remains the same and you should be able to take him out with hard-hitting water attacks.
Check out the video below for more tips:

After the battle, you'll collect the Sand Essence from Sart and return to the base of the Pyramid where Polly congratulates you.
And that wraps up Part 9 of the Coromon Walkthrough! How did you find this Titan battle? Did you struggle or was it easy for you too? Let us know in the comments!

Discussion