Coromon features over 100 different monsters for you to collect, and you'll start part 1 of the Coromon Walkthrough by choosing your starter Coromon.
- Prologue
- Coromon Difficulty
- Lux Solis
- Choose Your Starter
- Your First Battle
- Radiant Park
- Titan Essence
This is the first part in a series of guides covering the entire Coromon game. We will show you where to find certain Coromon, the best squads to use against the biggest foes and all quests you can complete along the way.
Check out the Coromon Walkthrough page for an overview of the game and what platforms you can play it on.
Note: This part of the walkthrough is based off the demo version. When the full-game is released, we'll update this part in case anything has changed!
Prologue
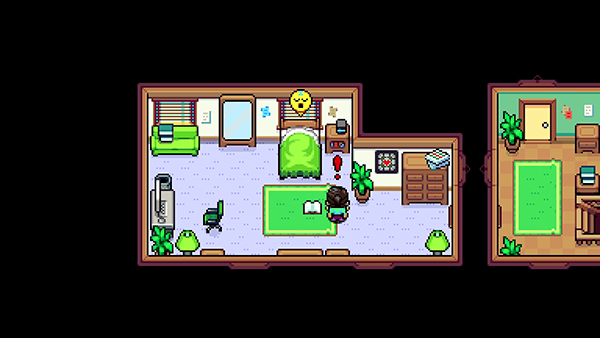
Welcome to the world of Coromon called Velua. You start your adventure woken up by your mom, who recommends you put something nice on for your first day working at Lux Solis.
Character Customization
The game has a decent customization system for characters.
You can choose skin color, hair styles, outfits and hats! You can change the look of your character at any time by checking the Mirror in your bedroom.
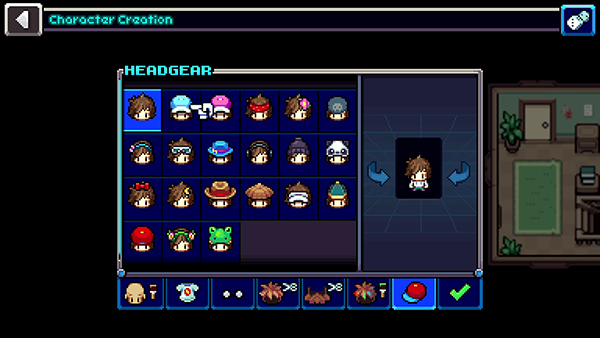
You'll be able to find various items around Velua that you can use to customize your appearance also.
There are also specific rewards given out for Donations that helped support the development of Coromon!
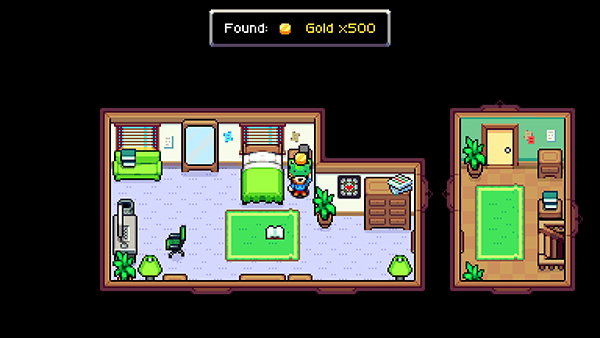
Once you've made yourself look dapper, head to your bedside table to pick up 500x Gold.
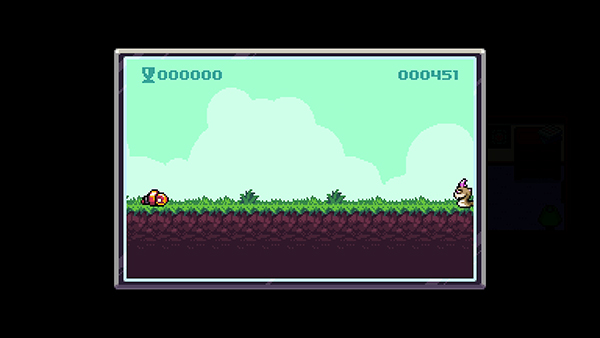
If you've got some spare time, you can also play some hidden mini-games by sitting at your computer:
- Swurmy Rush
- Flappy Swurmy
There doesn't seem to be any reward for playing, so better move along. Head downstiars and speak to your Mom.
Apparently we are starting our new job today: a Lux Solis Battle Researcher! Your mom has decided to take you out to breakfast before your big day...
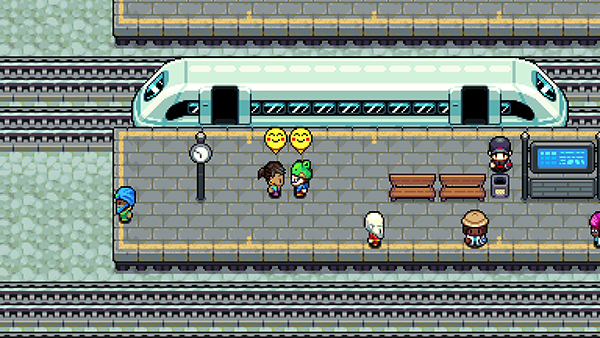
You'll end up at the train station, where your Mom will give you 3,000x Gold! Wow- nice one mom!
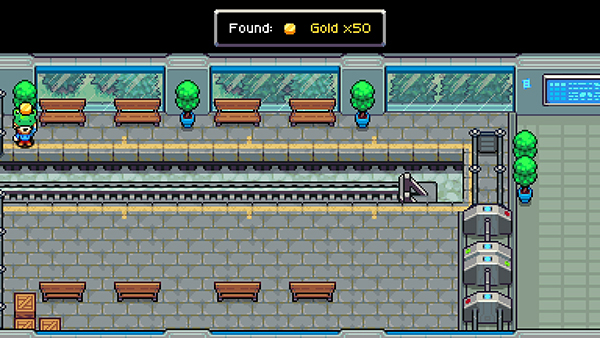
The train will take you to Lux Solis and you'll arrive at the train station. Before leaving, head to the top platform to pick up 50x Gold.
In the next room over you'll be able to setup your Coromon Difficulty.
Note: If playing the demo, you'll be introduced to the Coromon Developers: Jochem and Marcel. Level cap in the demo is 25 per Coromon, but you'll be able to transfer your save to the full-game once its released! Nice one.
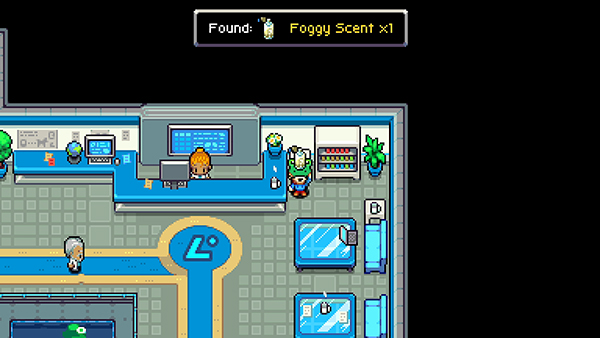
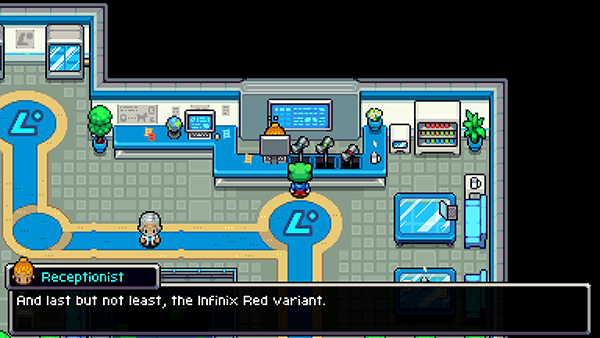
Pick up the Foggy Scent next to the counter and then speak to the Receptionist.
Coromon Difficulty
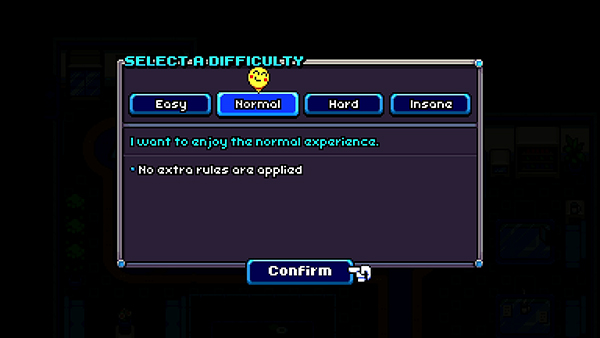
Coromon gives you lots of choice when it comes to how hard you want the game to be. There are four standard preset difficulties and also a custom mode, allowing you to turn on different settings that you like.
For first-time players, it's recommended to choose the Normal difficulty.
Here's a quick look at the settings:
- Easy - Healing Coromon is a lot easier and you get 50% off all items in stores.
- Normal - standard mode.
- Hard - When a Coromon feints, it is gone forever. Cannot run away from battles.
- Insane - (hard mode) + limited capture ability and no fast-travel.
You'll also receive the Difficulty Handbook, which you can view in your Inventory for a list of the difficulty rules.
Once you've chosen your Difficulty Settings, you now need to get your Gauntlet. This little wearable device will be upgradable during your journey, giving you new abilities and features. For now, just choose a color you like the most.
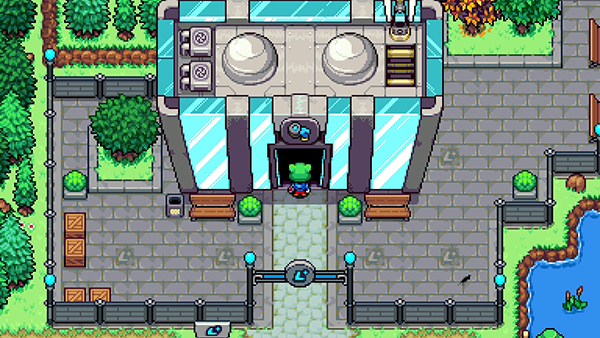
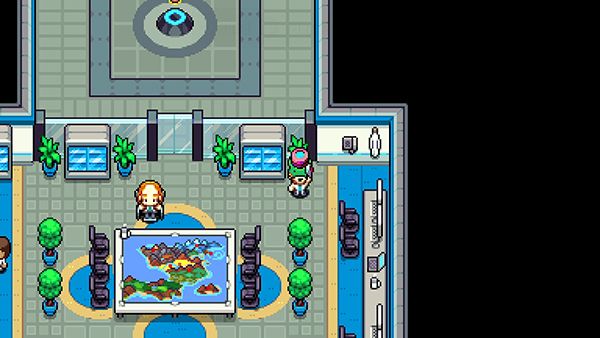
Lux Solis
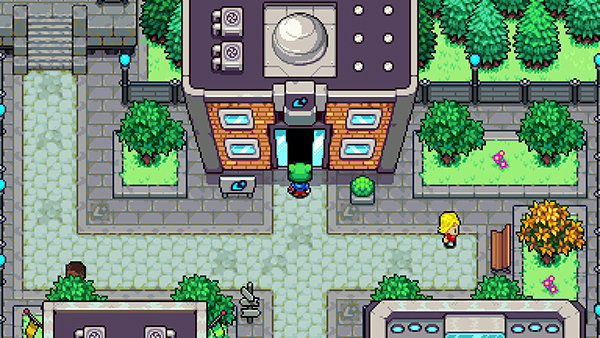
Head out of the station and you'll have arrived at Lux Solis. This is a main town area, with lots to do, but our first port-of-call is to see Gideon at the Coromon Lab.
When you enter the lab, you'll meet Peter. Apparently Gideon is out for lunch, so Peter gives you the low-down. You'll receive a Data Chip that stores all your Coromon progress as you play; you'll also be able to access Milestones from the Menu, which give you various rewards.
Before he lets you go, you'll receive a welcome package:
- Spinner x6
- HP Cake (s) x2
- SP Cake (s) x2
- LuxRecall x2
- Type Manual - See all the Coromon Types here
You can now go choose your Starter Coromon downstairs.
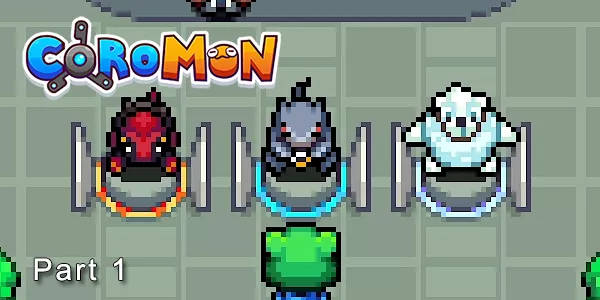
Choose Your Starter
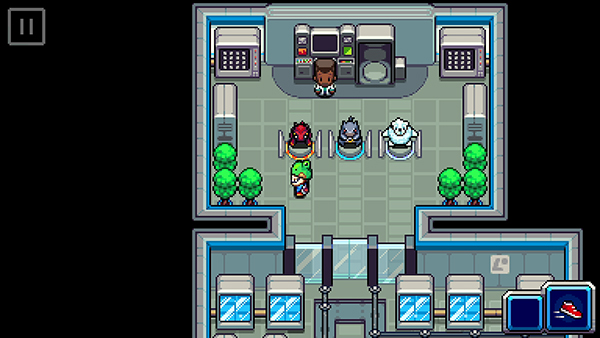
Now your adventure really begins by choosing your first Coromon. In the Coromon Lab, head downstairs (bottom right corner escalator) and you'll be introduced to Nelson.
Nelson will ask you a series of questions to help determine which Coromon is right for you, but ultimately, you can decide to ignore his advice and choose whichever starter you like!
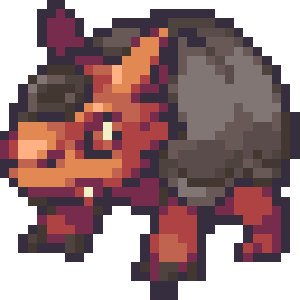
The three starters are:
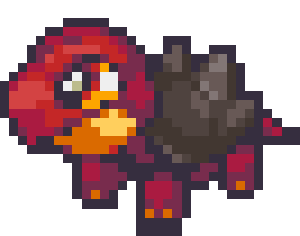
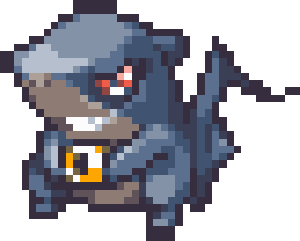

What do you mean there isn't a grass type!?!?!? Sorry- it's not that kind of game!
In terms of choice, all the starter Coromon have decent attacks that you gain early on to help take out fights quickly, so there is no real advantage to choosing. You can also catch all starter Coromon at a later stage in the game, so you won't have to miss out.
You'll also be given another Coromon: Patterbit.
If you're extremely lucky, the colors of the Coromon may be different. This is a sign that you've gotten a high Potential Coromon. Check out the Coromon Database for all different Coromon Potentials.
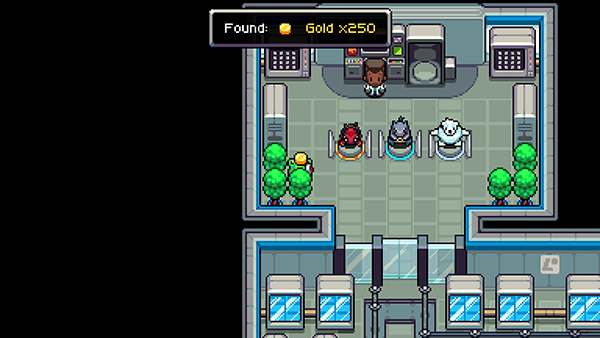
You can pick up 250x Gold in the left corner plant pot.
Your First Battle
Next up is your first battle against Nelson. So why not use this opportunity to give you an overview of Coromon's Battle System.
Coromon's Battle System is turn-based. A Coromon will move first depending on it's Speed stat (or if the opponent has a status effect).
You can select up to four different moves that have been assigned to your Coromon. You'll learn new Skills as you level-up; you can switch out skills on the fly without having to lose them forever.
Each Coromon has two stats that you'll want to always keep an eye on. HP is your Hit Points, if they reach 0, your Coromon feints and the next Coromon in your Squad will be used. If you run out of Coromon, you'll end up returning to a Trainer Hub to heal up (and lose Gold!).
The other stat is SP. SP is consumed when you use a Skill; it is replenished each battle. If you hit 0 SP, you'll be given the option to use your turn to rest, restoring some SP so you can use attacks for the next round.
There are quite a few more interesting mechanics, but this is a quick overview- not a manual!
You should have no trouble taking our Nelson's single Coromon (you have two remember!).
Nelson says you should go see Larry at the R&D Lab to hook you up with some new mechanics for your Gauntlet. You can find him in Radiant Park (the next map over), but before you do, take your time to explore Lux Solis.
Loot
There is a Treasure Chest at the Battle Grounds containing 1x HP Cake (s).
You can find 150x Gold in the stands.
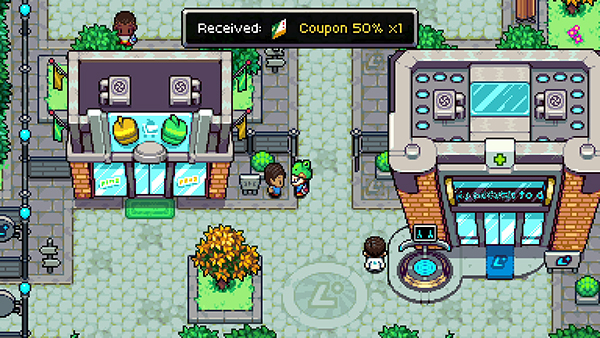
You can pick up 1x 25% Voucher and 1x 50% Voucher by speaking to the Shop Assistant outside the shop.
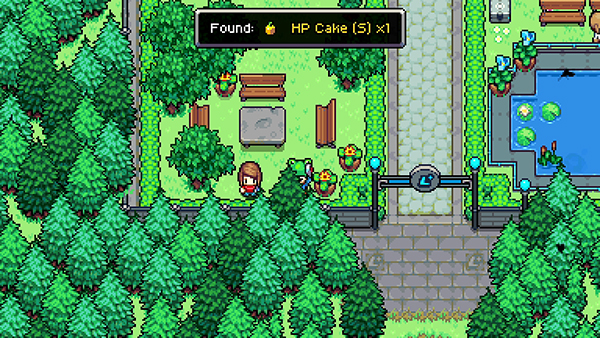
You can pick up 1x HP Cake (s) in the garden area.
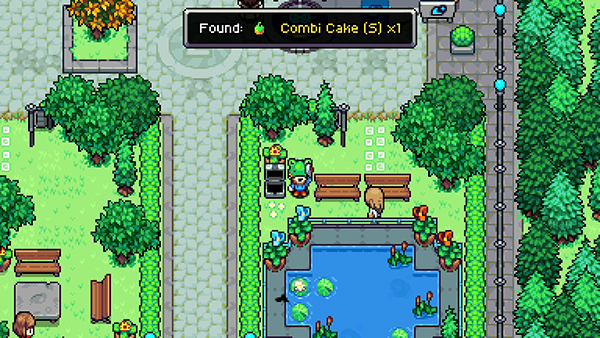
You can open a Treasure Chest outside the Trainer Hub containing a Combi Cake (s) x1.
Shop
The shop allows you to buy common items you'll need on your adventure. HP Cakes (used for healing HP), SP Cakes (used for restoring SP points) and Spinners (used for capturing Coromon) are all available at the shop.
Trainer Hub
Head here to heal all of your Coromon, free of charge! You can also use the Trainer Hub to manage your Coromon Storage.
Get Stuck? Lost?
If you ever get lost or stuck on where to go next, you should consult your Logbook. It will give you information on any quests you're currently on.
Radiant Park
Radiant Park is the next map right of Lux Solis. Here you'll encounter wild Coromon, Quests and other obstacles!
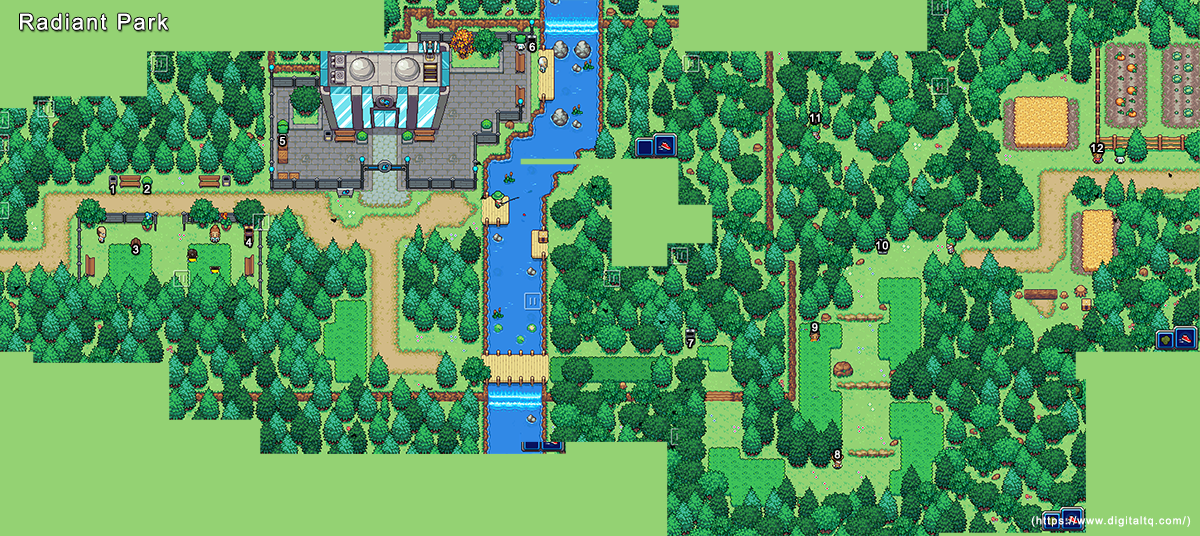
Click the image for bigger size!
You can use our handy Radiant Park map to get an overview of the area!
You can find the following loot in the area:
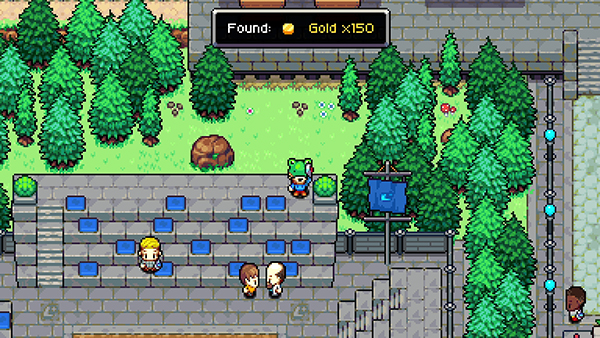
- [1] - 150x Gold
- [2] - SP Cake (s) x1
- [3] - Spinner Problems - Quest
- [4] - Treasure Chest: Spinner x1, HP Cake (s) x2, SP Cake (s) x1
- [5] - Dream Spinner
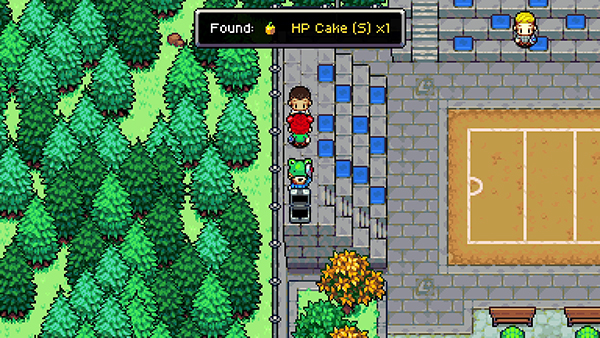
- [6] - Treasure Chest: HP Cake (s) x1
- [7] - Treasure Chest: 500x Gold
- [8] - Cordell - HP Cakes (s) x2
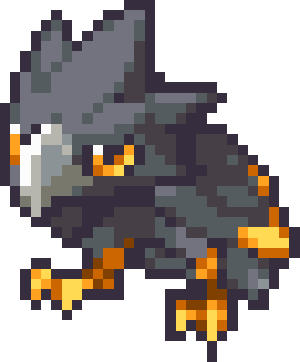
- [9] - Battle - Todd [Nibblegar Level5]
- [10] - Combi Cake (s) x1
- [11] - Treasure Chest: Gauntlet Coupon
- [12] - Battle - Mira [Silquil Level4, Torgua Level5]
- [13] - Treasure Chest: Toxic Scent, Protein Scent, Charged Scent
Coromon found in Radiant Park


Pro-Tip: Capture a Armado and keep them at a decent level. They are very useful for upcoming bosses!
Oh, and don't forget to complete any quests you come across! They give out useful rewards and they are usually worth your time and effort. You can find the Spinner Problems - Quest in Radiant Park (3).
Head to the R&D Lab at the top of Radiant Park.
Pick up the HP Cake (s) x1 in the waste-bin in the left room.
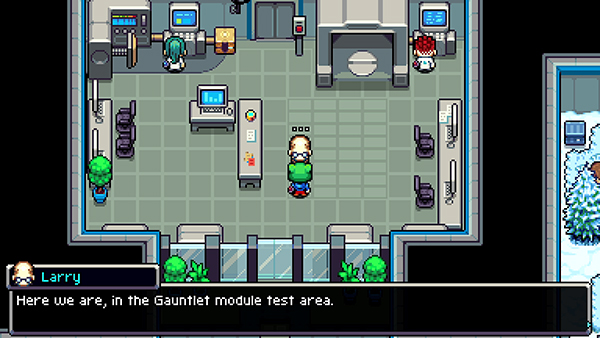
You'll come across Larry, who will take you into the Gauntlet module test area. He gives you a brief overview of different modules they're working on- some which you'll get to use later on- and then you get interrupted by Rigel.
Titan Essence
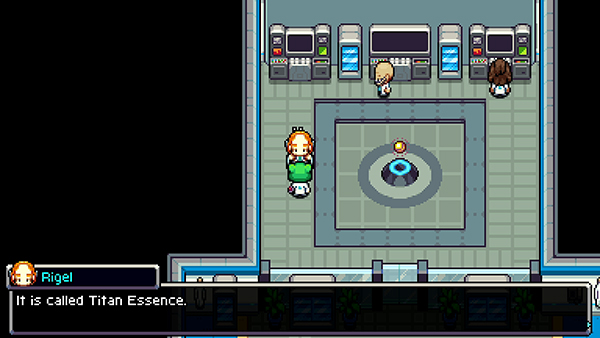
Rigel introduces you to Titan Essence. He wants you to capture all the Titan Essences from around Velua; they come from powerful creatures called Titans and apparently there are six of them!
He mentions the first Titan you should investigate is on Donar Island, a Titan called Voltgar.
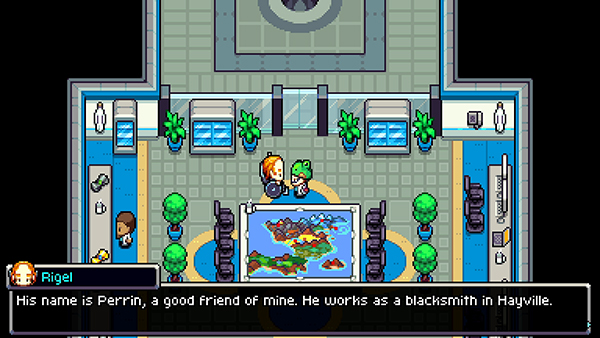
However, before you can begin this adventure, you first have to get the Essence Collector attached to your Gauntlet, which can only be done by a guy named Perrin at Hayville.
Before you leave for Hayville, pick up the Heal Spinner from the plant pot.
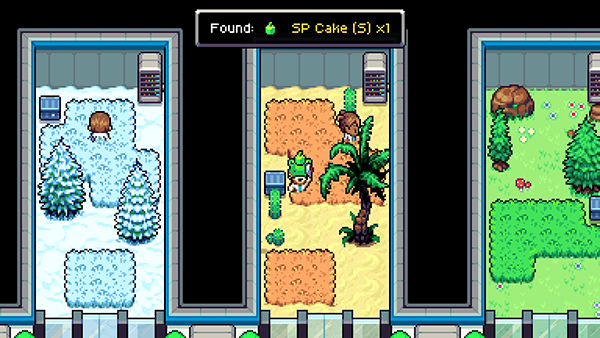
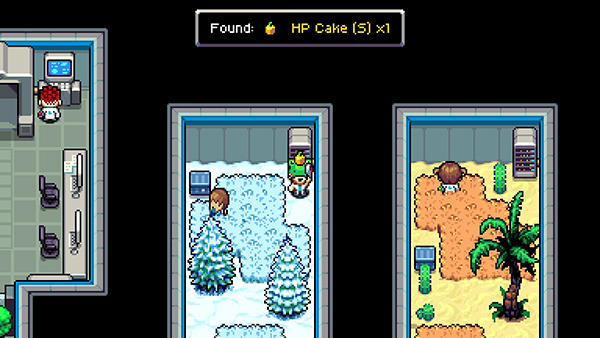
Pick up the SP Cake (s) x1 from outside the R&D room on your right in the sand area, and the HP Cake (s) x1 in the Ice area.
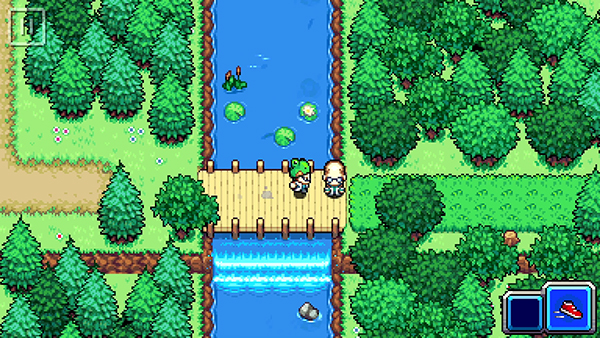
Head back to Radiant Park and this time head right until you come to a bridge. There you'll meet Larry.
Larry will upgrade your Gauntlet with a new module: Stink Module. This module allows you to select parts of tall grass and remove any wild encounters! Pretty cool eh?
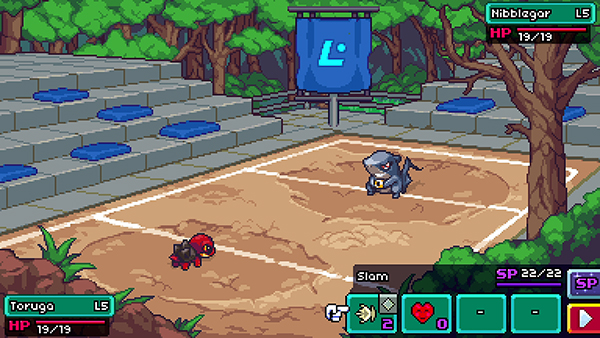
![]() Trainer Battle with Todd
Trainer Battle with Todd
Make your way right; there are several trainer battles you can find here that give a decent amount of XP to help with leveling up. You'll eventually come to a new area called Hayville.
And that wraps up part 1 of Coromon Walkthrough! Let us know if your found the guide useful and if there is anything we can do to improve it! Oh- and let us know which starter you chose in the comments!

Discussion