
After making it out of the Soggy Swamp, we arrive in the haunted town of Pawbury, where mysterious things are happening to the residents. Our search for the next Titan Essence also continues, so you'll want to make sure your Coromon Squad is trained up sufficiently.
Our first mission is to locate an old man named Hugh, who can point us in the direction of the next Titan Essence.
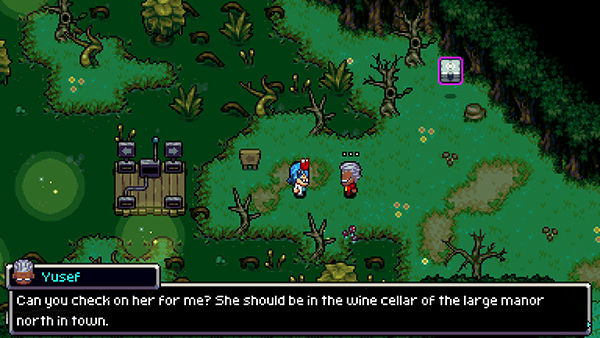
A man named Yussef at the entrance of Pawbury tells us to find Hugh's wife, Dorette, who has discovered something strange in a wine cellar.
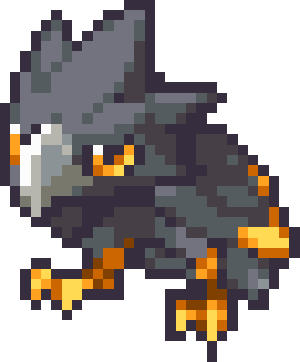
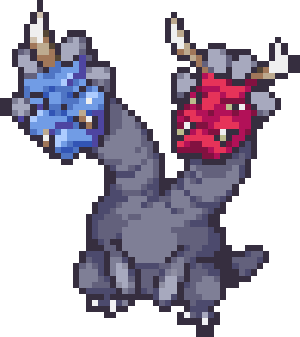
Pawbury is home to Ghost Coromon. Ghost Coromon are weak to Ghost and Magic type moves, so if you ever wanted to train up a Ghost Coromon, now is the time to do it!
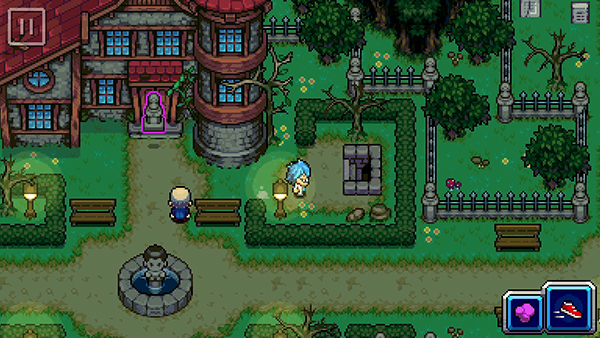
Pawbury
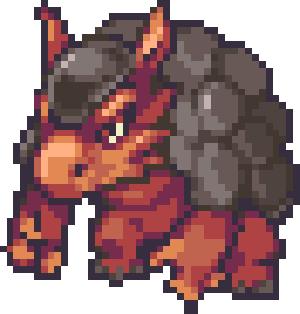
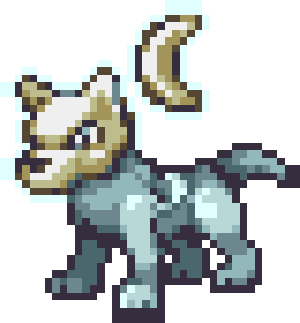
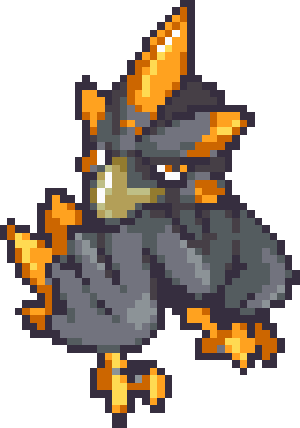
Coromon found in Pawbury


Pawbury has several areas for you to explore. First you'll want to pick up the following loot:
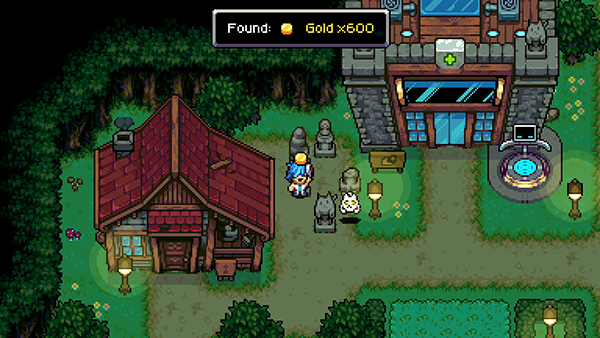
Pick up 600x Gold near the statues outside the Trainer Hub.
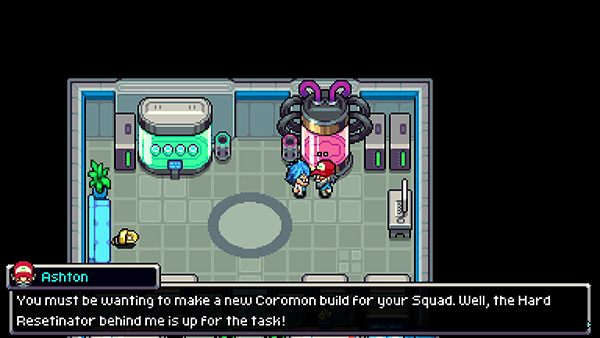
On the top floor of the Trainer Hub you'll find a Treasure Chest with a Trick Spinner and a new device called the Resetinator (this allows you to reset your Coromon's Potential Stats for a fee.)
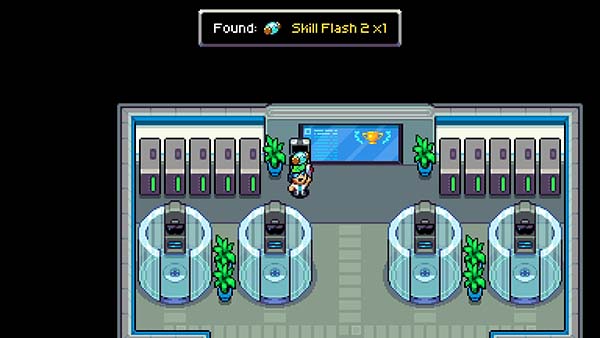
On the bottom floor of the Trainer Hub, you can find a Treasure Chest containing Skill Flash 2.
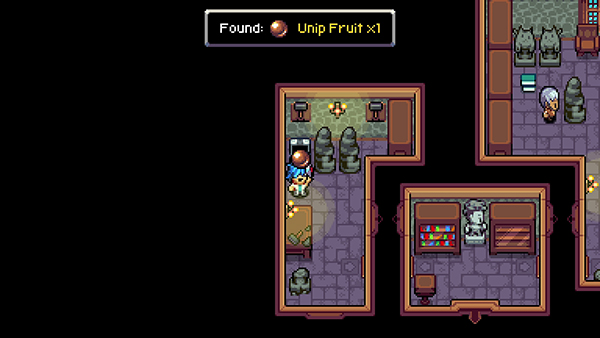
The first house on the left of Pawbury is owned by Mason the sculptor. He will give you an easy quest to complete called Swurmy Statue. You can also find a Treasure Chest in one of the rooms containing a Unip Fruit.
A Cafi Cake can be found in the oven.
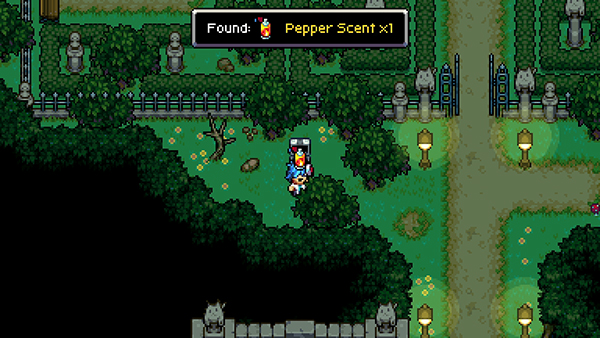
At the entrance to the manor, you can find a Treasure Chest containing a Pepper Scent.
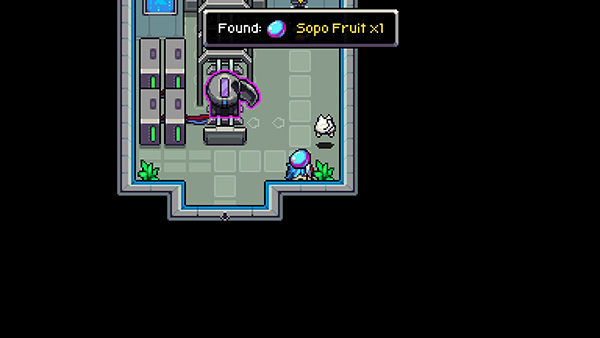
If you head right you'll find a building called the Hyperloop, where you can find a Sopo Fruit near a plantpot. The Hyperloop is currently out of use.

At the top right of the graveyard you can find a Treasure Chest with a Heal Spinner.
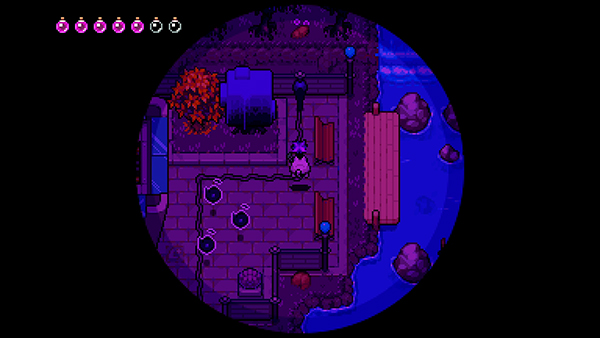
Furclaw Manor
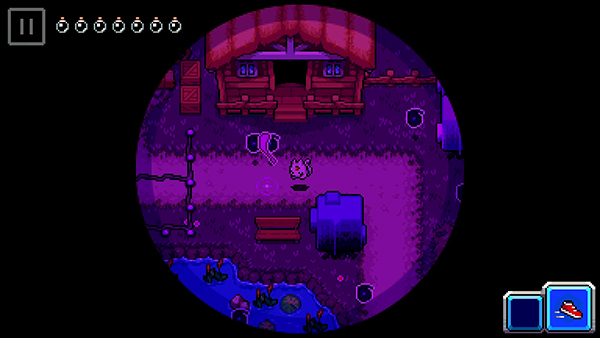
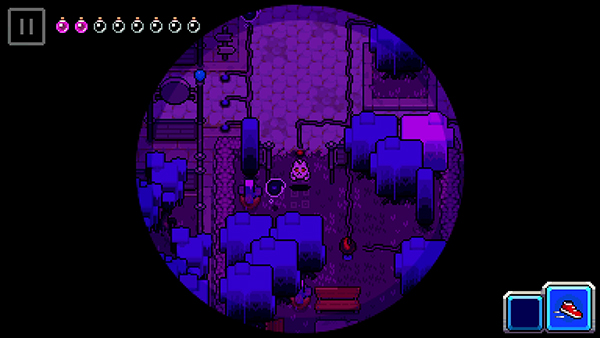
You can find Dorette in the Wine Cellar just before the Furclaw Manor.
Inside you can pick up a Golden Spinner near the wine barrels and two Spooky Spinners from a Treasure Chest.
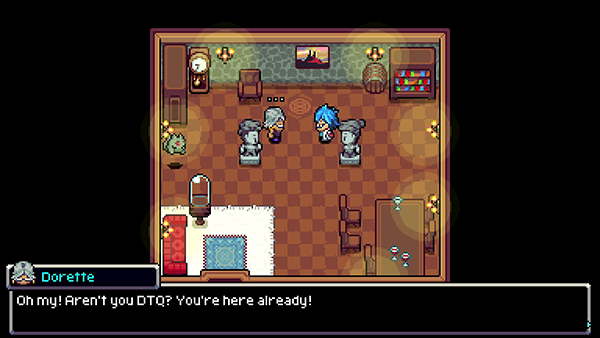
You'll meet Dorette, Hugh's wife. Hugh has gone missing after investigating the haunting of Pawbury and he seemed to track down the cause to this wine cellar.
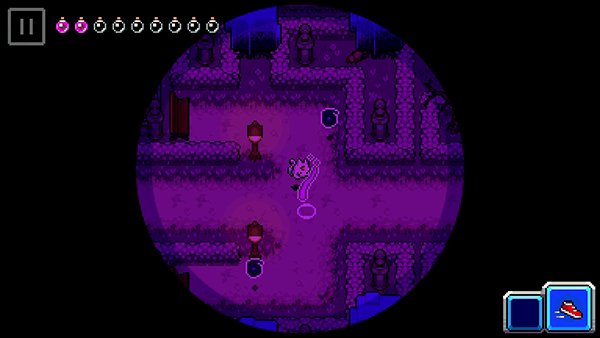
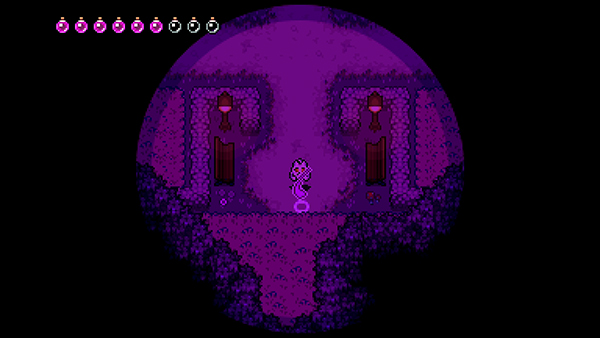
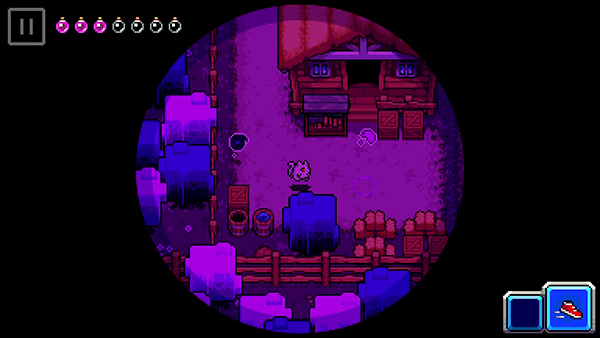
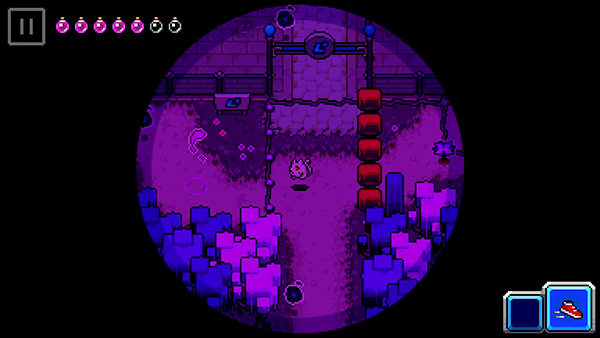
The Wine Cellar also contains teleportation portals. Once you step on one, you'll be transported to a different room that looks similar.
The puzzle is fairly simple. There is only one correct portal in each room; 3 of them will take you back to the beginning. You can either memorize each right portal, or use the following portals below:
- First Room: Top Portal
- Second Room: Right Portal
- Third Room: Top Portal
- Fourth Room: Top Portal
- Fifth Room: Right Portal
- Sixth Room: Bottom Portal
- Seventh Room: Left Portal
- Eight Room: Top Portal
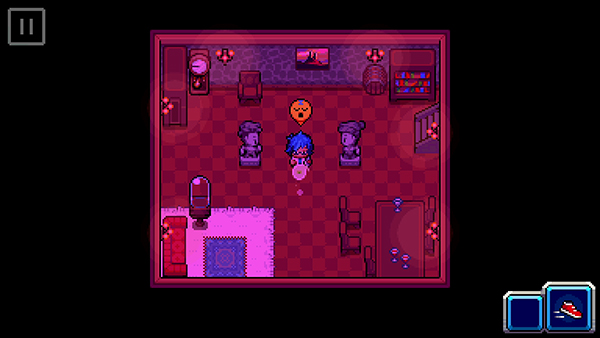
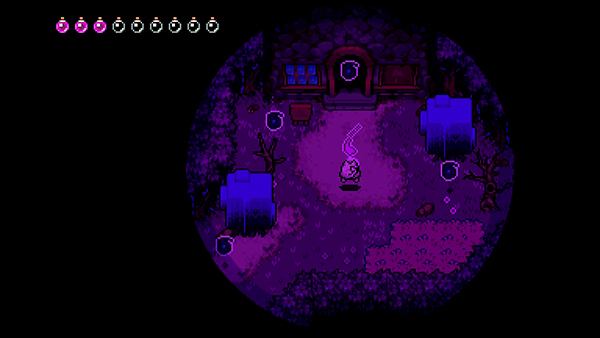
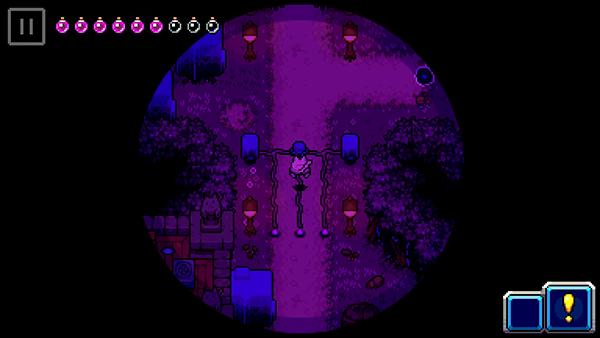
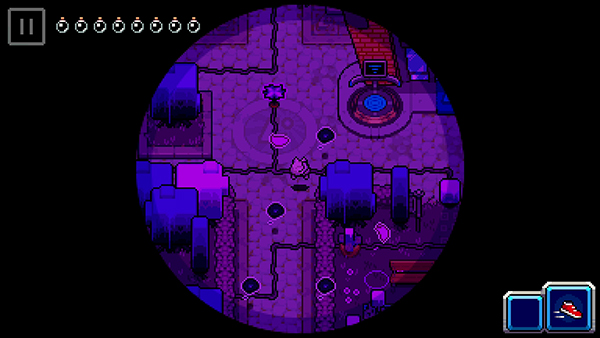
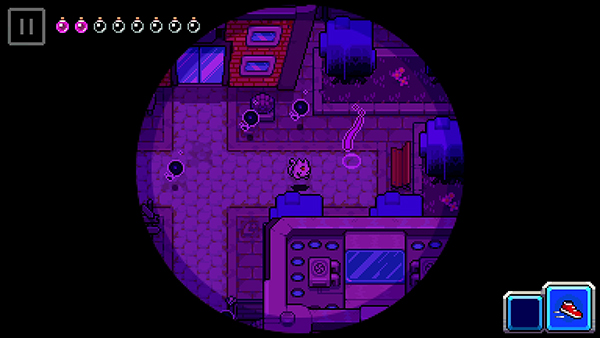
Once you reach the end, you will have an out-of-body experience and be in control of your spirit. Head out of the room and up the stairs and you'll come to the inside of the Furclaw Manor.
Make your way through the rooms of the mansion and head further upstairs.
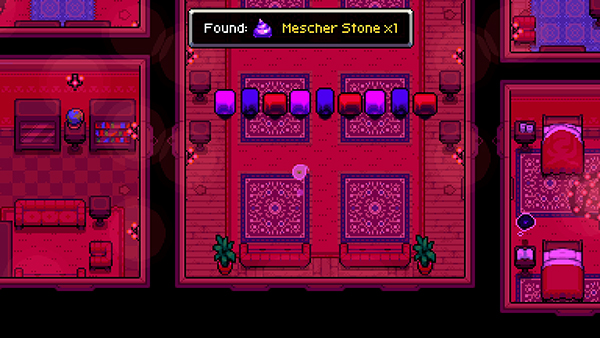
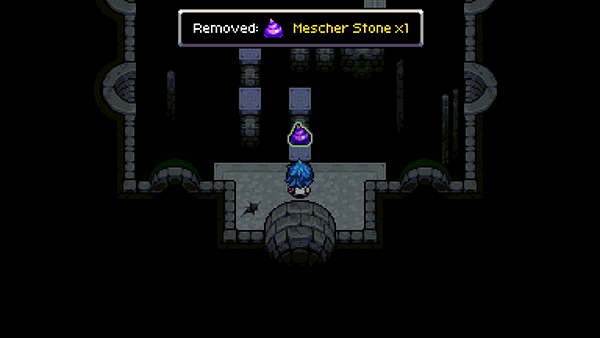
On the top of the landing you'll find the Mescher Stone and this will cause the Titan Illuginn to appear.
He talks about a place called the Mescher Realm, where souls go to rest. Illuginn says you can use the stone to reach the Mescher Realm to help herd lost souls.
Afterwards you'll return to your body and be awoken by Dorette and Hugh.
Hugh gives you the key to enter the Monastery, which is on the left side of Furclaw Manor. Pick up the Heal Spinner in the Treasure Chest of the Wine Cellar.
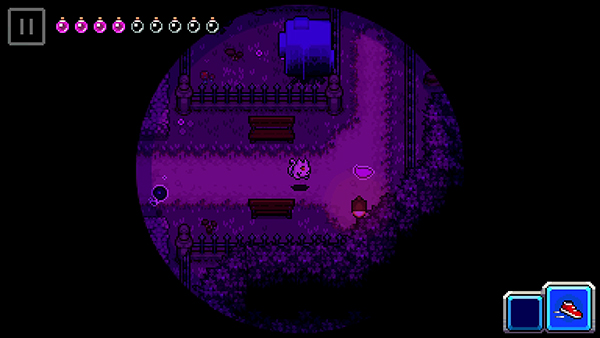
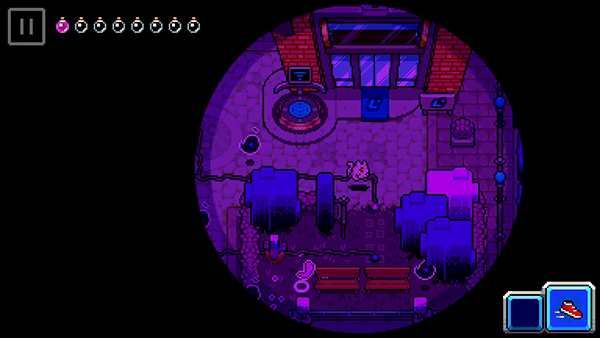
Before leaving, you should now enter Furclaw Manor to loot up, since it has returned back to normal:
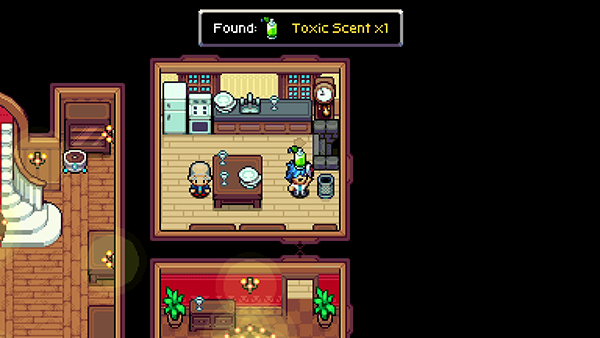
You can pick up a Toxic Scent from the trash bin and a Duria Fruit from the oven in the first room.
In the center of the manor you can find a Defense Cake.

In the room full of statues, you can find a SP Cake (s) and a HP Cake (s).
In the Library you can find a Spinner.
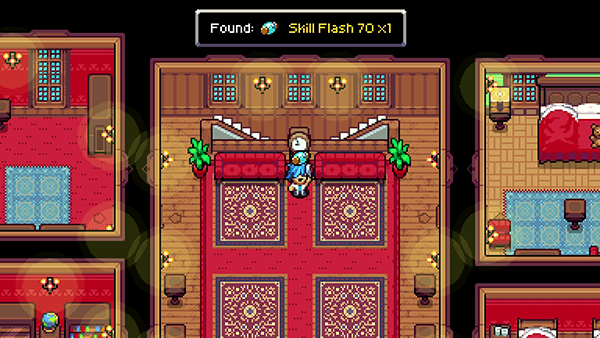
Upstairs, you can find Skill Flash 70 by the clock.
In the room on the right you can find a Treasure Chest containing a 75% Coupon.

You can find a Top Hat from a Treasure Chest from one of the rooms on the left and also another Treasure Chest containing Unip Fruit x3, Cham Fruit x3 and Tama Fruit x3.
And finally the last room on the right contains Ether Scent x3.
Monastery of Illuginn
Head to the Monastery and open the gate with your new key you got from Hugh.
Inside you'll find four red cloaked priests who tell say you need to pass the trial of the Haunted Halls in order to meet with their lord Illuginn.
At the top of the altar you'll find two Lifted Cakes either side of the statue.
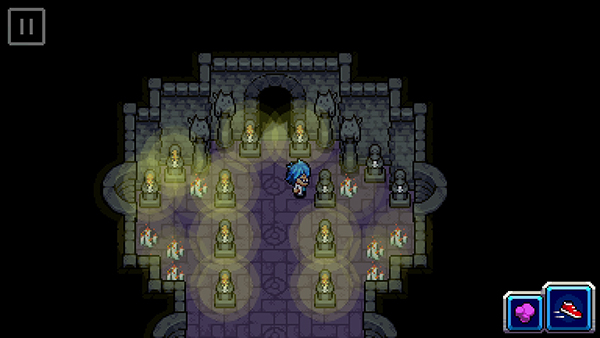
Take either the left or right path down below (they both lead to the same area) and follow the dungeon route that's filled with statues holding candles. You'll then come to the Haunted Halls.
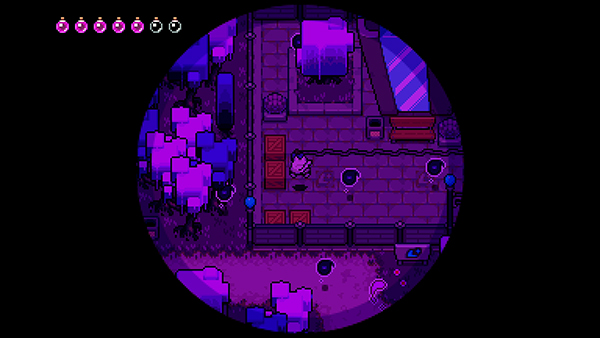
Haunted Halls
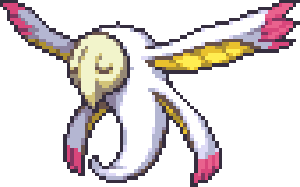
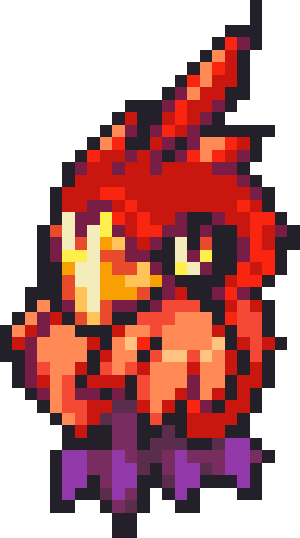
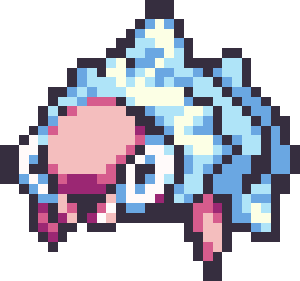
Coromon found in Haunted Halls


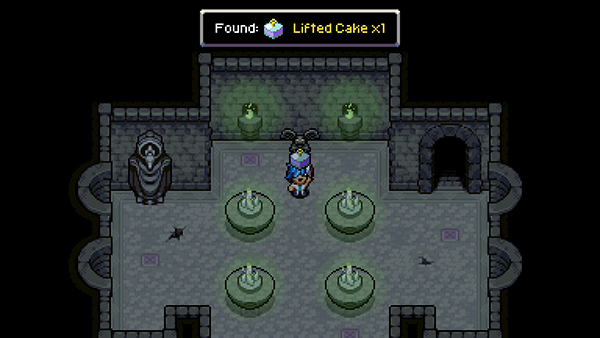
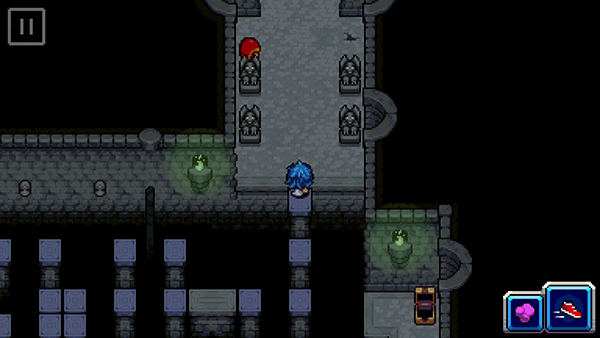
In the first room of Haunted Halls, pick up the Lifted Cake from the main statue and then take the door on the right.
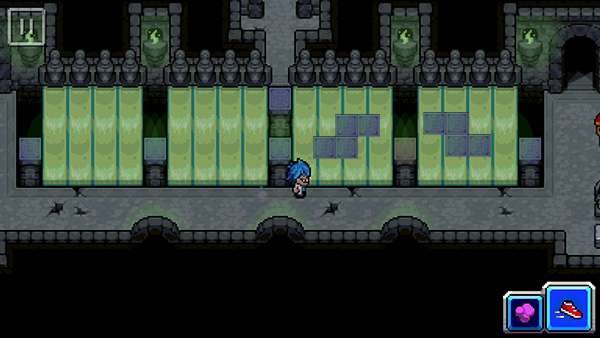
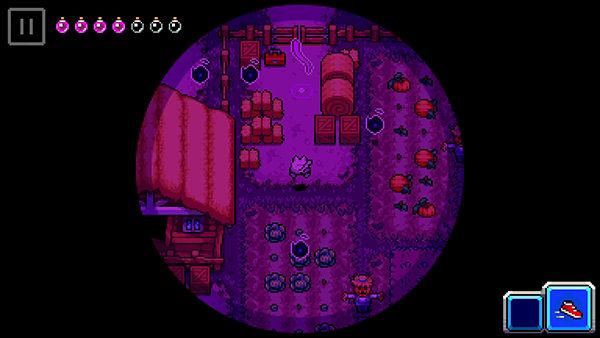
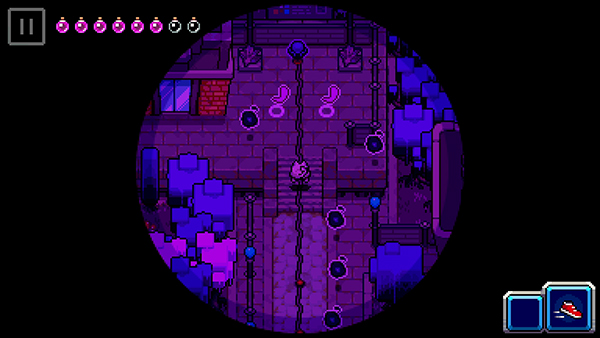
Follow the next room until you come to another room where you can see two green waterfalls either side of some raised platforms. On the right hand side is a Treasure Chest containing a Cafi Cake and a trainer battle with Matthew.
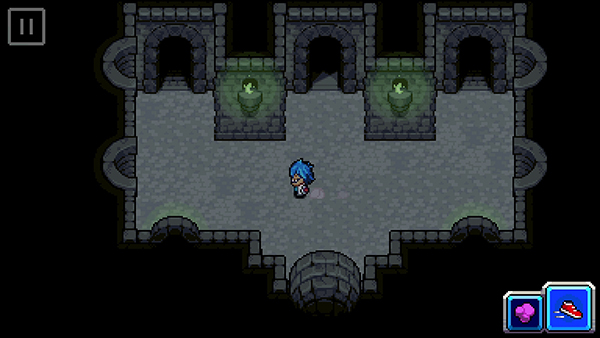
These raised platforms can be jumped from on either side of the map. If you stay on them too long, they will crumble and you'll fall to the ground where you'll respawn in the same room to try again.
You can reach the middle raised platforms by following the route in the image above. The platforms are hidden by the waterfall, so it can be quite tricky to get across. We've added them in above to give you an idea of their location.
Once you make it, you'll reveal a room with three Treasure Chests containing: Gauntlet Component, Cado Fruit x2, Skill Flash 20.
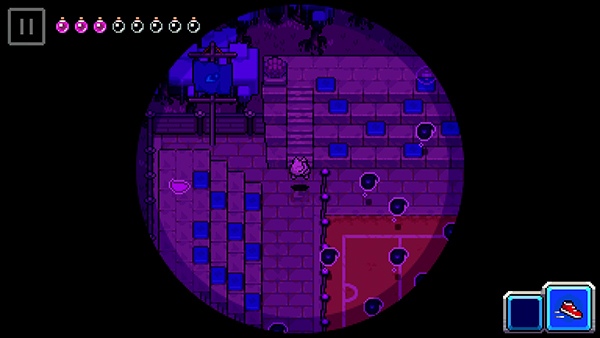
Next follow the door on your left. You'll come across more raised platforms and then exit that room until you come to a bigger one.
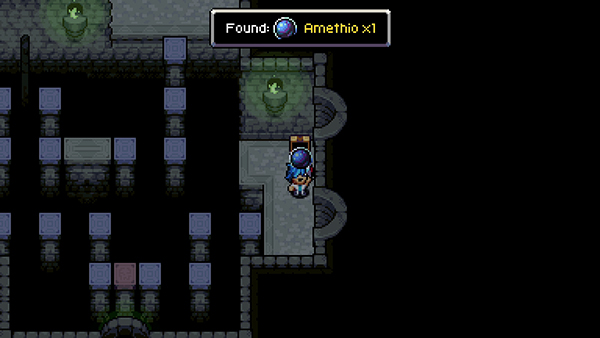
Here you can find a Treasure Chest on the right containing a Amethio.
In the center is another Treasure Chest containing a Phoenix Shard.
Jump across the raised platforms until you get to the top-right of the area, where you'll come across another Trainer named Magdalena.

Next you'll come to a room with three doors. Take the right most door first to collect the two Treasure Chests containing Stinky Scent and Fear Scent and Golden Spinner x3.
Then take the middle door and you'll come to another room with three doors; this time a trainer awaits you in front of the left door named Simon.
![]() Trainer Battle with Simon
Trainer Battle with Simon
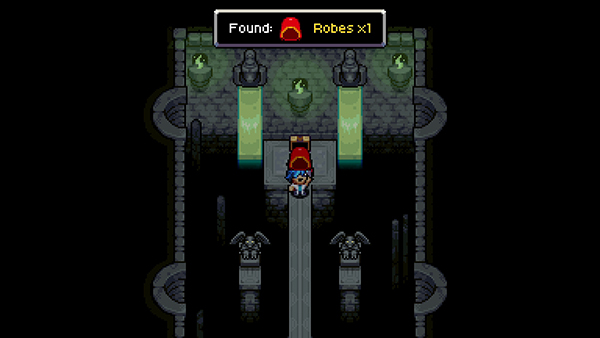
The door on the right contains a room with a Treasure Chest containing Robes.
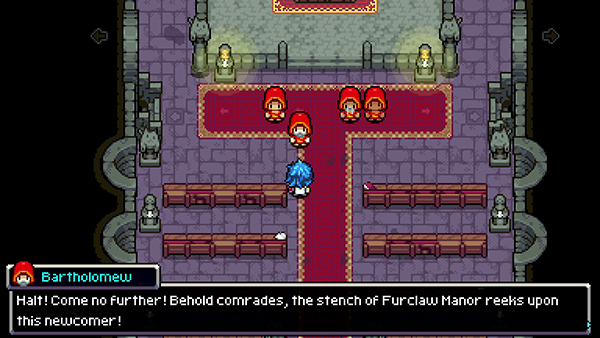
Head back to the three door room and this time choose the left (past Simon). You'll come across another trainer named Bartholomew; once beaten enter the next room.
![]() Trainer Battle with Bartholomew
Trainer Battle with Bartholomew


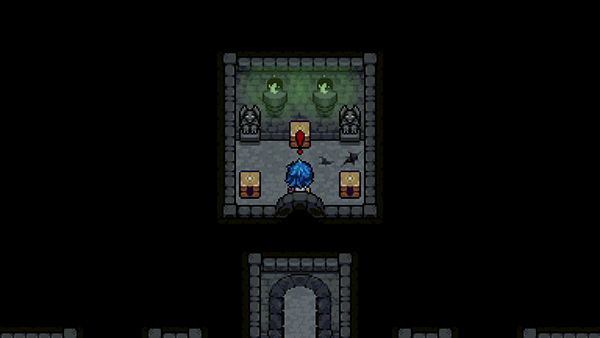
Finally you've made it to the end of Haunted Halls! You'll lose your Mescher Stone; jump across the raised platforms and you'll come to a shrine surrounded by Purrgy.
Interract with the top headstone and the shrine will come alive and teleport you to the Mescher Realm.
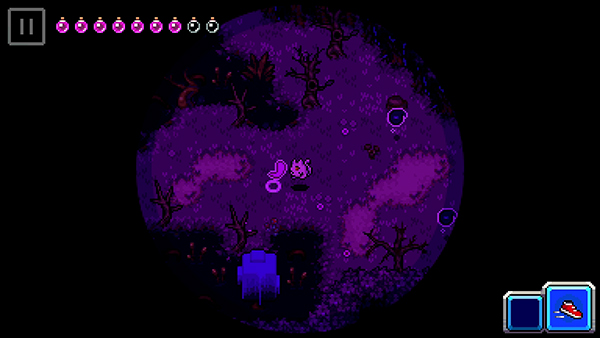
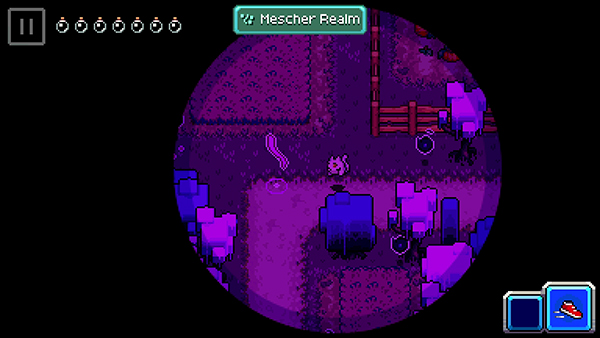
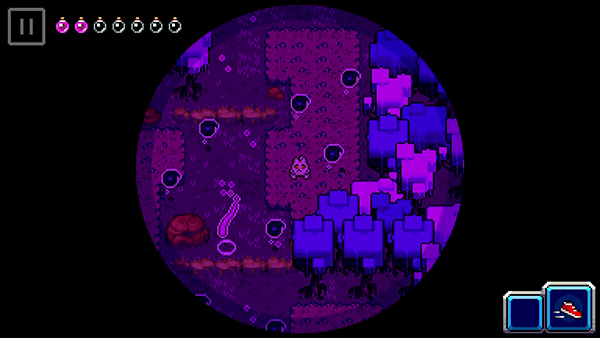
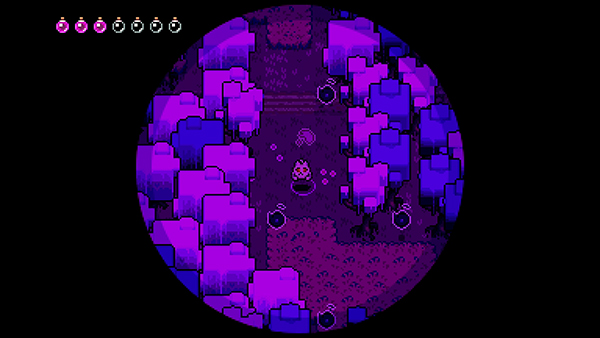
Mescher Realm
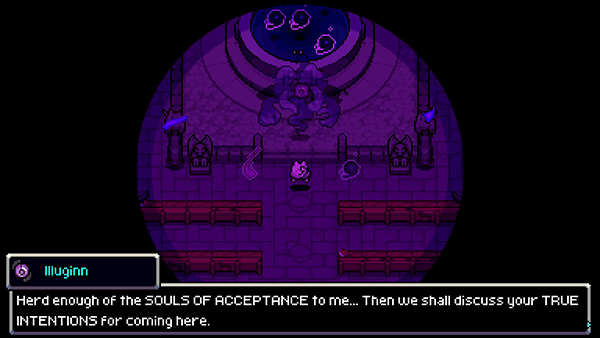
You'll be transformed into a Purrgy yourself and if you head down the room you'll be teleported to Illuginn. He asks you to help him with the problem of overflowing souls in the Mescher Realm.
There are four different maps to cleanse, all of them will be familiar to you. You must find all of the Souls Of Acceptance whilst avoiding the Souls Of Grief.
If you hit a Soul Of Grief, you'll be teleported back to a checkpoint in the map.
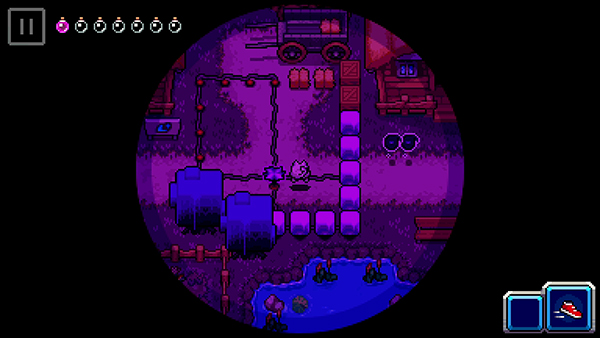
The first map is Pawbury. There are 9 Souls to collect here. Here are all their locations:
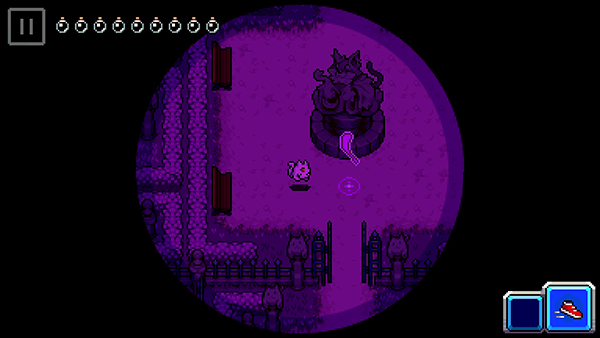
#1 - In front of the Monastery of Illuginn
#2 - Just below the first one.
#3 - To the right of the second one.
#4 - In front of the Hyper Loop house on the right of Pawbury.
#5 - Just before you enter the graveyard at the top right of Furclaw Mansion
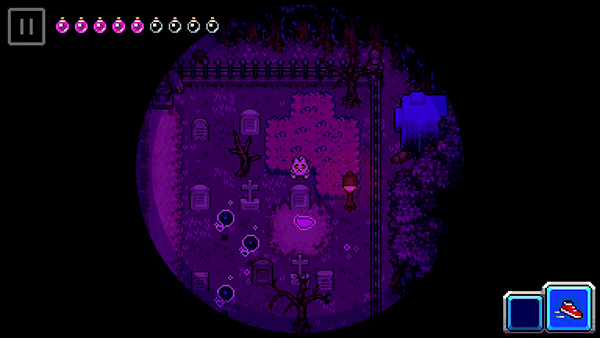
#6 - In the graveyard next to Furclaw Mansion
#7 - If you go to the bottom of Pawbury, there is a switch that if you scratch, will unblock the way. Head all the way down and you'll find the next one.
#8 - Head to the entrance of Pawbury (near Soggy Swamp) to find the penultimate one.
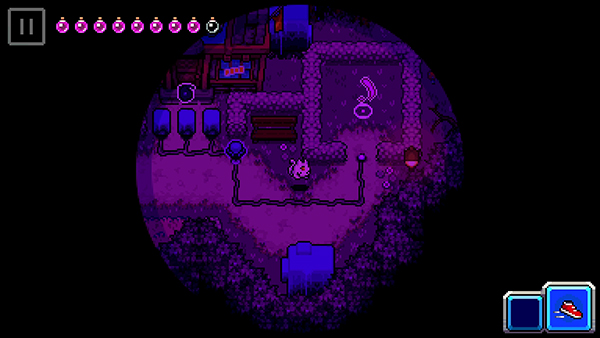
#9 - The final one is on the right side of Pawbury; you'll need to hit the contraption to unblock the area to grab it.
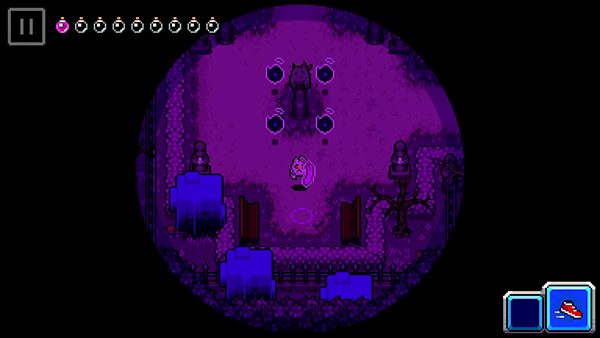
Once all 9 have been got, you'll then be teleported to the next map: Hayville!
There are 7 Souls Of Acceptance to collect here:
#1 - First hit the switch blocking the way and make your way up through Hayville. The first Soul is outside one of the houses at the top of the water.
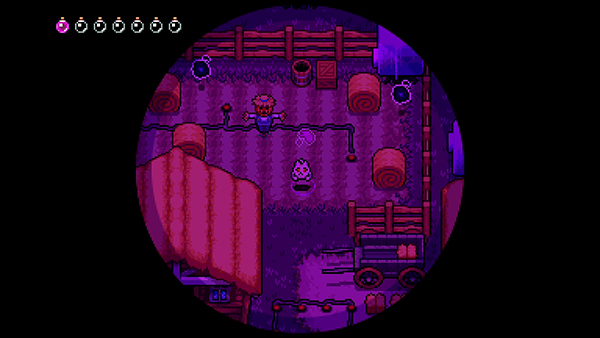
#2 - Next hit the second switch so that the fire blocks are removed. Head up and you'll find the Soul in the field.
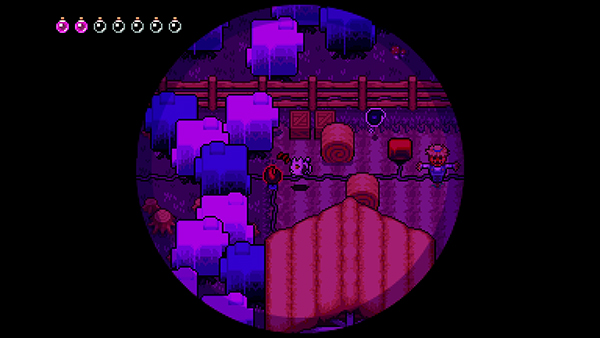

#3 - In that same field is another contraption, hit it and then head left. You'll come to another switch, hit it and go up to find #3 in front of the Blacksmith house.
#4 - The next one is south of the Blacksmith house, near where you first met Perrin.
#5 - In the exact spot you rescued Perrin, you'll find the next Soul.

#6 - Now head left, and then go south of the well to find the 6th.
#7 - The final one can be found in front of the Library. There are two switches either side of it that you must press.
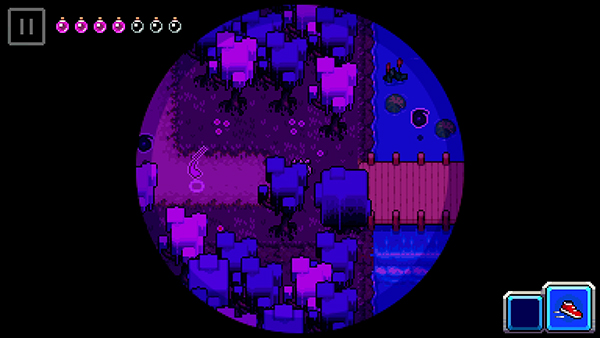
The next map is Radiant Park. There are a total of 7 Souls to collect here.
#1 - The first one will be directly in front of you.

#2 - The second is south of that one; you'll need to hit the switch to get it.
#3 - Keep heading left, until you come to lots of Souls Of Grief that are moving backwards and forwards quite fast. Take your time here and move one tile at a time.
#4 - You'll need to do some dashing to get pass some of these Souls Of Grief. Follow the path left and you'll come across the next one.
#5 - Head across the bridge to find the next one.
#6 - For this one, there are three switches located around the R&D building. Hit all three to unlock the path.

#7 - The final one is where you once met Jerome in the park.
The final map is Lux Solis Campus. There are 8 Souls to find here.
#1 - The first is at the center of Lux Solis
#2 - Next hit the switch in the center and take the Soul on the left in front of the Trainer Hub.
#3 - Next hit the switch in the center so that it opens up the path on your right. There is another switch there, hit it and you can then go up and collect one on the right of Lux Solis Laboratory.
#4 #5 - To the right of the Lux Solis Laboratory are two more Souls, with three grief souls in your way.
#6 #7 #8 - These are all in the stands of the Battle Arena. Hit the switch will release lots of Souls of Grief so you're going to need to dodge lots of them.
Once you've completed all the Soul Collecting, you're then transformed back into your normal self.
You can now face the Titan Illuginn.
Feel free to head back to the Trainer Hub and heal up, as you can use the Checkpoint System to teleport directly back to the Mescher Realm.
Boss Fight - Illuginn
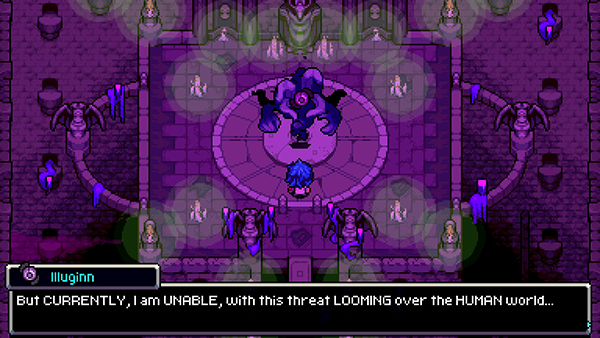
After fighting through all those puzzles, you are rewarded with a tough boss battle against the Titan Illuginn.
Illuginn is similar to other Titan bosses, and you're going to need a party of strong Coromon to take him down.
Illuginn is Ghost type, so any other Ghost Coromon can deal 2x damage (as Ghost is weak to Ghost) or if you have Magic type attacks, they can take out Ghost Coromon too.
Illguinn can be very tricky to take out, but his moveset is quite simple. He will use two attacking moves that will either reduce your attack and Sp. attack stats or lower your Sp. defense. This means the longer a single Coromon stays in battle, the weaker it will become as it takes hits from Illuginn.
Illuginn also loves to put your Coromon to sleep with it's Hypnotize move. He can hit two of your Squad in one hit, so make sure you pack lots of Sleep Fruit to help wake up fast, as you can be asleep for three rounds at once!
You can give yourself a bit of an advantage by casting sleep moves on Illuginn yourself. If you do this at the start of the battle, and then switch out to your hard-hitting Coromon, you can take off a nice sizeable chunk of HP. Some Coromon with sleep moves are Frova and Seraphace that you can find in the Haunted Halls.
If you kept your Armadon from your last Titan fight, he can learn the move Body Blow, which deals lots of damage to Illuginn.
Remember that you can also revive Coromon using Phoenix Shards to keep your Squad in the game.
When you get Illuginn down to 1 HP, he regenerates to half health for a final round. He will continue to use his other moves, but he can now also use his super move that takes an additional turn to charge called Polter Crush!
Check out the video below for more tips.
Congratulations on beating Illuginn! Another Titan Essence in the bag. You'll be teleported away from the Mescher Realm and meet Hugh at the gates. Pawbury has been saved!
And that wraps up part 6 of the Coromon Walkthrough! Share your tips for beating Illuginn in the comments below!

Discussion