Having arrived at Donar Island, we now need to venture into the Thunderous Cave to help a friend and finally investigate the Titan Essence!
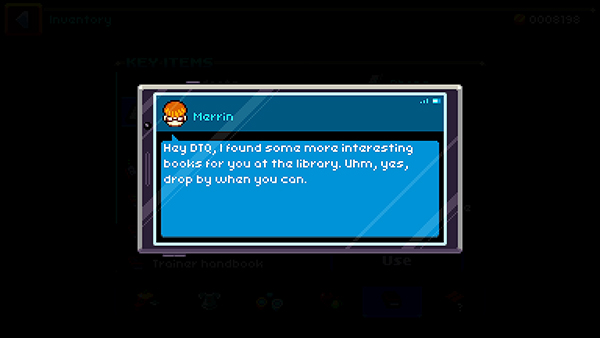
Upon arriving at Donar Island, you'll get a phone message from Merrin who has some more books for you to read. This will start the quest Knowledge Is Power. Just visit Merrin in Hayville to complete it and you'll get a bunch of new books to read. This will allow you to complete the quest Battle of Knowledge.
You'll occasionally get messages from people you meet all over Velua.
Donar Island
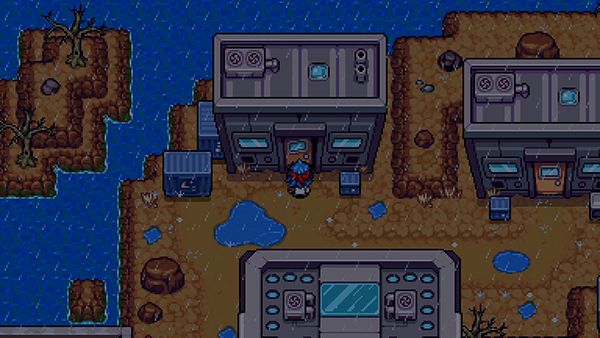
As with every new town you reach, it's a good idea to explore and pick up the loot first.
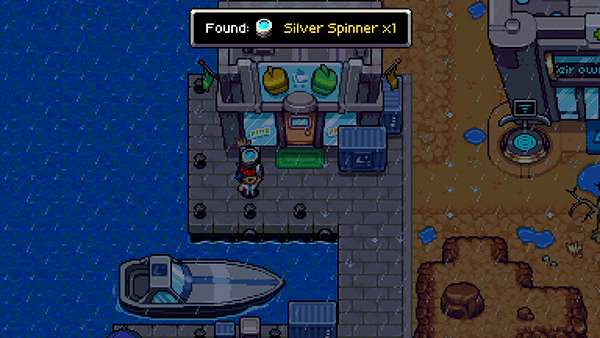
Outside the shop you can find a Silver Spinner.
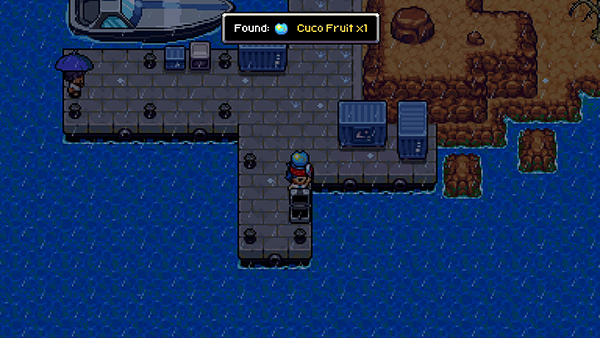
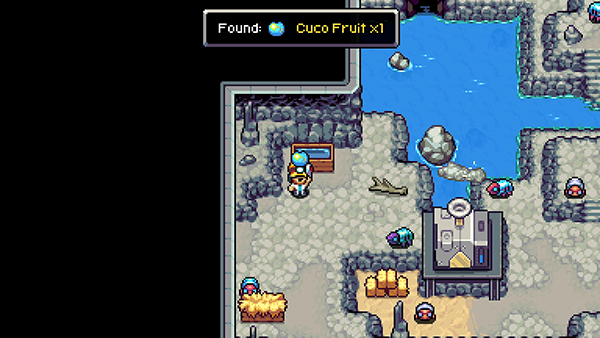
On the pier you can find a Treasure Chest containing a Cuco Fruit and Sur Fruit.
There is a house at the top of Donar Island. Inside you can find Julian who can evolve your Patterbit into Patterbyte using his new bootleg kernel. However, if you go to the Trainer Hub and try to heal him, they will refuse.
Go back to Julian and this time he will de-evolve your Patterbit and offer you the option of the real upgrade for 1,000 Gold (this one will work and allow Patterbit to be healed).
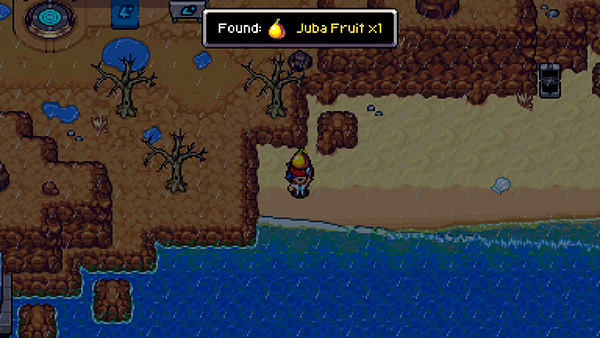
Inside Julian's house you can pick up a Juba Fruit and find a Treasure Chest with a 50% Coupon.
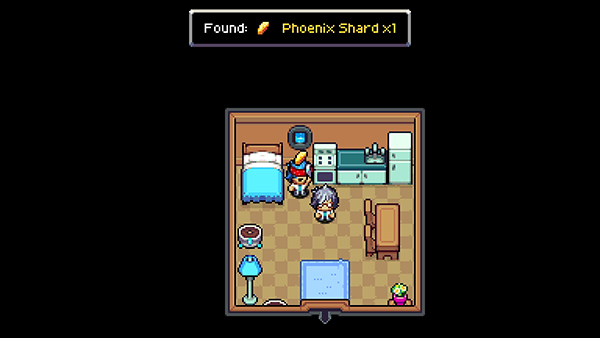
In the next house over you can find Albert, who will give you an SP Cake (M). You can also find a Phoenix Shard by the bed and a SP Cake (s) by the fridge.
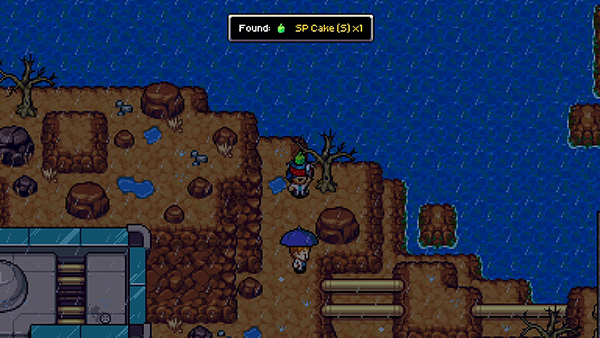
You can also find an SP Cake (s) near a tree looking towards the Power Tower.
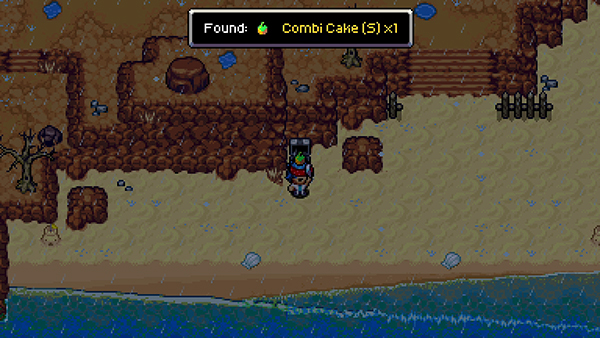
On the beach you can find a Treasure Chest containing a Combi Cake (s). You can also pick up a Juba Fruit from one of the Sandcastles.
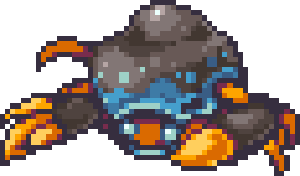
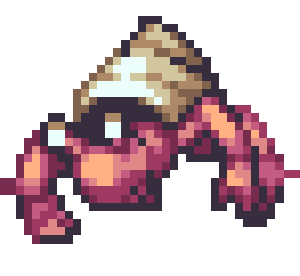
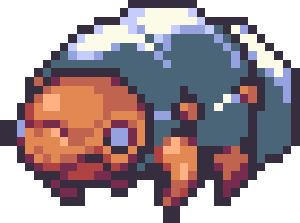
If you run along the edge of the beach, you can encounter the following Coromon:

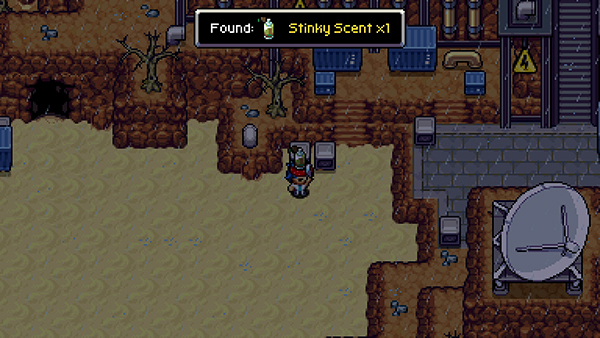
Just before the Power Tower on the beach you can find a Stinky Scent.
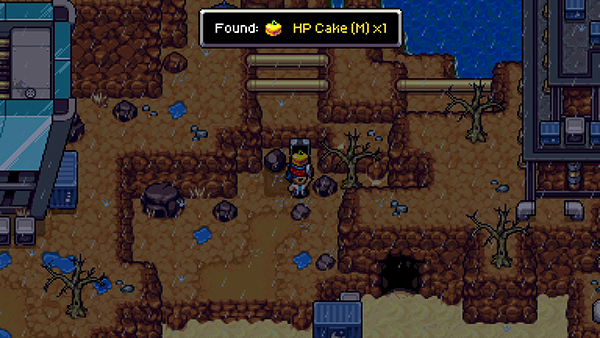
There is also a Treasure Chest containing a HP Cake (m) and SP Cake (m) that you'll need to move some boulders out of the way with your PUSH Module.
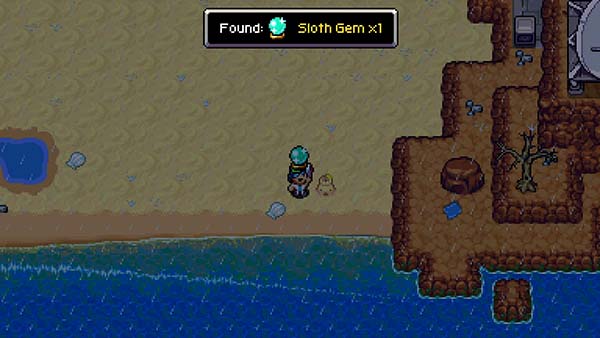
Further along the beach you can find a Sloth Gem.
Buzzlet Lab
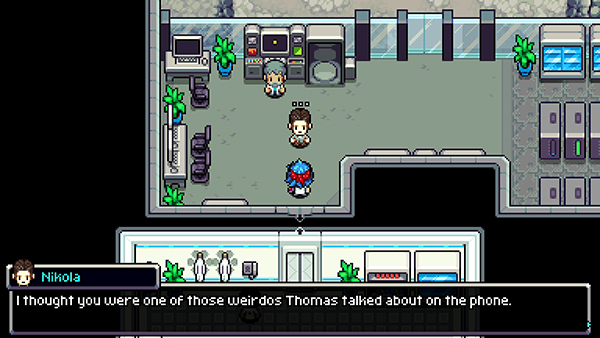
Finally, head to Buzzlet Lab, where you'll meet Nikola.
She will tell you that Thomas has got himself locked in the Fuse Room at the top of Thunderous Cave.
You offer to help, and Nikola gives you a helmet with a light on it to help you navigate the cave. She also gives you Combi Cake (s) x2 and Stinky Scent x2.
Note: Stinky Scent is really useful item when navigating new areas. When you activate it, you won't get any random encounters from Coromon that are weaker than your Squad leader. This will allow you to travel around areas without getting interrupted every 10 seconds.
Before heading to the Thunderous Cave, head further into Buzzlet Lab to pick up a Cuco Fruit.

You can also meet Joseph who will give you a quest Buzzlet Delivery and also give you the useful item Potential Reader.
Note: Potential Reader is really useful in determine the Potential Value of your Coromon. Coromon can have a Potential Value of 1-21, with 21 being the perfect value. The Potential Reader will reveal this number when you use it on a Coromon.
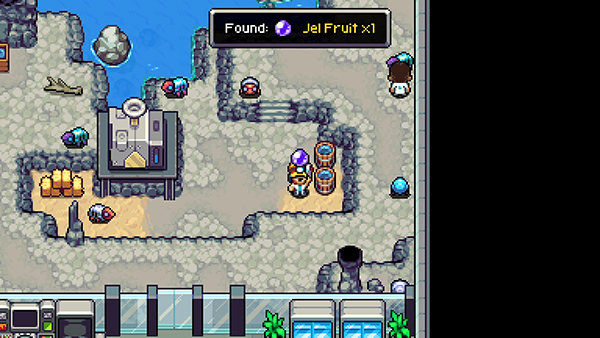
Finally, pick up the Jel Fruit from the water bucket.
Thunderous Cave
You can find the Thunderous Cave on the Donar Island beach. There are four levels to this place, with the second floor covered in darkness! You'll want to make sure you have your Worker Helm on for that part.
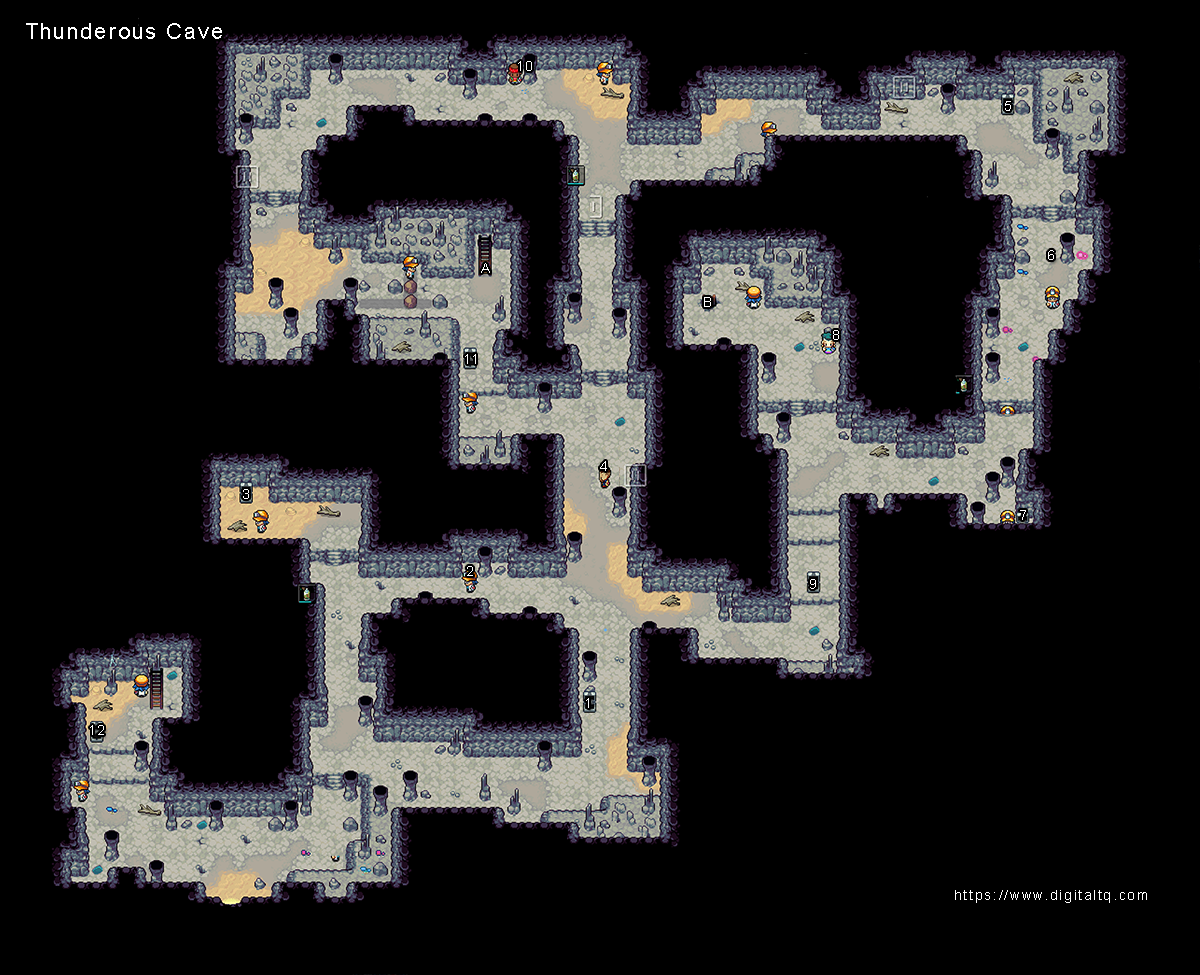
Click the image for a larger version.
You can view the Thunderous Cave Maps above.
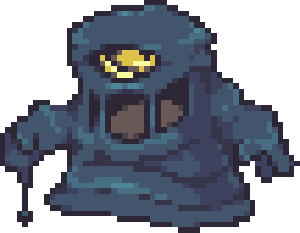
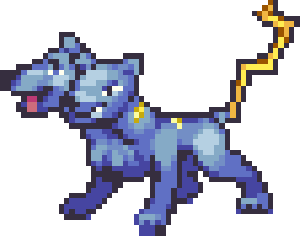
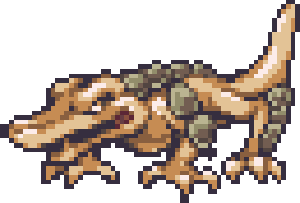
Coromon found in Thunderous Cave


Pro-Tip: A lot of the Coromon in the Thunderous Cave are Electric types. They can also put the Shock status effect on your Coromon, so make sure you buy lots of Ground Cakes from the store in Donar Island.
You can find the following loot:
Floor 1
- [1] - Treasure Chest: HP Cake (s)
- [2] - Potent Scent
- [3] - Treasure Chest: HP Cake (s), Bar Fruit
- [4] - Battle: Shane
- [5] - Treasure Chest: Lux Recall
- [6] - 350x Gold
- [7] - HP Cake (m)
- [8] - Battle: Skye
- [9] - Combi Cake (m) x2
- [10] - Battle: Owain
- [11] - Static Spinner x2
- [12] - Treasure Chest: Combi Cake (m) x2
- [B] - Entrance to lower level
- [A] - Thunderous Cave Floor 2
![]() Trainer Battle with Skye
Trainer Battle with Skye

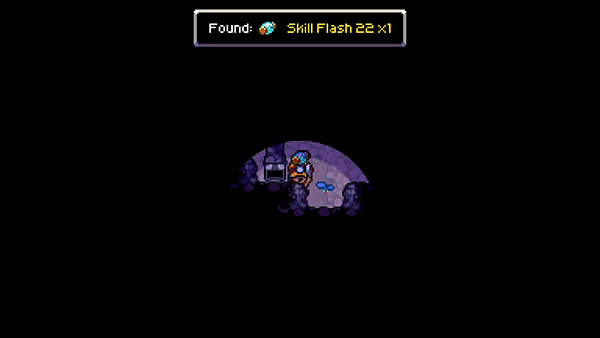
If you first head to entrance B, you will find a small map where you can open a Treasure Chest containing Skill Flash 22 and another Treasure Chest containing HP Cake (s) x2 and SP Cake (s) x2.
Return back to floor 1 and head to [A] to reach Floor 2.
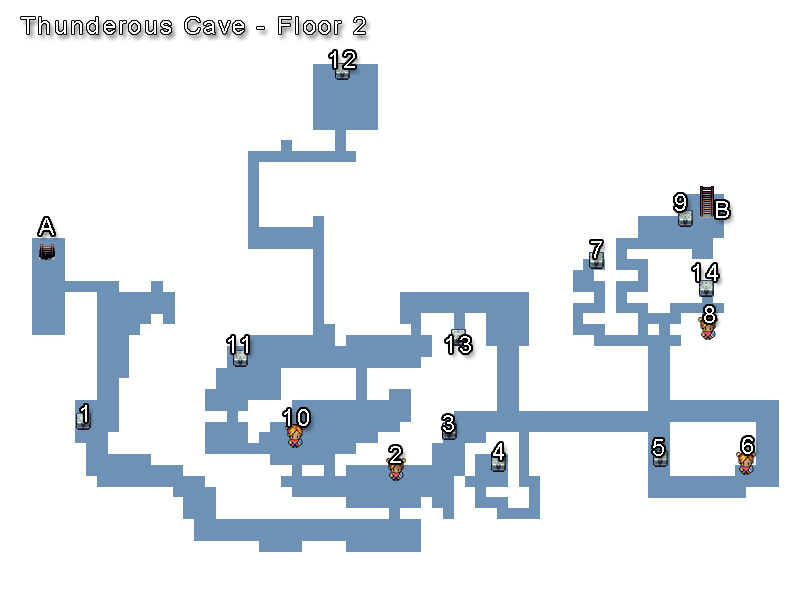
Floor 2 is where you're really going to need your wits about you. Most of the map is covered in darkness apart from a small slice in front of you. You can use our little handy guide above to see where the exit is.
You can also find the following loot:
- [1] - Treasure Chest: Combi Cake (s)
- [2] - Battle: Myles
- [3] - Lux Recall
- [4] - Treasure Chest: Stinky Scent, Combi Cake (s) x2, Ber Fruit x2
- [5] - Treasure Chest: HP Cake (s)
- [6] - Battle: Ronald
- [7] - Treasure Chest: Combi Cake (m)
- [8] - Battle: Tamara
- [9] - Treasure Chest: SP Cake (s)
- [10] - Battle: Neve
- [11] - Treasure Chest: HP Cake (s), SP Cake (s), Spinner
- [12] - Treasure Chest: Static Spinner x2, HP Cake (s) x2, Cucou Fruit x2
- [13] - Potent Scent
- [14] - Treasure Chest: Skill Flash 4
- [A] - Floor 1
- [B] - Floor 3
![]() Trainer Battle with Myles
Trainer Battle with Myles


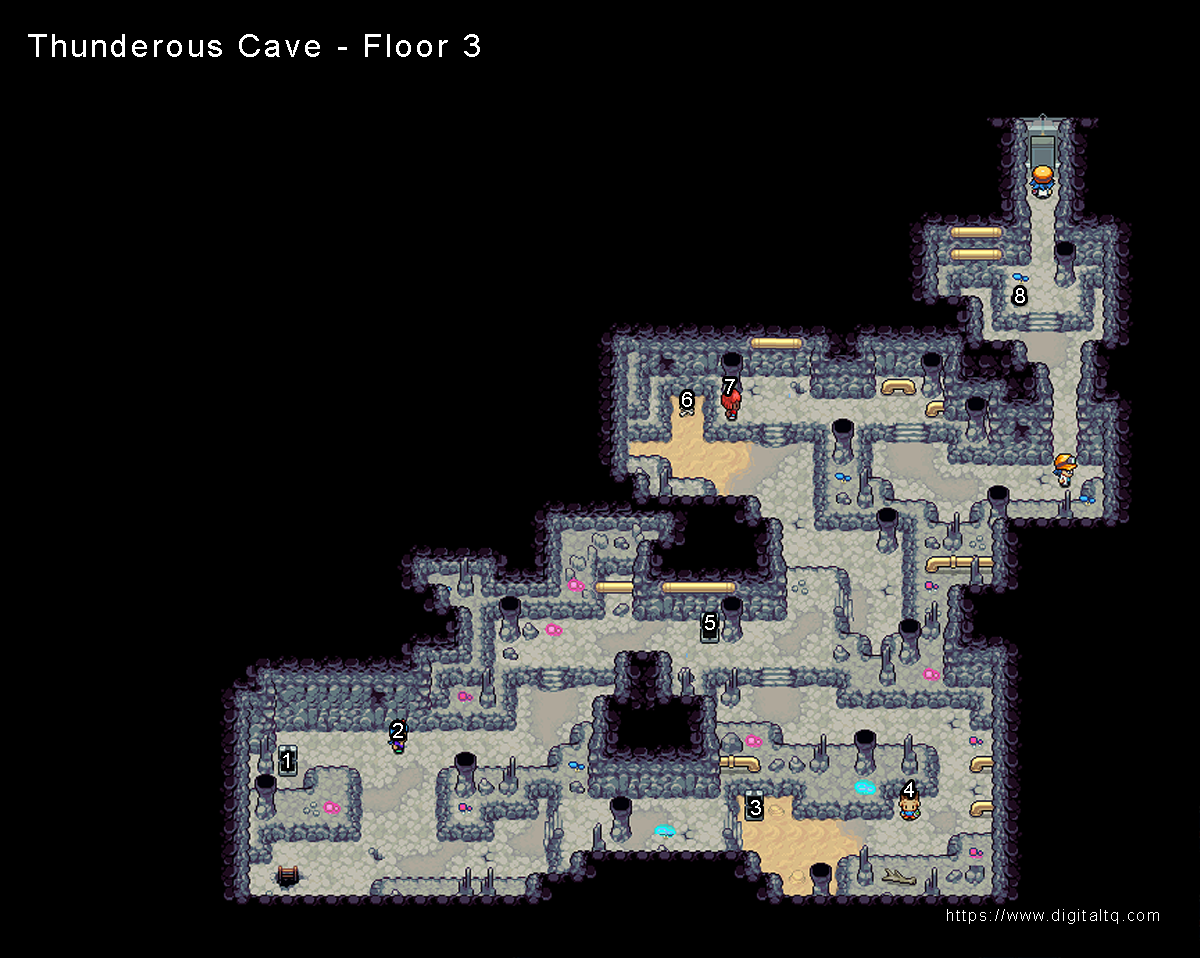
When you exit floor 2, you'll come back into the light on floor 3. Not to worry, floor 3 is very small and only contains a few battles. You're almost there!
On Floor 3, you can find:
- [1] - Treasure Chest: Phoenix Shard
- [2] - Battle: Esme
- [3] - Treasure Chest: Juba Fruit x2, Cucou Fruit x2,
- [4] - Battle: Oskar
- [5] - Treasure Chest: Stinky Scent
- [6] - 350x Gold
- [7] - Battle: Lowri
- [8] - Ground Spinner
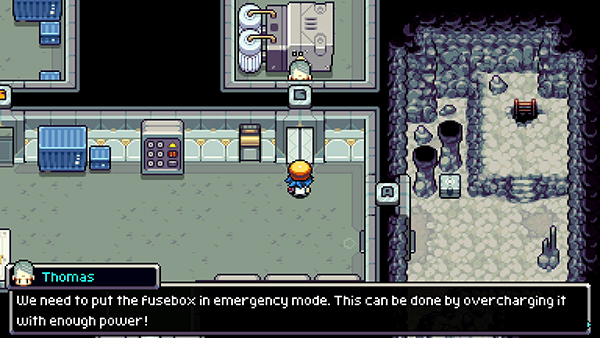
When you finally reach Floor 4, you will need to overcharge the fusebox to get Thomas out. If you interact with the fuse box, you'll be launched into a battle.
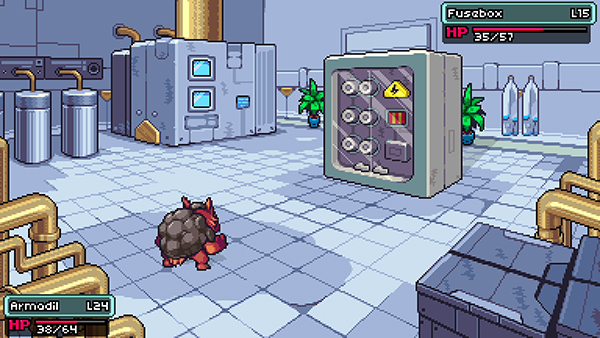
It says you need an Electric Coromon to overcharge it, but we defeated it with a simple Normal type.
Once it's destroyed, you'll free Thomas and he mentions he is being harassed by some strange people who want his Essence Collector. He gives it to you to keep safe.
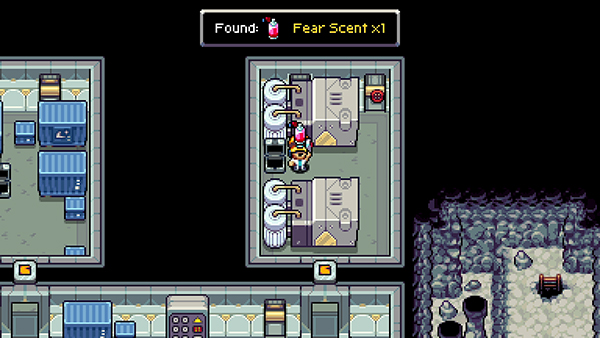
Pick up the Fear Scent from the Treasure Chest in the room Thomas was locked in.
You'll now have access to the Checkpoint System! This allows you to travel between floors in the Thunderous Cave much easier.
Exit via your right and pick up the Treasure Chest containing a HP Cake (M). The ladder takes you back to the entrance of floor 1.
Wubbonians
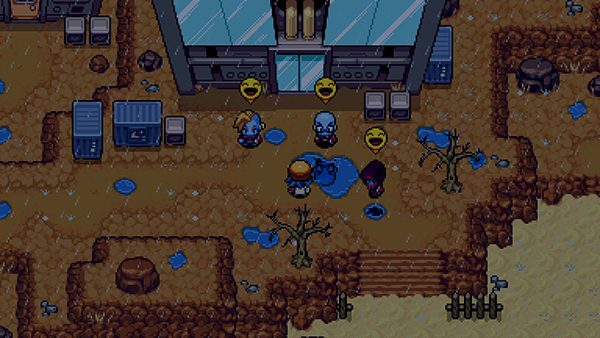
Head back to the Buzzlet Lab and you'll come across three strange characters: Matician, Fanto and Rawler. They call themselves the Wubbonians.
They use some kind of power to get rid of Thomas and then scram.
Matician: This pathetic alien...Is it safe to use our trump card?
Fanto: Use it. These lifeforms should be able to survive our element...But it's our last charge.
Â
Head inside the Buzzlet Lab and you'll have to take out a Level 16 Lumon.
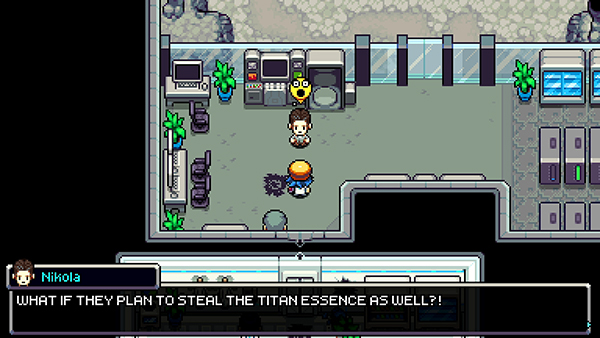
Nikola comes to the conclusion that the Wubbonians are after the Titan Essence on Donar Island! Looks like we better stop them...
And that wraps up Part 3 of the Coromon Walkthrough! Hopefully you found the maps useful when navigating the Thunderous Cave. Have you managed to catch any perfect Coromon yet? Let us know in the comments!

Discussion