
Our next part of the journey see's us rescue Cheryl and Kina who have been missing in Fantasian for a while.
In the last part we rescued both Ez and Zinikr and unlocked their Growth Maps to help us with our journey.
Part 2 offers us lots of choice in how we take on the last part of the game. Before you go and rescue Cheryl and Kina, there are some tasks that you'll want to undertake to make your life easier.
For this part of the guide we recommend using Leo, Ez and Valrika as your battle party, especially for Dimengeon grinding.
Unlock Prickle's Growth Map
Prickle's Growth map can be unlocked by finding 5 missing Robots. You can find them all over Fantasian, and if you use our guide, it's actually very easy to get most of them right away.
Also, by unlocking 3 Missing Robots, you'll gain access to the Upgrade Terminal, which allows you to upgrade your equipment with materials you find such as Whetstones and Order Motes. You'll be able to farm these at a later date, so feel free to upgrade weapons you like.
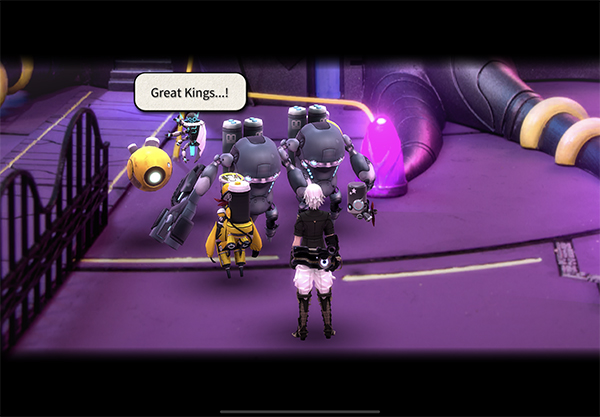
By finding 5 of the 10 missing Robots, you will unlock access to Prickle's Growth Map. You will have to complete the Story quest Defending The Base, which is pretty simple but requires you to fight a somewhat challenging boss.
You can see our video guide below on what to expect.
Through the Wormhole Rewards
Another easy win is to get all the Wormhole rewards. If you head back to the Machine Realm and back to the Wormhole, you can repeatedly jump into it. This will teleport you to seven different locations and allow you to pick up these rewards:
- 1 - En - Old District - Treasure Chest: Hero Vest
- 2 - Vence - Central Vence -Treasure Chest: Sacred Stone
- 3 - Ancient Hill - Treasure Chest: Ruby L
- 4 - Battle 100 Mobs - Vence - Marketplace - Treasure Chest: Valiant Belt
- 5 - Ancient Mountain Path - Valley - Treasure Chest: Opal L
- 6 - Vibra - Royal Capital - Town Center - Lost Robot - Small Jade floor loot.
- 7 - Chaos Fields - Treasure Chest: Dragonfly
Mechterite Rewards
And we just recently published the Mechterite Locations guide, which allows you to earn some decent rewards early on by finding the Mechterite materials all over Fantasian. There are over 30 to collect, so make sure you check out our guide to find their locations without wasting anytime.
Unlock Valrika's Growth Map
Before we head off to find Kina and Cheryl, you'll want to unlock Valrika's Growth Map. Valrika learns the skill Arrow Rain at level 37; when her Growth Map is unlocked, you can upgrade the skill to deal lots of damage; this will make your training in the Dimengeon a lot faster.
You can start Valrika's Story Quest by finding her in Valrika's Laboratory and speaking to her. The quest is called Survivor Of Chaos. To begin this quest, head to the Chaos Fields and walk to the top of the map to enter Chaos Cavern.
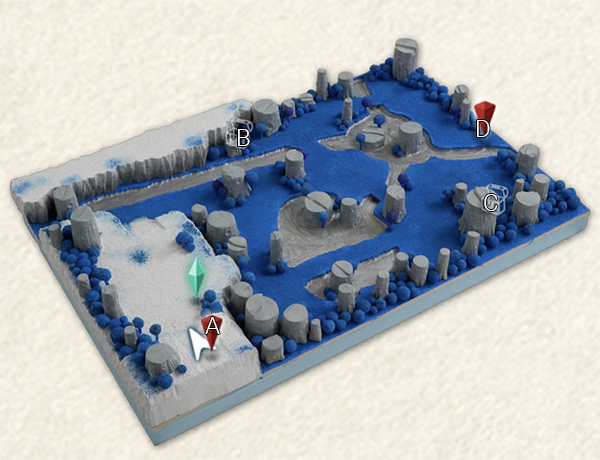
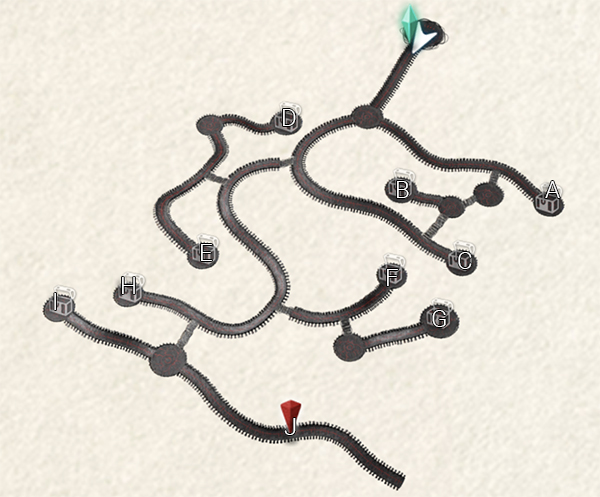
Location: Chaos Cavern: Entrance
Chaos Cavern is home to Chaos Monsters; you'll want to make sure your characters are around Level 40 for an easy time here. If you're under-leveled, you can try doing smaller Dimengeon Battles by initiating it when the count hits 20 or 30 monsters.
You can pick up a Whetstone from Treasure Chest (B) and also a 3x Talisman from the Treasure Chest at (C). Head to (D) to get to Chaos Cavern - Basin.

Location: Chaos Cavern: Basin
Follow the path round and pick up the following items from the Treasure Chests:
- (A) SP Capsule
- (B) Soma Stone
- (C) Whetstone
- (D) Order Motes
Head to (E) which is Chaos Cavern: Eroded Area
Location: Chaos Cavern: Eroded Area
As you make your way up to the circle platform, a new Boss Fight will begin.
Boss Fight - Chaos Basilisk
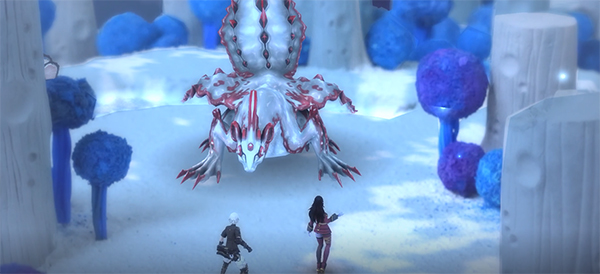
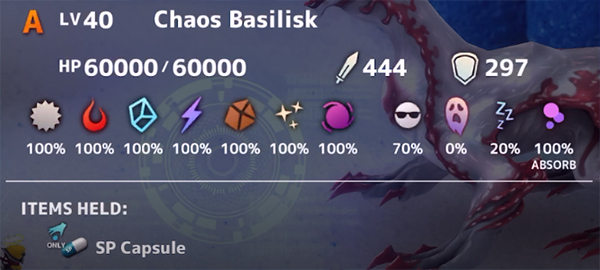
Chaos Basilisk - 60,000 HP
This boss fight is a lot easier if you have Phantom Quartz equipped to your characters. If you followed this guide, you should have at least one by now, but if this boss proves too difficult, you can skip to rescuing Kina and Cheryl first, as you'll pick up another Phantom Quartz from a Treasure Chest there.
Phantom Quartz prevents Curse from being applied; this boss at about the halfway point will cast World Of Death, where everyone in the party will have Curse casted on them at the end of their turn. The only way to prevent it is to use Phantom Quartz.
Chaos Basilisk will only really start to cause you problems during the World Of Death phase. With Curse being applied to your party, you won't be able to heal or cast any buffs on them. What you can do, however, is burst through the last 30,000 HP before he uses his Tail Breaker attack. Tail Breaker will hit everyone in the party for around 3K damage, and usually by the time this comes around you won't have enough HP to survive.
The key is to make sure you're casting the Attack Down debuffs and making sure Leo is fully buffed at all times. If you can equip him with the Phantom Quartz, you can power through the last 30K HP. If you're in a sticky situation, don't forget you can switch out your party members to help tank some of the damage.
Have Ez casting Quick All and Attack Up as often as possible. Valrika can deal decent damage but is also good at Debuffing. Chaos Basilisk also has a 70% chance of mist being cast on him, but this tactic can require a lot more luck.
Either way, this boss becomes 100% easier with having two Phantom Quartz equipped, which you should be able to obtain after the next section.
After the boss fight, continue on and collect all the remaining items from the Treasure Chests in Chaos Cavern - Eroded Area.
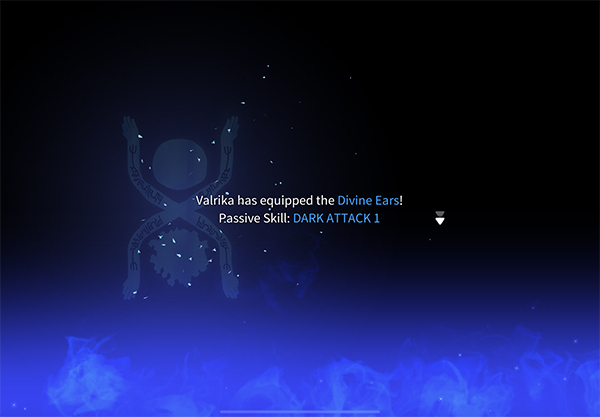
Eventually you'll come to a new area and this is where Valrika will unlock her Growth Map. You'll want to put your SP points into her Arrow Rain move as this will allow you to quickly wipe out Dimengeon Battles.
Note: The video recording for this part was corrupted so we can't tell you what items you can get from these Treasure Chests. If anyone from the comments would like to let us know, that would be great!
Lost In The Multiverse - Unlocking Kina and Cheryl
Now we can continue on our journey and finally rescue Kina and Cheryl. If you've been paying attention so far, Kina and Cheryl are both trapped in the Wormhole- however, jumping into doesn't help with this request.
Instead, you need to drive the Uzra ship towards the giant wormhole on the world map. You'll be able to interact with it and suddenly Queen Cynthia will appear, allowing you to access the wormhole.
The wormhole isn't that difficult to navigate; the second map has a few moving platforms but it's all pretty easy to get through.
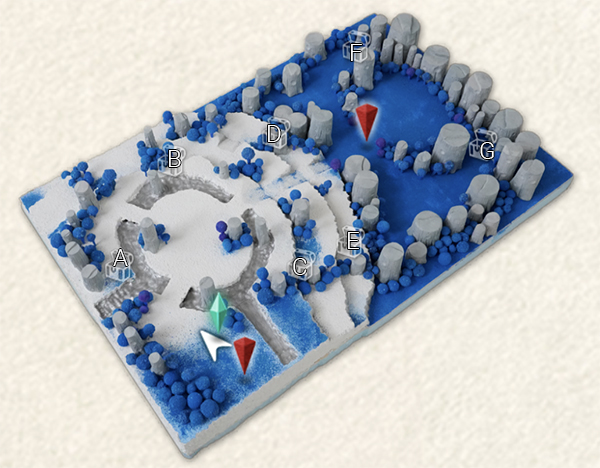
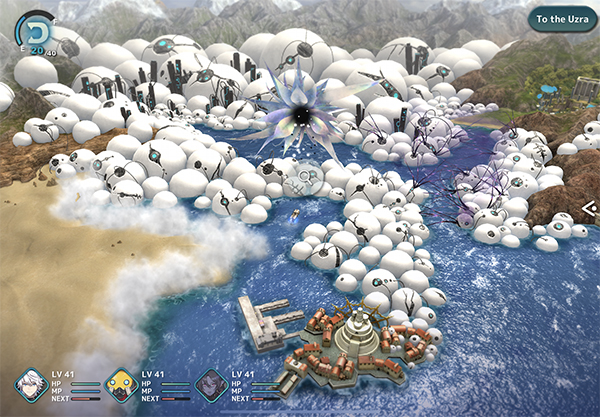
Location: Wormhole - Interdimensional Space
Welcome to the Wormhole dungeon. This area contains Key Orblings that drop Machine Keys, so it's a good place to farm up on them. The map isn't too complicated to navigate and you can pick up some decent items here.
- (A) - Ether L
- (B) - SP Capsule
- (C) - Lapis Lazuli
- (D) - Whetstone
- (E) - Heal Stone
- (F) - Elixir
- (G) - Emerald L
- (H) - Whetstone
- (I) - Pezzottaite L
Thanks: Big thanks to Erwan in the comments below for providing a list of items from these locations!
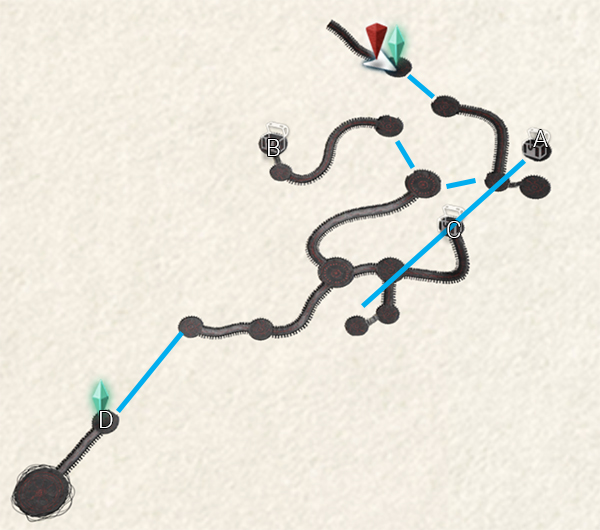
Head to (J) to get to Wormhole - The True Center
This map has some moving platforms, but it's rather simple to get to the where you need to. Open the Treasure Chests along the way to receive:
- (A) - Whetstone x2
- (B) - Order motes
- (C) - Phantom Quartz
Make your way to (D) and save just before your next boss fight.
Boss Fight - Lagrange Wind
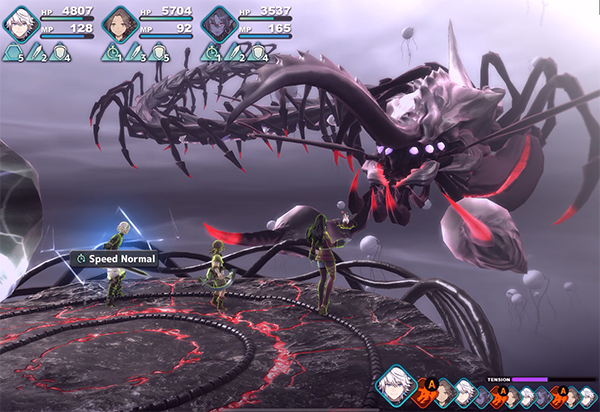
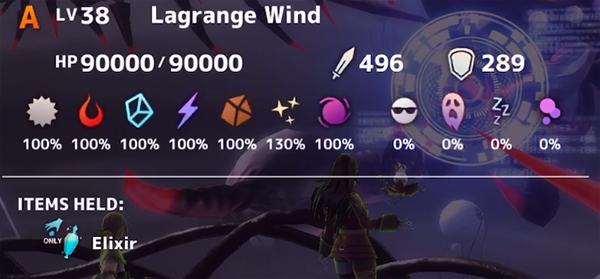
Lagrange Wind - 90,000 HP
If you have any Fire Resistent Gems, now is the time to equip them as this boss does heavy Fire Damage.
This fight starts off in an unusual way. Lagrange Wind is flying alongside you and has several weak spots you can hit to progress to the actual boss. You have to time your attacks correctly for when the red spots under it's armor are visible- if you try to attack when they're not visible they will be blocked.
Before attacking all the weak spots, however, now is a good time to buff up. Get Ez to use Quick All and Attack Up All on everyone in the party; you can also have Prickle use Barrier All for some extra shield.
Lagrange Wind has two simple attacks in the beginning; a single strike attack for around 2K-3K HP and then a move called Reset, which removes any debuffs on him and then immediately casts a single-target fire attack. Make sure you keep up your attack down debuffs as much as possible; with Ez using Potion L All to help with healing.
Samidare and Valrika's Arrow Rain should be your main DPS moves to use in this fight. Eventually, Lagrange Wind will move away from you and prepare for it's Scissor Cross move. You should destroy one of the arms in this phase to prevent getting wiped out. Each arm has 10,000 HP but you should have enough damage between Leo and Valrika to take one out. Immediately after this move use Ez to heal up with Potion L.
The fight will then repeat and go back to the stage of Lagrange Wind flying beside you and you having to hit the weak spots. Repeat the process and you should have this battle done in no time.
Check out the video guide below for tips.
Now you've unlocked Cheryl and Kina'a Growth Map too! Woohoo. In the process, we've completed the Lost In The Multiverse Story Quest and the In Search of Friends Story Quest.
That wraps up this part of the Fantasian Walkthrough. Hopefully you found this useful- let us know in the comments whether you found unlocking Valrika's Growth Map early to be a big help in fighting monsters.

Discussion