
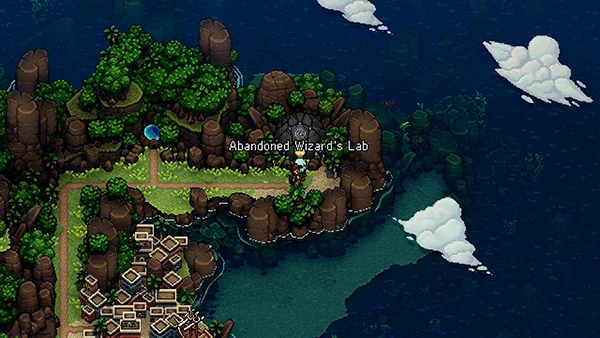
We head to the Abandoned Wizard's Lab in order to search for mysterious coin to help pay our way to Wraith Island.
You can find the Abandoned Wizard's Lab next to Lavish Lake on the World Map.
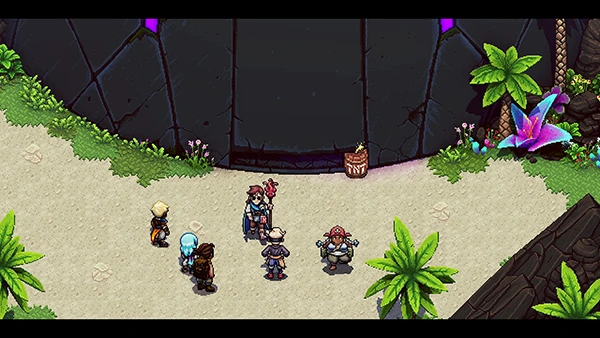
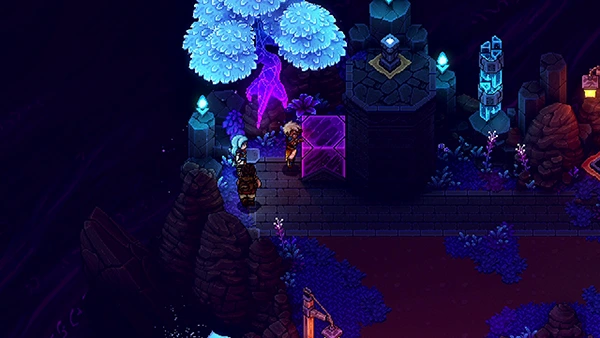
When you arrive, the Pirates will blow a hole in the Lab, allowing you to finally access it.
In this part of the guide you can find:
- Rainbow Conch
- [Armor] Mage-Knight Armor
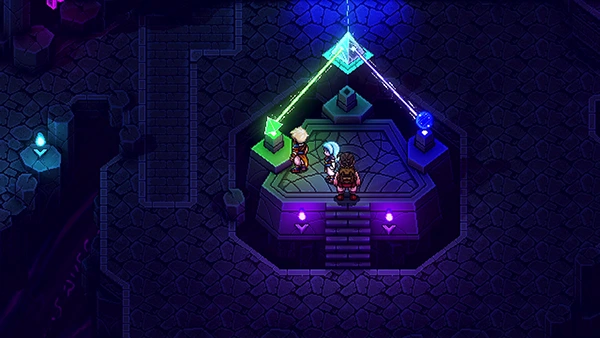
Abandoned Wizard's Lab
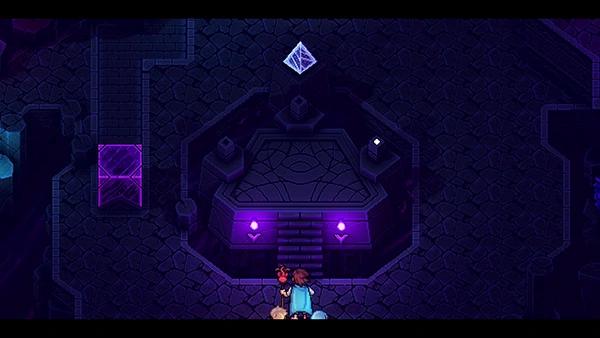
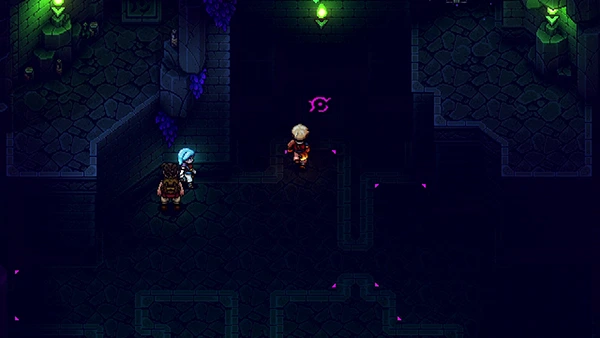
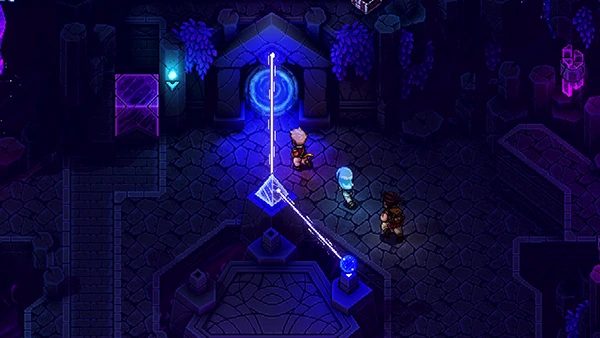
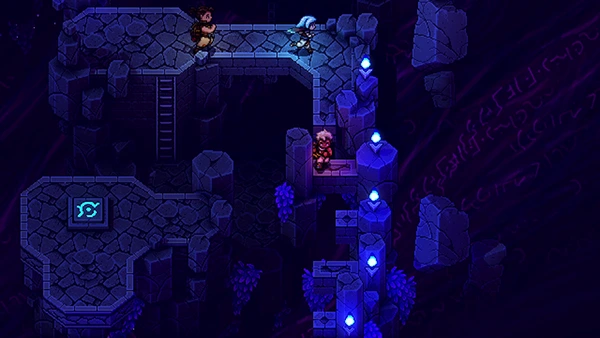
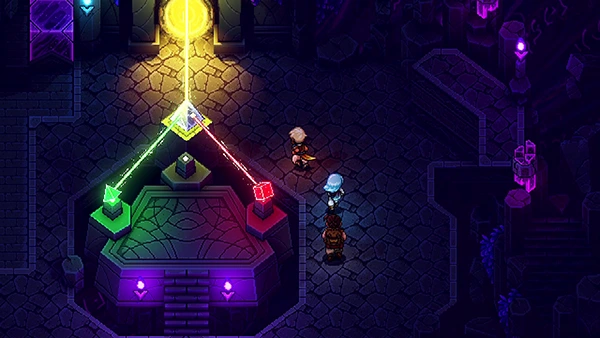
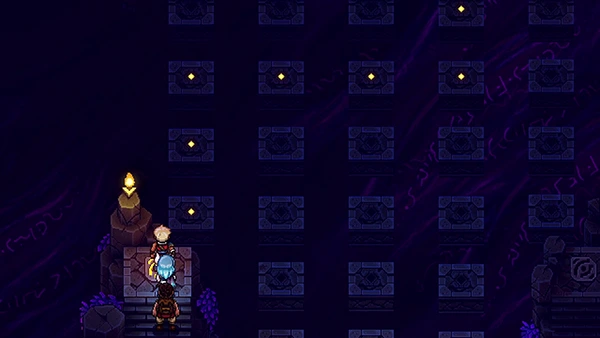
Inside you'll notice a platform in the center of the room where one of the podiums has a light on it. To your left is a Campfire and Save Point, which you should make use of between the various areas we are about to go through.
First things first; push the purple block on your left so that you can climb up and get the Treasure Chest containing a Green Crystal.

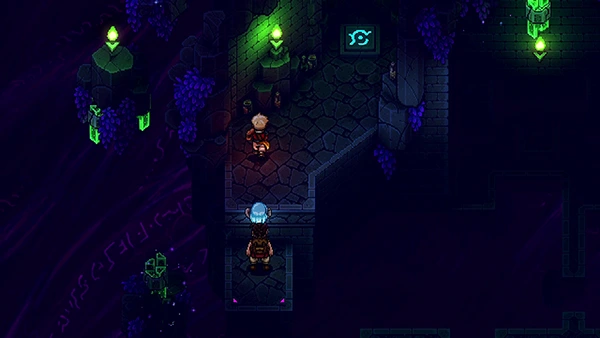
With this Green Crystal, you can now place it on the podium at the center of the room. It will generate a green portal for you to enter at the top.
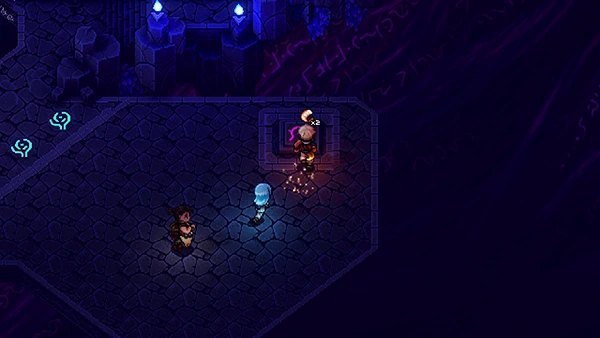
Green Room
The green room contains some new mobs: the Arcane Sentry aren't too tough- they are weak to Physical damage and be taken out with 2 hits.
You'll notice a pink rune on the floor at the top; stand on it and it will shift the floor.
Just back across and head to your left. Climb up to find another blue rune to shift the floor again.
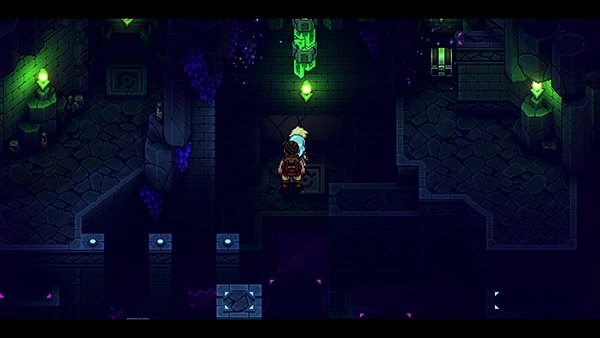
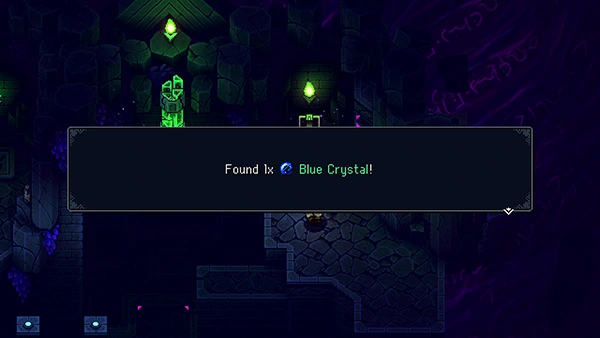
Hop across the room to the right side and jump back down to the pink rune. Standing on it will reveal a Treasure Chest at the top right of the room. This contains the Blue Crystal.
Exit the green room and replace the Green Crystal with your new Blue Crystal.
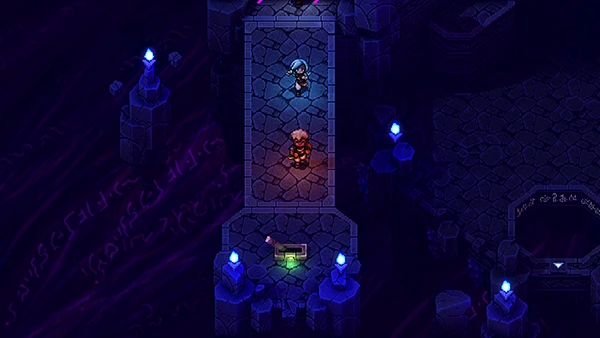
Blue Room
Now enter the blue room.
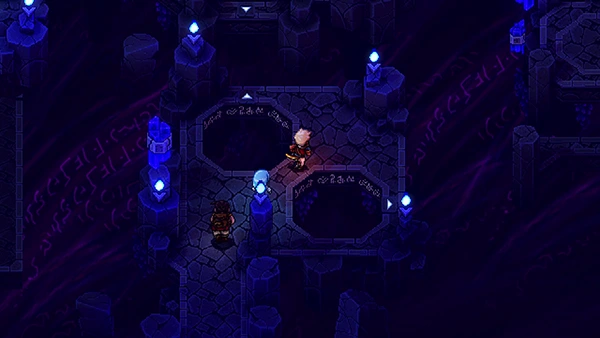
Here you'll notice holes in the ground; you can jump through them and they will teleport you to new locations. Start by jumping through the top left one.
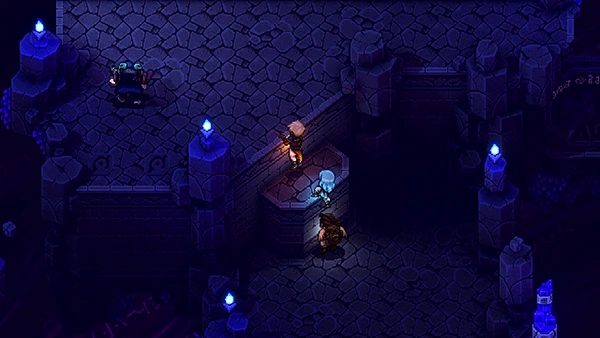
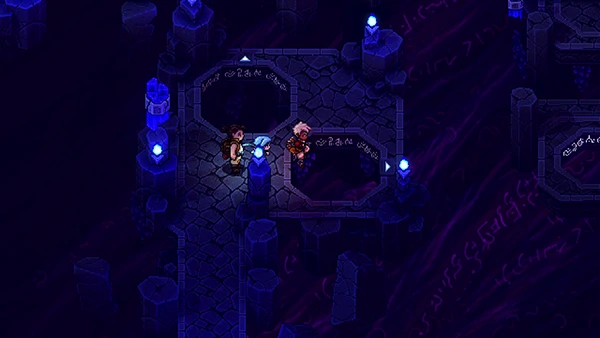
You'll come to a new area; climb up the steps on your left and take out the two Wanderers. Then head to your right and jump through the hole.
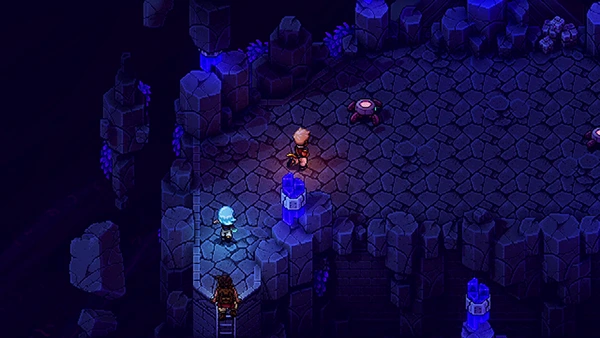
From here, climb up the ladder ahead of you and you'll come to a new platform with two Arcane Sentry on. Take them out.
Then jump down on your right and climb up the ladder on your left. Make your way around the platforms until you come to the teleporter. Jump through it.
This will land you directly in front of the blue rune; activate it and a new platform will pull up near the Teleporter you just jumped through.
Defeat the mobs and press the pink rune. This will activate another teleporter near you; jump through it.
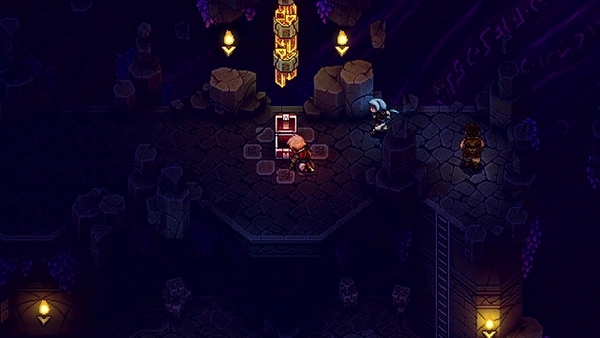
You'll end up back near the beginning; climb up the stairs on your left and this time head down to your left to find a lever to pull.

Now head right back to the beginning and take the teleporter on the left side. Head further up and interact with the Podium. This will generate a new light in the main room of the Abandoned Wizard's Lab.
Head back to the main room.
Now place your green crystal on the other Podium and it will create a new room for you to enter.
Cyan Room
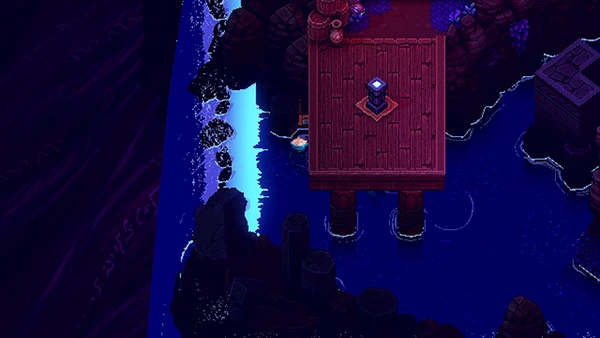
In this room, you can head down the cliff side via a ladder into the water. There is a Treasure Chest near the Podium containing a Rainbow Conch.
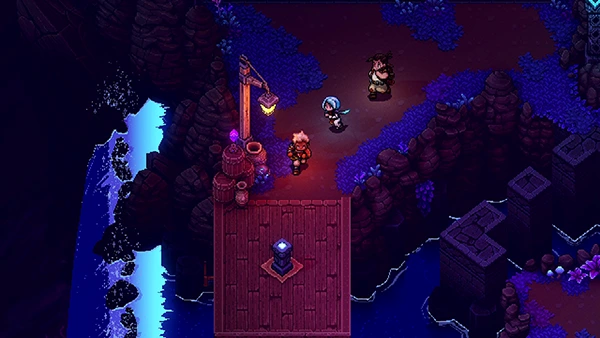
Head back up and cross over to access the Podium. Interacting with it will spawn three enemies. When you defeat them, a light on your right will appear.
Next push the purple block out of the way and interact with the Podium; again it spawns three enemies.
After defeating them, use the purple block to climb up onto the final podium at the top of the map. Defeat the three enemies.
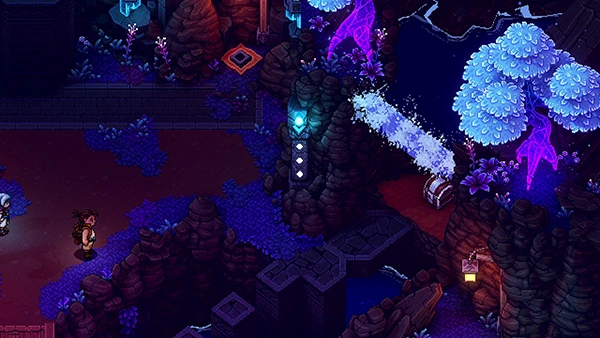
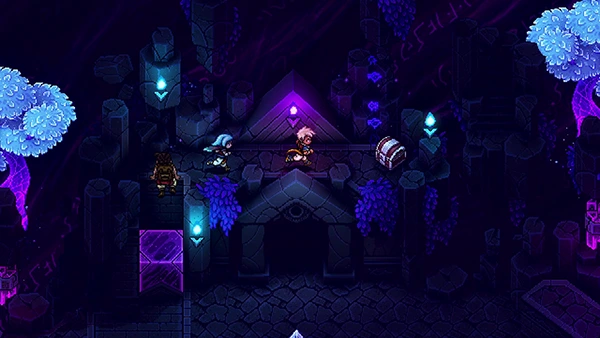
This will reveal a hidden cave just behind the waterfall where you can find a Red Crystal from the Treasure Chest.

Return to the main room and replace the green crystal with your new Red Crystal.
Pink Room
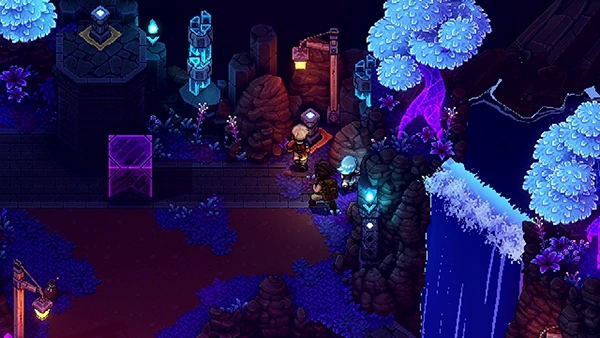
The pink room is fairly simple. Climb up the walls until you reach the Podium on the left. This will open up a wall further up allowing you to reach the lake.
You can now do some fishing at the Haunted Creek.
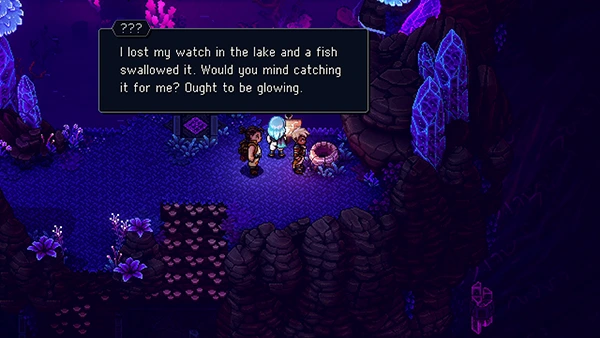
If you interact with the well, a mysterious person says they lost their gold watch. One of the fish in the lake has it and you'll need to catch it.
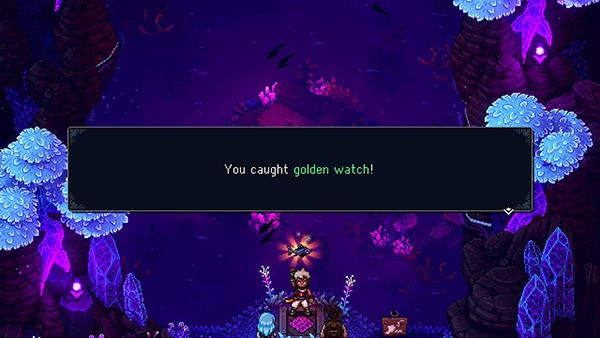
Once you've caught it, give it to the man and he will activate a light switch on your left. If you interact with that, it generates the third light in the main area of the lab.
Now exit and return to the main room.
Yellow Room
Now replace blue crystal with the green crystal so that you have only Red and Green to create the Yellow Room.
In this room you have to jump on the correct tiles to cross. If you highlight the rune on the floor, it briefly shows you the way (or you can just use this guide!)

Between each area are mobs you need to take out.
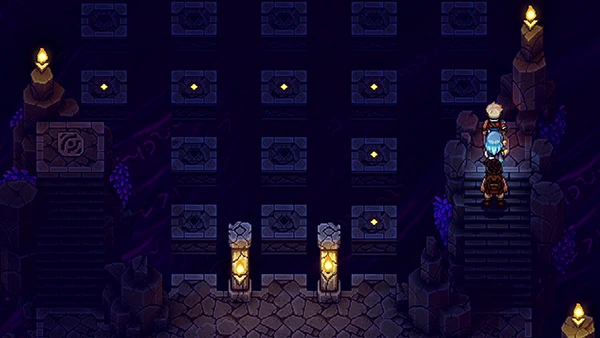
The final area has two runes that show you the way.
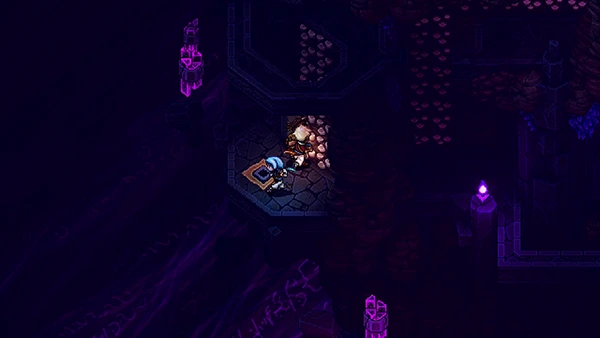
When you reach the end, there is a Treasure Chest containing a Mage-Knight Armor!
Now you can head back to the main room by pulling the lever on your left.
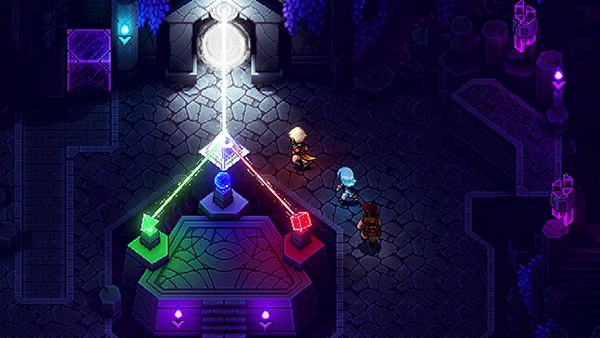
Set all three crystals on the podium to create the White Room.
Chromatic Apparition - Boss Fight
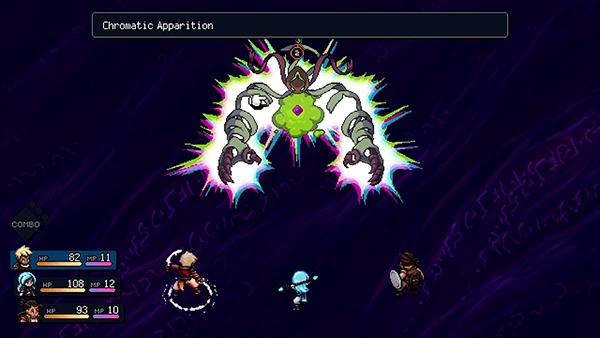
The Chromatic Apparition has two modes he can shapeshift into.
The first mode is where his hands are out. In this mode he can do a single-target attack and also summon mobs called Crystal Tulip.
The Crystal Tulip can only be defeated by taking out all it's elements above its head. If you don't, it will self-destruct for 99% HP of a single character.
The Chromatic Apparition uses the Arcane Singularity move when it is shapeshifts to it's second form. This move does damage to all three characters. When in this mode, it can also launch three purple dot attacks that deal a hefty amount of damage to a single character if they're not blocked.
The Chromatic Apparition is weak to magic attacks; if you use the Live Mana your Physical Attacks won't be resisted either.
Check out the video for more tips:
Reward: 1,200 EXP
After the fight, you get the Coin Of Undeath Accord. Head back to the Port Town Of Brisk.
You can find the Pirates down on the docks and they agree to take you to Wraith Island!
That wraps up part 5 of the Sea Of Stars Walkthrough! Let us know if we missed anything in the comments.

Discussion