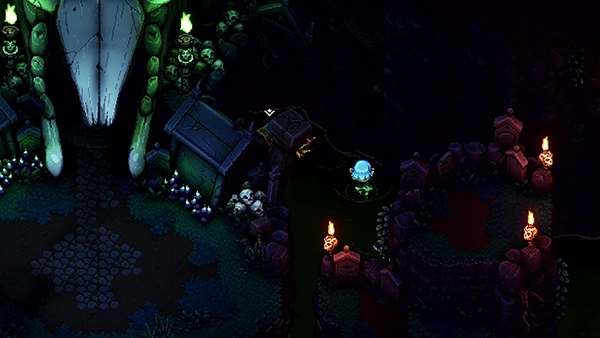
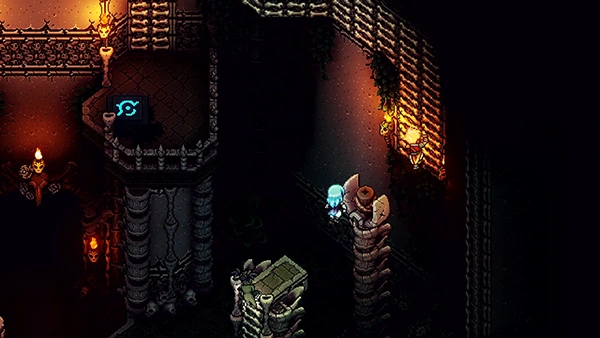
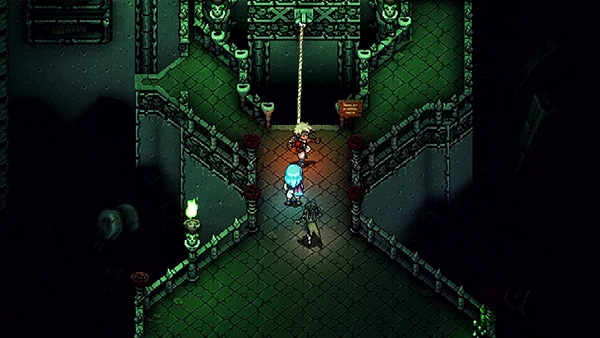
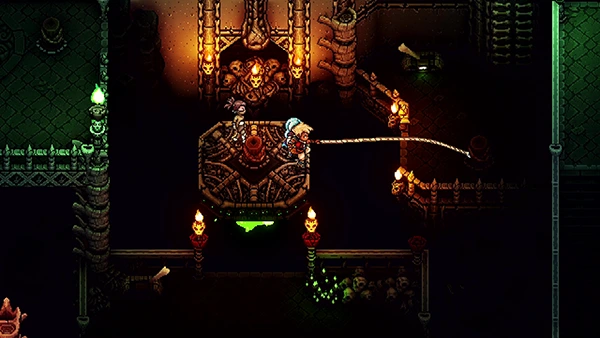
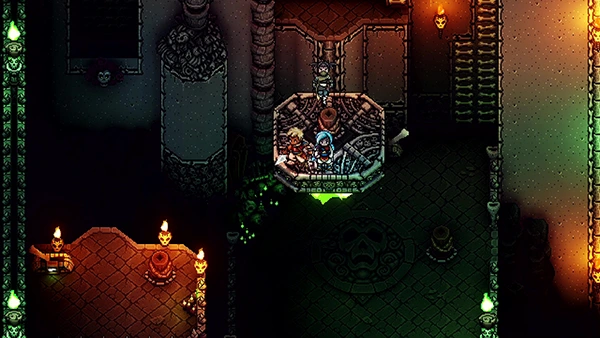
In this part of the Sea Of Stars Walkthrough we are looking to retrieve a Soulstone from The Necromancer. Our new companion Serai is leading the way towards The Ferryman's Vigil, where we seek passage to Flooded Graveyard.
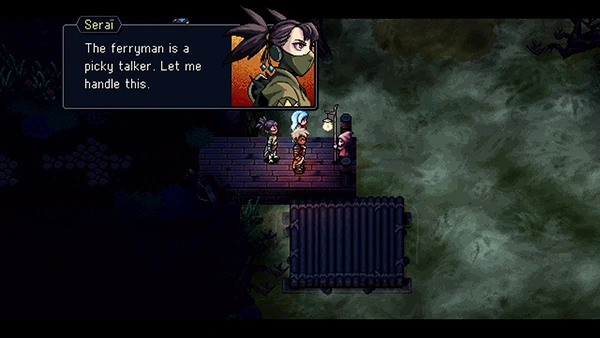
When you arrive at The Ferryman's Vigil, you'll be greeted by the Ferryman who requests a Green Flame.
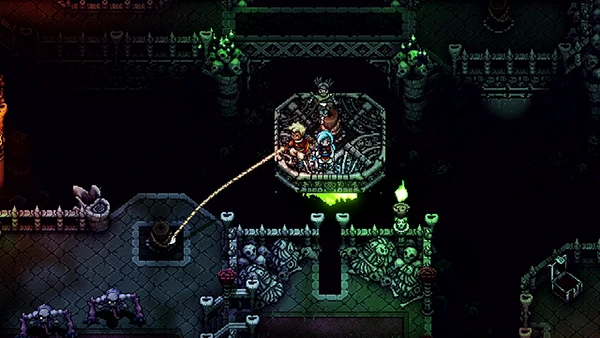
Luckily, Serai helps you out and gives him the Coin Of The Undeath. Hop onto the raft and you'll shortly arrive at The Flooded Graveyard.
In this part of the guide you'll find:
- [Weapon] Shimmering Daggers
- Obsidian Ore
- Recipe: Hearty Stew
- Rainbow Conch
- [Armor] Spectral Cape
- [Artifact] Romaya's Hairpin
- [Weapon] Osseous Staff
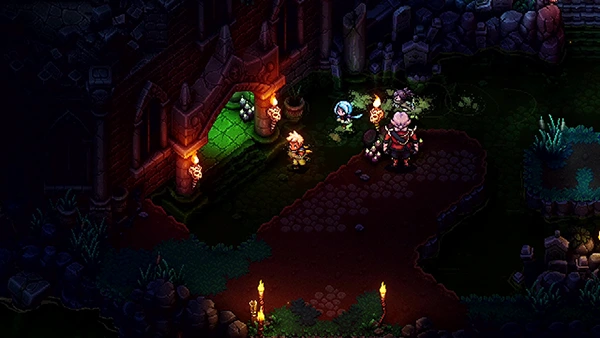
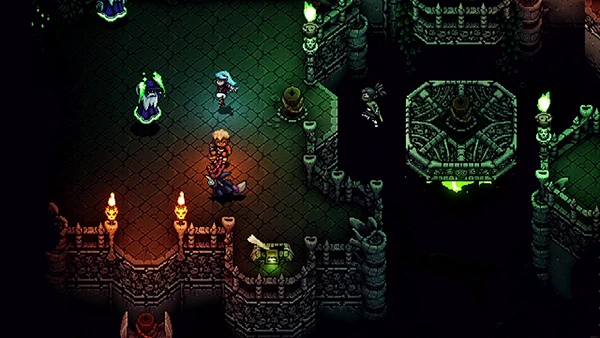
The Flooded Graveyard
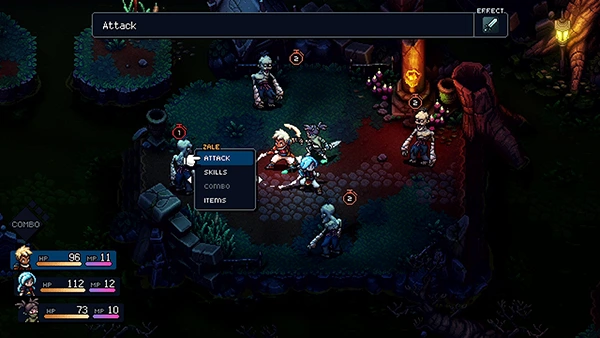
Head to your left where you'll find four Lonzon mobs waiting for you. This can be a tricky fight, so proceed with caution!
Head north and you'll find a small cave that you can open with magic. Inside you'll find a Treasure Chest containing Shimmering Daggers.
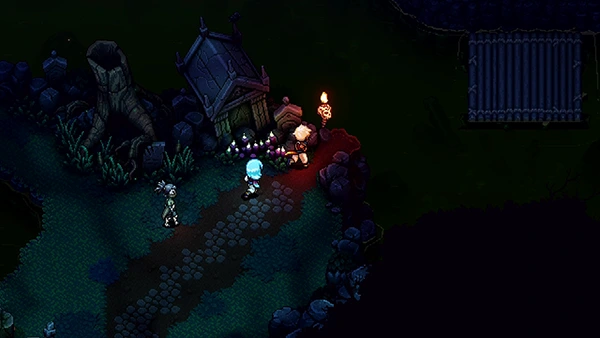
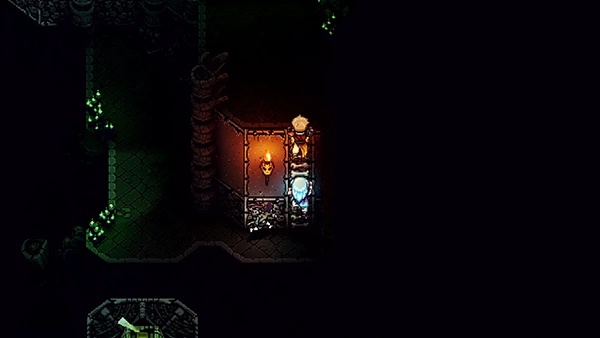
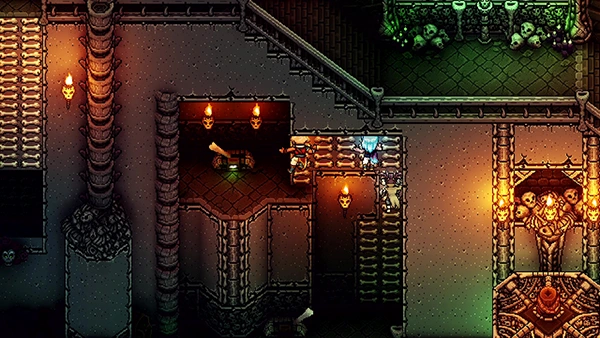
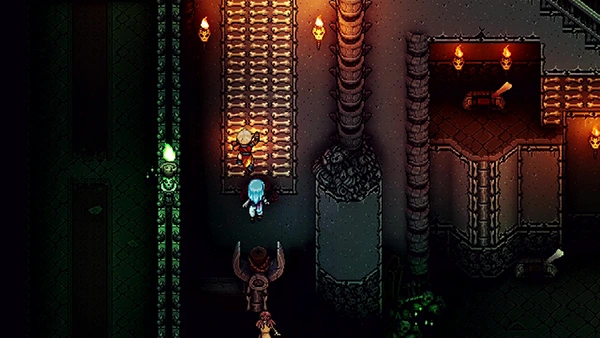
Now head to your left and enter the temple where the man is wondering around in front of.
Inside you'll find some mobs; climb up the stone wall and exit the temple. On the roof you'll find a Treasure Chest containing Obsidian Ore.
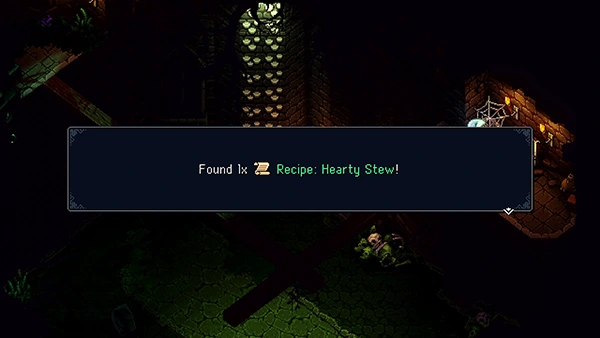
If you jump off this tower back into the temple you can land on the wooden beams. Here you can access a Treasure Chest containing Recipe: Hearty Stew
Now go back up the to the stone wall and walk along the top of the temple.
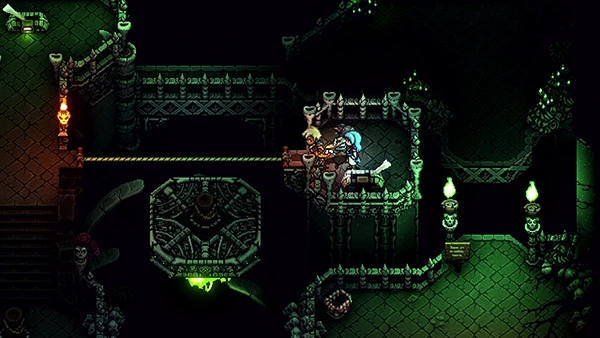
Head north, fight a cluster of mobs and then you'll come to a cliff edge where you can jump into the water. In front of you should be a raft.
Before you get onto the raft, you can find a Treasure Chest further up containing a Rainbow Conch!
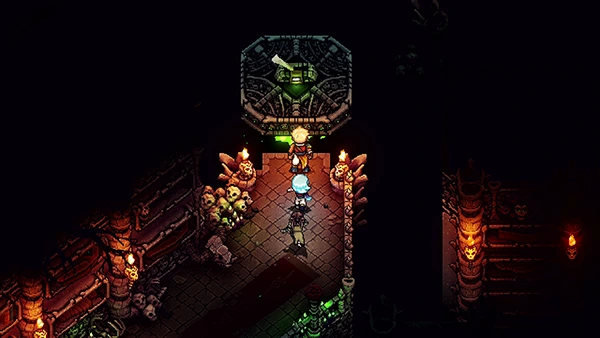
You can move the raft using your Air Push ability. Head north until you come to the entrance way that is shaped in skull.
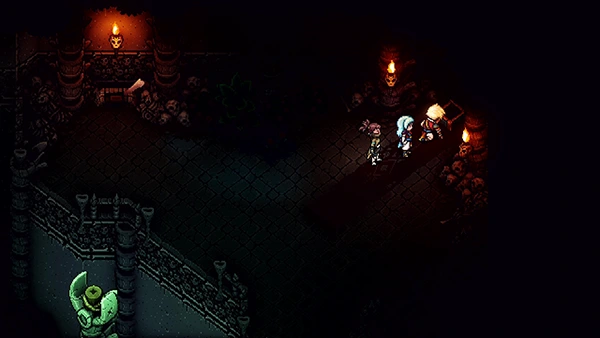
Duke Aventry - Boss Fight
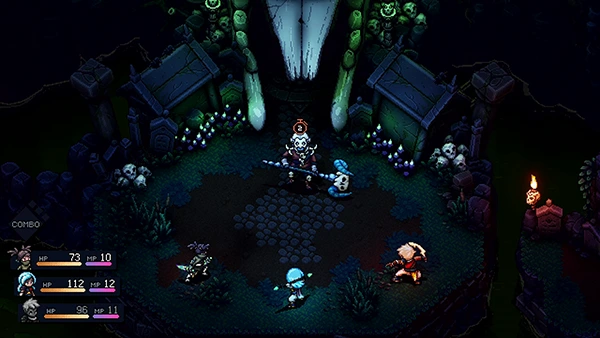
Duke Aventry guards the way to the Necromancer's lair. Duke doesn't have a lot of HP, so the fight should be quite easy.
Duke will start the fight using his single-target mace slam attack, that deals around 50 HP when not blocked.
He will also use a special move called Tournade, which sees him spin around and hit everyone for 18 HP and 40 HP.
You'll want to use your Combo Skill Mending Light whenever your HP gets low.
Check out the video for more tips:
Reward: 840 EXP
As the Duke steps aside, he teaches Zale a new move: Dash Strike. Head inside to explore the Necromancer's Lair.
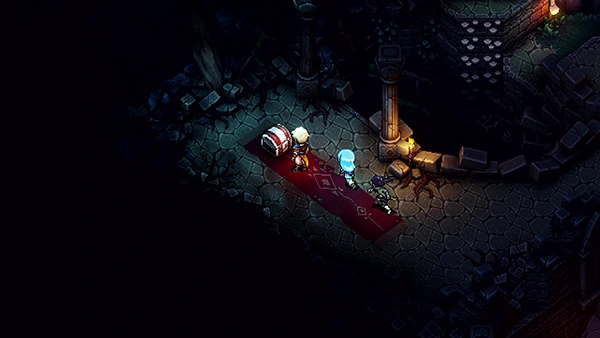
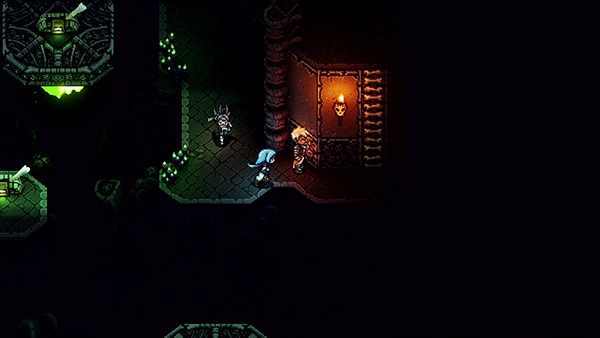
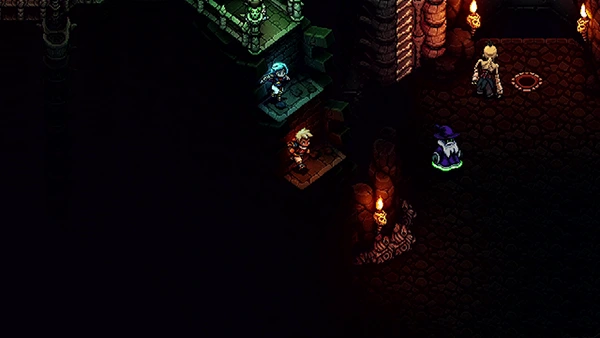
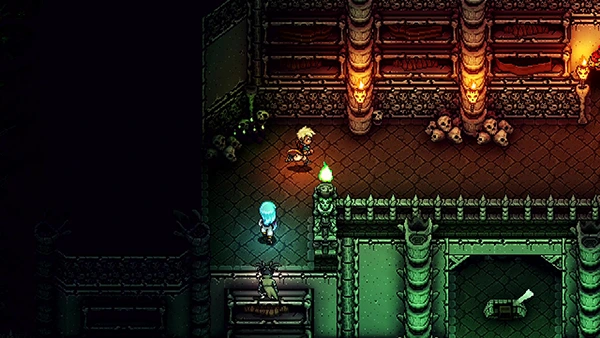
Necromancer's Lair
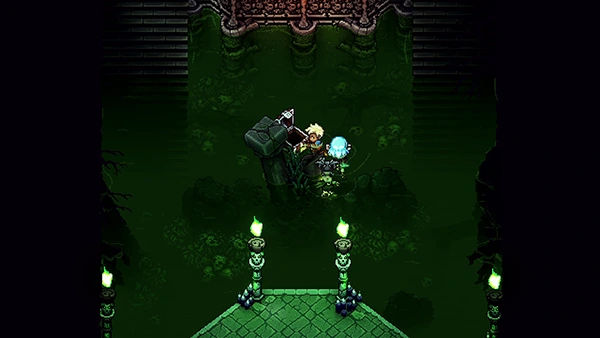
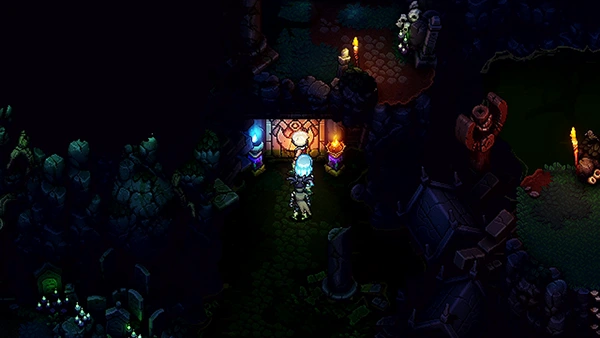
Immediately drop down into the shallow water and you'll find a Treasure Chest containing Romaya's Hairpin.
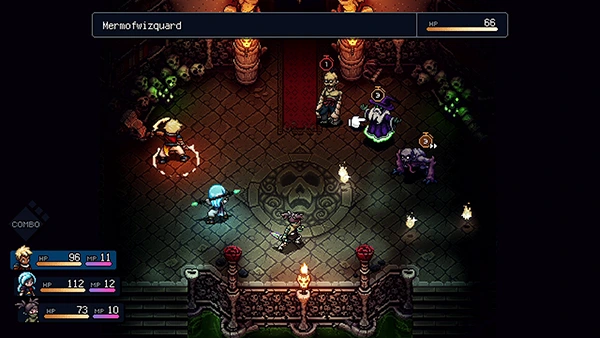
Be careful of the mob Mermofwizquard - these guys can deal a lot of damage to all party members. Luckily, they don't have much health and it takes them three turns to use their attack so you can take them out quite quickly.
Head inside and follow the corridor. You'll come to a platform with a lever on it; pull it. This will take you to another corridor with mobs; once you defeat them exit the area.
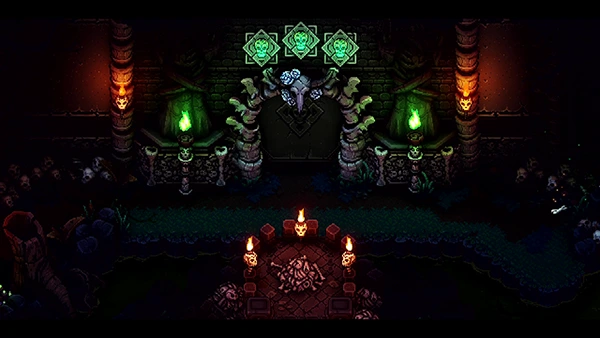
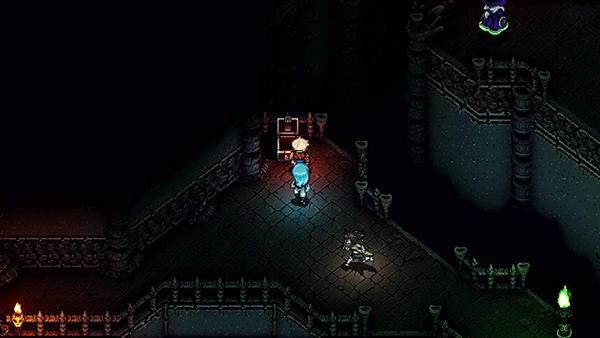
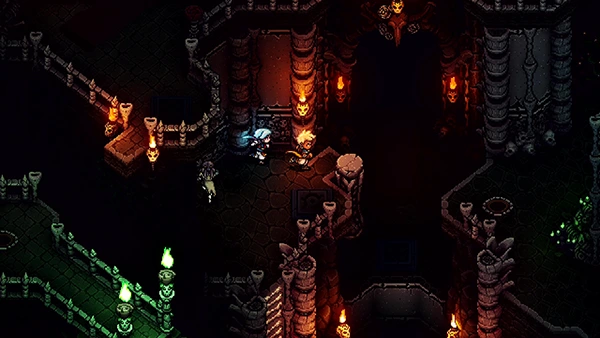
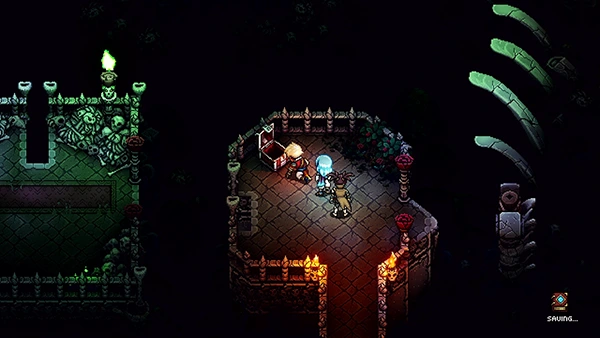
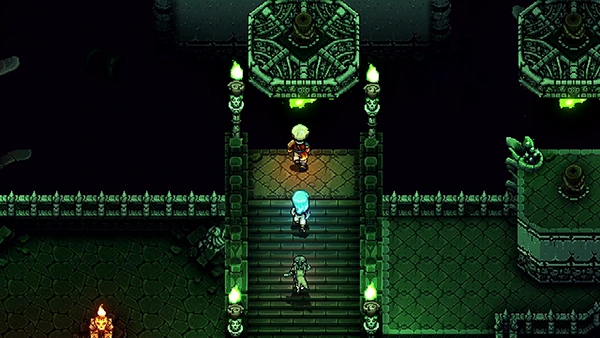
You'll then come to a graveyard, where three green skulls float off in different directions. One of those skulls flies towards the center and animates a skeleton.
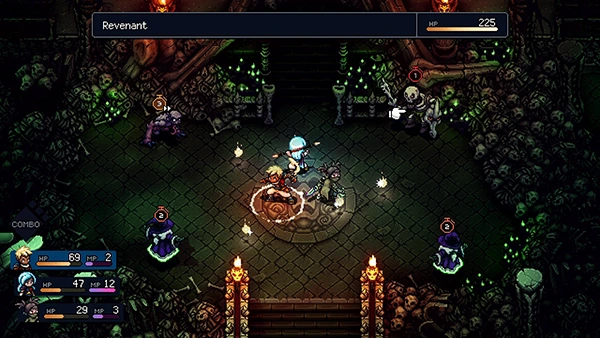
In the left corner is a Campfire and Save Point; use this and then go fight the skeleton, known as a Revenant.
The Revenant has 200 HP! The trick to fighting it is to build up your MP for when it's HP is below 100.
When the Revenant's HP goes below 100, it will turn into a new mode where it's new move deals 50+ HP to a single target. By saving up all your MP, you can then blast away the remaining HP of the Revenant to make quick work of it.
Once you defeat the Revenant, a Green Skull will appear on the stairs. Interact with it and it will then reappear at the main doorway of the graveyard. Two more to go!
Next enter the cave on the right of the graveyard.
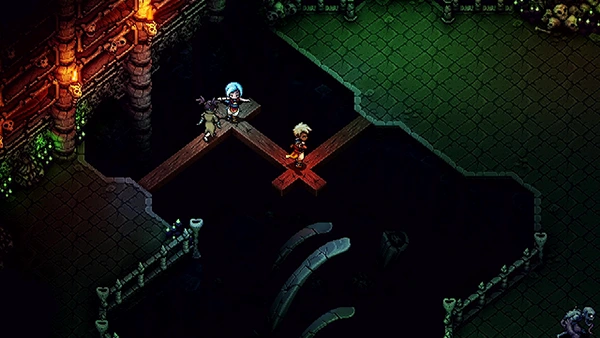
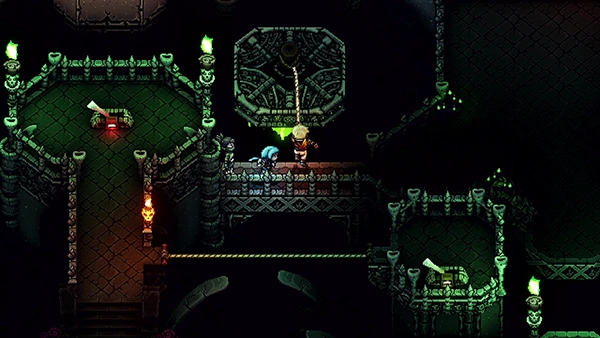
Inside this room you'll come across some narrow planks that you have to cross, before fighting some more mobs.
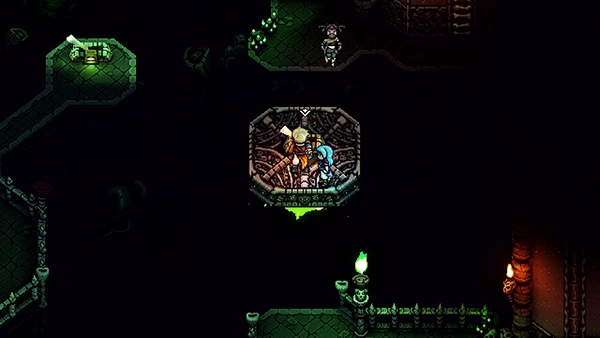
Nearby, there is a platform with a lever on it. Pull it and then head to the platform up ahead that has just moved.
Jump onto it and pull it's lever. It will take you across to a platform; climb the stairs.
Up here you'll find a Treasure Chest containing a Spectral Cape.
On the left is a staircase; head down it and pull the lever on the platform again.
Now use the stairs to climb all the way across to the platform on the otherside; jump onto the moving platform and pull it's lever, taking you southward.
In the left-corner is a Treasure Chest containing an Obsidian Ore. Head right to leave this room.
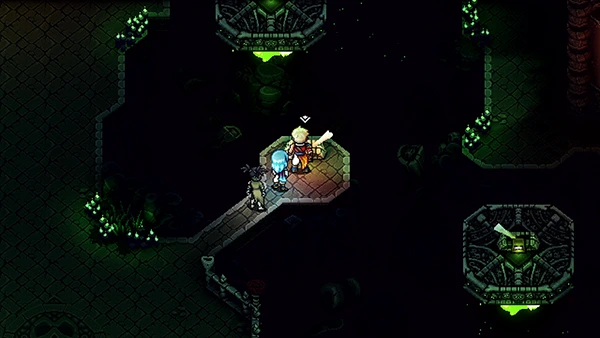
In the next room, jump down the stairs and fight the mobs at the bottom.
Climb up the ladder and jump off the platform near the Rune mark. Head inside the cave.
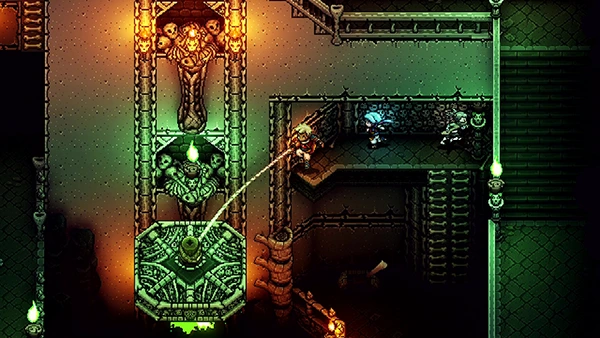
Inside you'll find a Treasure Chest which contains a Graplou, allowing you to grapple onto areas of the map.
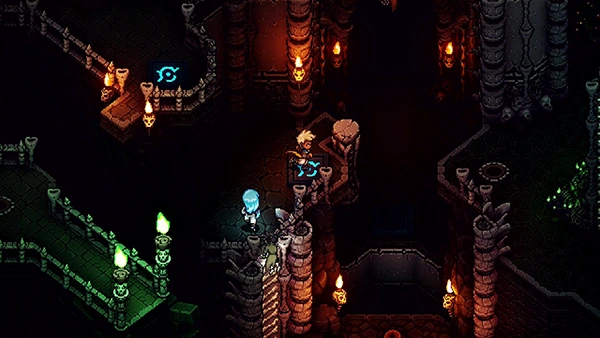
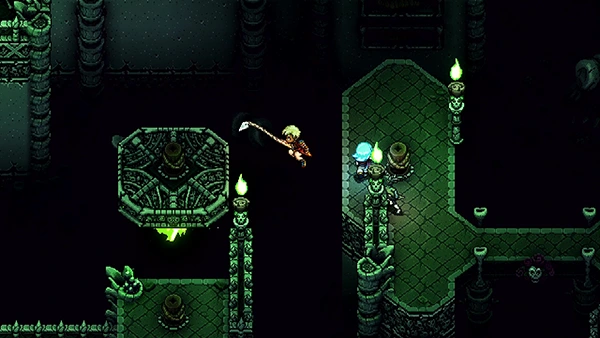
When you come out you'll notice the Runes glowing blue. Using your Graplou, you can grapple across. Head up the ladder on the left and grapple across to the other side.
Climb the stone wall on the right and grapple across until you cling to the wall. Shimmy all the way across, grapple again and now exit the room.
You'll be back in the room with the moving platforms. Cross over to the otherside using the platform in front of you and climb up the stairs on your right.
When you reach the top, you can use your grappler to hook onto one of the mobs on the right, pulling you across. Here you can find a Treasure Chest containing a Rainbow Conch!
Now head back, drop down using the ladder on the left and towards the north is a grapple point. Grapple over to it.

Inside you'll fight another Revenant and find the second Green Skull!
Head back to the main area with the three skulls; this time you'll want to take the cave entrance on your left.
Inside, to the north, you'll find a grapple point; hooking it pulls a bridge towards you, allowing you to access a lever. Pull it.
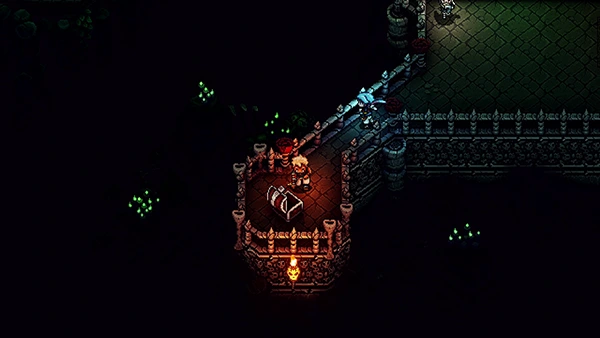
Climb up the newly revealed stairs on your left and enter the new room at the top.
Inside you'll find a Treasure Chest containing an Osseous Staff.
Grapple over to your right and then again north; you'll find a Picnic basket with a Mooncradle Fish Pie.

Grapple across using the mob; defeat them and then head across the bridge on your left.

Grapple across to the platform ahead of you, and then grapple diagonally to the platform across. Pull the Lever.
Follow the moving platform and grapple onto it; then grapple across on your left to an area of mobs. Take them out and then pull the Lever at the bottom.
Use the south grapple post and make your way back towards the middle; use the rope bridge to cross towards another Lever and pull it.
Head back across the rope bridge and pull the Lever at the top.
Follow the moving platform and grapple onto it, and then grapple onto the area where four GulGul are. Take them out and then pull the Lever at the top-left of the map.
Now you can exit this room and return to the one you were just in.
Head to your left and you'll notice the moving platform is there. Grapple over to it and then to the platform south. Take out the mobs.

Then head left and take the stairs down, before heading up to a new room.

Head down the stairs in this room and use your grapple on a mob to take you to the center of the room.
Take it out and then pull the lever; grapple across and then grapple to your right; pull the lever and climb up the wall, before grappling across to the platform again.
Defeat the mobs on the adjacent platform before pulling the lever to reveal some new stairs. Climb up it, and pull the lever.
Grapple across onto the platform and pull the final lever in the bottom left. Make your exit from the bone ladder across from you.
Return to the main room and use the new platform to grapple across where you'll find the final Revenant.
PHEW!
Now head back to the graveyard with the three skulls and heal up! Enter the lair once you're ready...
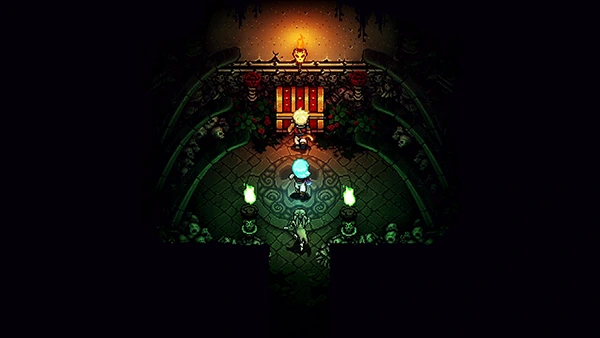
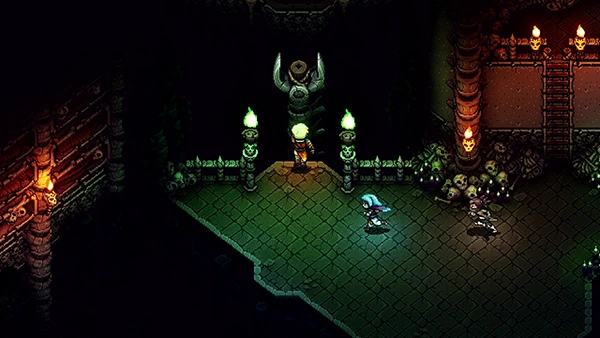
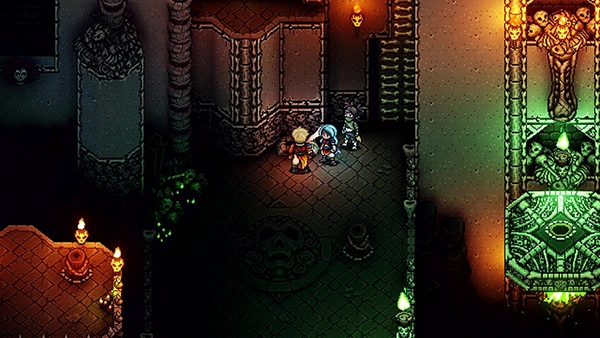
Romaya - Boss Fight
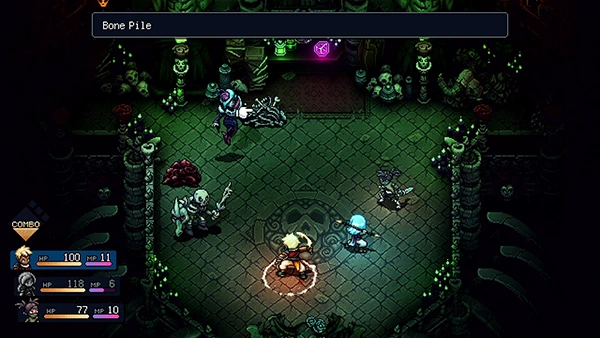
Probably the toughest boss we've faced so far and it's all about managing the mobs she summons.
You'll notice that Romaya has two piles of bones near her; your aim should be to take these out as soon as possible.
If you're lucky, Romaya may only summon one mob at a time, but sometimes both mobs can be out. She'll continue to resummon them as long as those bone piles are still in the battle.
Romaya can summon either a Revenant or a Lonzon. The Lonzon isn't too difficult, but the Revenant you need to be careful with. Remember, once it's HP goes below 100, it will switch up it's attack to a fast-hitting 50+ HP move that can easily wipe out your party.
Using Serai's Phase Stew move on the Revenant deals a nice amount of damage, especially if you have the Shimmering Shard equipped for that extra 15% damage to undead monsters.
Your best bet is to ignore the Revenant until you have wiped out both bone piles. The Revenant does a small amount of damage when it's healthy, so best to leave it alone.
As for Romaya, she'll use a single target eye attack that deals around 30 HP. Her main attack is called Felfire Rain, which hits everyone for around 30-40 HP.
Again, you Combo Move Mending Light is just clutch move here to get all party members back to full health when things get dicey.
Check out the video below for more tips:
Reward: 2,240 EXP
After the fight, Romaya hands over the Soulstone! You can now rescue Garl!
That wrap up Part 7 of the Sea Of Stars Walkthrough! Let us know in the comments how difficult you found the Romaya fight!

Discussion