
In part 2 of our Sea Of Stars Walkthrough we seek out The Elder Mist so Zale and Valere can begin their adventure at last!
- The Forbidden Cavern
- Bosslug - Boss Fight
- Sunglow Lake
- Mountain Trail
- The Elder Mist Trials
- The Elder Mist - Boss Fight
In the first part we finally left Zenith Academy and headed towards The Forbidden Cavern, an area we previously visited with good friend Garl who ended up losing an eye.
Now we return as Solstice Warriors, ready for the challenge!
In this part of the walkthrough, we found the following items:
- [Armor] Adventurer's Vest x2
- [Ring] Leeching Thorn
- [Combo Skill] Mending Light
- Vendor: [Weapon] Squire's Sword
- Vendor: [Weapon] Copper Staff
- Vendor: [Armor] Adventurer's Vest
- [Ingredient] Dairy x5
- [Gold Ring] Abacus
- [Armor] Basic Armor x2
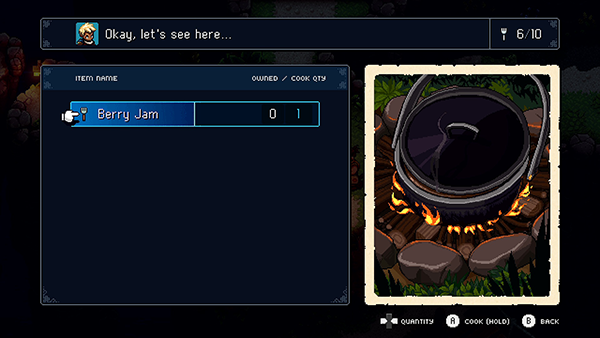
- [Recipe] Chaudree
- [Recipe] Mushroom Scramble
- Shiny Pearl x2
Check out our Sea Of Stars Equipment Page.
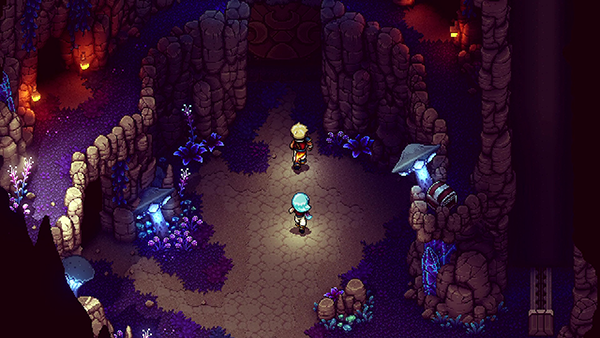
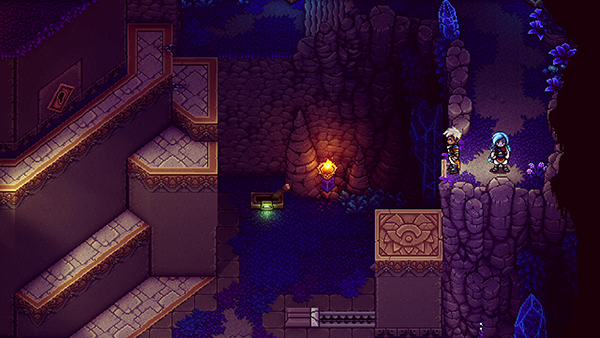
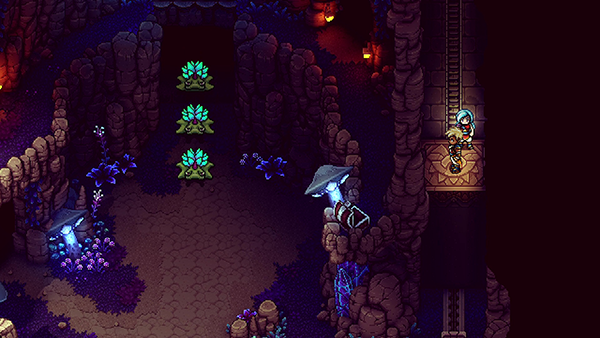
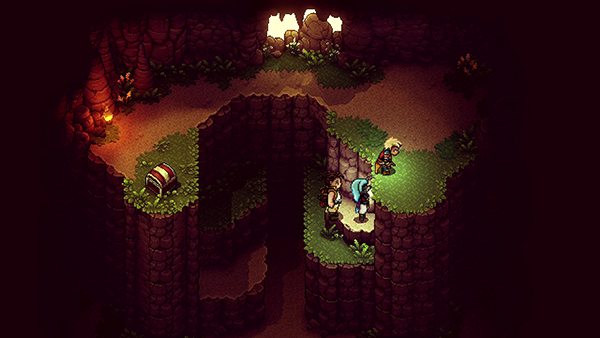
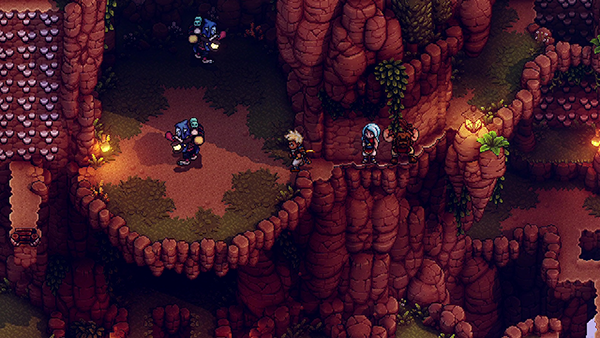
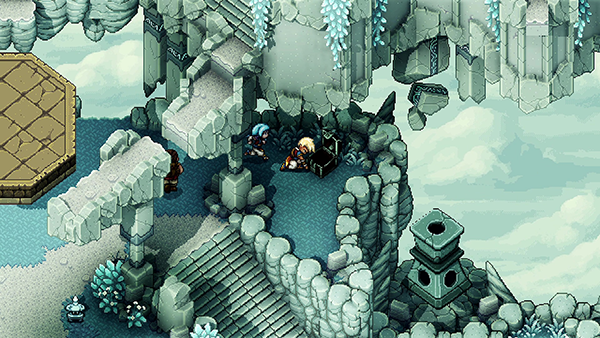
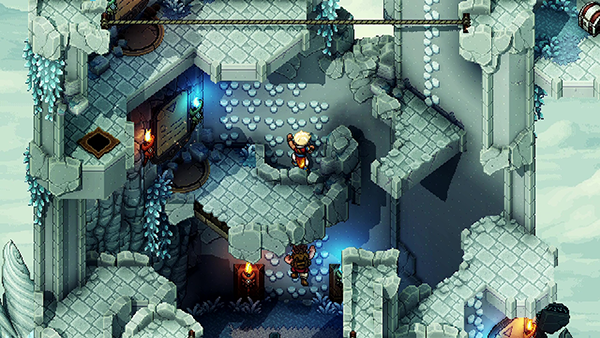
The Forbidden Cavern

Enter the Forbidden Cavern and head directly ahead.
You'll notice the main room is blocked by a stone door, so take the door on your left.
In this room, head to your left and you'll come across three Luslugs. Once you take them out, climb up the wall and jump onto the stone pillar.
This will cause it to sink to the ground (don't jump off until it reaches the bottom so that it locks it in place). Now climb up the second stone pillar and across the top of the wall and exit the room at the top-right.
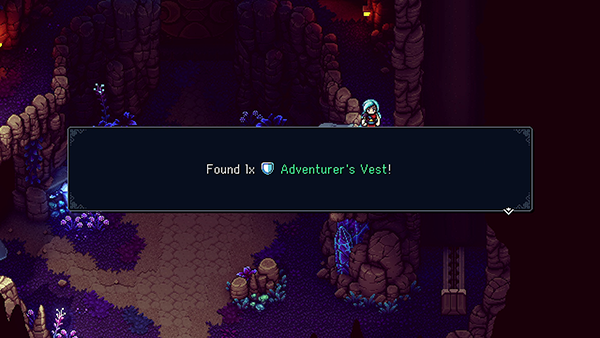
You'll now be back in the main entrance room but this time on the top ledge. Make your way around the room and open up the Treasure Chest to find a Adventurer's Vest.
Now take the exit at the top of the room.
You'll come to a room with three more Luslugs. Take them out then start climbing the stairs on your left. You should notice a locked door.
The Treasure Chest is currently out of reach; instead climb up onto the north wall edge and make your way around to the right.
Jump off onto the stone pillar. This will cause the pillar to lock into place and reduce the distance needed to reach the Treasure Chest.
Now go open the Treasure Chest to find a Forbidden Cavern Key. Head back down to the ground and pull the Lever so that the locked door is revealed.
Use the key to unlock it and head through.
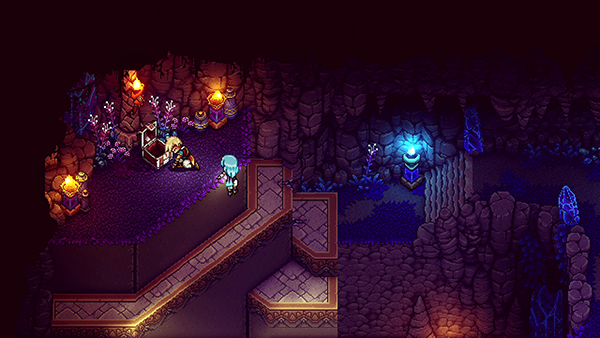
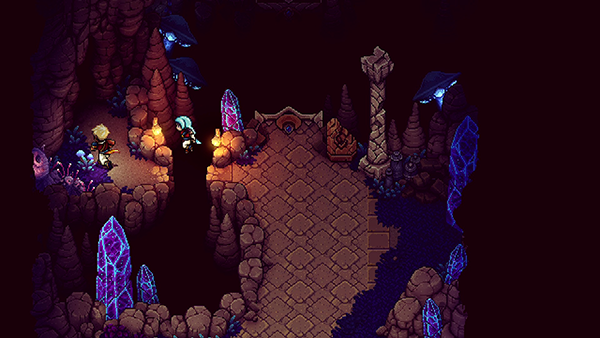
In this room you'll notice a dazzling rod. Collecting it will teach Zale and Valere the combo move Mending Light.
There is also a Treasure Chest hidden in the corner containing a Shiny Pearl. Head to the exit on your left.
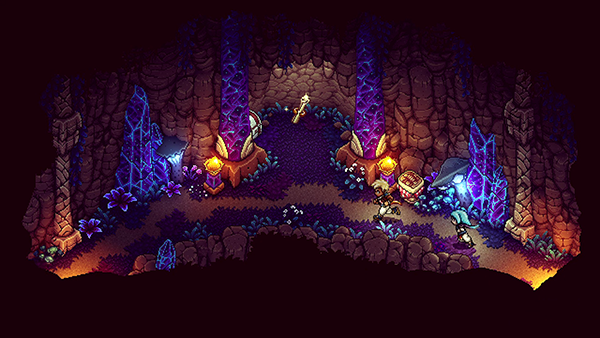
From here you can climb the wall and make your way across the rope bridge to find another Treasure Chest containing a Leeching Thorn.
Once you've got the Treasure, jump onto the stone pillar on the right. This will open up the doorway in the main entrance room and cause three Luslugs to appear.
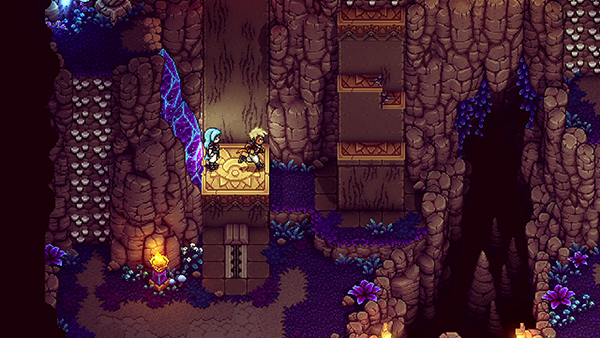
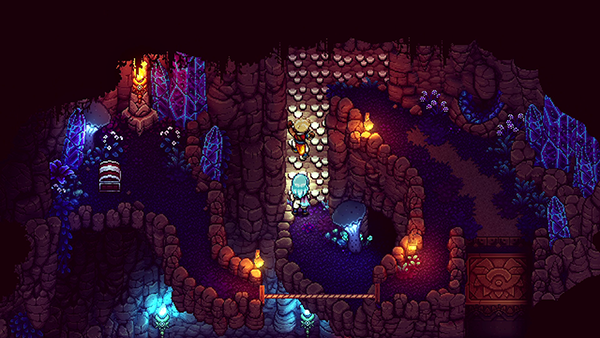
Once defeated, head through the doorway up ahead and you'll come to a new room. Take the path on the left.
In the next room you'll notice the Save Book and a Campfire that you can use to Heal up.
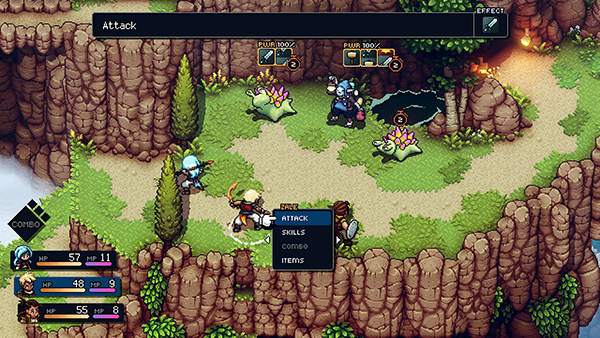
Bosslug - Boss Fight
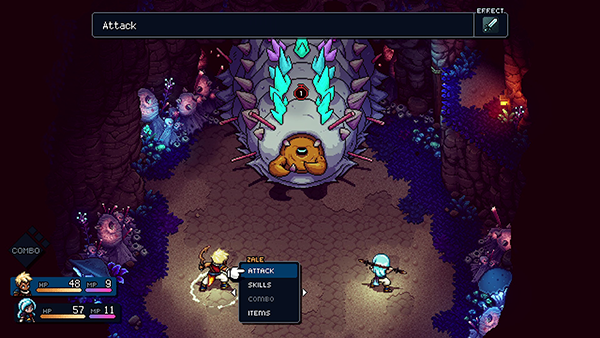
Bosslug has quite a bit of HP so you'll want to be patient with this fight. It's vulnerable to magic attacks, so using Zale and Valere's Sunbeam and Moonerang can help chip away at Bosslug's HP.
Bosslug will start the fight with two simple moves: the first is a poison attack that deals around 6 HP. This move can also hit up to two times. The other attack causes two boulders to fall from the ceiling and damage both characters for 18 HP if you don't block it!
It's power-up move is called Acid Bug Bombs. It will summon two Bug Bombs to fight alongside it. They are quite weak and using Valere's Moonerang skill can easily take them out with a single hit.
You can save your Combo skill to use the newly acquired Mending Light, which heals both characters back to full health.
Check out the video below for more tips:
Reward: 80 EXP
Before you exit the boss room on your right, head further up and you'll find two Treasure Chests containing 60x Gold and Adventurer's Vest. Now head back and exit the Forbidden Cavern.
A short cutscene showing what appears to be hooded Eagles briefly happens.
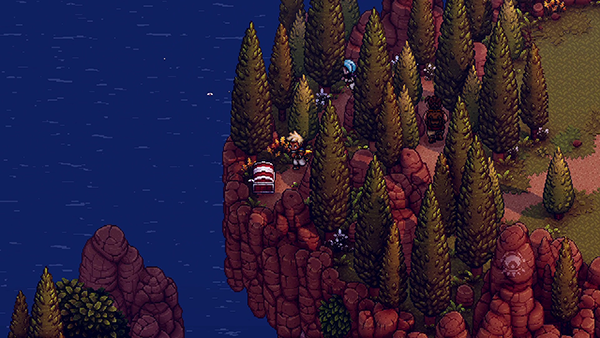
Sunglow Lake

You'll come to the World Map and notice you have three locations you can visit.
To reach the Elder Mist, you'll want to choose the middle fork. However, before you do that, you'll want to head to Sunglow Lake.
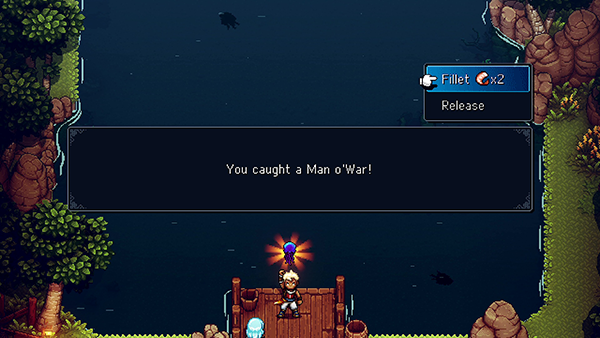
In Sea Of Stars you'll come across several different lakes that allow you to play a fishing Mini-Game where you can catch fish and earn Seafood items used for Cooking (you learn this later on).
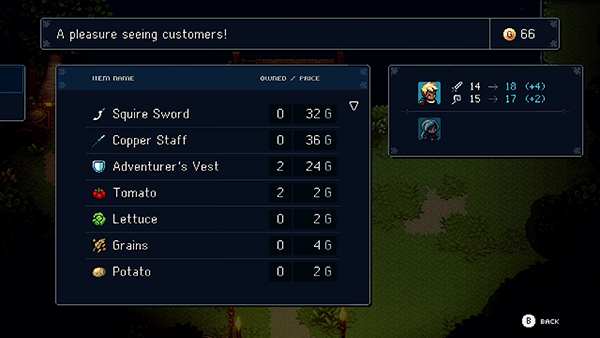
There is also a Merchant here selling new equipment that will improve both Zale and Valere's stats:
- Squire Sword
- Copper Staff
- Adventurer's Vest
If you swim to the back of the map you'll also find a picnic basket with a 5x Dairy.
The other location is the Solstice Shrine, which is currently locked, so it looks like we'll be returning here later.
For now, take the middle fork to enter Mountain Trail.
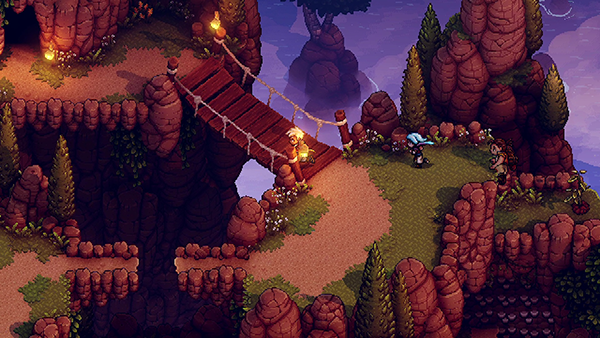
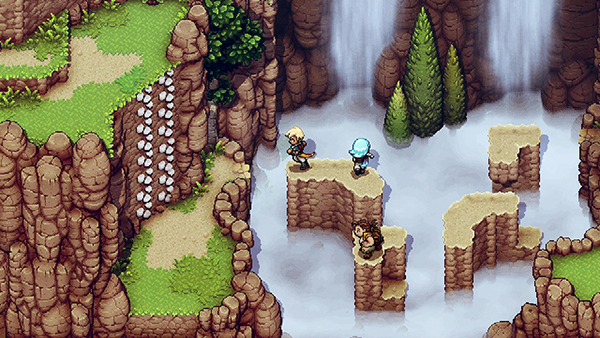
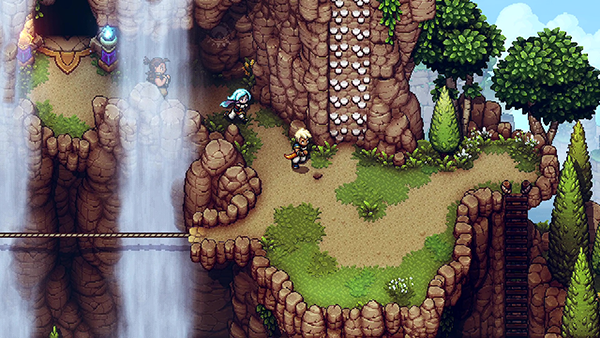
Mountain Trail
Remember this area? This is where we started our journey and we've finally caught up with Zale and Valere's present.
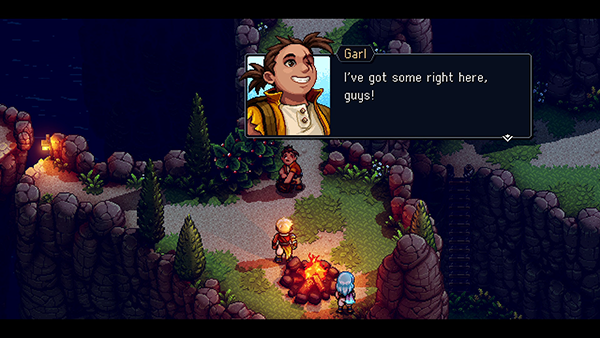
Garl appears out of a bush to the delight of Zale and Valere!
Garl joins your party.
You also now unlock the ability to cook food at Campfires. Cooking food is very useful as it can heal you during battles (especially useful if you have the Relic turned off).
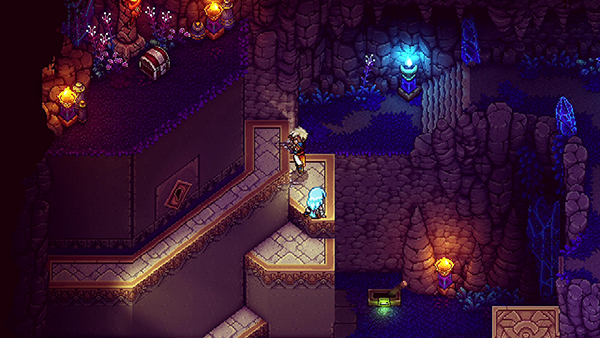
The next day you begin your adventure to seek out The Elder Mist. Head up top; you'll notice a cave next to the climbing rocks. Enter the cave first.
Here you can find a Treasure Chest containing Abacus.
Now exit the cave and climb up the rocks on your right and you'll find two Rochevre waiting for you. If you head to your left, through the trees, you'll find a Treasure Chest containing Basic Armor.
Head across the rope bridge and you'll come to some stairs heading down the mountain path. Don't forget to collect any ingredients from plants you see along the way (it will help with cooking!).
Plants: They will regrow when you reenter the zone or spend a specific amount of time in an area, so don't worry too much about missing them. You can also buy most ingredients from Merchants.
Keep heading right, crossing the mountain path and then heading further up until you come to two Wanderer mobs. Once you take them out head up the climbing rocks.
You'll come to another rope bridge; collect the plants on the right and then cross over to find a small cave.
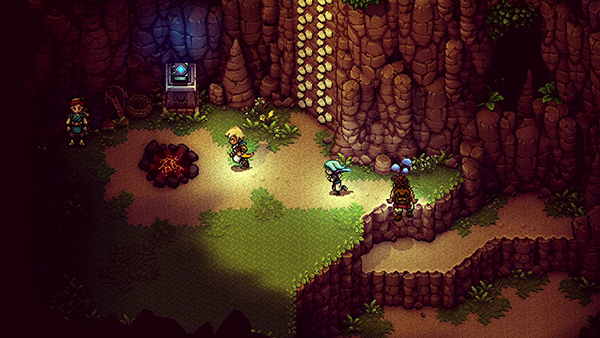
Inside you'll find a save point and campfire to reheal. The Merchant also sells the same items from Sunglow Lake. Once you've healed up, head up the climbing wall and exit the cave on your right.
Outside you'll find yourself up against two Luslugs and a Wanderer.
Once you take them out, there is a cliff edge south of you that you can jump down and find a cave.
Inside you'll find a Treasure Chest containing Shiny Gem x2.

If you keep heading left you'll come across a misty area that you can jump down into to find a Treasure Chest containing Recipe: Chaudree!
Head up the mountain, taking out the lone Rochevre and crossing the mountain cliffs.
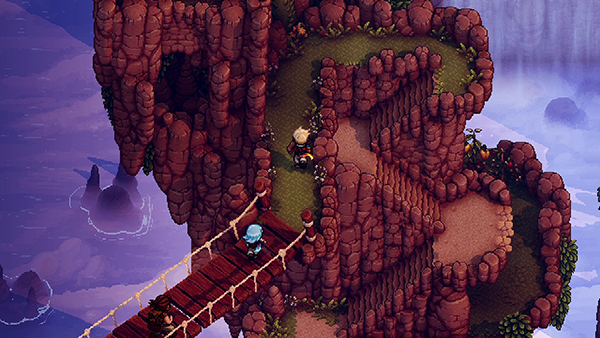
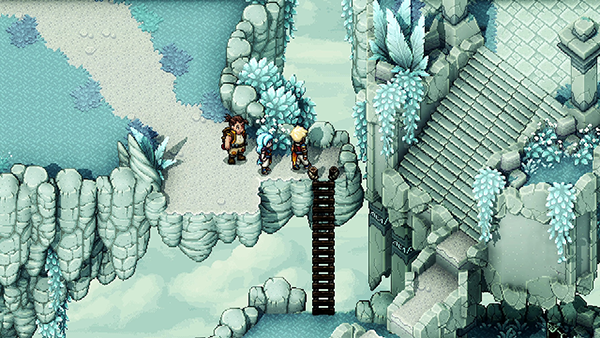
You'll come across two more Wanderer and one Rochevre. After taking them out follow the path left and crossing more misty rocks (no treasure here!). Climb up the wall on your left.
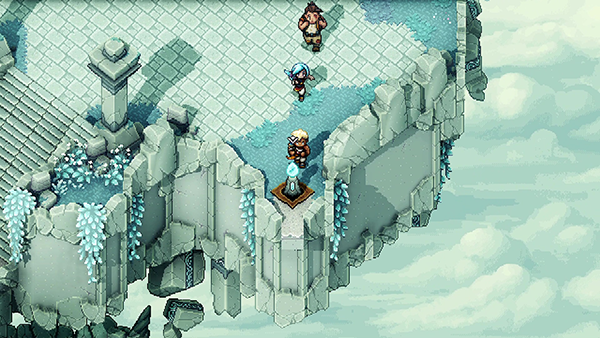
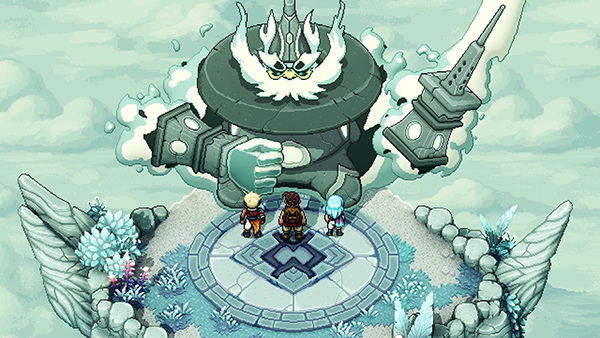
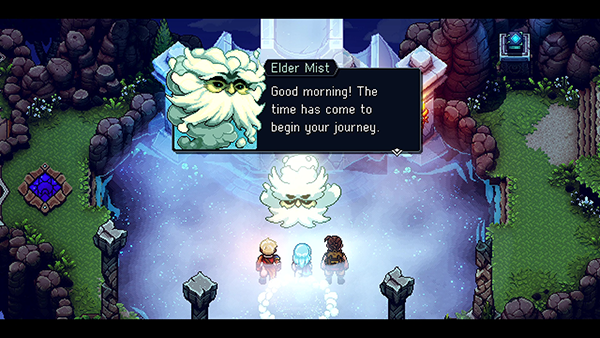
As you make your way across a rope bridge, take out the Rochevre and you'll notice a climbing wall next to a cave entrance. Inside the cave is something that doesn't work, so ignore it for now. Head up the wall and you'll eventually reach The Elder Mist.
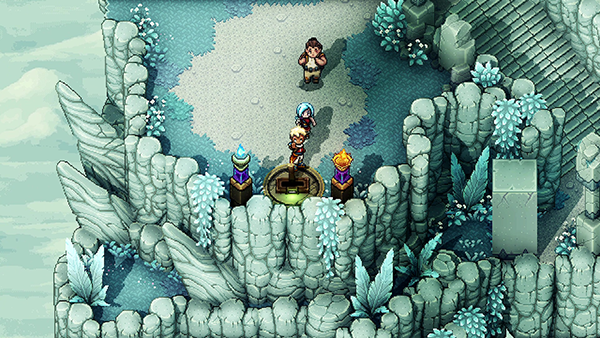
The Elder Mist Trials
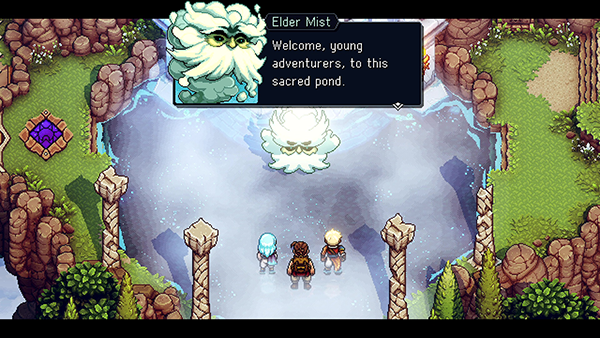
After a bit of back and forth with The Elder Mist, he mentions of a new battle mechanic known as Live Mana.
Live Mana drops from enemies when you attack them with normal attacks. You can then use the Live Mana that drops to further power-up your attacks.
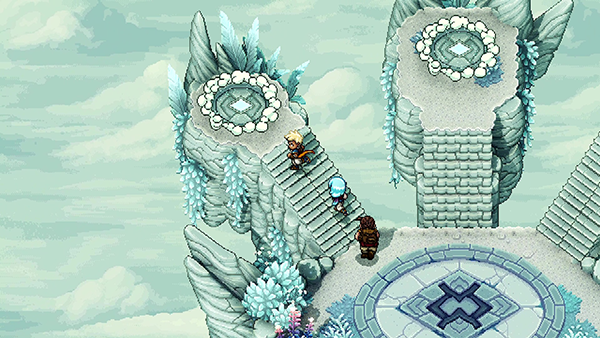
Live Mana, also known as Boosting, will be available during The Elder Mist Trails. You'll be teleported to a map that contains three different trials.

First Trial
Start with the trail on your left.
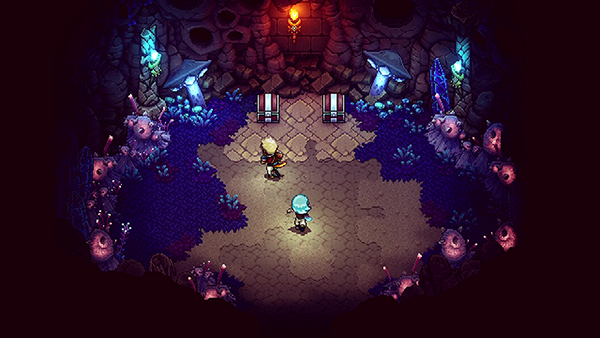
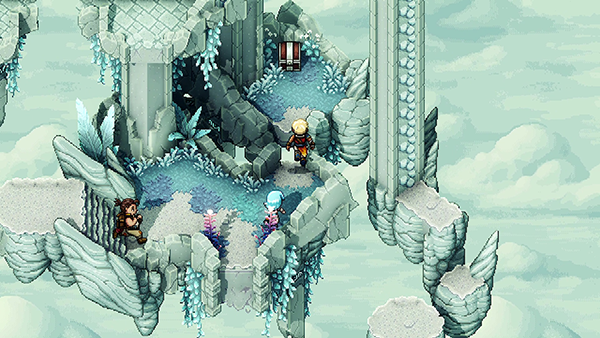
You'll come to an area with two candle monsters (known as Tern) on your left and a Treasure Chest on your right. Open the Treasure Chest to find Basic Armor.
Next take out the two Tern monsters. You should notice a Lever towards the bottom of the map. Pull it and the platform above you will move to your left.
Jump on the platform and make your way up top; take out the two Tern and unfurl the Rope ladder. Head back down and pull the Lever again so that the platform goes back to it's original position.
Now head up the rope ladder once more and climb onto the platform. You can now make the crossing onto the rocks.
Head up the stairs, take out the two Tern and a Podium will appear on your right. Interact with it to complete the first trial!
Second Trial
Next take the middle staircase to reach the second trial. Head up the middle and you'll come to a climbing wall. When you reach the top, you'll notice a glowing wall; interact with it and you'll be asked a question.
- Of these two actions, which one generates MP? Attacking
Answering correctly will cause a bridge to form.
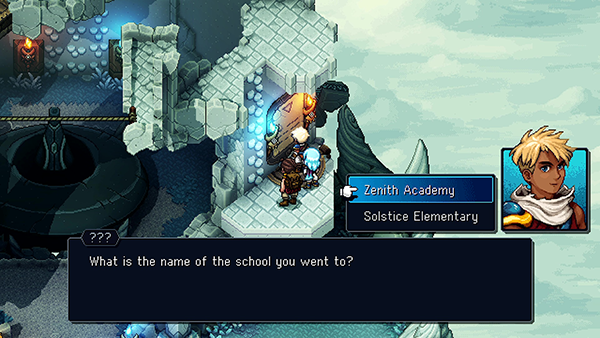
Head across it until you come to the second question wall:
- What is the name of the school you went to? Zenith Academy
Head further up and don't forget to get the Treasure Chest on your right containing a Recipe: Mushroom Scramble!
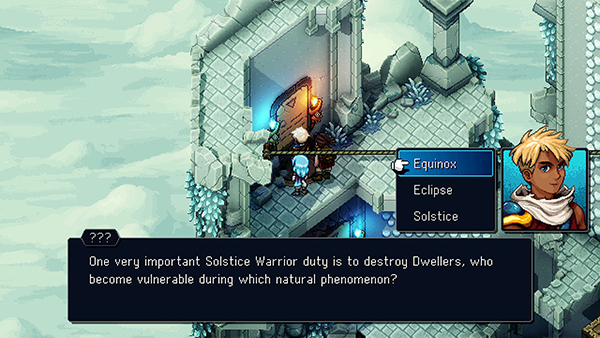
Head across the rope bridge until you come to the final question:
- One very important Solstice Warrior duty is to destroy Dwellers, who become vulnerable during which natural phenomenon? Eclipse
Answering the final question will raise another podium, allowing you to complete the second trial!
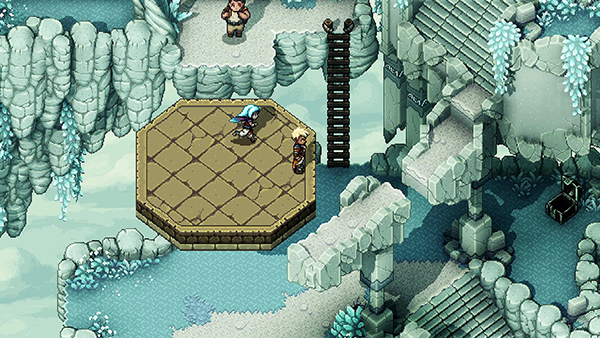
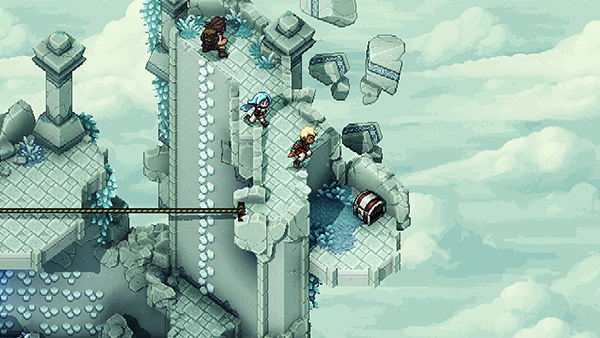
Third Trial
Enter the third trial, which is the stairway on your right. Keep heading right until you come to a Treasure Chest containing Shiny Pearl.

Make your way all the way up top until you come to three Tern monsters. At the bottom of this area is cliff; drop down and pull the Lever.
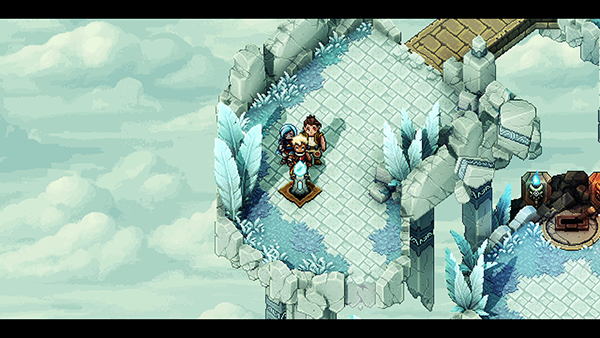
This will raise two bridges; take the path on your right and follow it until you reach the third and final Podium to complete the trials. EASY!
The Elder Mist - Boss Fight
Just when you thought it was all over eh?
The Elder Mist Boss isn't too difficult, but there are some things to watch out for.
You should notice you can attack either the main body or The Elder Mist's sword. The Sword has 90 HP and can be made unusable for a short while, where it will regenerate to 55 HP.
If you attack The Elder Mist whilst his sword is up, you are more than likely to get hit by the counter-attack Sword Slash. This hits everyone in your party for 20 HP, so you should aim to take out the sword first.
Once the sword is out of action, pile on the damage to The Elder Mist. Don't forget to absorb the Live Mana to boost your attacks; he is vulnerable to Magic.
The Elder Mist has two attacks; the first is a single-target punch attack that deals around 18 HP. It's second attack is called Healing Mist, which can be stopped by taking out the right elements, will heal for around 50 HP.
Check out the video below for more tips:
Reward: 240 EXP
You can now leave the trials and meet up The Elder Mist back at his pond. He introduces you to Celestial Runes, which change the time of day. You'll be using these to unlock various areas in Sea Of Stars!
And that wraps up part 2 of the Sea Of Stars Walkthrough! Let us know in the comments if we missed anything!

Discussion