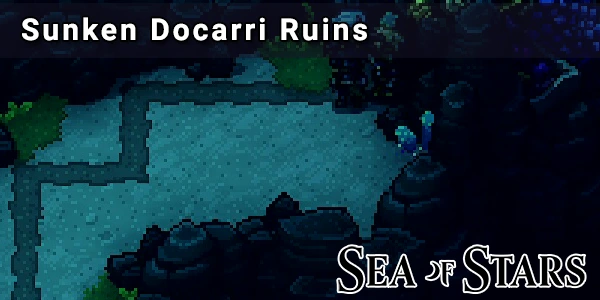
The Sunken Docarri Ruins are a special area of Sea Of Stars that unlocks once you gain the ability to fly around the world map. Completing this puzzle will unlock some of the final pieces of the game.
- Sunken Docarri Ruin #1
- Sunken Docarri Ruin #2
- Sunken Docarri Ruin #3
- Sealed Docarri Ruins
- Sea Slug Boss Fight
There are four Sunken Docarri Ruins located around the World Map (not Serai's world).
To activate them, you must speak to Resh'an on board The Vespertine. He points out a location the map that you should go to.
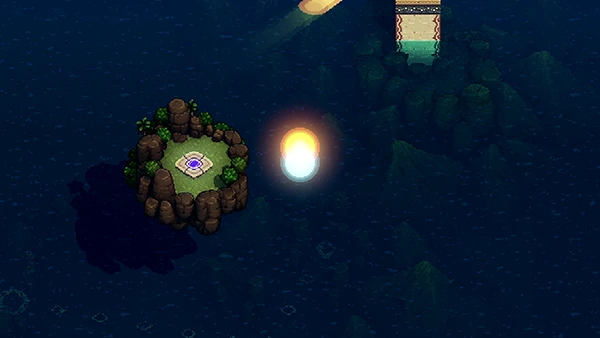
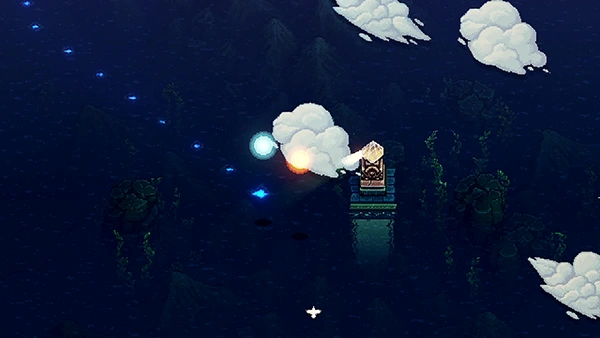
Head to the top-left corner to find a Celestial Rune. When you stand on it, it will reveal several Sundials on the World Map. You can then change the time of day to use these Sundials to reveal the Sunken Docarri Ruin locations.
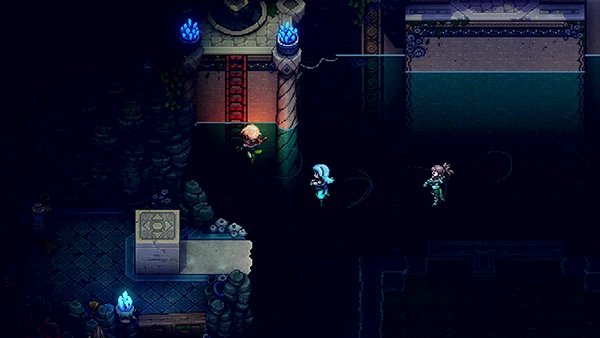
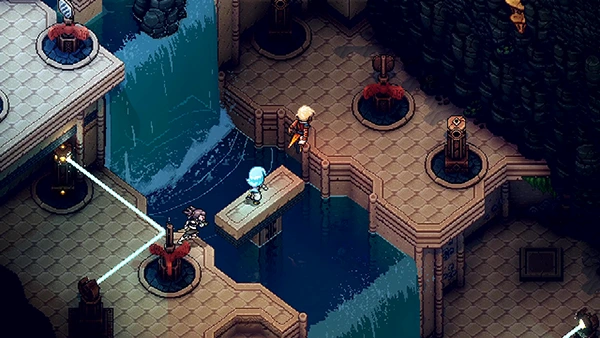
Sunken Docarri Ruin #1
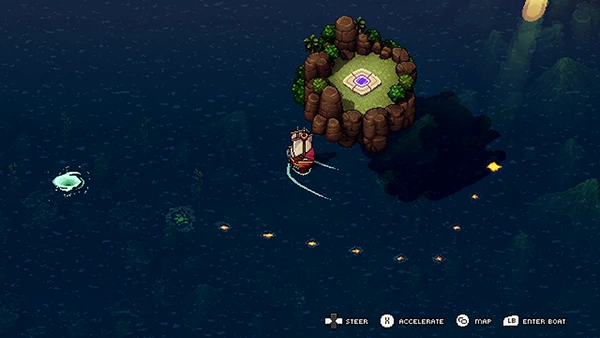
The first Sunken Docarri Ruins is located in the top-left corner of the World Map, near where the small island with the Celestial Rune is.
Once you use the Sundial to reveal the ruins, a Whirlpool will appear that you can access using The Vespertine.
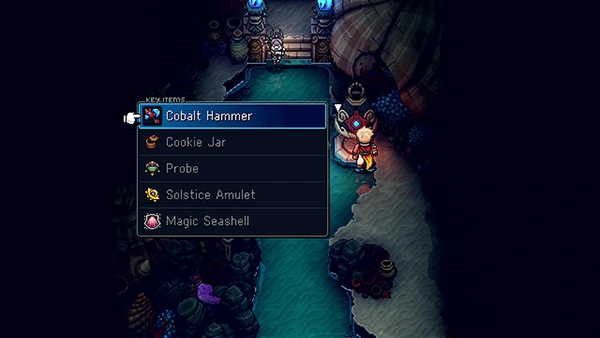
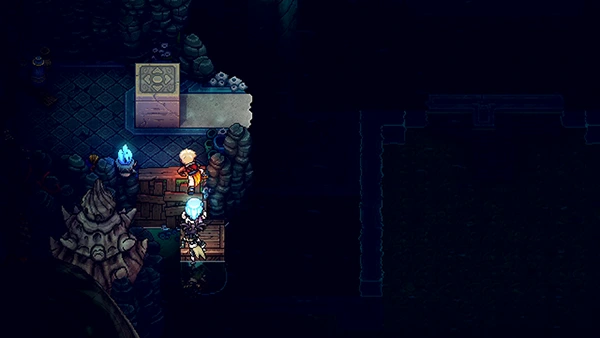
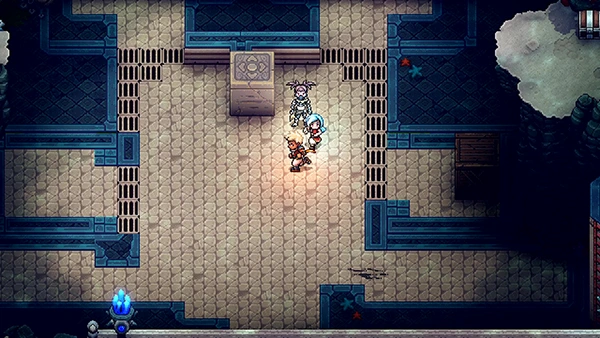
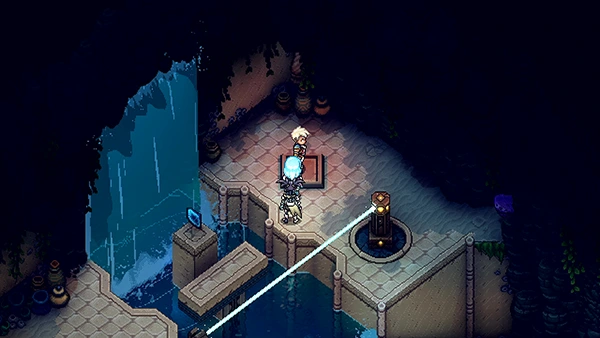
Head inside and you'll come to a cave. Use your Cobalt Hammer on the bell to open the door.
You will come to a room that is full of water with a floating box in the middle of the room. Jump into the water and head to the top-left to find a ladder. Interact with the Cog and the water will drain.
Push the Wooden Block to the bottom-left corner of the room and the re-flood the room.
You can now climb onto the Wooden Block and push the Stone Block on the left into the middle of the room. It will sink.
Turn the water off again and now push the Wooden Block onto the center tile so that it raises the Stone Block.
Now push the Stone Block onto the center tile and the Wooden Block to the right near the Treasure Chest. Reflood the room and now you can access the Treasure Chest containing Sapphire Ignot.
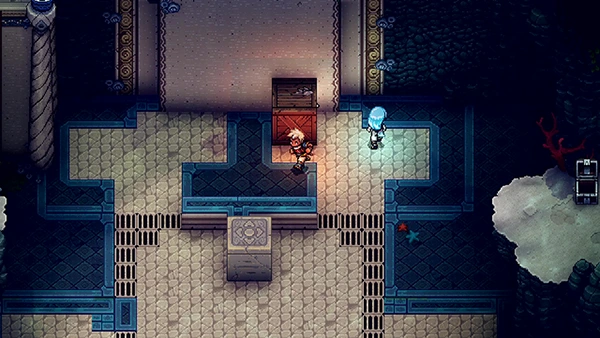
Turn the water off and now push the Wooden Block to the top of the room and reflood the room once more.
You can now climb up and access the Docarri Seal Fragment A!
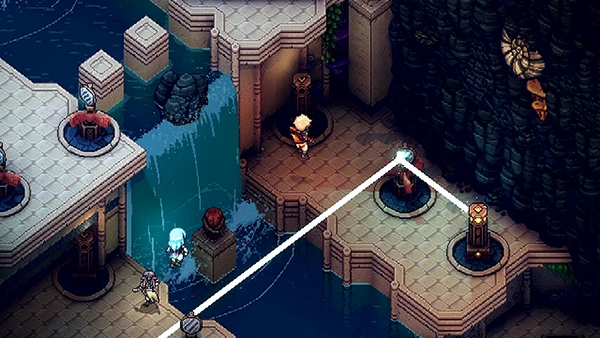
Sunken Docarri Ruin #2
The second Sunken Docarri Ruin is found on the right side above Mesa Island.

Use your Cobalt Hammer on the bell to unlock the door and enter the Whirlpool.
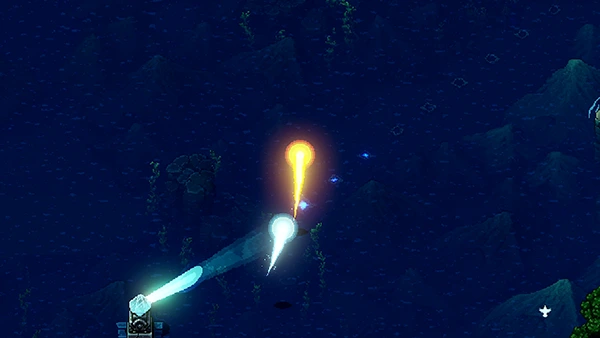
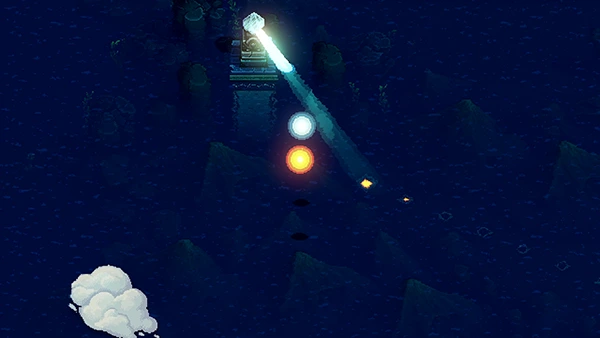
There are several levels to this room with a small puzzle in each one. Position the mirror on the left so that it faces the key, then head to the Blue Tile on the right side. This will allow you to reach the second level.
On the second level you first need to point the mirror to the top-left key tower. Then cross over and move the mirror to the right key-tower at the bottom of the platform. This will reveal a grapple post.
Now finally adjust the mirror to point at the top-right key tower, this will reveal a climbable wall on the right to reach the third level.
On the third Level, adjust the mirrors like above to allow access to the fourth level.
Stand on the blue tile to reveal the Docarri Seal Fragment B!
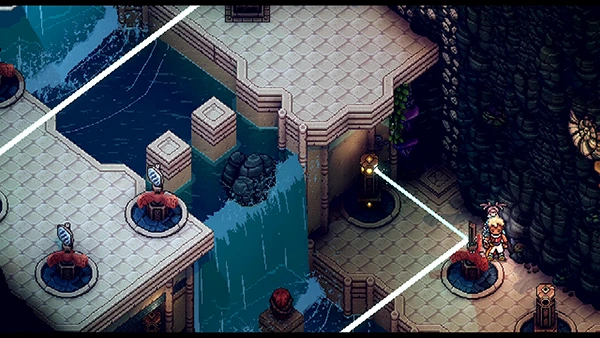
Sunken Docarri Ruin #3
The third Sunken Docarri Ruin is located on the left-side of the world map, below Watcher Island.
Inside you'll find another locked door, so use your Cobalt Hammer on the bell to unlock it.
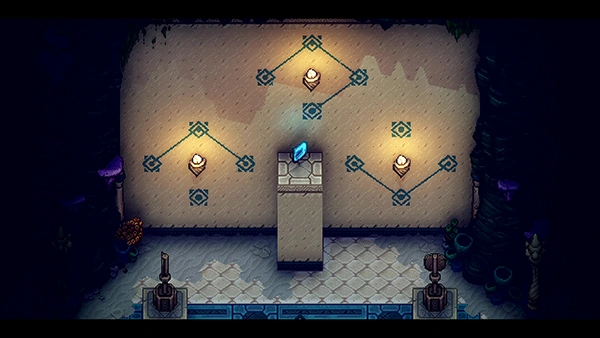
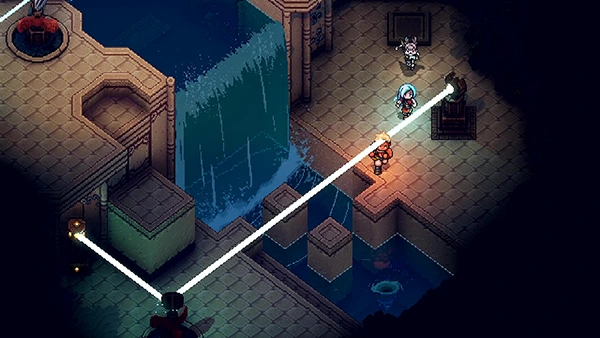
Inside you'll come to small room with several pushable blocks that contain mirrors, light sources and a key hole. On the wall you'll see three patterns that the puzzle is asking you to complete.
When you have setup the correct pattern, stand on the blue tile to activate it.
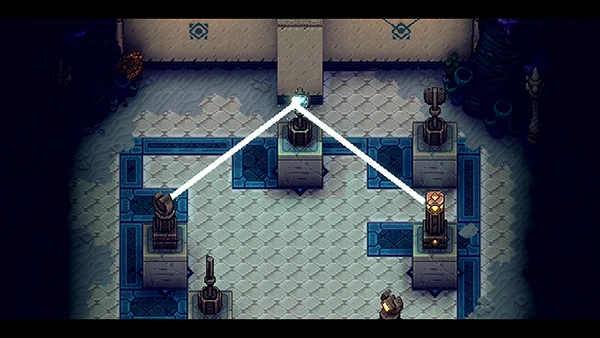
The first pattern requires three blocks. You'll want the light-source laser that points upwards on the left tile (don't confuse this with the one that points down).
You'll want the mirror facing down at the top tile and the key-tower on the right.
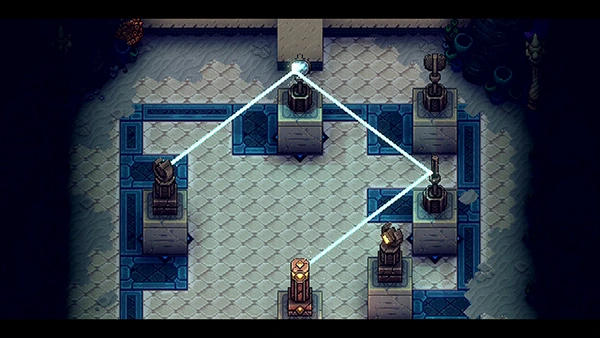
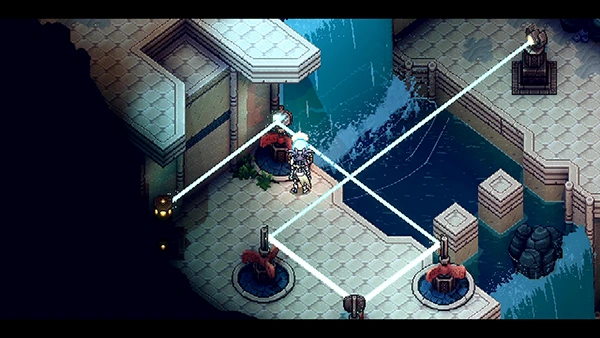
The next pattern requires you to switch out the key-tower on the right for a mirror facing towards the left. Put the key-tower on the bottom most tile.
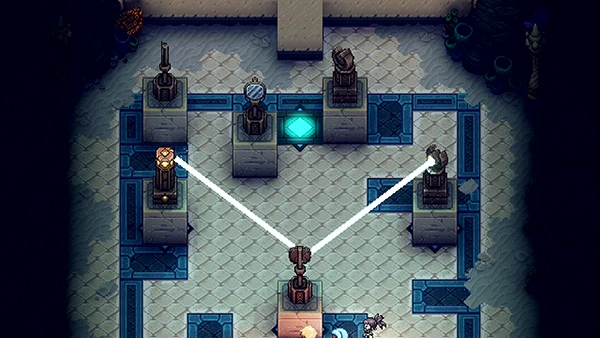
The final pattern requires the light source that shoots down on the right, the mirror that faces up on the bottom and the key-tower on the left.
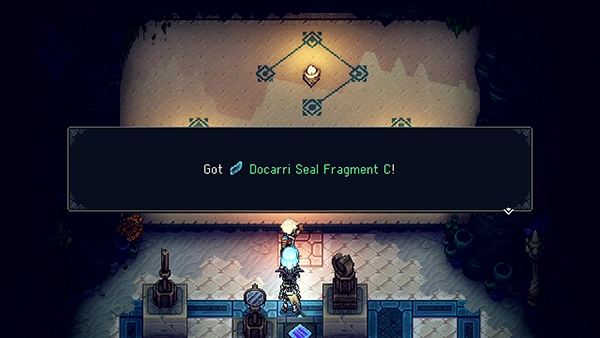
Once all three patterns have been completed, you can collect the Docarri Seal Fragment C!
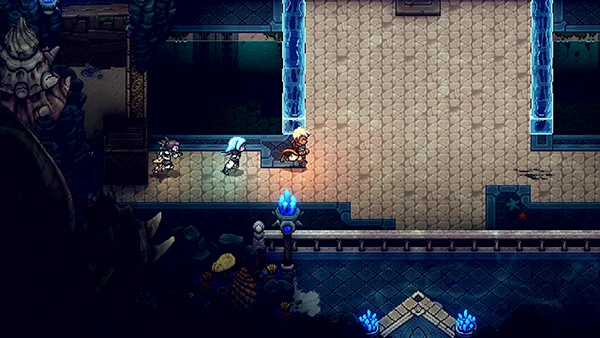
Sealed Docarri Ruins
Once you have all three pieces of the Docarri Seal Fragment, you can head to the final destination: Sealed Docarri Ruins.
This Sundial is located to the left of Settler's Island (Town Of Mirth).
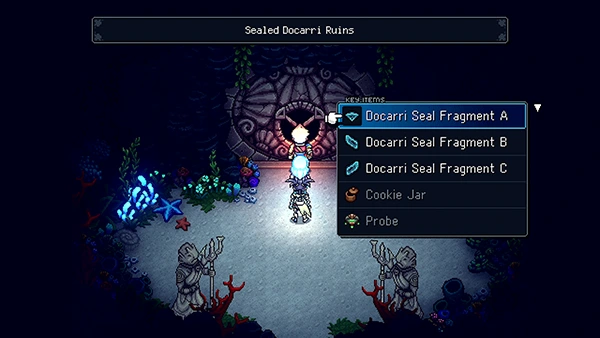
You'll come to a sealed cave entrance; place all three pieces of the Docarri Seal Fragment and it will allow you to enter...
Sea Slug Boss Fight
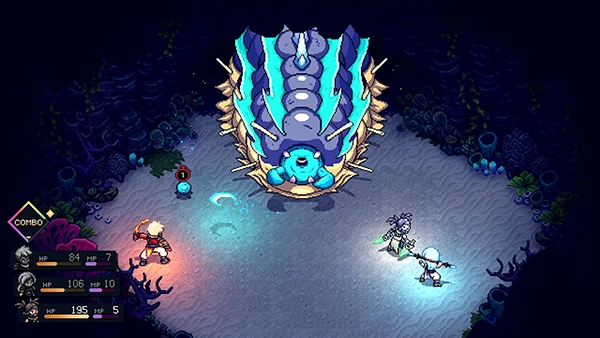
This reskin was one of the first bosses you ever faced in Sea Of Stars! Not much has changed!
It will still summon Acid Bug Bombs that resist most attacks; you can safely ignore them and just concentrate on the main boss. The bugs will kill themselves over time.
The main attack you need to watch out for is the Sea Slug's falling stones move. This will set everyone's HP to 1! This move doesn't have any Combo icons to let you know it's coming either, so try to always have heals on hand.
The Sea Slug will fire a poison attack at you, one-hitting most of the time or taking 50% HP away.
Check out the video below for more tips:
Reward: 20202 EXP
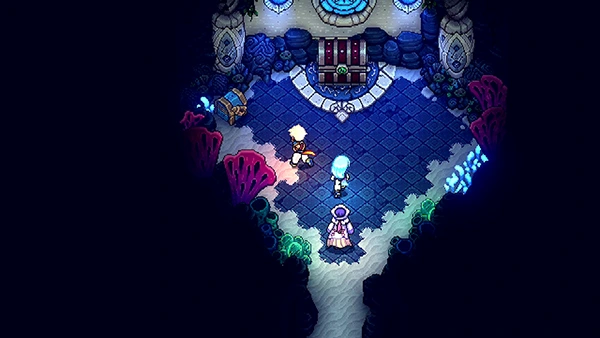
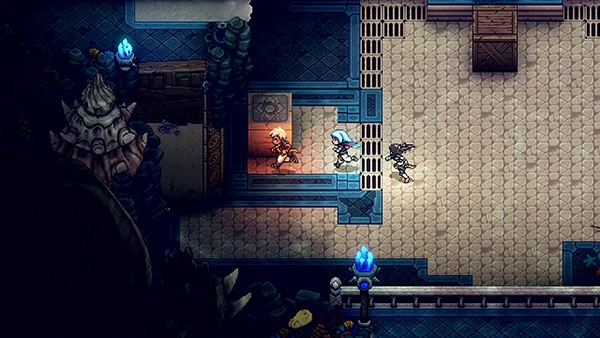
After the fight, head through the cave and you'll find a Rainbow Conch and also an empty Treasure Chest.
Turns out Resh'an had his ultimate weapon on him all this time: Aetherwood Cork.

Discussion