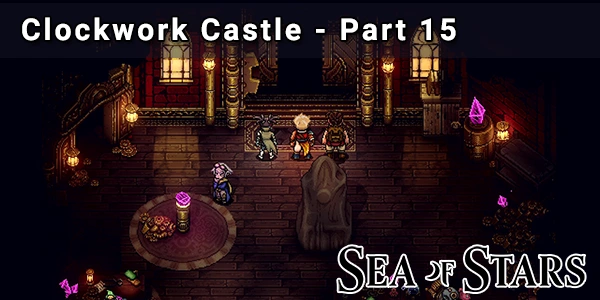
In this part of the Sea Of Stars Walkthrough, we arrive at Clockwork Castle, where the Dweller Of Strife awaits us at the top!
- Brugaves and Erlina - Boss Fight
- Clockwork Castle
- The Acolytes - Boss Fight
- Dweller Of Strife - Boss Fight
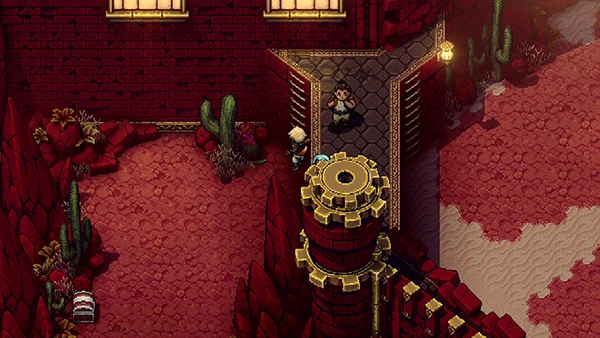
Having made our way through Songshroom Marsh in the last part, we now arrive at Clockwork Castle.
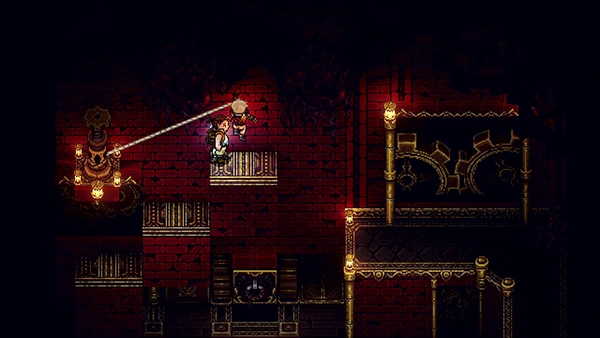
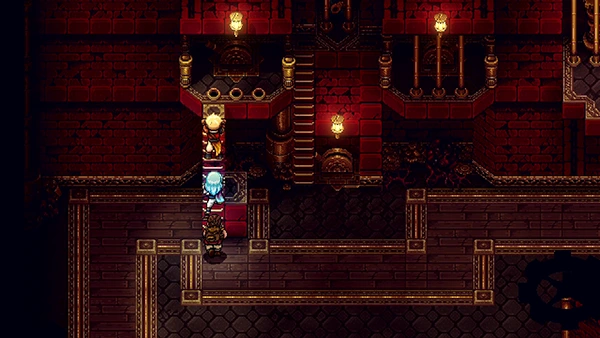
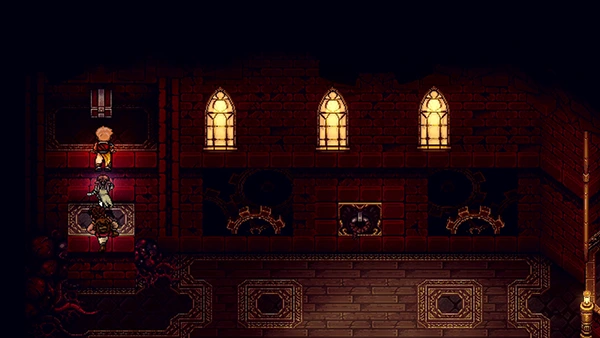
You'll notice the castle gates are locked, so you'll need to head to your left where you can climb up a wall.
In this part of the walkthrough, you can find:
- Rainbow Conch
- Cog Prototype
- [Weapon] Sturdy Cog
- [Trinket] Evergreen Leaf
- [Trinket] Blue Leaf
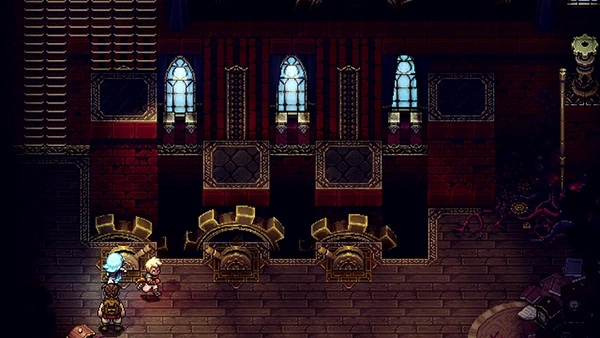
If you head up the castle walls you'll come to a group of mobs near a Lever. Take them out and then pull the Lever, allowing you to enter through a gate nearby.
The gate will lead you to the right side of the castle, where you'll come across a Campfire and Save Point.
If you head down the right side of the castle, you can find a Treasure Chest containing a Cog Prototype.
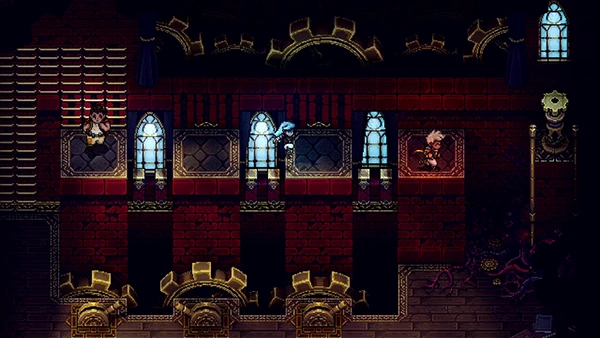
Now head back to the campfire and climb up onto the castle walls. Head over to the left side and climb up the walls to find a Treasure Chest containing a Sturdy Cog.
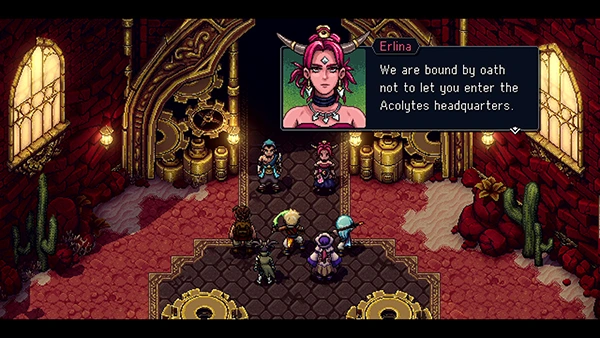
Now head back to the doors of the Clockwork Castle and interact with them. Brugaves and Erlina appear.
Brugaves and Erlina - Boss Fight
This is more of a mini-boss fight than a main one. The rest of your party leave just Zale and Valere to take this one.
You can block many of the moves in this fight using your Combo moves. Erlina will deal damage to both characters and Brugaves will hit a single target.
Erlina can also use Searing Pyramid which hits for around 50 HP if you don't block it. She also has a healing skill that she will use every now and then.
By building your combo bar up, you can periodically heal using Mending Light to get you through the fight.
Reward: N/A
After unsuccessfully trying to convince Zale and Valere to join them, Brugaves and Erlina run off. Head inside the castle...
Clockwork Castle
Inside Clockwork Castle main entrance you'll find plenty of plants. It's a good place to farm them (by reloading the game over and over) to sell them for Gold!
You'll come to some mobs up ahead and three entrances. Take the entrance on your left first.
In this room you'll find a moveable block. You need to push it into the slot on the left of the room. This will activate some shelves you can climb up.
Here you can find a Screw; you can use your Grappler to unscrew, which unlocks part of the door in the Clockwork Castle entrance room.
Head back to the main entrance and this time take the exit on the right.
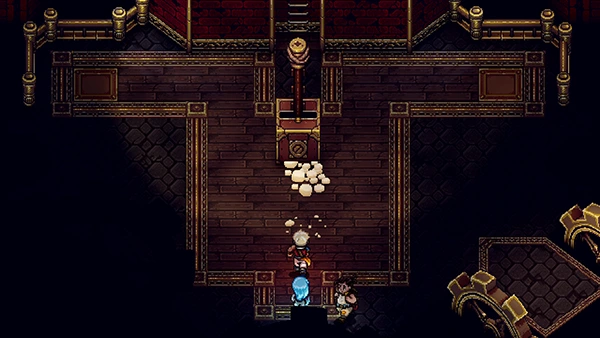
In this room simply stand on the tile in the middle of the room and then cross the bridge to collect the Garden Key from the Treasure Chest.
Return back to the main entrance and unlock the Clockwork Castle door.
Head up the corridor and you'll come to a large empty room with two Levers.
First pull the Lever on the Left; this will bring up a moveable block. The Lever on the right will bring up walls that can be used to direct the block.
Push the block to the top-right corner. Then push it to the top-left corner. Then to the bottom-left corner.
Now pull the Lever to raise the walls. Push the block against the wall and then into the middle slot.
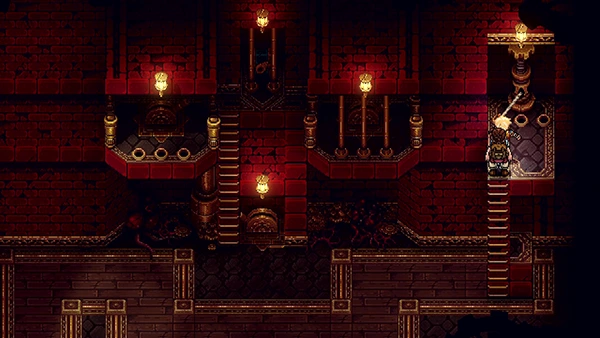
This will create some stairs you can climb. At the top you'll find another moveable block.
Use your grappler to pull out the wall and this will lower the gates.
Push the block to the left and then use your Grappler again on the second pull out wall. You can now push the moveable block off the edge and back to the center.
Climb down and then push one block on the left side and one on the right (leaving the middle empty). This will create a new staircase; head up it.
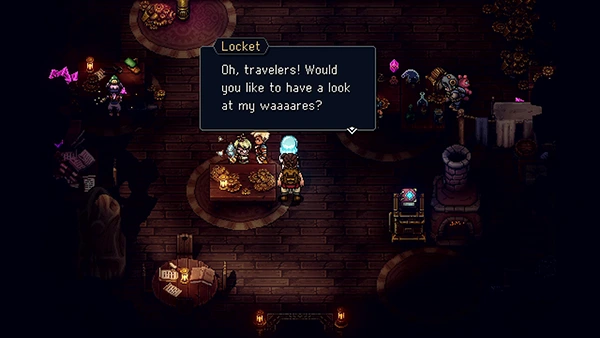
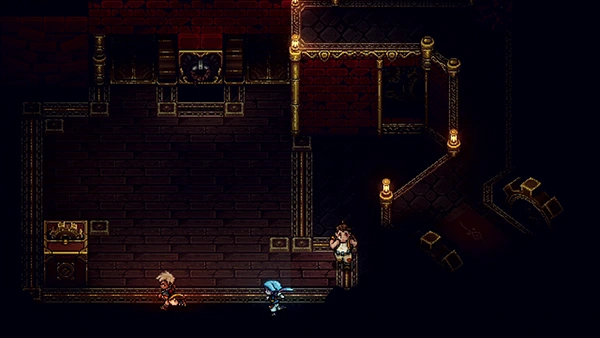
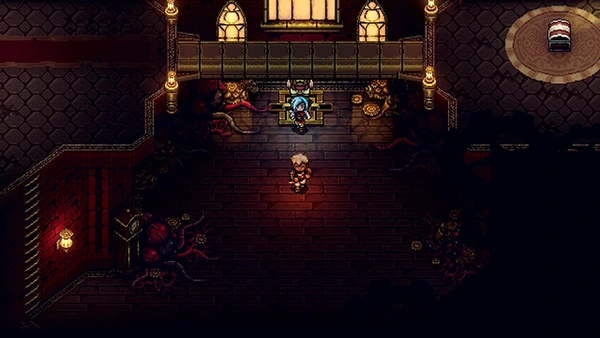
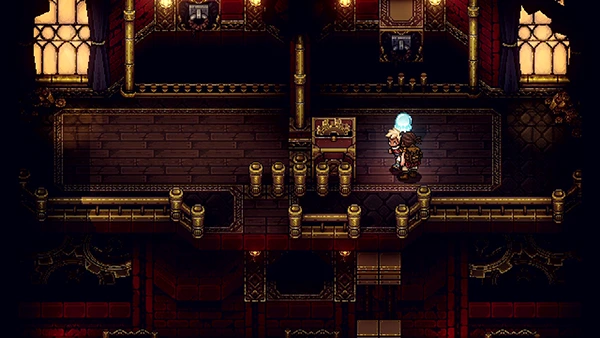
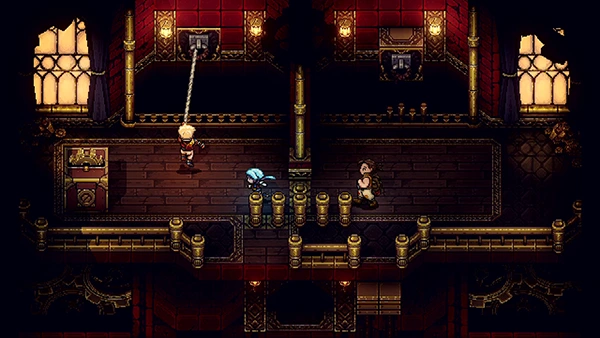
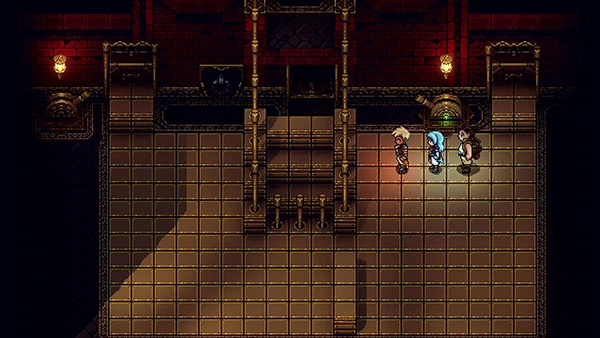
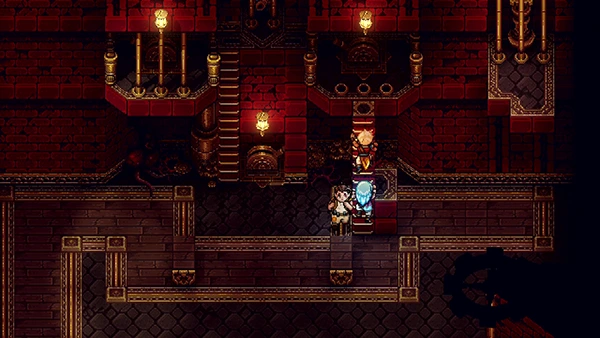
You'll come to the workshop; if you speak to one of the children called Locket, they will sell you some items. You can also use the Campfire and Save Point here.
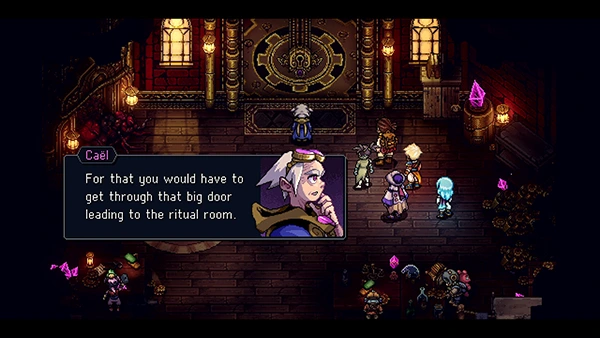
Speak to Cael in the corner of the room. He tells you that time doesn't pass in the castle and they've been stuck there for years. If you want to take on the Dweller Of Strife, you need to get through the big door.
But in order to do that, you need to get The Watchmaker's Master Key at the top of the Clock tower. Cael uses one of his contraptions to allow you to enter the room on the left.
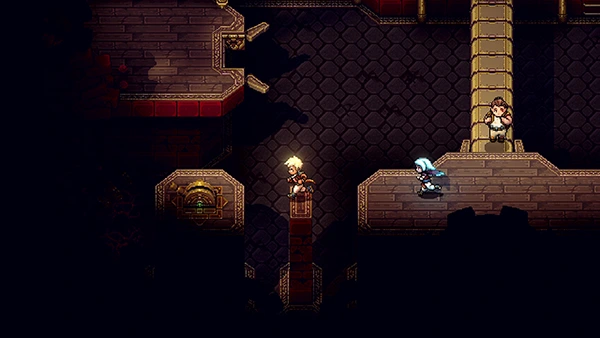
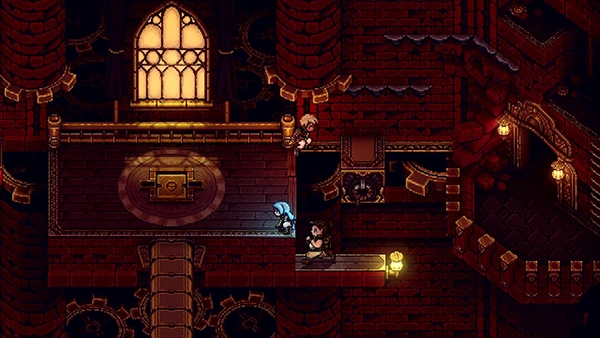
Inside you can find a room with a bridge going across the middle. Jump down and use your grappler on the pull out wall.
A small platform will appear, allowing you to then access the Lever. Pull that.
This retracts the middle bridge; now stand on the tile to create the new bridge, allowing you to cross over and exit the room.
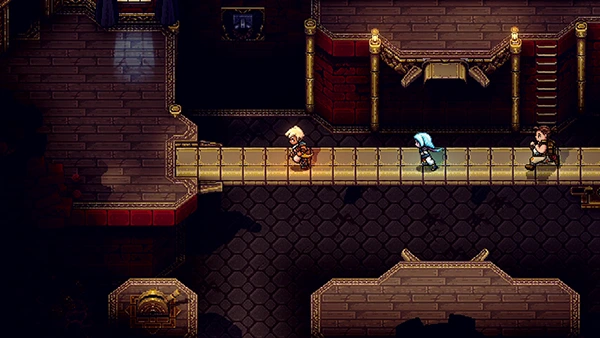
You'll come to an elevator; use the right switch to head up to the next platform.
Head forward and pull the Lever at the top of the room, then stand on the tile on the right, creating a bridge allowing you to access the room on the right.
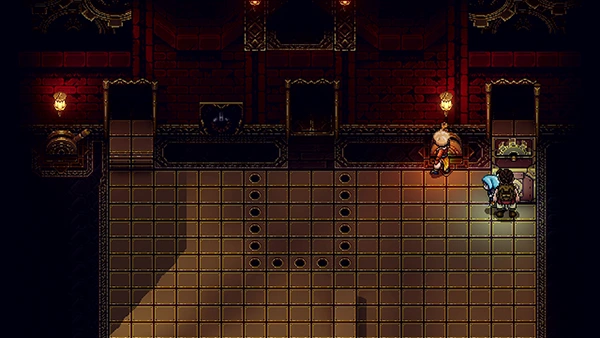
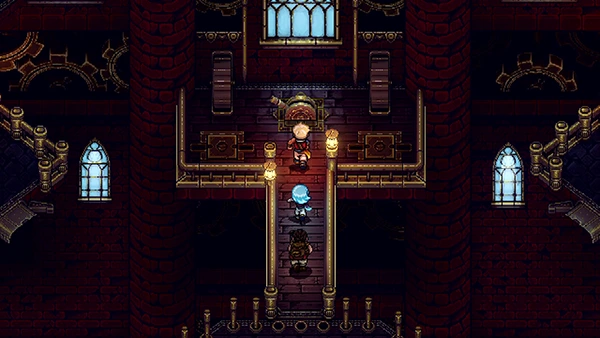
Inside you'll find some mobs and also three Levers. These will operate the tower blocks in front of you; you need to pull them so you can cross.
The first Lever operates the first block. The second Lever operates block one and two. And the third Lever operates blocks two and three.
To get through, pull the Levers in this combo: 1, 2, 1, 3, 1, 2.
Now climb up the wall and cross the blocks to find a Screw you can unscrew using your Grappler.
Return to the Elevator and head back to the top platform. Pull the Lever and this time hit the tile on the left to create a bridge leading to the room on the left.
In this room you can find a moveable block at the bottom of the room; push it to the tile on the right so that a wall appears.

Climb up the ladder and grapple across to the wall; then use your Grappler to pull out the wall ahead of you. This will lower one of the gates; now do the same on the left of the room. You can now access the Treasure Chest containing an Evergreen Leaf.
Head back to the Elevator and go up to the next level.
Grapple across to the left side and enter the room.
Inside you'll find more mobs. Defeat them and then push the Moveable block with a ladder on it to the middle of the room. Pull the Lever in the middle of the room and then climb up the ladder to access the next Lever.
Now jump down to the middle of the room, pulling the Lever. Push the moveable block to the left side and climb up it to access the Lever at the top.
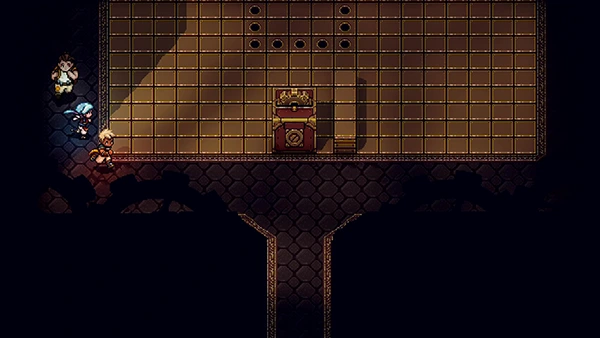
Now push the moveable block all the way to the right, climb up and unscrew the Screw. Before leaving the room, climb up the middle ladder and collect the Rainbow Conch.
Head back to the Elevator room and jump across to the middle platform. Step on the tile in the middle to create a bridge to the Elevator. Use your Grappler on the right side of the room to pull out a wall. Now climb across to access the room on the right.
Inside this room you can grapple across to find another Screw to unscrew.
After, use your Grappler to pull out the wall and a bunch of mobs will appear. Defeat them and then climb up the wall on the left to find a Treasure Chest containing a Blue Leaf.
Head back to the Elevator and ride it to the very top.
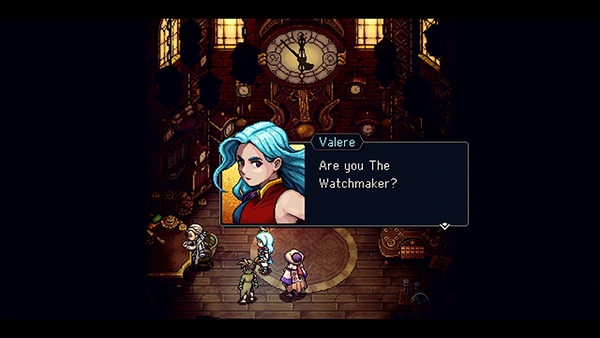
Here you'll find The Watchmaker. He gives you the Master Key!
You can also challenge him to a game of Wheels, but you need to have defeated all the other Champions before you can (which by this point in the guide, you probably haven't done yet!).

Return back to the workshop and speak to Cael; use the Master Key to unlock the door and enter.
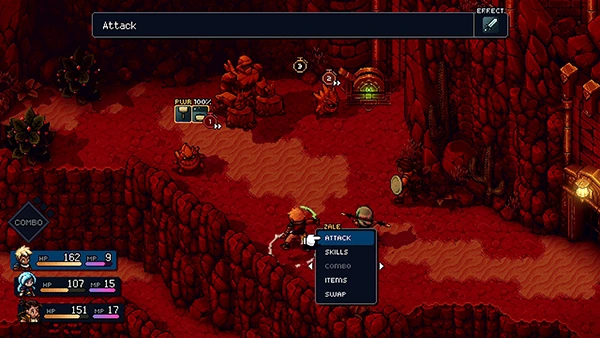
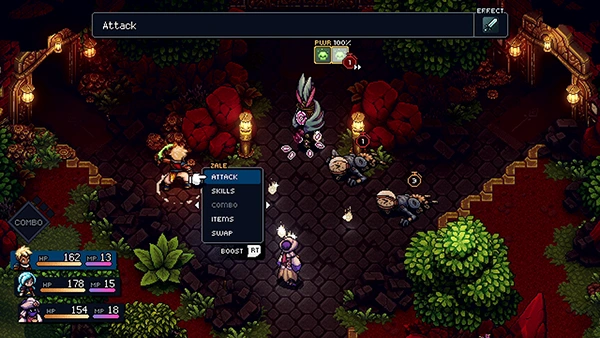
The Acolytes - Boss Fight
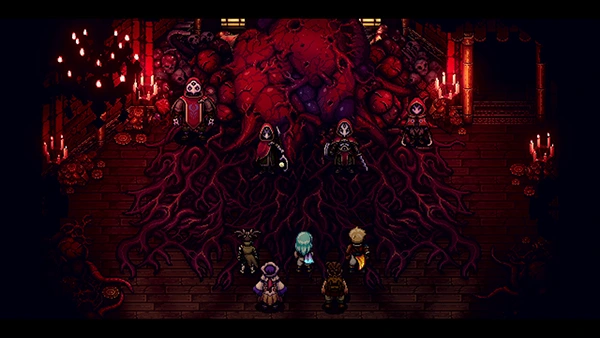
All four of the Acolytes stand in your way before you can take on the Dweller Of Strife.
As always with boss fights that involve multiple targets; focus on one at a time so start reducing their numbers. We recommend targeting Three first, as their normal attack hits two characters for around 40 HP each.
The two Acolytes in the middle will perform combo attacks that you can try to block, but a lot of the time you just won't have enough moves to do it. They don't seem to have as much HP as the two side characters.
One will block most melee attacks, so you'll want to use magic on him when you get the chance.
You want to use as many multi-hitting attacks as possible to help make this fight as short as possible; Valere's Moonerang and Serai's Venom Strike are great.
And don't sleep on Resh'an's ultimate; it will hit all four Acolytes and give you a full-free heal.
Check out the video for more tips:
Reward: 13,150 EXP
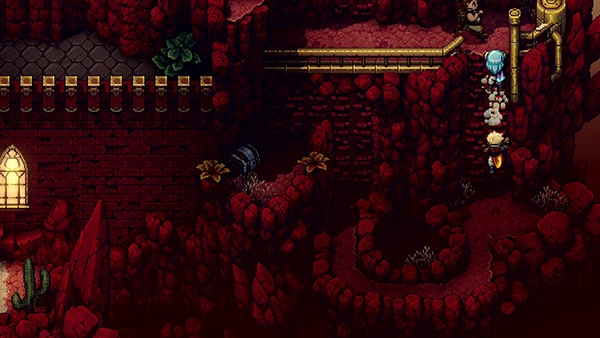
The Dweller Of Strife awakens after the fight; head to the next room to find a Campfire and Save Point.
Head across the bridge; you can find a Vendor selling you a few last-minute items too. Climb up the tower walls and prepare!
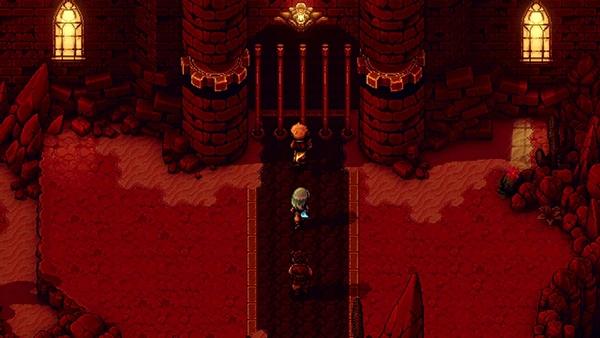
Dweller Of Strife - Boss Fight
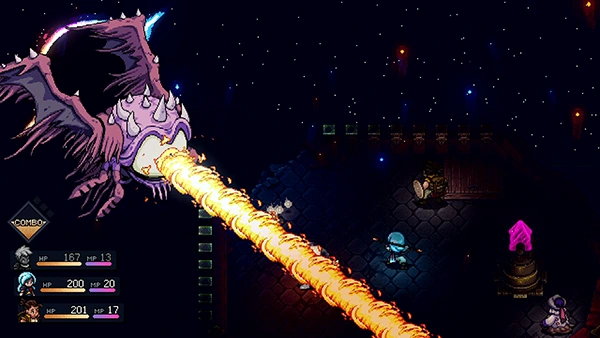
The Dweller Of Strife fight is quite easy; you just need to charge up the device that Cael has provided and it will deal most of the damage. To charge the device, you need to use Solstice Magic, so having Zale and Valere in the party at all times is a must.
The Dweller Of Strife uses Eye Beam as a single-target attack that deals around 140 HP. It can also use a move that hits all three characters for 40 HP called Crash.
Having Garl in your party to heal and create Live Mana is a good strategy (Live Mana melee attacks also charge up the device)
It takes about three charges of the Eclipse Laser to take down the Dweller Of Strife.
The fight then switches to just Zale and Valere; hit it a few times and then Garl will steal Resh'an's potion and end it for you.
Check out the video for more tips:
Reward: N/A
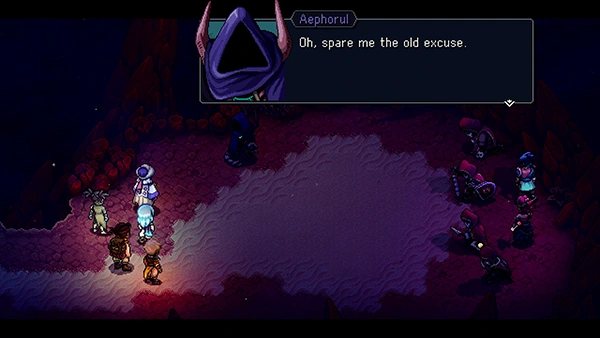
After the fight Aephorul arrives...
And that wraps up part 15 of the Sea Of Stars Walkthrough! What did you make of that ending 😨 ?

Discussion