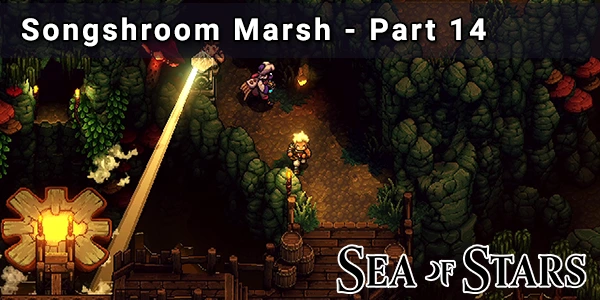
We now head to Mesa Island and where we will tackle the areas Autumn Hills and Songshroom Marsh!
This is part 14 of our Sea Of Stars Walkthrough, if you need to see a different part check out the main guide page for a list.
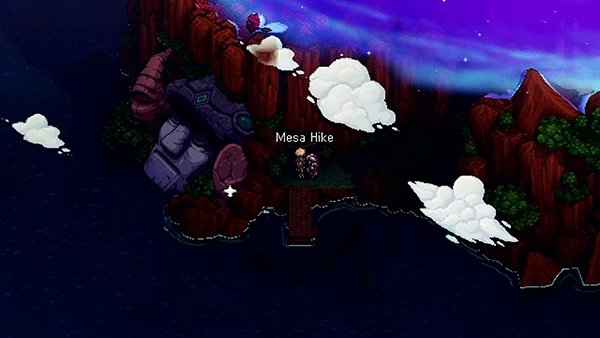
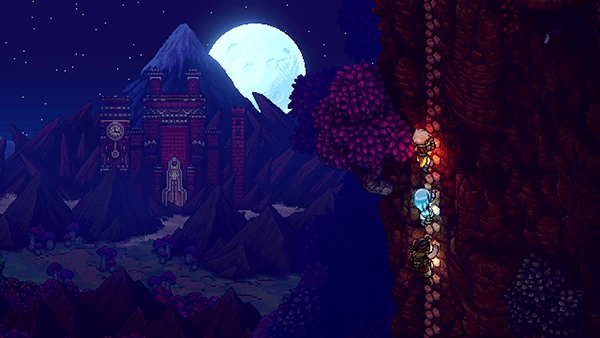
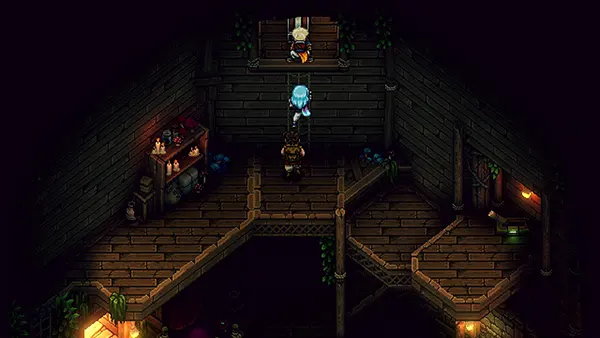
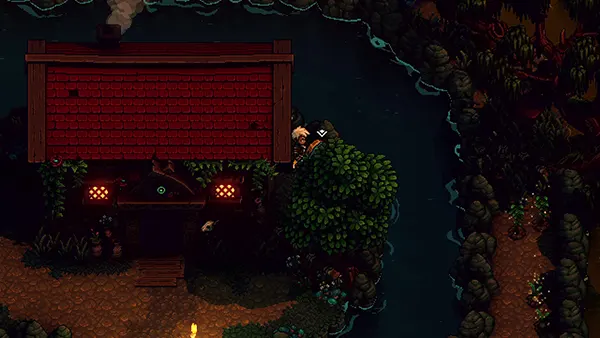
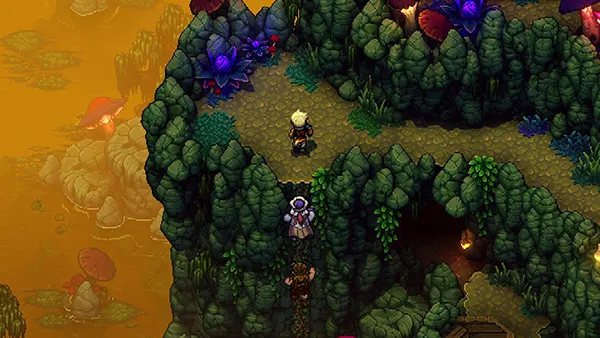
Mesa Island is located in the top-right corner of the world map, which you can reach using The Vespertine. As soon as you arrive you'll notice Mesa Hike is the first area.
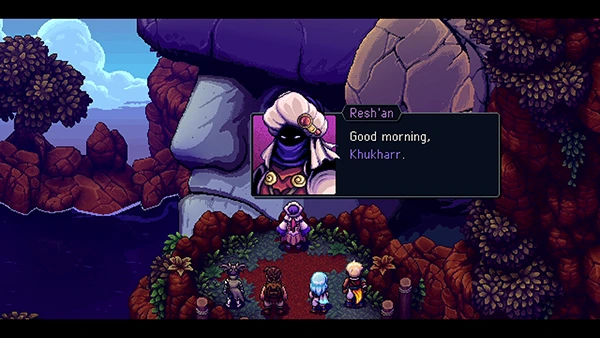
Resh'an awakes the stone giant called Khukharr and gets him to release the force field on the island; a wall you can climb up appears at the entrance of this map.
Head up it and you'll come back to the World Map, where you can access Autumn Hills.
In this part of the walkthrough, you'll find the following:
- Oaken Armor
- Vendor: [Weapon] Ornate Bo
- Vendor: Music sheet #4
- Rainbow Conch x3
- Recipe: Parfait
- [Weapon] Bamboo Slicer
- [Armor] Leaf Cape
- [Gold Ring] Spirit Of Ninja
- Obsidian Ore x3
- Question Pack #5
- [Weapon] Shroomy Shivs
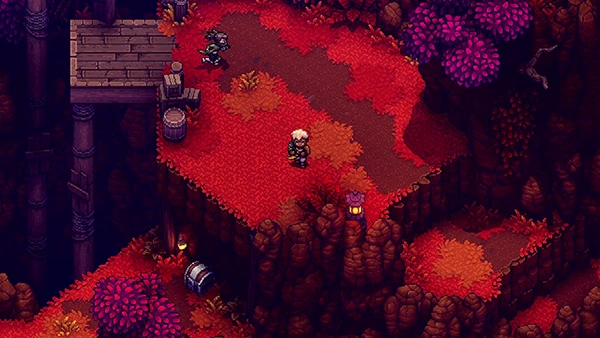
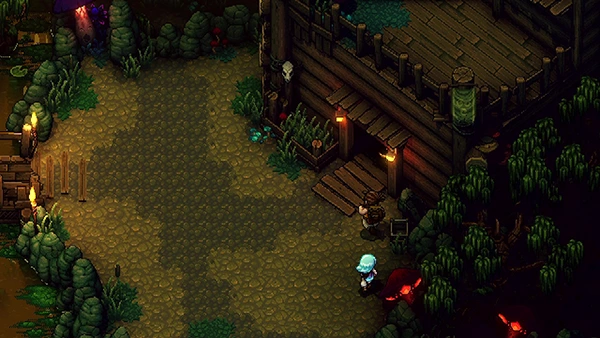
Autumn Hills
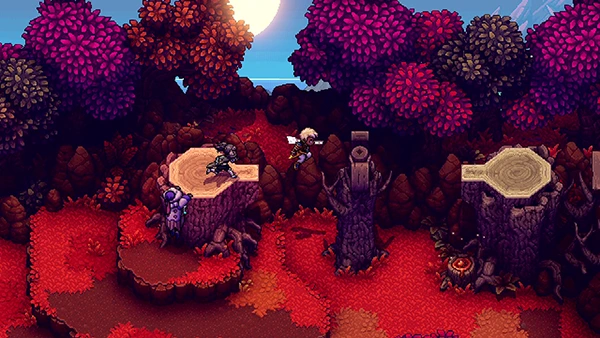
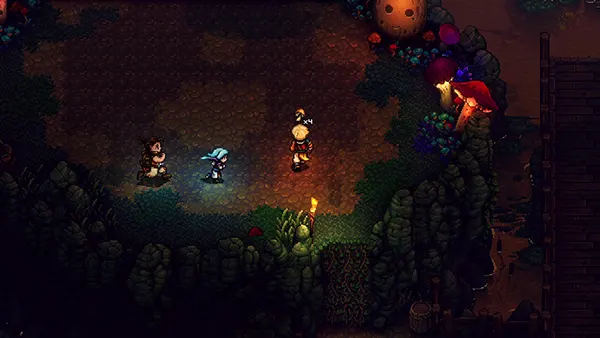
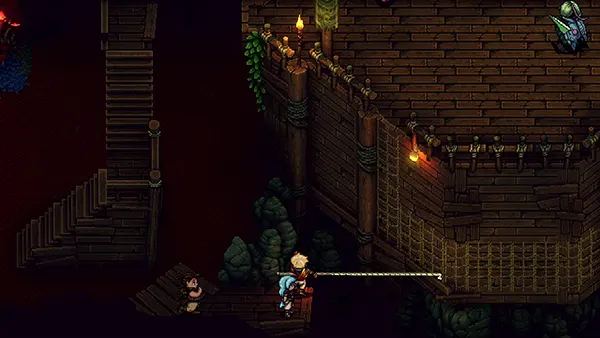
This place is one long horizontal map, so keep heading right if in doubt! The first thing you'll come across is a Tree Stump that you can climb up and then grapple over into some mobs.
Climb across the wooden frame and you should find a Treasure Chest to the south containing Oaken Armor.
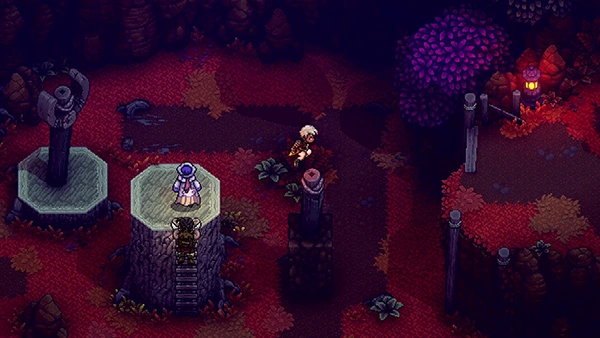
Keep heading right and you'll come across some more mobs. There is a tree stump on the right; you can use your Grapple to climb up it.
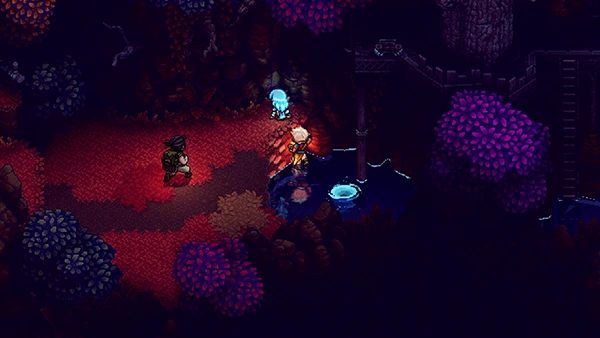
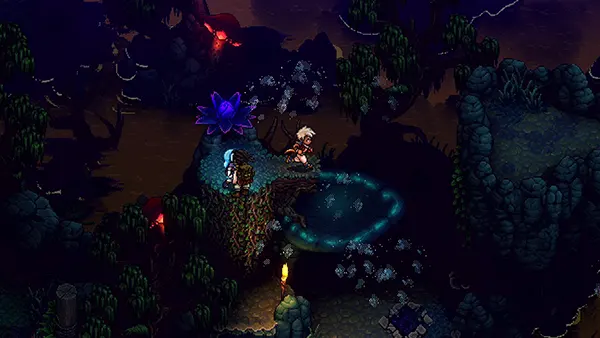
You'll eventually come across a Celestial Rune and Sundial. Change the weather so the sundial is pointing on the bottom right tiles. This will reveal a Lever. Pull it and a platform with another lever will arrive.
Jump on it and pull that lever to get across.
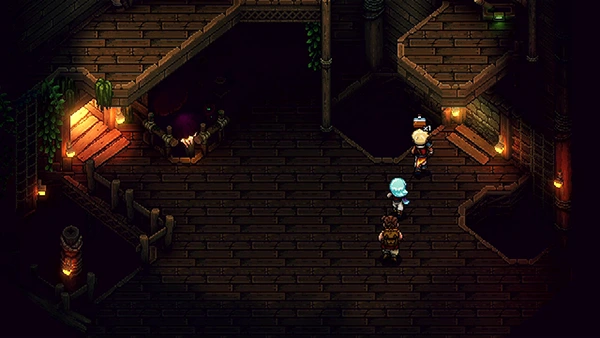
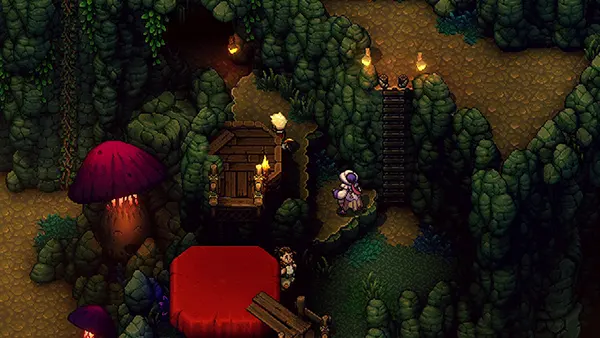
Take out the mobs on the other side and enter the cave.
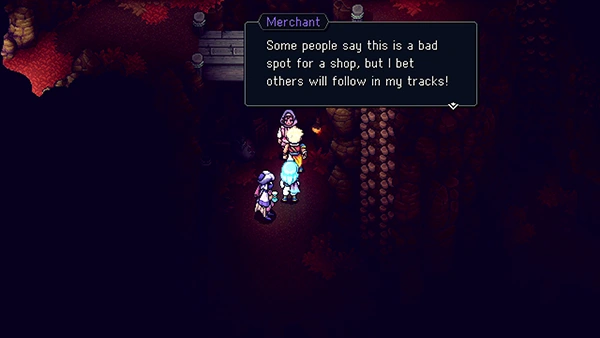
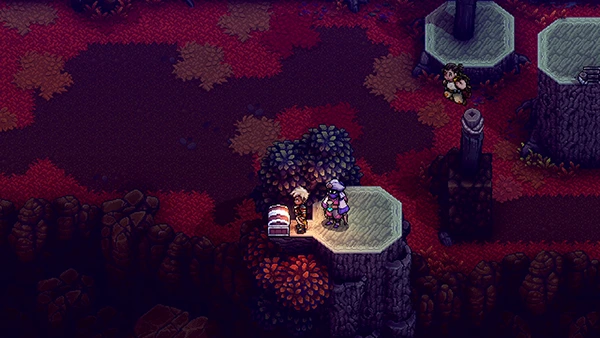
Inside you'll find a Merchant who will sell you an Ornate Bo and Music Sheet #4.
Head right and exit the cave.
You'll come to a large area with several tree stumps; there is a moveable block on the right that you can push around using your Air Push ability. Move it so you can access the Treasure Chest and grapple across. Inside the Treasure Chest is an Maple Cork.
Now move it again so you can grapple to the other side.
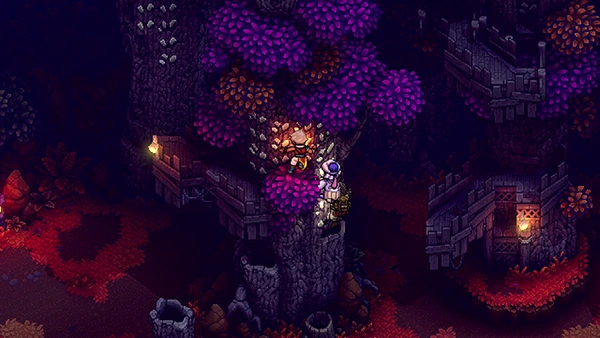
Here you'll find a tree house you can climb up. You'll need to grapple to the tree on the left and climb up.
Don't forget to pick up the Rainbow Conch from the Treasure Chest on the left. When you make it across to the right, head into the cave.
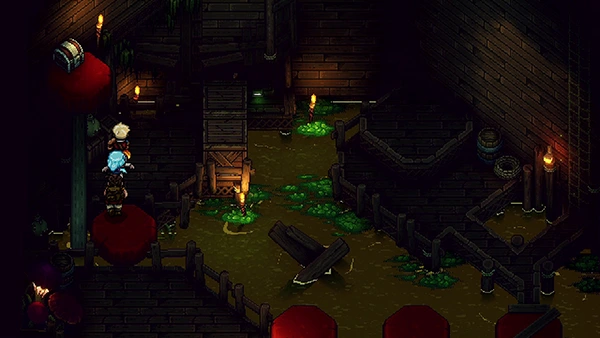
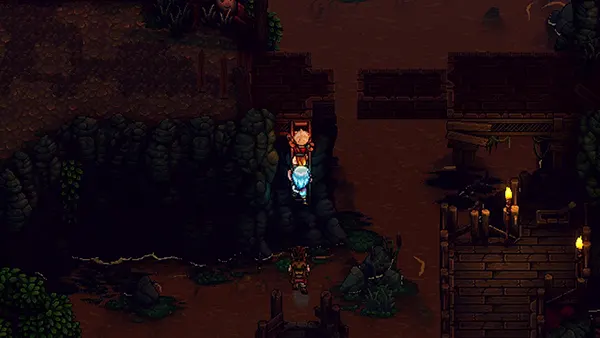
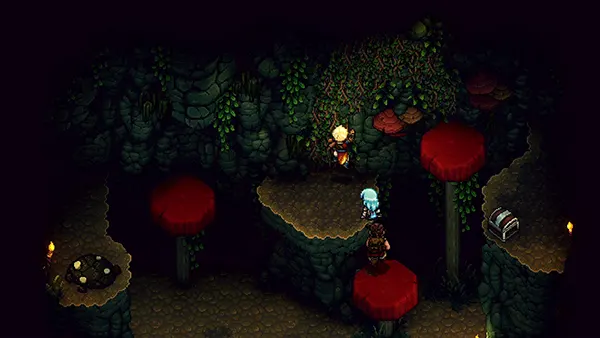
Inside you'll find more mobs to fight and then come across a Whirlpool. Enter it.
You'll come to a small underwater cave and find a Treasure Chest containing a Recipe: Parfait! Exit the room on the right via another Whirlpool.
Pass through the next water cavern and head left, before finding another Whirlpool to take you back up.
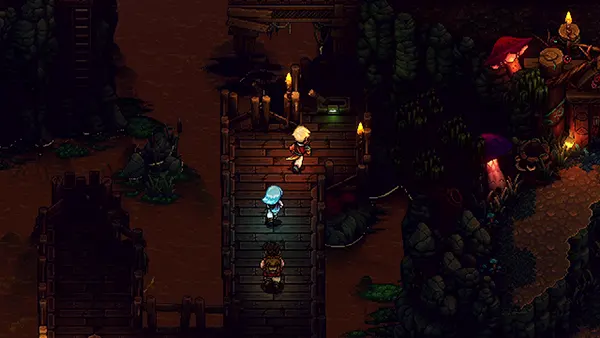
Keep heading right where you'll come across several mobs on a wooden platform. Then head right further and climb up a tree.
Use your grapple to get across and enter another cave.
Inside you'll find some mobs; take them out and then exit the cave.
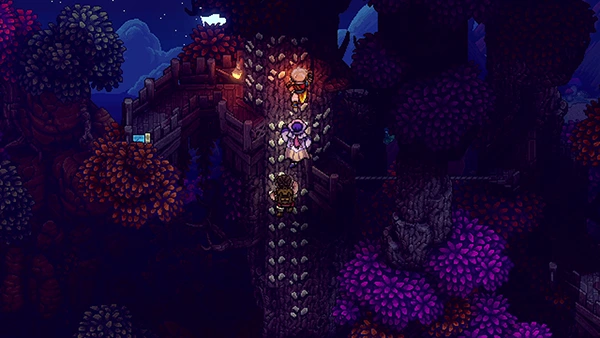
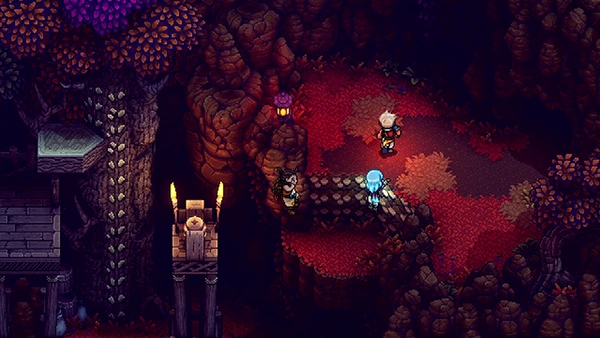
Follow right and you'll come to a pool near some cliffs; climb up them and then up the stone wall.
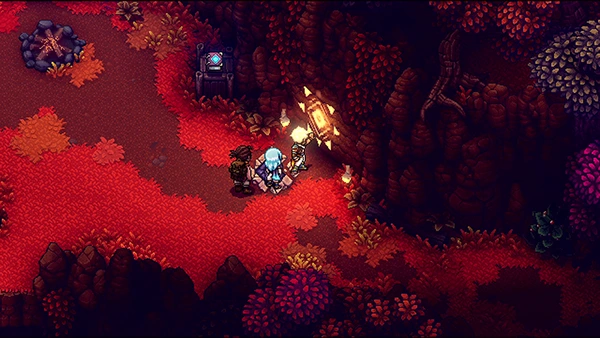
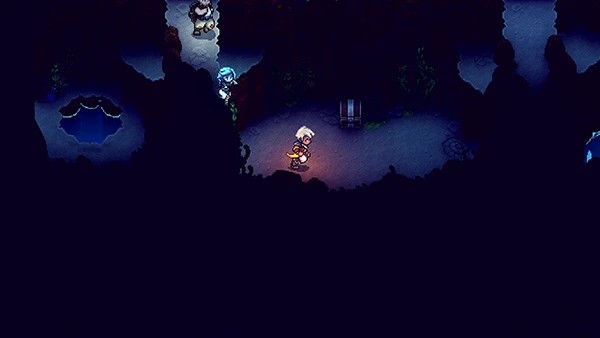
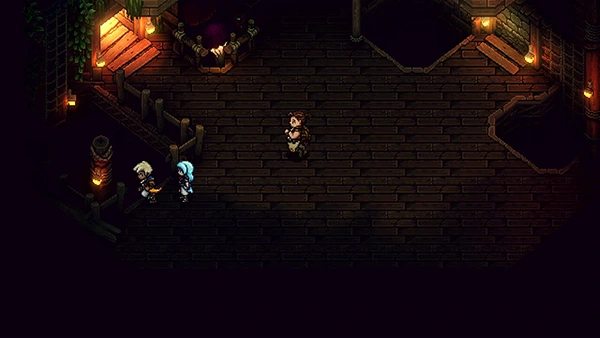
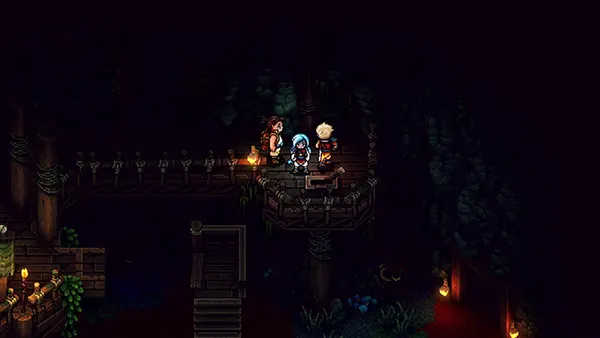
At the top you'll reach a Campfire and Save Point. On the right is a Sun glyph; Zale will use his magic to reveal a cave entrance. Head inside.
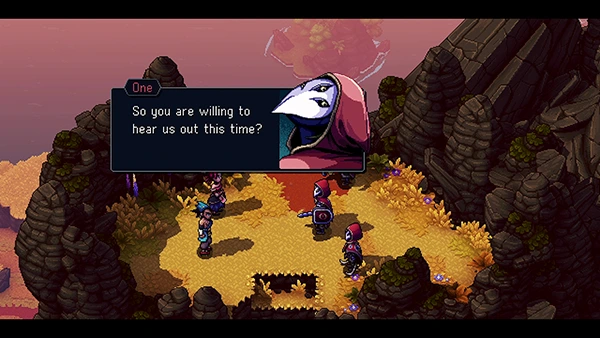
You'll come across a strange man called Strolling Minstrel.
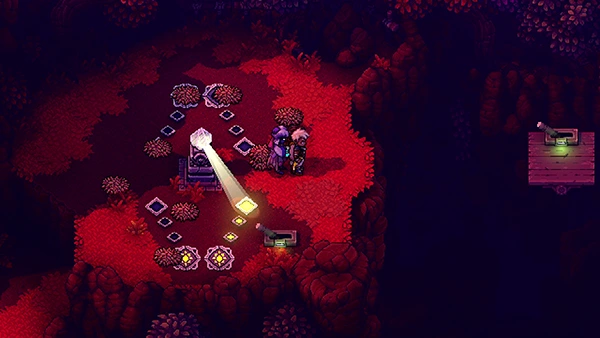
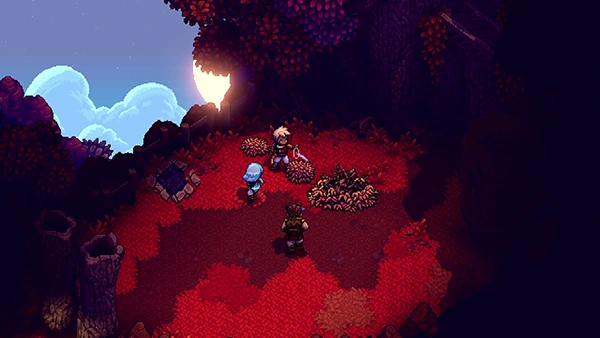
To solve this puzzle you need to push the dust heaps into the middle. Then change the weather so that a full blue circle appears around it. This will summon the boss...
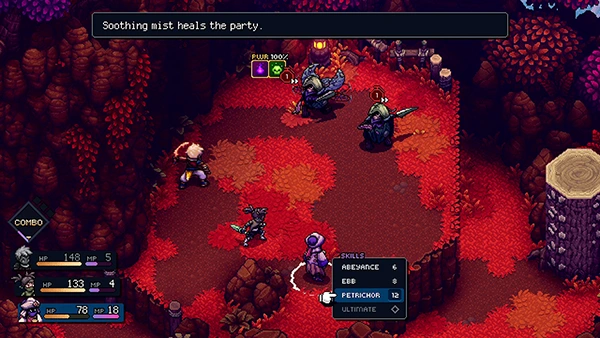
Leaf Monster - Boss Fight
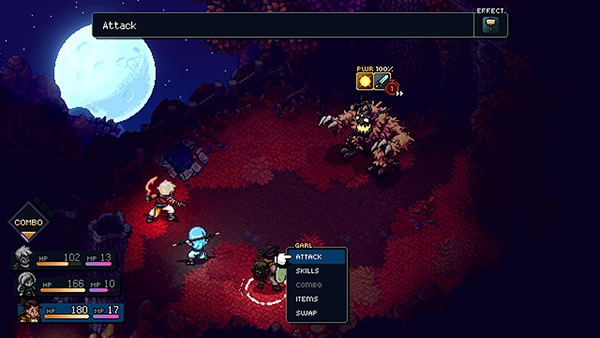
You'll notice that you don't do any damage to the Leaf Monster at the beginning of the fight.
Only when the Leaf Monster uses Throw Leaves will he become vulnerable. This is where you need to unload your most powerful attacks as it only lasts for a short duration.
The Leaf Monster has two attacks; a single-target hit that deals around 40 HP and a three-party attack called Paincone that deals around 20-30 HP.
Overall the fight is quite easy! Check out the video below for more tips:
Reward: N/A
After the fight, you get a flashback of Brugraves and Elina as young children where they begin their training to become Solstice Warriors. We also see the backstory of how they become corrupt.
We also get to see the moment when Zale and Valere arrive as babies.
You'll return to the World Map where you can take a break and fish at Lake Turquoise.
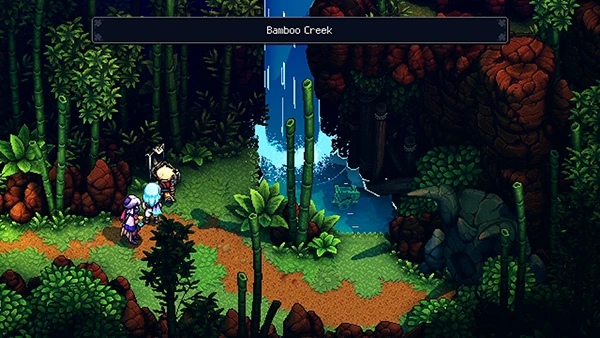
You can also head to Bamboo Creek, where you can find a Treasure Chest containing a Bamboo Slicer. There is also a Rainbow Conch in the water. You can't go any further here so head to the only other destination Songshroom Marsh.
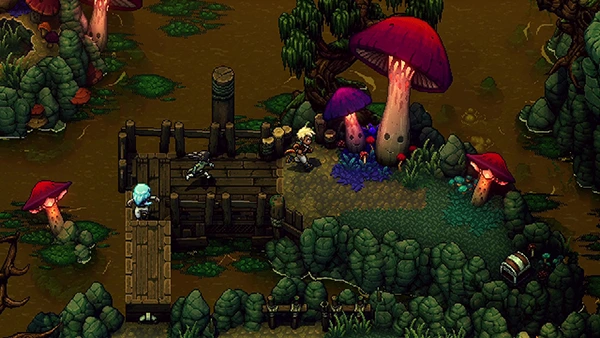
Songshroom Marsh
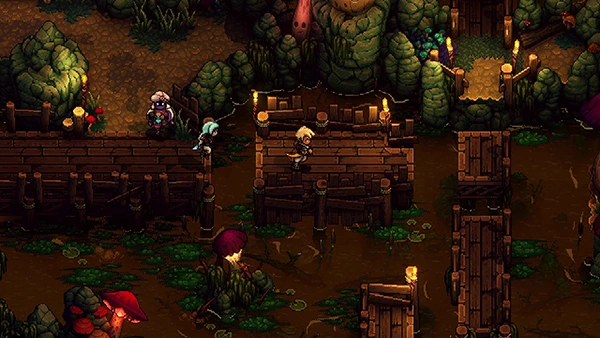
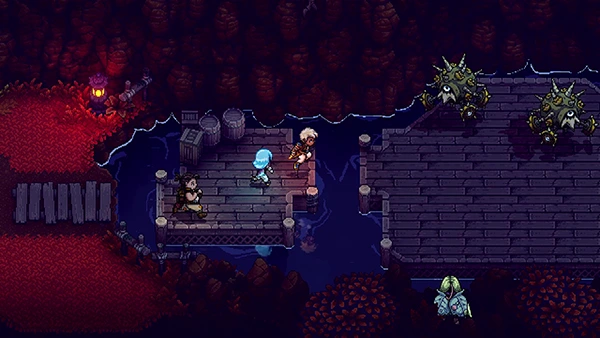
Welcome to the swamp! Head across the wooden path and you'll come to a crossroads. Up north you'll find a Campfire and Savepoint. We want to head south though!
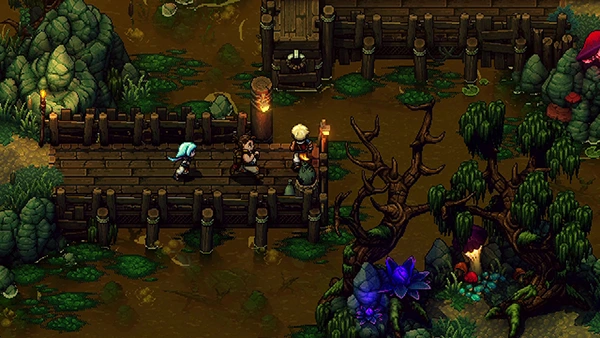
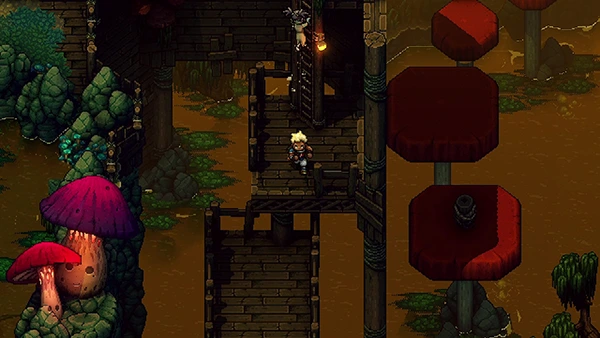
Head right and you'll come across some new mobs. Take them out, following right and you'll come to a bit of bridge that you can pull out using your Grappler.
Take out the mobs on this platform and then head further up; use your grappler to pull out the platform and then open the Treasure Chest to find a Leaf Cape.
Now head right, climbing down the old house.
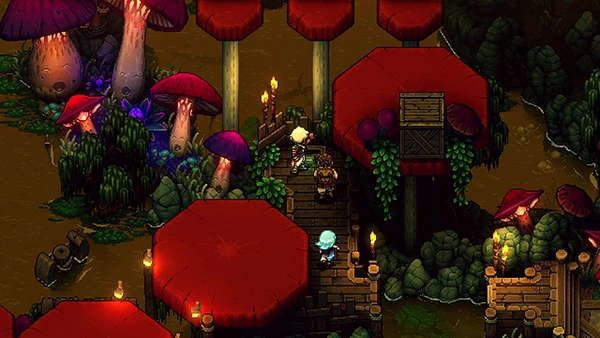
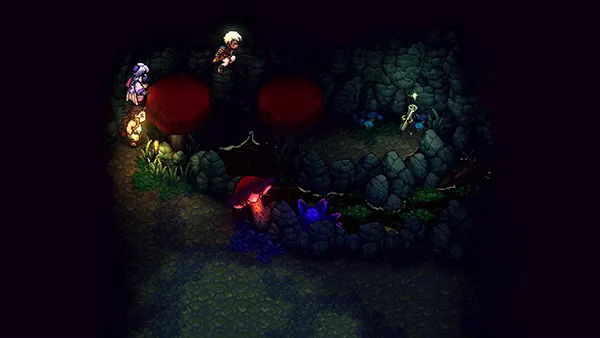
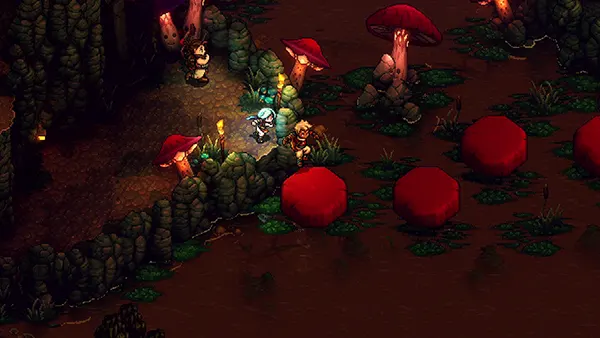
You'll eventually come to some mushrooms you can jump across on where some mobs are waiting for you.
Once you've taken them out, pull the Lever on the right.
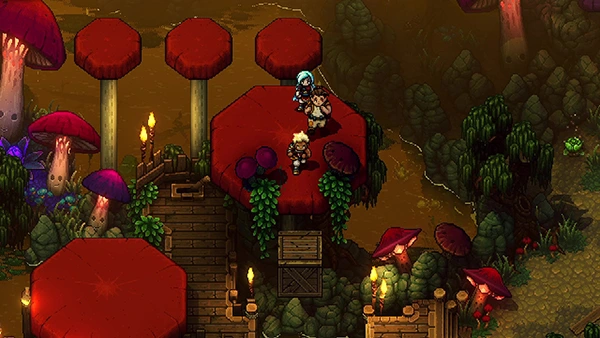
This will bring up a post that you can use to Grapple across. Climb across the mushrooms and you'll eventually come to a Wooden Crate; push it into the swamp and you can now use it to jump across.
Head right and you'll come across a house; enter it. Inside you can find a Picnic Basket containing a Maple Syrup. Exit the room to the right.
You'll come to a bigger room where you're ambushed by more mobs. Take them out then jump through one of the holes in the floor on the right.
In this room, make your way around the edges until you come to two wooden crates. Push them onto the floor and then pull the Lever at the top of the room; this will raise a platform up above.
Now climb up to exit the room. Now jump down the hole on the left (near the grappling post) and you'll land on a platform, allowing you to access the Treasure Chest containing Spirit Of Ninja.
Now climb up to exit the room again, and this time use the grappling post to climb up the side of the building. You can find a Treasure Chest in the middle of the room containing Obsidian Ore x3.
Pull the lever on the right of the room and this will open a door below you. Use it and exit the building, returning back to the marsh.
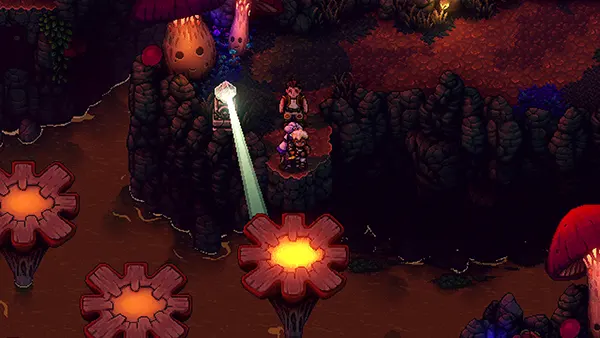
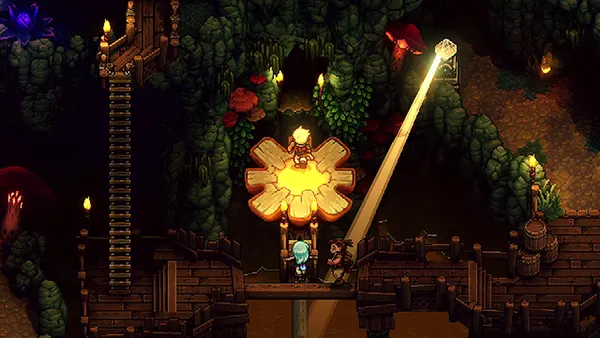
Head to the right and you'll come across a small cliff with some vines up it, near a Celestial Rune. Change the time of day so that the Mushroom flower pops open, allowing you to jump onto it and cross.
Head right and you'll come across some mobs. Take them out and then head south, coming to a Sundial.
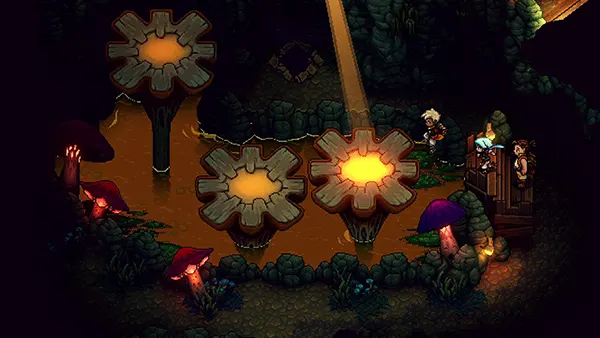
Change the time of day so the Sundial points to the mushroom in front of you; this will cause it to open up and raise high enough allowing you to jump onto it.
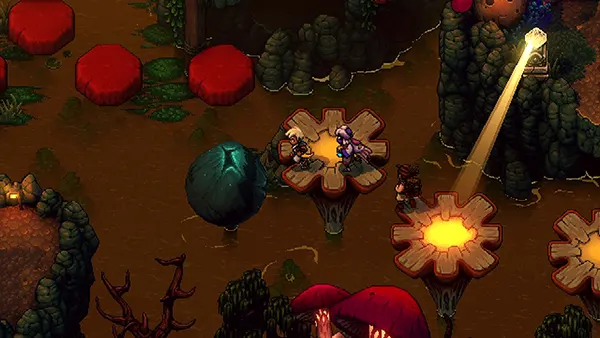
Now use the Sundial to raise the other mushrooms and then finally change the time of day to open up the blue mushroom, allowing you to cross to your left.
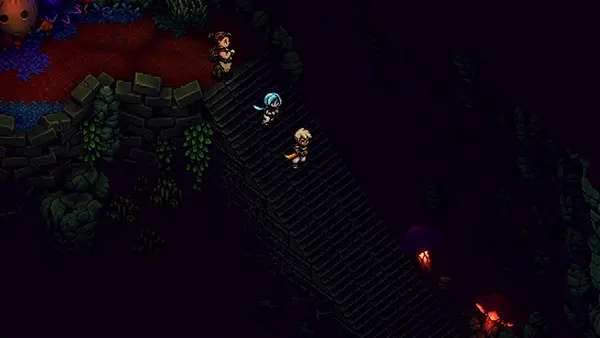
Take the path south, grapple across to your right where you'll come to some mobs. Take them out, and then use the vines to climb down.
Follow the wooden bridge until you come to a Lever. Pull it. This will activate a bridge north of you.
Follow the wooden bridge to the left and use your Grappler to climb up the ladder (where the new bridge just appeared).
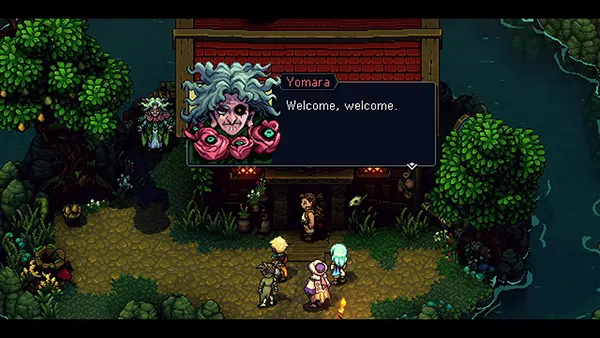
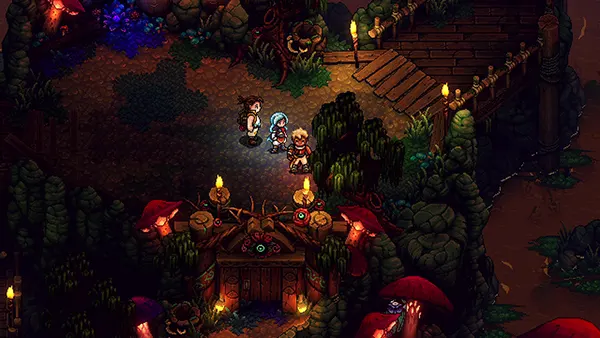
You'll then come to a strange house where someone called Yomara lives. This is Romara's sister.
She invites you inside, giving Resh'an a prophecy about finding the missing piece to his alchemy skill. She also gives you her key.
If you go outside her house, you can find a Treasure Chest behind it containing a Rainbow Conch.
Now head back to where you came from and use her key to unlock the door in the marsh.
Take out the mob on the next platform and head right, where you'll find a Treasure Chest containing Question Pack #5.
You'll then some to a Sundial; use it to raise the mushroom and allow you to jump onto the platform ahead.
Head further up, where you'll come to some vines taking you up. You'll then come to a ladder; drop it and head down.
Before crossing the bridge, there is a cave hidden to your left. Inside you can find some mobs and a Treasure Chest containing Shroomy Shivs.
Now jump across the bridge to the south, making your way across the wooden plank until you come to another cave.
Inside are some mobs; take them out and then collect the Combo Move Venom Bomb. Exit the cave.
Now change the time of day so that the Sundial is facing into the gap just before the wooden bridge. This will raise a mushroom, allowing you to enter the middle cave.
Inside this cave you'll need to change the time of day again so that the sundial raises the mushrooms in order to cross.
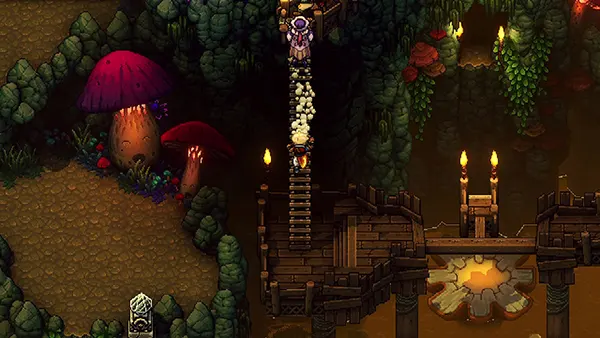
Exit this cave, and then keep heading right. You'll come to another cave with a staircase going far down and enter another room.
You'll notice a giant staircase in the middle of the room; head to the bottom of the map and grapple over to the center platform.
Take out the mobs on this platform and then head to your right where you can find a Lever to pull. Cross the bridge platform that just appeared and exit the room on your right.
You'll eventually return to the marsh again; cross the red mushrooms and you'll come to a save point.
You can now exit the Songshroom Marsh!
That wraps up part 14 of the Sea Of Stars Walkthrough! Let us know if we missed anything in the comments!

Discussion