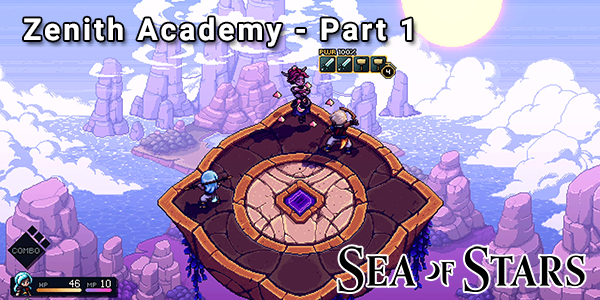
Welcome to the first part of our Sea Of Stars Walkthrough where we take on our first adventure to Zenith Academy!
- Sea Of Stars - New Game
- Mountain Trail
- Village Of Mooncradle
- Zenith Academy
- Final Test
- Wyrd - Boss Fight
If you haven't yet checked it out, see our Sea Of Stars Walkthrough page for an overview of what this turn-based RPG is all about!
Sea Of Stars is available on all major platforms including Steam, which is the version we'll be using for this guide.
Sea Of Stars - New Game
It's always exciting starting a brand new game, especially one that has been universally praised on major review sites!
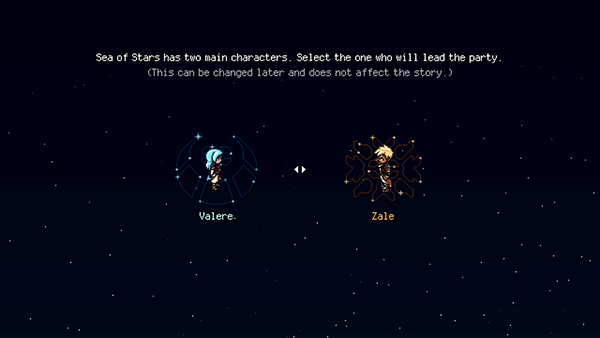
When you select a New Game for Sea Of Stars, you'll be given the option of choosing who leads the party. Don't worry, choosing doesn't affect the story at all. You'll just control one character more than the other.
Our two heroes are:
- Valere - A monk born in the Winter Solstice; affiliated with the Guardian Goddess Luana
- Zale - A blade dancer born on the Summer Solstice; affiliated with the Guardian God Solen
Once you've made your choice, sit back and relax. The opening of Sea Of Stars is slightly story heavy, but we'll go through it with you all the same!
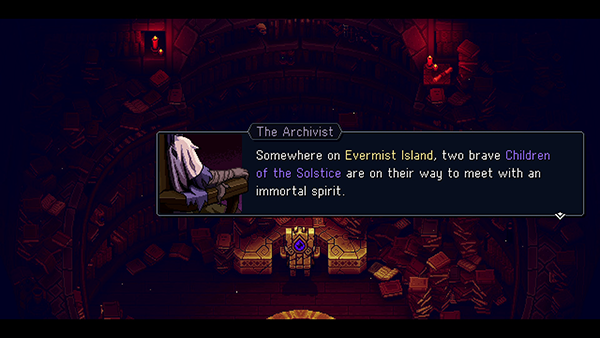
The story of Sea Of Stars is told by The Archivist, who explains the world we are about to dive into was once visited by The Fleshmancer generations prior and caused a lot of trouble.
We begin on Evermist Island, following our two heroes Valere and Zale.
Mountain Trail
To get acquainted with the controls, you begin your adventure at the Mountain Trail.
You're looking for a spot to setup camp, and will be in control of the character you selected at the New Game. We chose Zale!
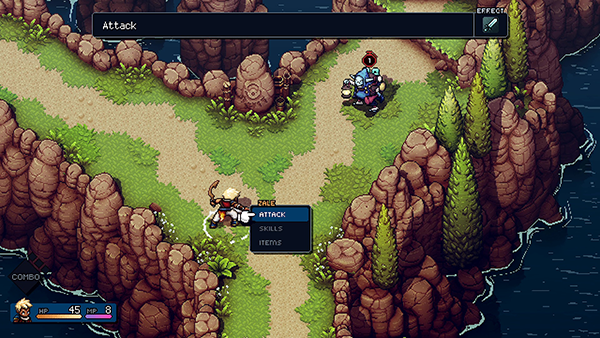
Immediately you're launched into a battle; the cool part about Sea Of Stars is there are no random battle encounters or loading screens between fights. Pretty neat!
For a detailed breakdown of the Sea Of Stars Battle System, check out our guide. For now, just take out the Wanderer using your basic attack.

Take the path on your right and follow it all the way round until you come to another fight against a Rochevre. Here you'll be able to use your first skill; skills will consume MP but deal lots of damage compared to your basic attacks.
After the fight, Valere will appear on the cliff side above you and has found a spot to start the camp.
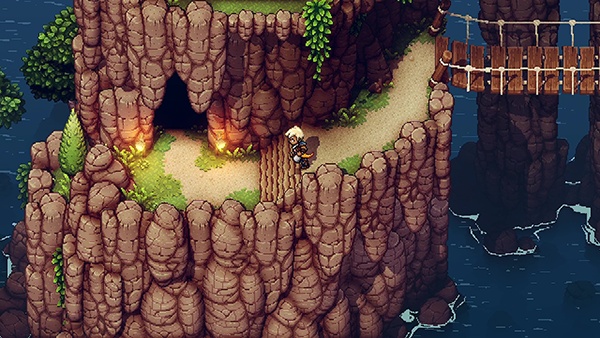
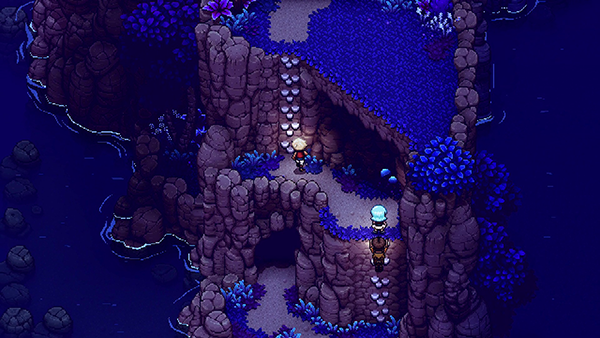
Head back the way you came (you can press A to unleash a rope ladder to take you down) and this time take the path of the left. Follow the path all the way left, across a bridge until you come to a small cave.
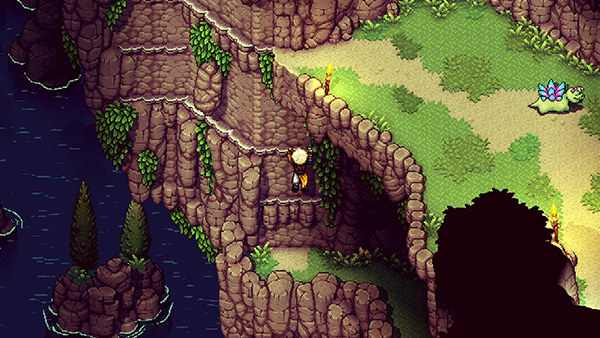
Head inside the cave; you'll need to climb up the cliff side until you reach the top, where you'll find another monster called Luslug.
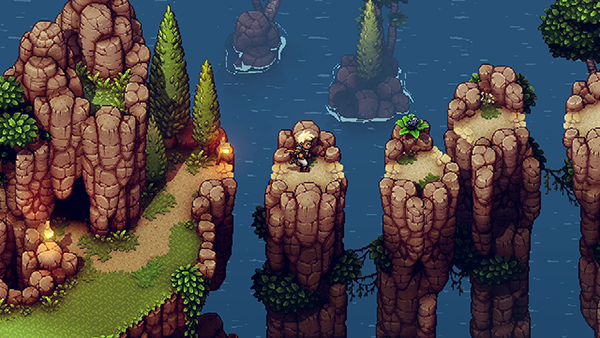
Once you take it out head outside the cave and jump across the cliff-tops until you come to meet with Valere.
Village Of Mooncradle
We go back in time to 10 years ago, where Valere, Zale and their friend Garl are playing.
You'll notice in the top-left corner is a book; you can use this to save your progress at any time. The game does have auto-saving also, so don't worry too much about it!
A bell tolls nearby, which indicates that Erlina and Brugaves have returned. Exit the cave at the bottom and then work your way to the top of Mooncradle by climbing the walls.
There is no secret items to find in this area, but you can take a look around all the same.
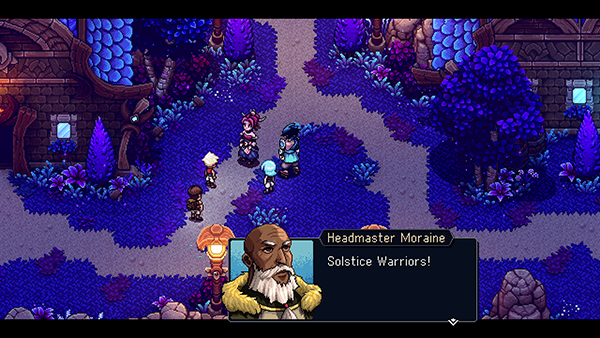
If you head to your right you'll walk past a building and a new cutscene begins, showing Erlina and Brugaves arriving.
After a little showing off, Headmaster Moraine arrives to take Erlina and Brugaves away.

Garl decides it would be a good idea to check out the Forbidden Cavern, which is north of the village.
Exit the village up top and you'll come to the World Map Overview. It's only a short distance to the Forbidden Cavern.
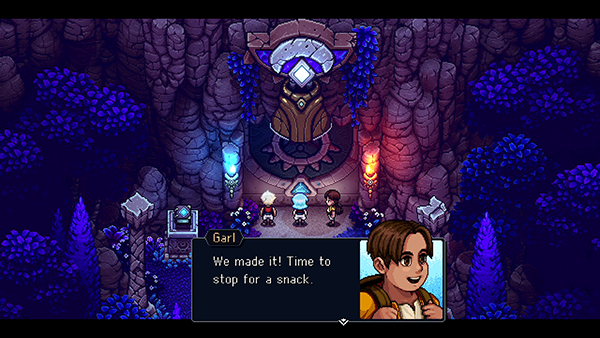
When you arrive, you'll notice the entrance is locked behind stone gates. Valere uses her magic and unlocks the gate.
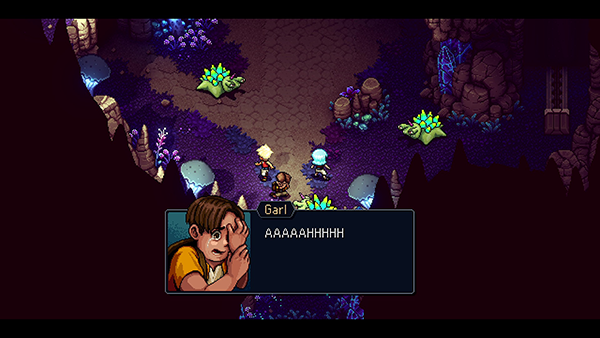
Unfortunately, inside things go terribly wrong and Garl get's injured. Headmaster Moraine arrives to save the day.
Zenith Academy
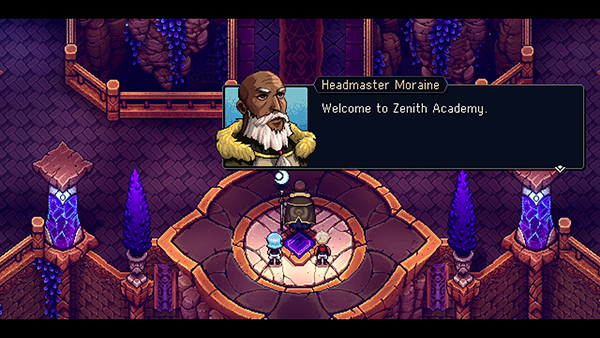
The incident leaves Zale and Valere being taken to train at the Zenith Academy whilst Garl is left behind in the village.
The Zenith Academy is place that teaches you how to become Solstice Warriors. Like Erlina and Brugaves, you'll be spending many years here to learn your craft.
After a small explanation from Headmaster Moraine, you get the freedom to explore. Again, there are no hidden items to find so just head to your right to find the dormitories.
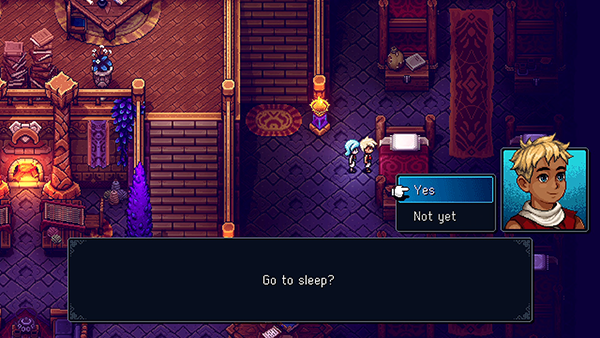
Here you can find your bed and begin the next day to prepare for training.
The next day you'll begin your first training session with Brugaves; once it's over he asks you to go find Erlina to learn about Magic; she cane be found at the entrance to the Zenith Academy (south exit).
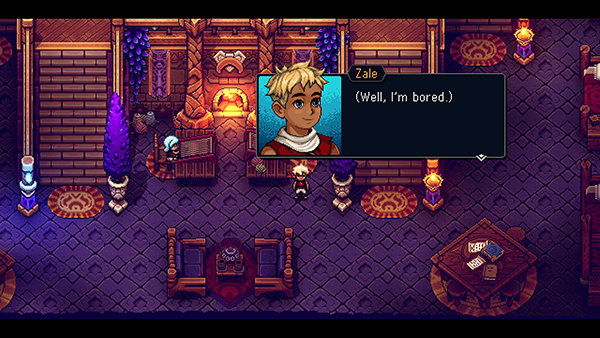
Afterwards, you'll return to the dormitory and begin sewing. You get bored easily and can explore.
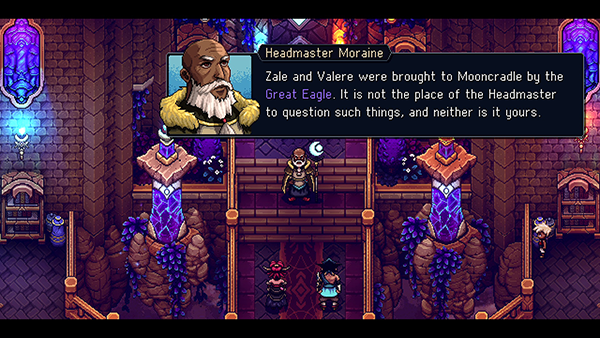
Head back to the main entrance where you'll come across a conversation with Erlina, Brugaves and Headmaster Moraine. Apparently you arrived in Mooncradle on the back of a Great Eagle.
You also get a small introduction into why you're training; The Fleshmancer left behind a seed called the Dweller Of Woe. It will be up to the Solstice Warriors to take it out before it becomes a World Eater.
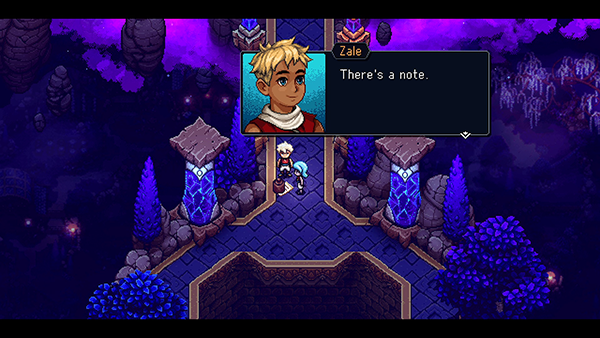
You'll then wake up in the middle of the night and hear a noise. If you head to the entrance of Zenith Academy (where you met Erlina), you'll find a Cookie Jar and a note from Garl.

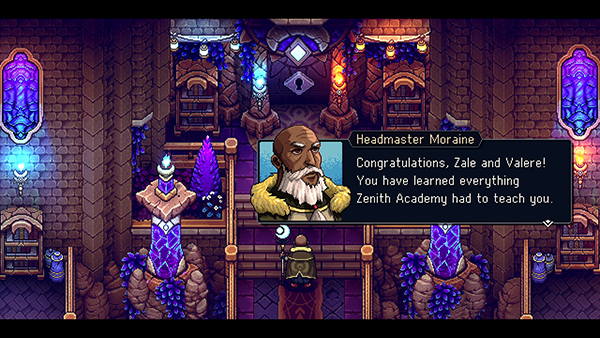
Finally, time passes by and your training is complete. Head to Zenith Academy main entrance to speak with Headmaster Moraine to prepare for your final task.
You'll get a quick introduction to the basics of battle from Brugaves and Erlina; speak with the Headmaster once you've got it all.

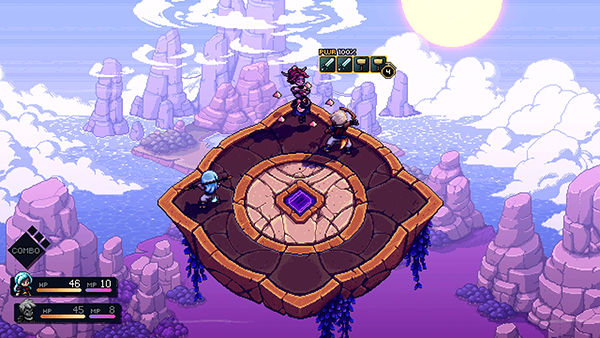
You'll be given 3x Tomato Club. These will heal you for +30HP, which you can use if your health gets low in between battles. You'll then take the leap of faith and jump through the center-circle.
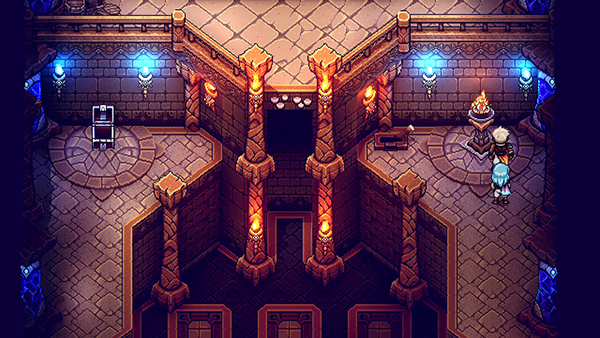
Final Test

You'll arrive in an underground cave. Get out of the pool of water and head up top, taking the stepping-stones.
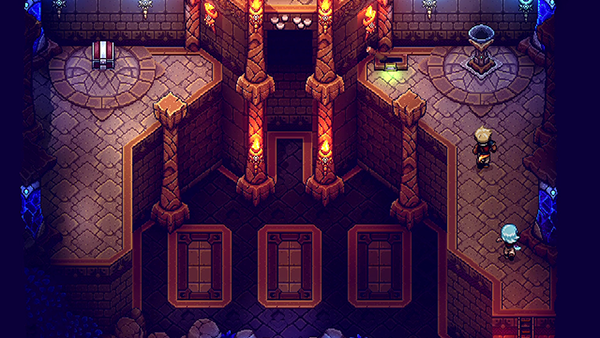
The entrance up ahead is closed; take the ladder on your right and pull the lever.
This will cause the platforms in the middle of the room to raise and allow you to cross. Open the Treasure Chest on the other side to obtain the Ornate Stone.
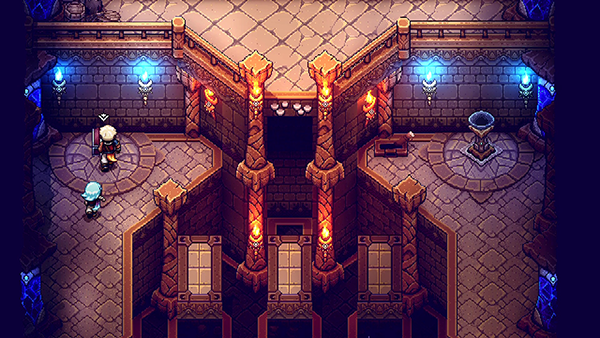
Now place the Ornate Stone in the Chalice on the right; this will cause two monsters to enter the room. Head down to take them out; they're pretty weak!
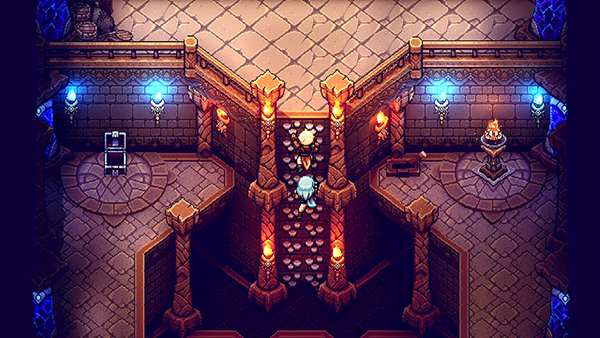
Once defeated, a stone wall that is climbable will appear in the middle of the room allowing you to get to the next platform.
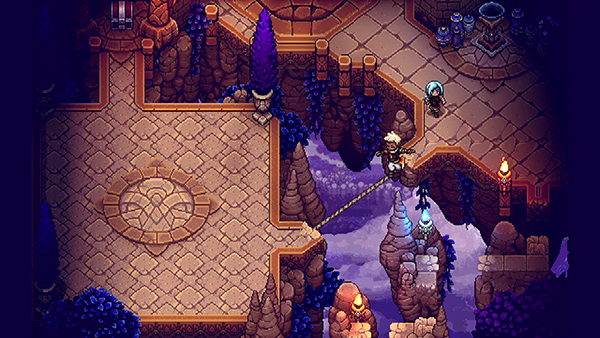
Cross the small stone platforms and make your way across the rope-bridge.
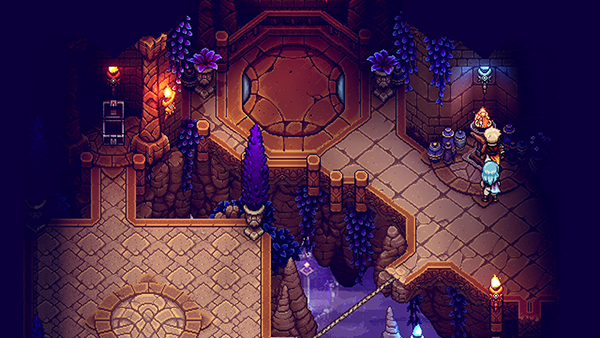
Open the Treasure Chest to find another Ornate Stone and place it in the Chalice on the right.
This will activate the lift at the top of the room. Interact with it to head further up.
Here you'll come across a new room; interact with the podium at the bottom of the map to summon the boss.
Wyrd - Boss Fight
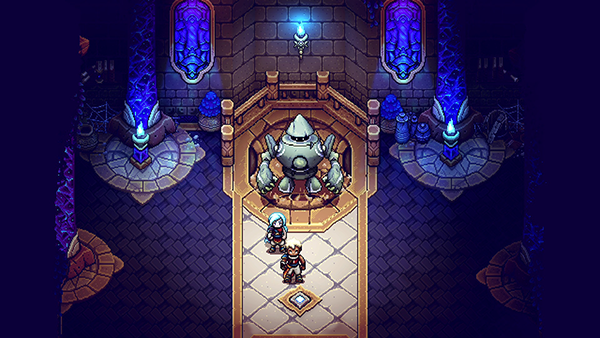
Your first boss fight is against the training bot Wyrd.
It's a pretty easy fight; you'll notice as soon as the fight starts that Wyrd shuffles it's weakness to Physical.
This is what you'll need to keep an eye out for; when he shuffles to Physical use only your basic attack skill to deal Vulnerable damage. He can also shuffle to Sun or Moon; when Sun have Zale cast his Sunball skill and when Moon have Valere use Moonerang.
After a couple rounds of this, Wyrd will then prepare to use a more powerful attack. You'll notice that three elemental icons appear above it's head; you can stop the attack altogether by using the correct moves to wipe the attack out.
You can see what attacks wipe out which icons by hovering over the moves. Zale will take out the sword icons and Valere will take out the blunt icon.
Check out the video for more tips:
Reward: 40 EXP
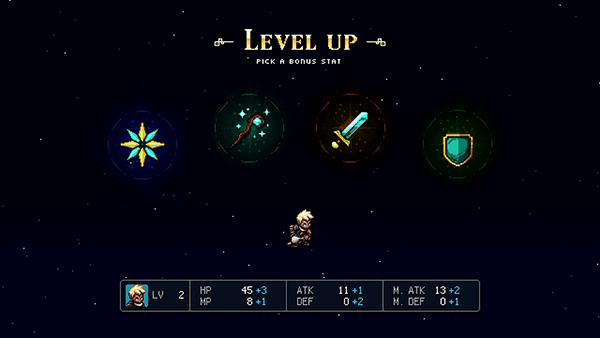
After the fight, you should now have enough EXP that takes you to the next level (assuming you didn't fight any extra mobs!). Leveling up in Sea Of Stars allows you to place some extra skill points into four random categories. It doesn't make a huge difference, since you gain stats naturally through equipment and leveling up anyways, so do what you feel right.
We like to use the Health option for Level Ups or more damage from Physical and Magic Stats if they're available.
After the final test, you'll return to Zenith Academy and are now ready to go on your first adventure: to seek out The Elder Mist.
After a few cutscenes where the village congratulates you, you then take your leave back towards The Forbidden Cavern.
The wraps up part one of the Sea Of Stars Walkthrough! Let us know in the comments if we missed anything!

Discussion