The Sacrosanct Spires is where we are headed to next in order to finally gain access to the Sky Base! However, a few natives on the island stand in our way first.
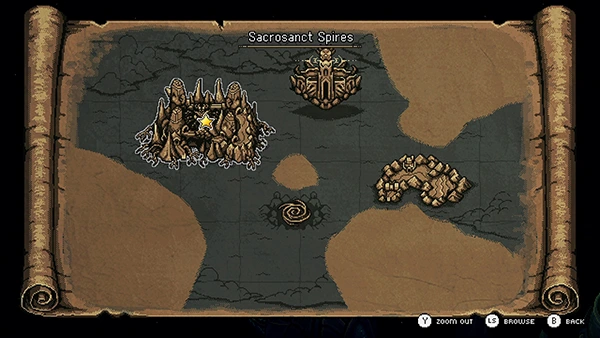
Sacrosanct Spire is located to the west of Cerulean Island. You'll need to use The Vespertine to access it.

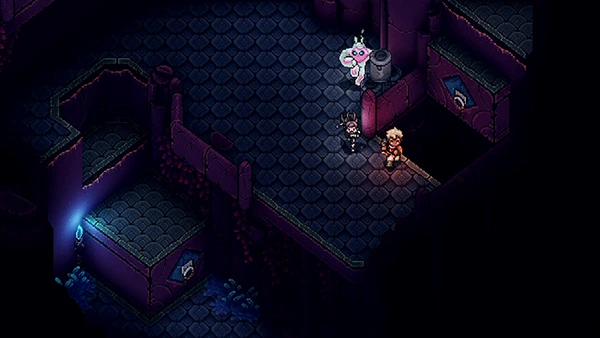
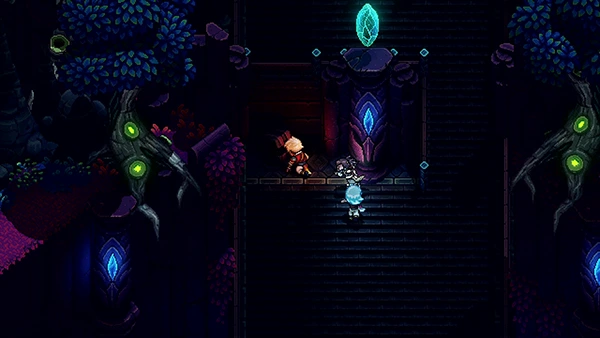
When you arrive at Sacrosanct Spire, B'st will sing a song to break the shield blocking the entrance.
In this part of the walkthrough, you'll find:
- Obsidian Ore
- Sapphire Ignot
- [Armor] Cloudy Simulacrum
- [Weapon] Plasma Blade
- Recipe: Champion's Omelette
- Rainbow Conch
- [Weapon] Neobsidian Staff
- Broken Handle
Sacrosanct Spire
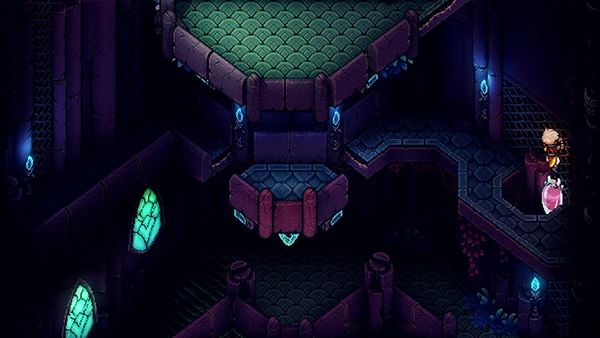
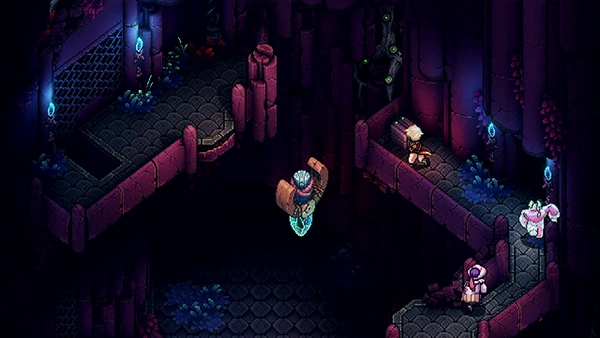
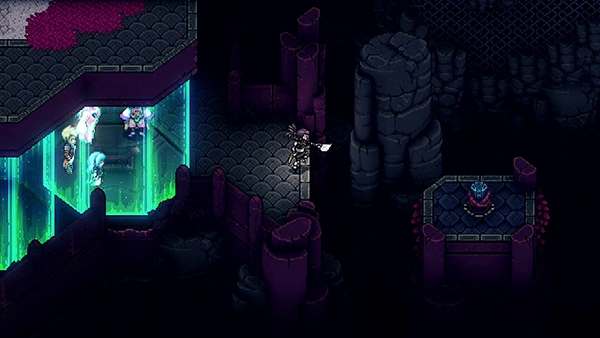
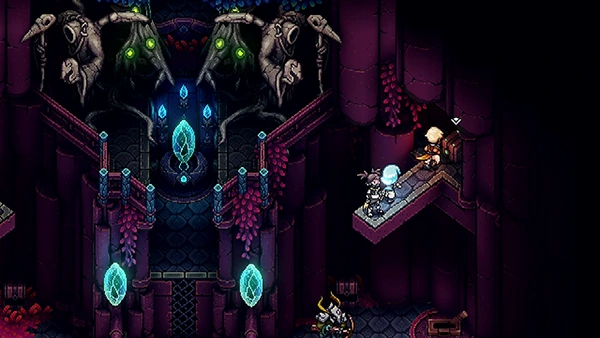
Head inside Sacrosanct Spire and you'll find yourself in a tower. Climb up the right side wall.
Keep making your way up, you'll come across a group of mobs and then come to some grapple posts. Use your Grappler to pull out the wall, which will create a temporary platform on a time-limit that you'll need to hurry to make.
Keep heading up, you'll come to a Treasure Chest on the right that contains an Obsidian Ore. There is also a small entrance on the right nearby. Enter it.
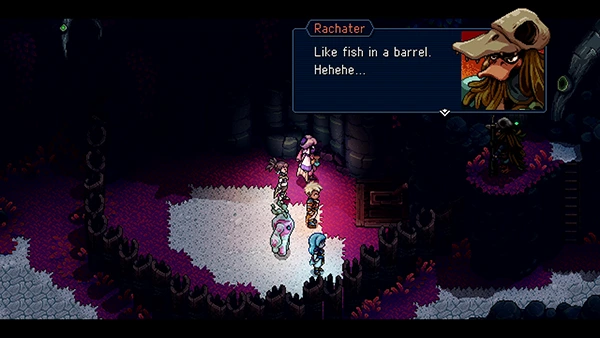
A short cutscene occurs at the Seat Of The Triumvirate. One of them called Rachater decides to set some traps for you...
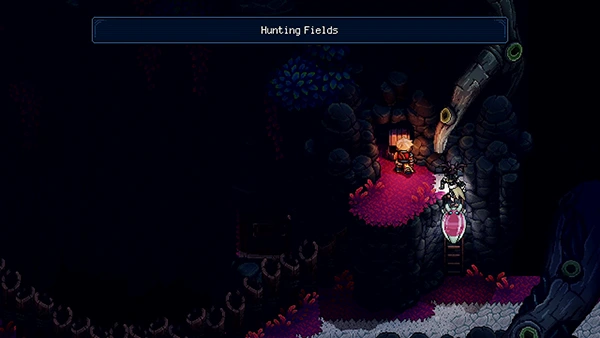
You'll come to the World Map and then enter the Hunting Fields.
Hunting Fields
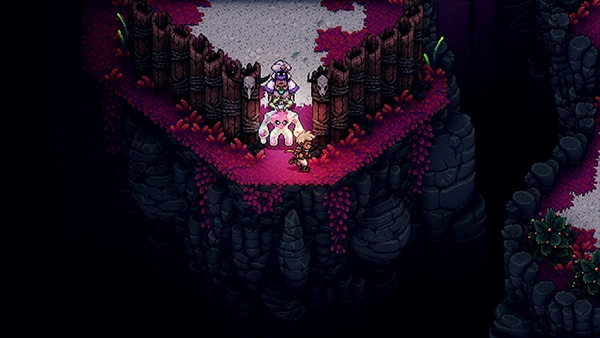
Use your Grappler to climb up the walls and navigate across to a Campfire and Save Point.
There is a Lever in the top-right that will open a gate to your right, and also summon several mobs to jump on you.
Keep heading to your right and you'll find a Lever at the bottom. Pull it and then enter the area where the other Lever is. Pull that and you'll get caught in one of Rachater's Traps.
You'll fall into the gallows and immediately into some mobs. Take them out and then push the block at the bottom of the fence to get out. Make your way around to your left where you'll find a cliff you climb up.
Jump down and you'll fall into another trap and into some more mobs. Push the box to the top of the map and use it to climb out of the hole.
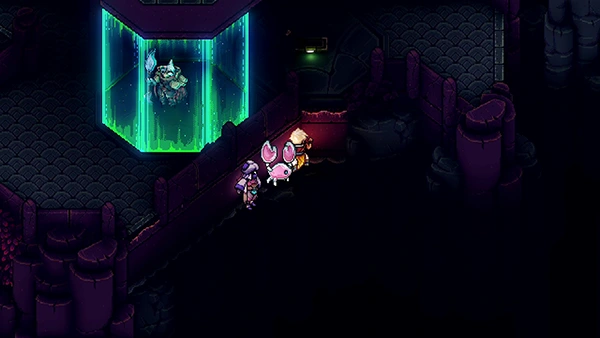
Head south and across the bridge until you come to someone encased in glass.
Climb down the bottom of the area and across until you come to a Lever. Pull it and you'll get encased in glass.
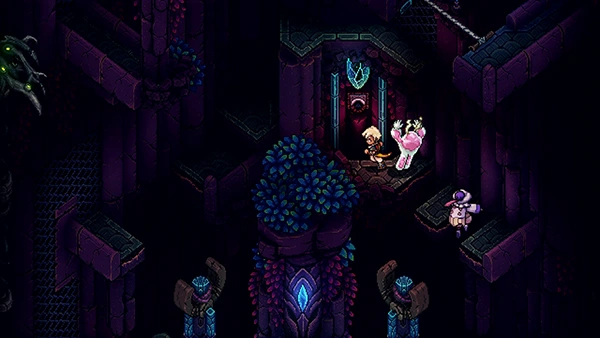
Serai was the only one not to get trapped; grapple to your right and then north onto the wall. Keep heading right.

You'll come to an area with six tiles. Push the wooden block to the right and use your Grappler to pull out the wall. Do the same on the left and then use the box to climb up the middle area and pull the Lever.

This will activate a game of memory. Correctly guess all 6 tile positions and another Lever near the encased group will appear. Head over to it.
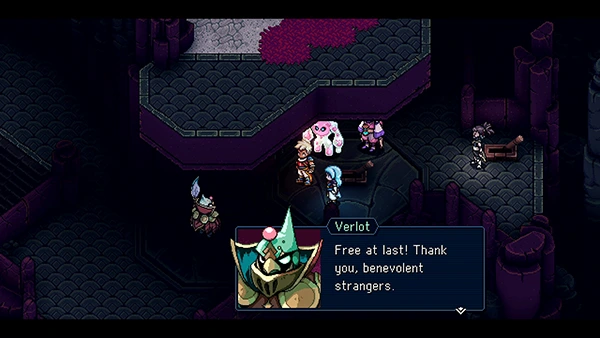
When you pull it you'll free everyone, including the stranger called Verlot. Verlot will generate Wind Magic at nearby portals.
Head up to the one on your left and you'll come to the top of the mountain.
If you jump off the middle part you can land on the roof of the encased prisons and find a Treasure Chest containing a Sapphire Ignot.
Climb back up to the top of the mountain and enter the entrance at the top.
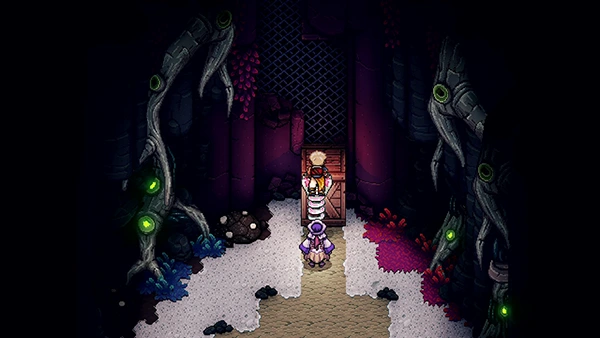
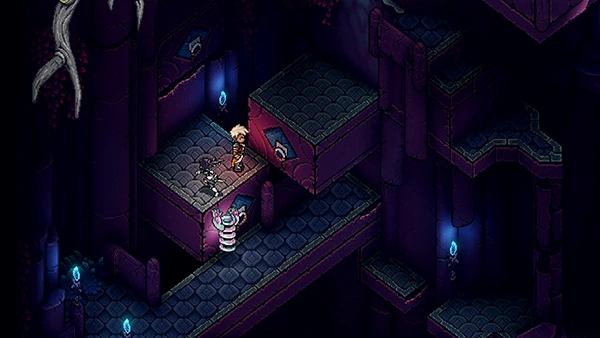
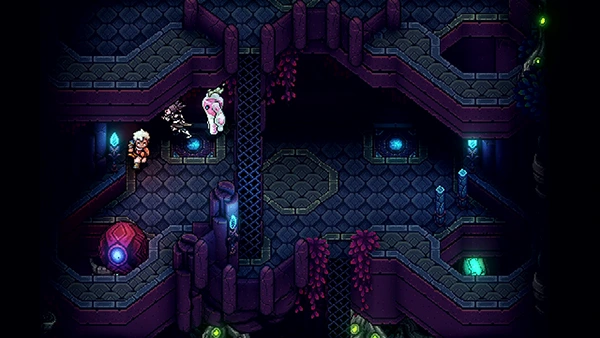
You'll come to the inside of another tower; use your Grappler to pull out the shelf. Climb up it and defeat the mobs.
Use your Grappler again to pull out another wall shelf and climb up it. You can now exit back to the world map by taking the exit on the left of the map.
You can return back to the Hunting Fields first area and find a Treasure Chest containing a Cloudy Simulacrum.
When ready, return back to the tower and use your Grappler to pull out more shelves to help you climb up.
You'll reach an area with two mobs; there is a Treasure Chest at the top containing a Plasma Blade. Exit the area to your right.
Another cutscene follows showing the Seat Of The Triumvirate.
You'll return to the World Map and head up to the Sacrosanct Spires.
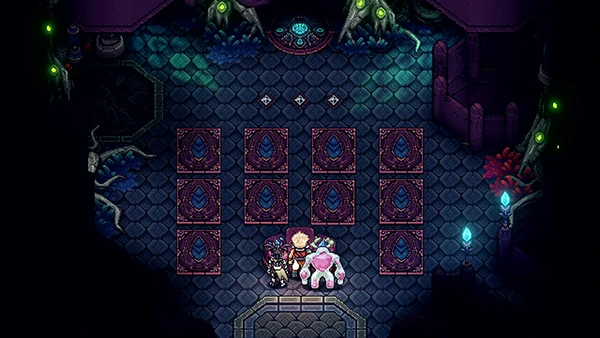
Inside you'll have to play another game of memory; this time with 10 tiles. If you get three guesses wrong, you'll have to start again!
Climb up the wall that appears all the way to the top of the tower, fighting some mobs along the way.
At the top you'll find a Boulder; push it onto the top-left blue tile and then stand on the other; this will open a hole on your left allowing you to push the boulder down.
Push the boulder through the next level's hole and then you'll come to two more blue tiles. Push the boulder on one and stand on the other. Jump through the hole on your left.
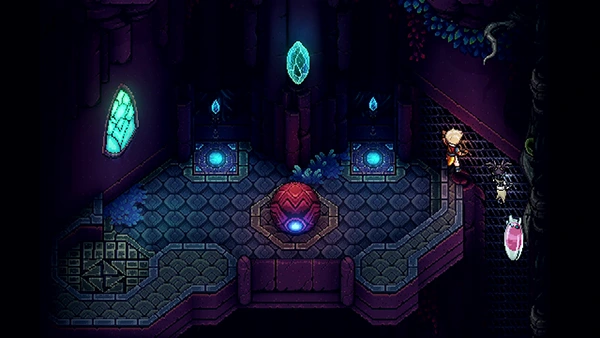
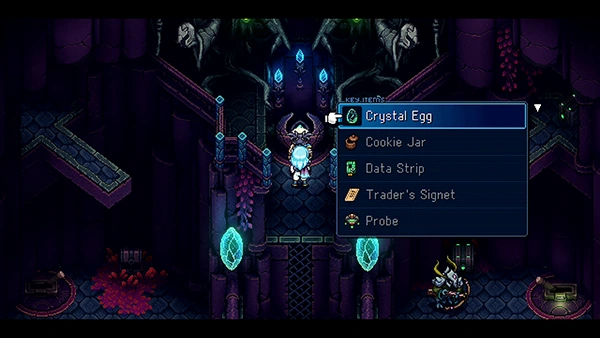
You'll come to an area with mobs below you; jump down to fight them. At the top you can find a Treasure Chest containing a Crystal Egg. Pull the Lever on the left.
Use the Elevator in the middle of the room to go back up to the tower.
Now climb back up the tower and jump through the hole on the right. You'll land in the same area with mobs below you. Open the Treasure Chest near you to find a Sparkmesh Armor. Take out the mobs below and then open the Treasure Chest to find Recipe: Champion's Omelette.
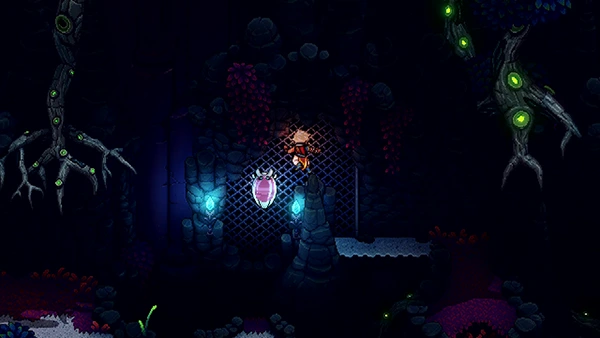
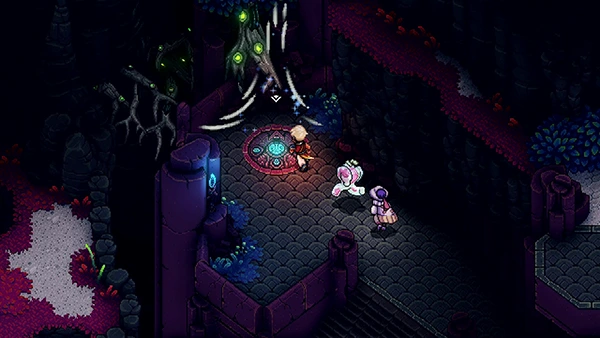
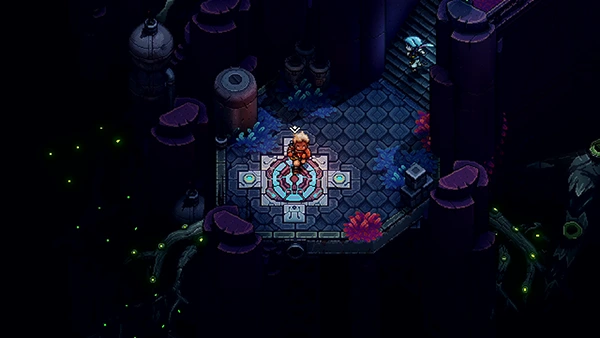
Pull the Lever and in the middle of the room you can climb up the wall and place the Crystal Egg. This will create a portal in the tower.
Head up it and exit on the left; you can now head to the Seat Of The Triumvirate.
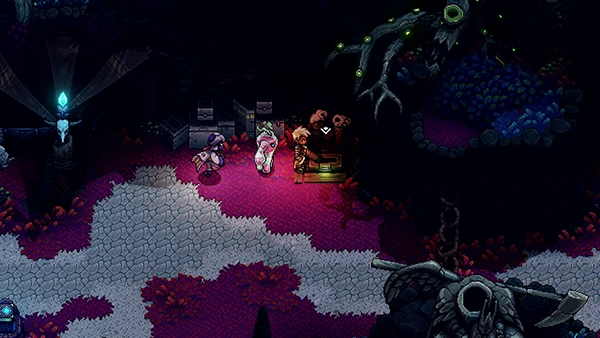
You'll find a Campfire and Savepoint in the first area; there is also a Rainbow Conch nearby in a Treasure Chest.
Head north up the stairs and you can find a Treasure Chest containing a Neobsidian Staff.
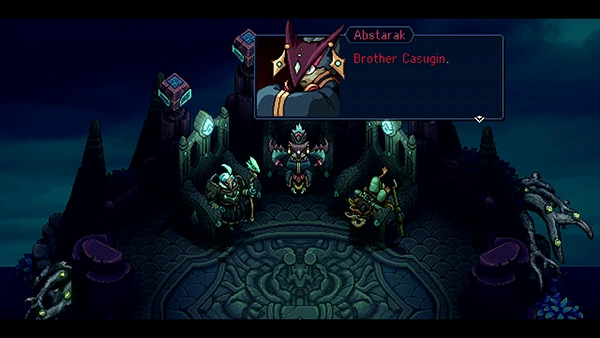
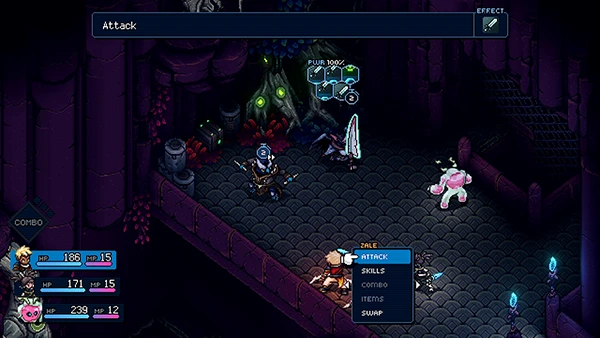
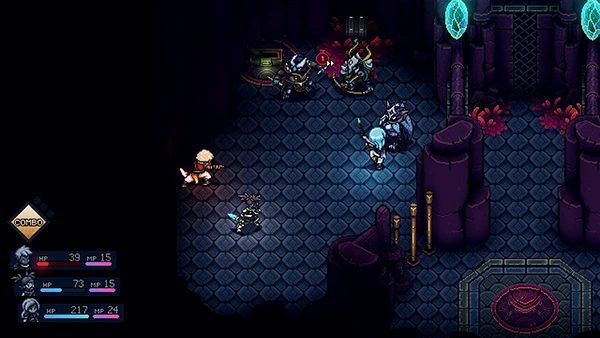
The Triumvirate Of Eminence - Boss Fight
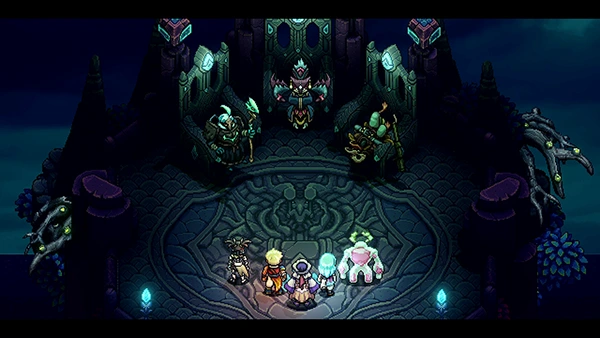
Another three person boss fight: Abstarak, Rachater and Brother Casugin. The key to these fights is to focus on one character at a time.
Rachater's normal attack is a three-hit skill that deals 30 HP each. Brother Casugin and Abstarak both have single target attacks.
Brother Casugin's special attack is Mend Mind, which heals the three Triumvirate.
Abstarak will cast True Terror, which will set everyone to 1 HP, no matter how many icons you manage to block. This move can easily cause you game over if you get hit next with Rachater's three-person attack. It also cannot be blocked by Valere's Lunar Shield.
Whenever True Terror happens, you need to either use Mending Light combo or Resh'an's healing move.
We recommend taking out Rachater first because his normal attack can easily wipe you out. Once he is out of the picture, you can just chip away at Brother Casugin and Abstarak easily.
Check out the video for more tips:
Reward: 16,978 EXP
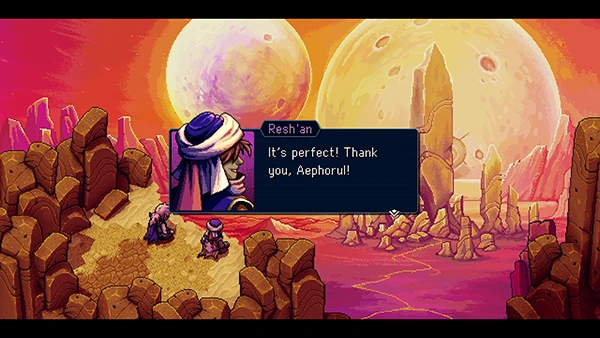
After the fight, you get a short cutscene of when Aephorul and Resh'an were younger.
When you return Resh'an takes his leave, but leaves behind his puppet so he is still part of your battle party.
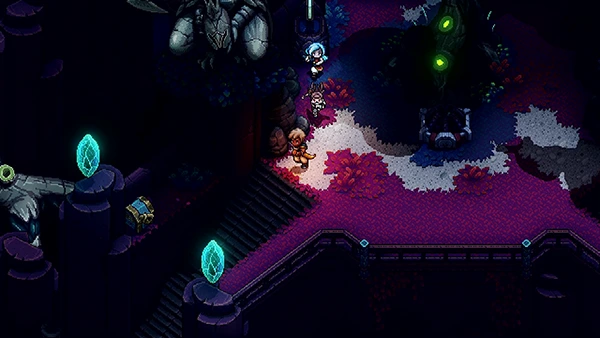
Head to the bottom of the map where you can take the Teleporter to meet Es'tristae.
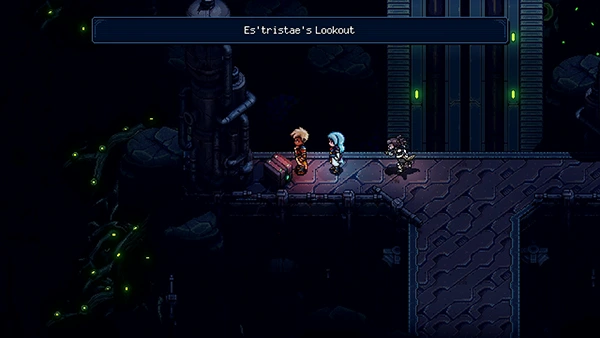
When you arrive at Es'tristae's Lookout, you can find a Treasure Chest on your left containing a Broken Handle. Head up the right side.
B'st releases Es'tristae's block and now the Speedball Network is online! You can use it to access the Sky Base.
That wraps up part 19 of the Sea Of Stars Walkthrough! We're almost at the end now...

Discussion