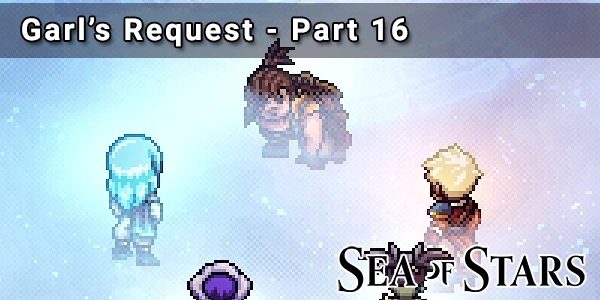
In this part of the Sea Of Stars Walkthrough we go on several missions in order to complete Garl's request for the council of the Cloud Kingdom.
- Cloud Kingdom
- Air Elemental Skyland
- Maelstrom Point
- Hydralion - Boss Fight
- Kiln Mountain
- Toadcano - Boss Fight
At the end of the last part, Aephorul attacked Garl and now he appears to only have a short amount of time left.
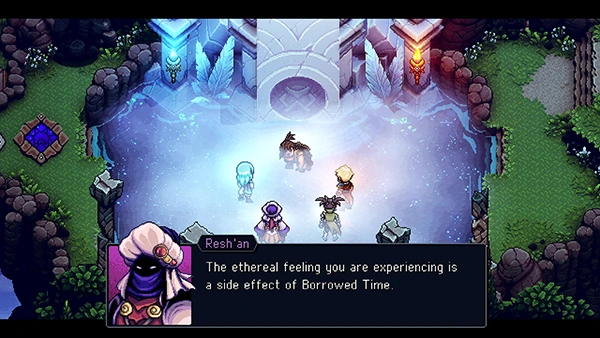
When you return to The Elder Mist, Garl experiences a vision that tells him how Zale and Valere can defeat The Fleshmancer.
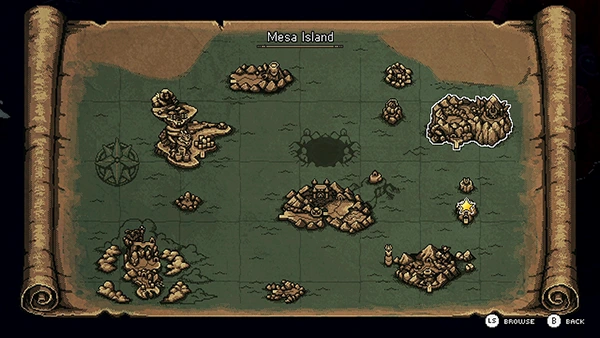
With Garl on borrowed-time, he has a plan to help Zale and Valere reach the Sea Of Stars. He wants you to seek out a mysterious shrine south of Mesa Island.
Head to Khukharr and you'll be spit out into the ocean on The Vespertine. Now head south to find the Skyward Shrine Bridge island.
Skyward Shrine.
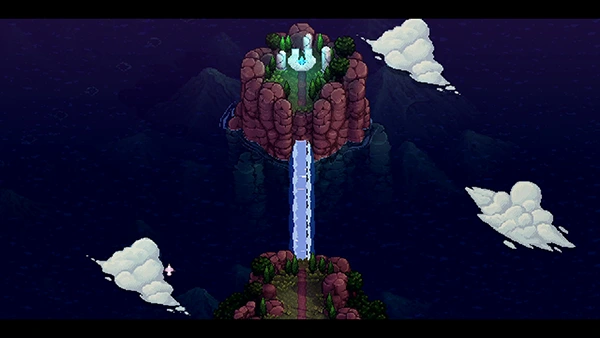
Head up the Skyward Shrine Bridge area and Valere will use her magic to create a bridge connecting to the other Island.
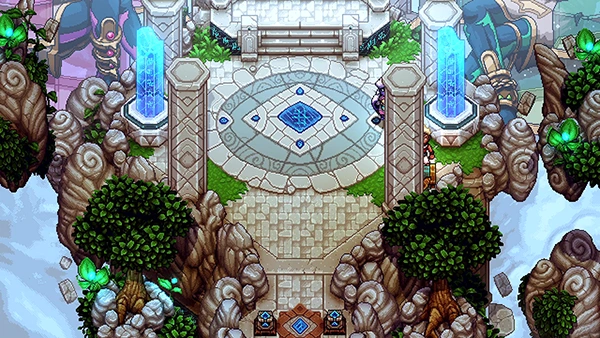
Head across and you'll reach the Skyward Shrine.
Here you'll find another shrine that has a teleporter; use it and it will take you to the Sky Shrine. Exit the Sky Shrine through a cave on the right.
You'll come to the World Map where you can access the Skybound Lagoon for some Fishing!
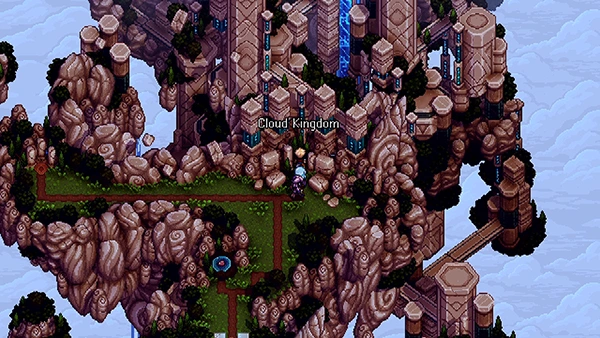
Head to the Cloud Kingdom for your next destination.
In this part of the walkthrough, you'll find:
- Question Pack #6
- [Weapon] Truesilver Daggers
- Vendor: [Weapon] Cloud Sword
- Cloudy Shard
- Combo: Conflagrate
- Rainbow Conch x4
- [Weapon] Cypress Cork
- [Armor] Sky Armor
- [Armor] Azure Cape
- [Weapon] Igneous Staff
- [Armor] Volcanic Armor
- [Gold Ring] Magic Pocket
- Music Sheet #1
- Celestial Willow Leaf
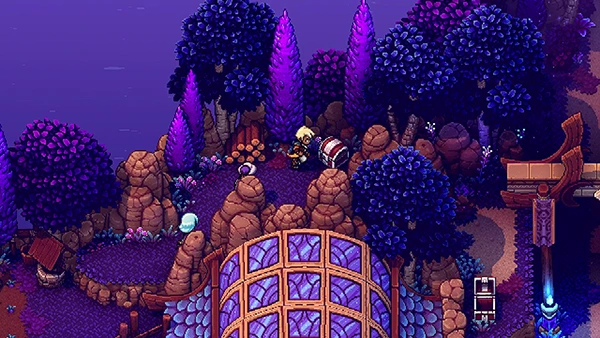
Cloud Kingdom
Cloud Kingdom is home to giants! They are so big you can't even see their faces.
This area contains an Inn, where you can play a game of Wheels and win a Gold Wheel. You can also find Question Pack #6 in a Treasure Chest nearby.
If you head right in Cloud Kingdom, you can use a Teleporter that takes you to a room with a Treasure Chest containing Truesilver Daggers.
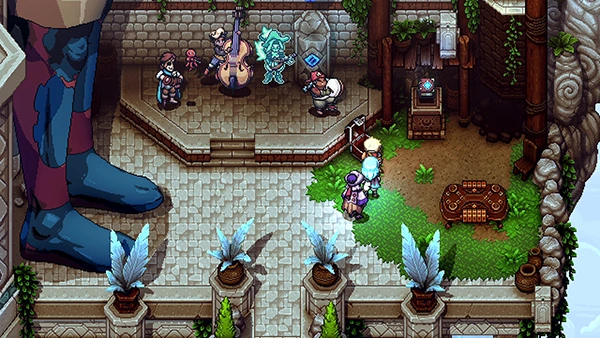
If you speak to the Giant in the same room, you can purchase some weapons from him:
- Cloud Sword
- Oaken Armor
You can also pick up Music Sheet #6 from him.

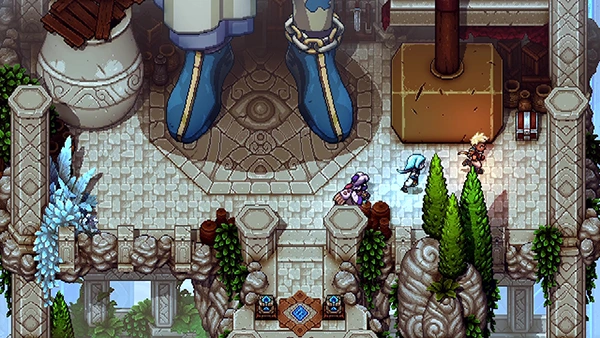
If you head to the right most area you'll come to giant statue. Below it is a Treasure Chest containing a Cloudy Shard.
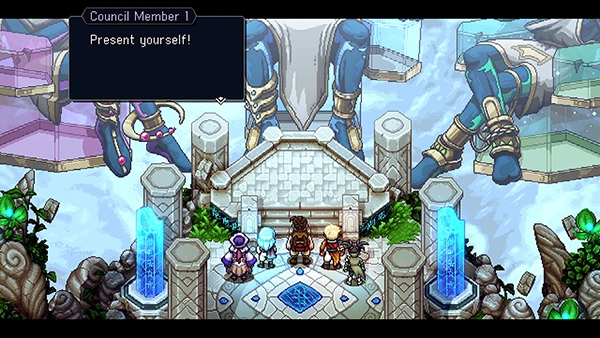
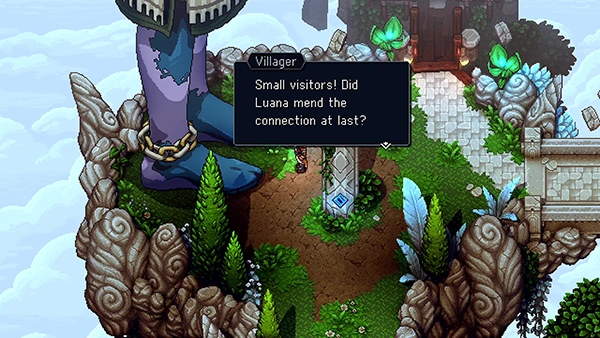
Head to the center teleporter next to the giant statue and it will take you to the Council Chambers where Garl presents his grand plan.
In order to get access to The Sea Of Stars, Garl plans to wake the sleeping dragon known as The Sleeper. In order to do this, you'll be required to take on three missions:
- Obtain the Zephyr
- Obtain an Enchanted Scale
- Clear out the Volcano
These three missions will split up your party into small groups of two.
The council agree to your plan and give you the Wind Key that you can use to access the Air Elemental Skyland. Don't forget to pick up the Rainbow Conch by the stone pillar.
When the group splits up, Resh'an will join each group. You start with Zale's mission to retrieve the Zephyr.
Leave Cloud Kingdom and head to Air Elemental Skyland, which is to the west of Cloud Kingdom.
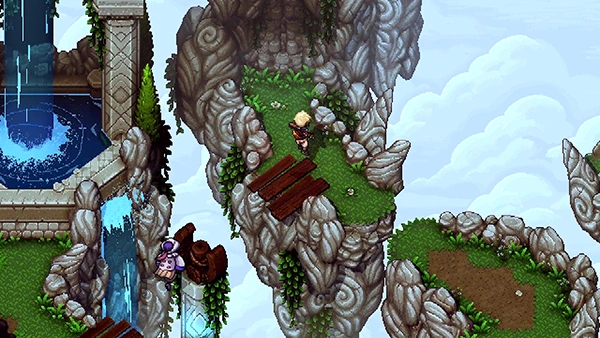
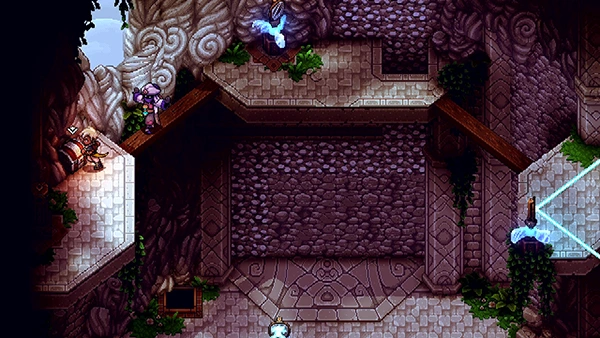
Air Elemental Skyland
Unlock the gate using your new Wind Key and head forward to find the Zephyr encased in crystal.
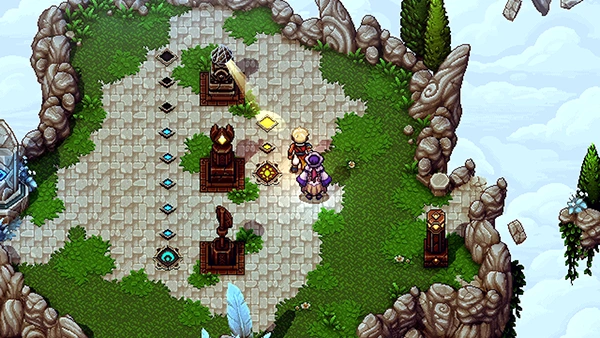
Head further up and you'll come to an area with some mobs. Defeat them, and then use the Sundial to light up the left-side tiles; then before time runs out light up the right side. This will generate a platform on the right.
Use the new platform and you'll come to an area with a Campfire and Save Point. Defeat the mobs first.
Now use your Grappler to head right; you'll come to a new area with some more Sundials.
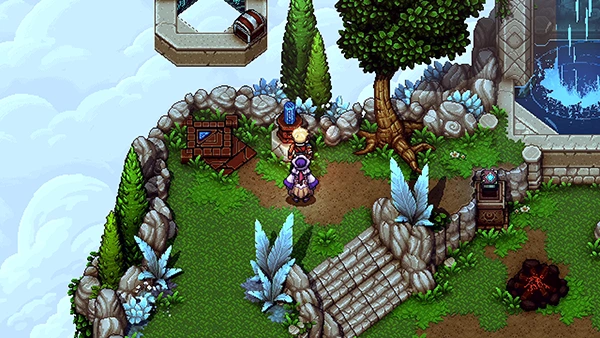
If you head into the cave on the left, you can find a Rainbow Conch and a Combo move: Conflagrate! Exit the cave and head back to the Sundials.
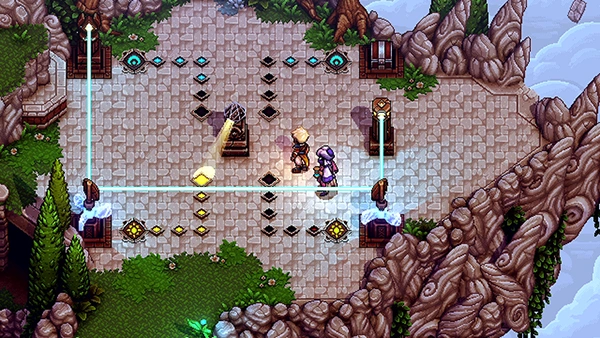
You need to light up each area and rearrange the mirrors (use your Air Push ability to do so) so that the beam of light moves anti-clockwise towards the podium in the middle. You can also pick up a Cypress Cork from the Treasure Chest using the top-right tiles.

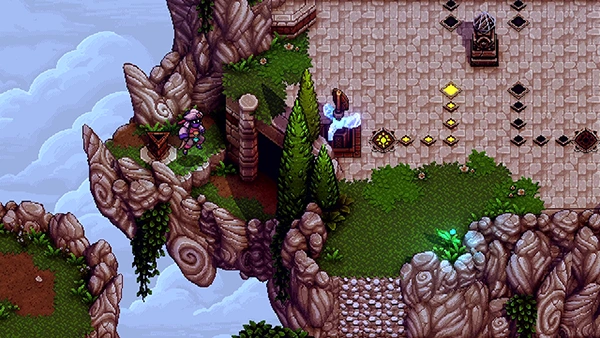
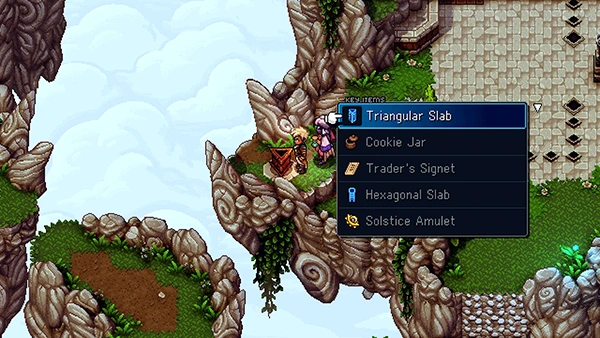
Use the new teleporter that appears on the right and you'll fly into some mobs. Take them out, and then on the right pick up the Triangular Slab.
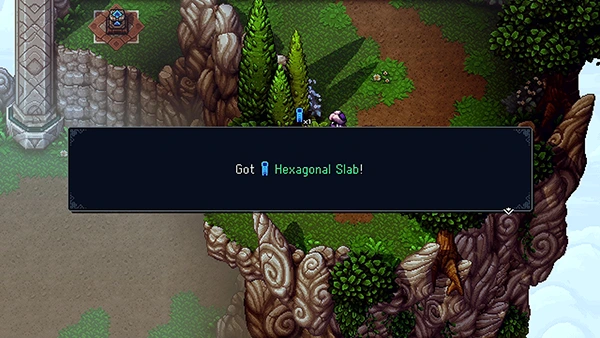
Climb up the wall and take out more mobs before finding a Hexagonal Slab.
Now take the teleporter back to the area with the Sundials; place the Triangular Slab into the key hole near the cave and it will create a platform you can use to grappler across to, allowing you to return to the area with the Campfire.
Place the Hexagonal Slab in the key hole to the top-left of the campfire area, and it will create a teleporter that takes you up.
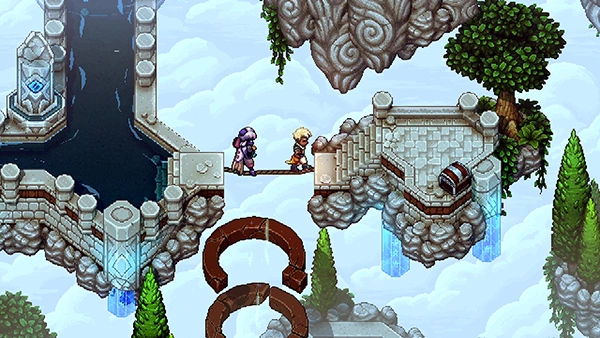
Follow the path up and across the rope bridge until you find a Treasure Chest containing Sky Armor. Now head back into the water and jump down the waterfall into some mobs.
Take them out and then follow the path to the left, where you can grapple across to some more Teleporters.
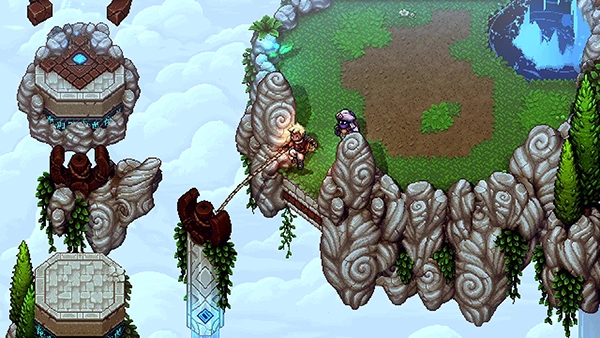
Follow the path round until you come to a crossroads; take the north path to find some mobs. Defeat them, then climb up the wall and use your Air Push ability to spin the Propeller. This will create a bridge below.
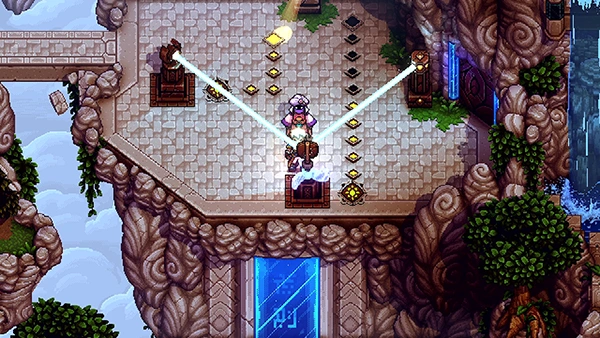
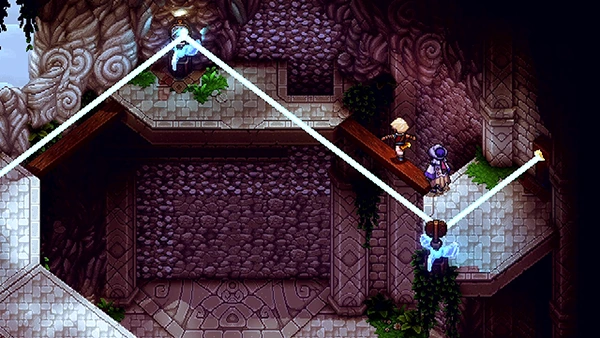
Take the path on the right and you'll find another Sundial puzzle. First light up the tiles on the right to reveal a mirror; use your Air Push ability to align it so it faces the podium on the right. Then use the Sundial to light up the left side. This will unlock the cave door.
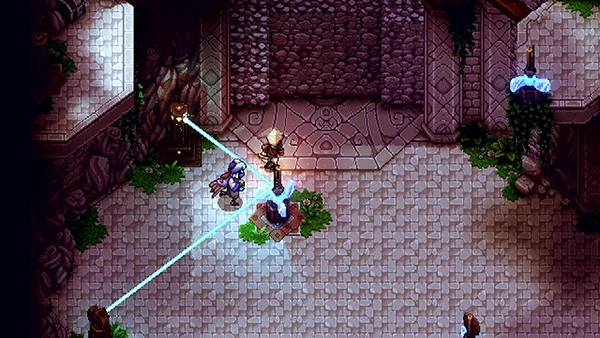
Inside the cave you'll find some mobs. Defeat them and then move the mirror on the left so that it points towards the wall; it will unlock the climbing wall in the middle.
Now rearrange the mirrors so the beam of light zig-zags across the map.
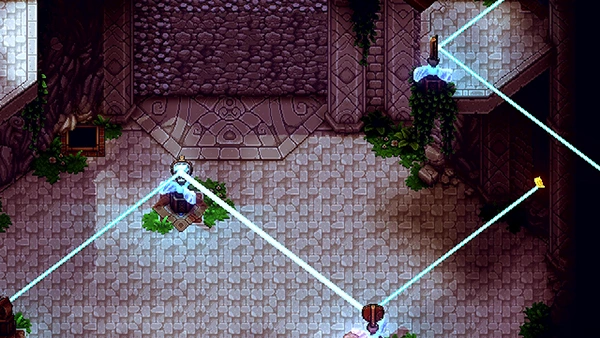
Climb up the wall and on the left of the room you can find an Azure Cape.
Next rearrange the mirrors on the right side of the room so that it hits the left side. This will create a bridge allowing you to exit the cave.
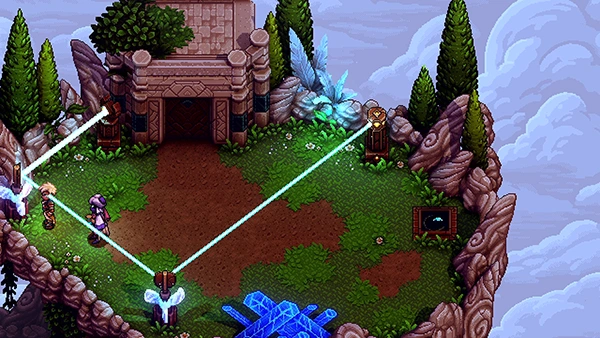
Outside the cave you'll face more mobs; once defeated rearrange the mirrors so the light hits the podium on the right. This will reveal a Crystal Shard.
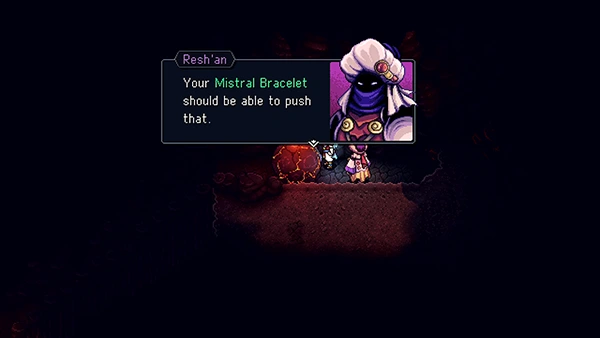
Resh'an then transforms your Coral Hammer into the Cobalt Hammer, allowing you to now smash crystal!
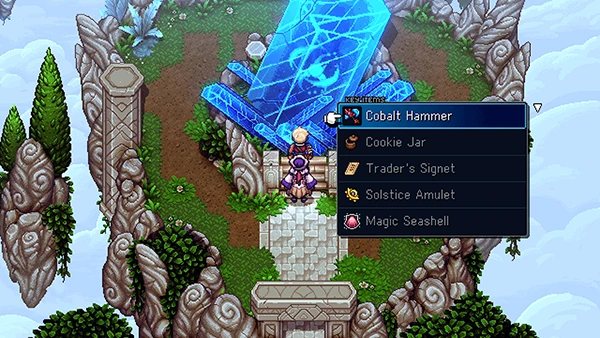
Now return to the beginning of the map and use the Cobalt Hammer to smash open the crystal and collect the Zephyr.
Maelstrom Point
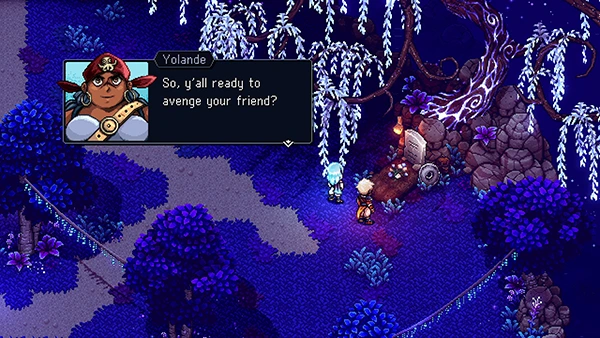
You now return back to Maelstrom point with Serai and Resh'an.
No puzzle to solve here, just a boss fight!
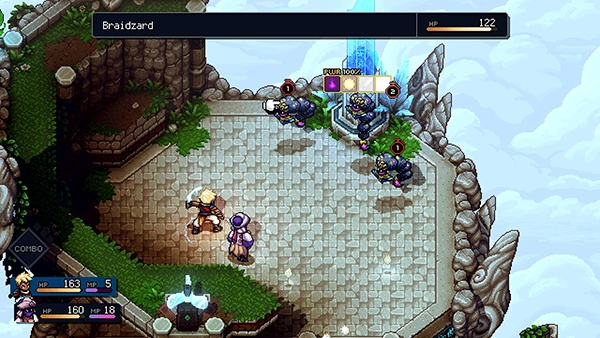
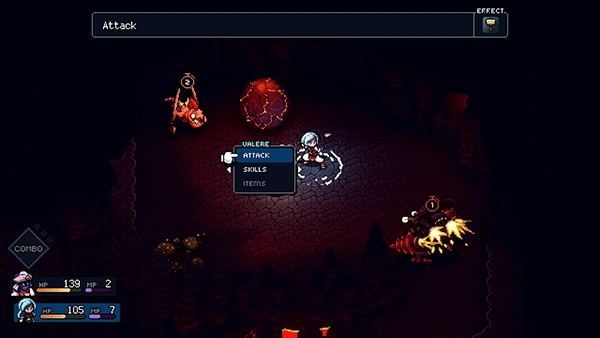
Hydralion - Boss Fight
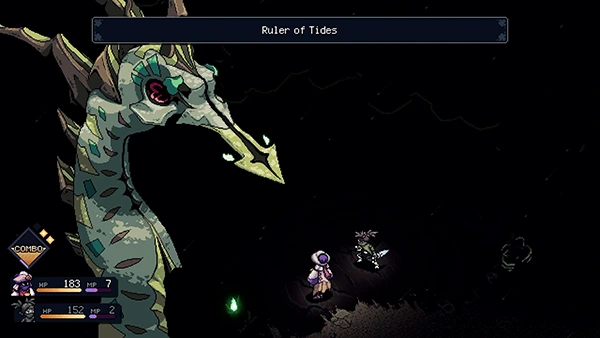
The Hydralion has two targets; the main body and it's tail. If it's tail is active, everytime you attack the body you'll get a counter-attack Tail Whip attack, which hits everyone in the party for 30-50 HP.
The tail only has 210 HP, so take it out as soon as possible. It will regenerate, but it needs to be out of the way in order to win this fight.
The Hyrdralion will use a standard attack that hits both characters for 10-30 HP. It will also use it's Ruler Of The Tides move, which hits everyone for 120+ HP.
You'll want to use Resh'an's Petrichor to heal the party and Ultimate move.
Check out this video for more tips:
Reward: 7,326 EXP
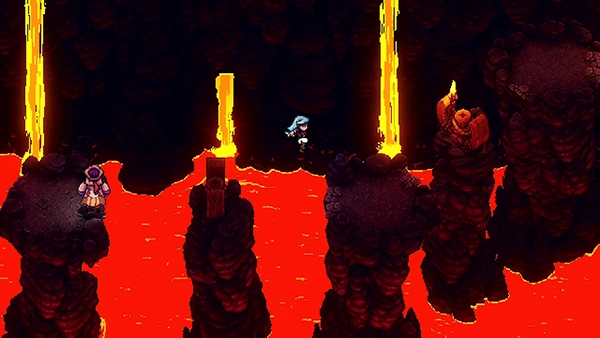
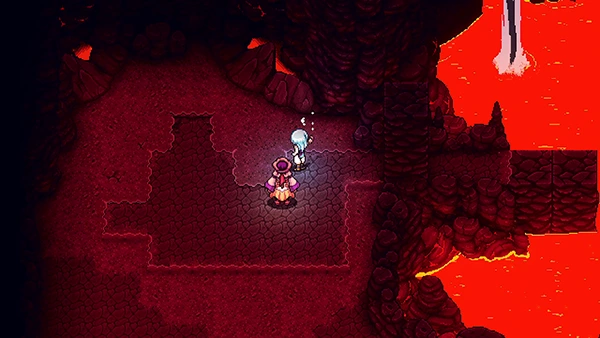
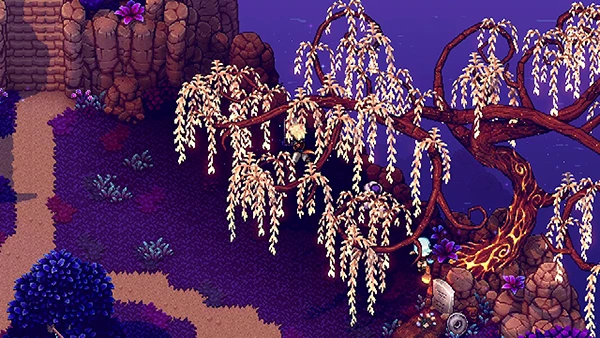
Kiln Mountain
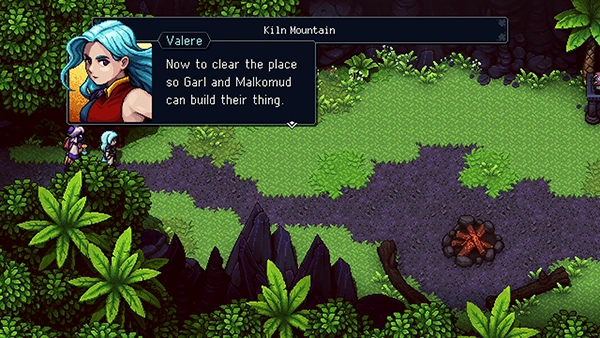
After the fight, you now follow Valere and Resh'an into Kiln Mountain.
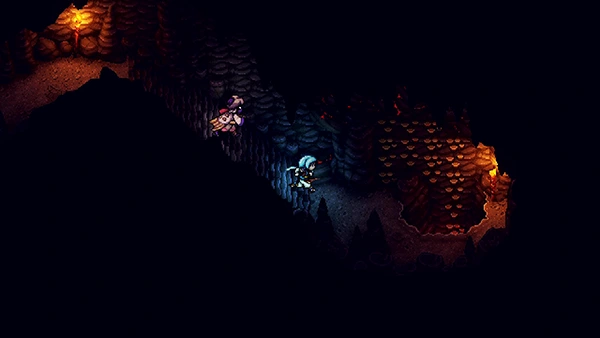
Make your way into the cave and head right; climb down the stairs and you'll come to some mobs. Defeat them, and keep heading down until you come to a hole you can jump through.
You'll land in some water; on your left is a hot spring which will take you back up; use it to find a Treasure Chest containing an Igneous Staff.
Now head right; you'll come to a moultan-boulder that you can push. Push it down the slope and it will smash through the ground, allowing you to jump down.
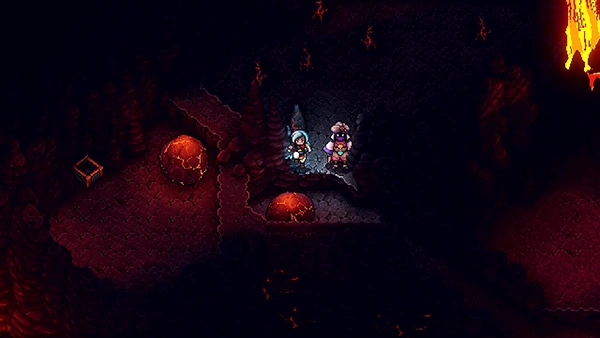
Once you land, head right and you'll come across more mobs. Keep heading right, using your Grappler to get across the lava. You'll find an exit on the right.
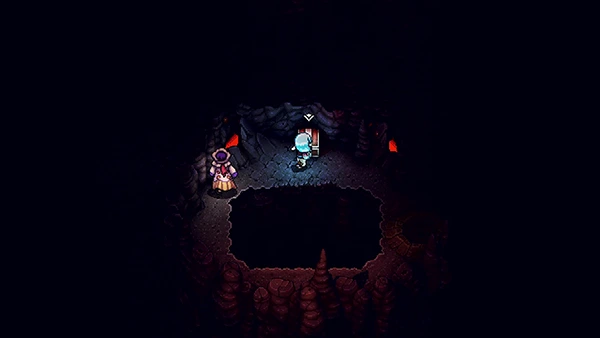
You'll come to an area with a Save Point. Head right and you'll come to an area with some rocks coming out of the ground. Head to the platform on the left.
Hear you'll come to a Boulder you can use to smash the rocks and collect the Rainbow Conch. There is a second boulder further up ahead; push it in the ditch and then to the right so it ends up back where the other small rocks are.
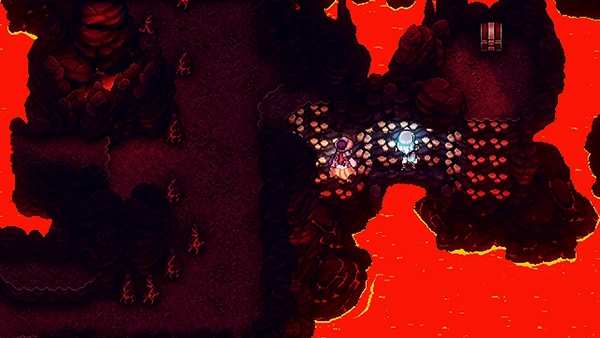
Now push the boulder to smash them and open up a pathway. On the right you can find a Treasure Chest containing a Volcanic Armor.
Head further up and across the rope bridge, defeating the mobs and exiting the cave.
In this next area you'll come to find three tall tower blocks. Push them into the lava to create a small bridge on the right.
Head up the stone wall where the mob ran off and you'll come a fire boulder. This is a small cave on the right you can climb into and find a Treasure Chest containing Magic Pocket.

Now return to the boulder and push it down the slope; it will hit the waterfall, which will then create another platform you can cross.
In the next area you'll come to a Campfire and Save Point. You can also speak to the Merchant to buy some items. Use the hot springs on the right.
Toadcano - Boss Fight

As Resh'an says, the Toadcano is vulnerable to Lunar magic, so use it as often as possible with Valere.
Toadcano will summon Firecracker mobs frequently. We recommend trying not to focus on these guys too much; they will often use a single attack where they bury into the ground and then disappear from the fight.
Toadcano's best move is called Tremor, which will hit randomly to all opponents apart from himself. If you're unlucky, you can take all the hits; sometimes though his own mobs can take most of the htis.
Resh'an's Ultimate and Petrichor skill will heal the party if things get a bit dicey.
Check out the video below for more tips:
Reward: 8,400 EXP

Afterwards, Garl's plan comes together and he bakes his giant loaf of bread and awakens The Sleeper!
Unfortunately, that is the end of Garl's Journey!
Before you leave Mooncradle, it's time to pick up a few Treasure Chests. If you head behind the house near the north exit, you can climb onto the stone archway and find a Treasure Chest containing Music Sheet #1.
You can also find 25x Gold behind the Inn nearby.

Head to the bottom of Mooncradle to find a pile of twigs; push the piles of leaves into it and speak to the Villager to get a Rainbow Conch!
Head up to the tree and you can pick up a Celestial Willow Leaf from a Treasure Chest.
That wraps up this part of the Sea Of Stars Walkthrough! Did you find Garl's ending emotional? Poor Garl 😭

Discussion