In this part of the Sea Of Stars Walkthrough we come across a small village called the Stonemasons Outpost, where trouble is abound and the Solstice Warriors are required to help.
- Sleeper Island
- The Moorlands
- Stonemason's Outpost
- Wind Tunnel Mines
- Salamander - Boss Fight
- Malkomud and Salamander - Boss Fight
Before we get to the Stonemasons Outpost, we need to leave behind The Elder Mist's Mountain Trail area.
You'll need to activate several Celestial Runes to form the bridge. This will eventually lead you to the Evermist's Island Landing.
Here you'll be transported to your next area, Sleeper Island, by a stone giant!
In this part of the guide you'll find the following:
- [Gold Ring] Solstice Mage Ring
- Gold x90
- [Ring] Power Belt
- Teal Amber Ore x6
- Shiny Pearl x1
- [Weapon] Silver Sword
- [Weapon] Rock Lid
- [Recipe] Mushroom Soup
- [Combo Skill] Solar Rain
- Vendor: [Weapon] Teal Amber Staff
- Vendor: [Armor] Miner's Smock
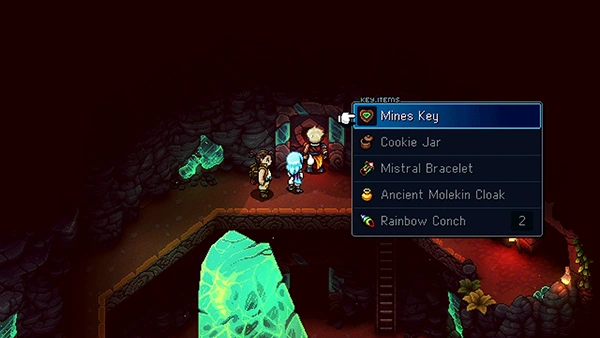
- [Artifact] Ancient Molekin Cloak
- [Ingredient] Egg x3
- [Ingredient] Dairy x3
- [Ring] Green Leaf
- Rainbow Conch x2
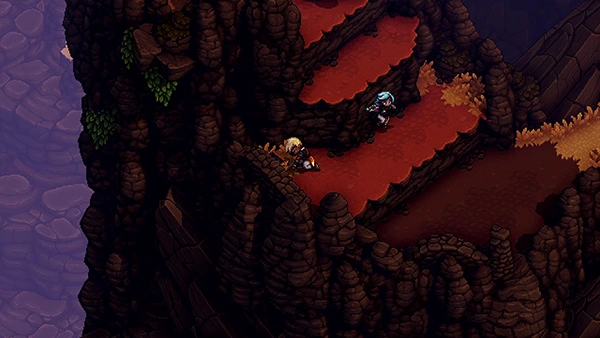
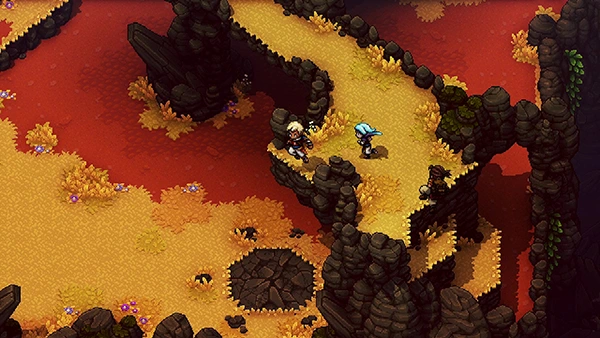
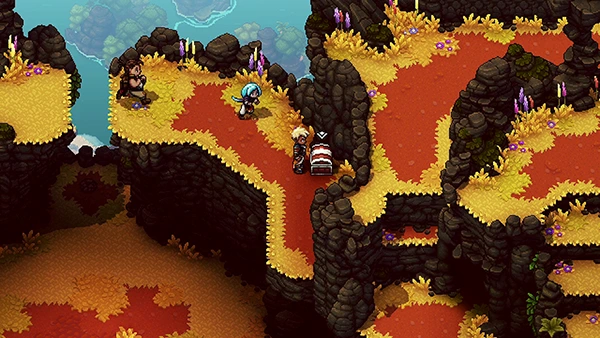
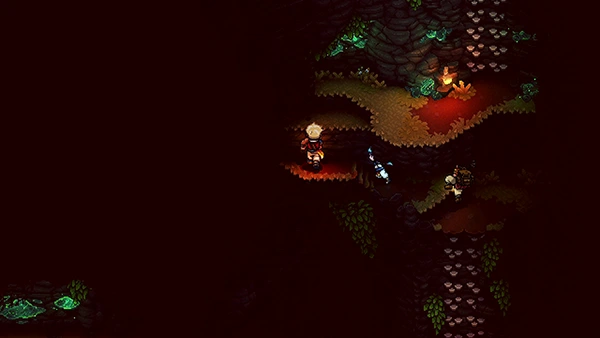
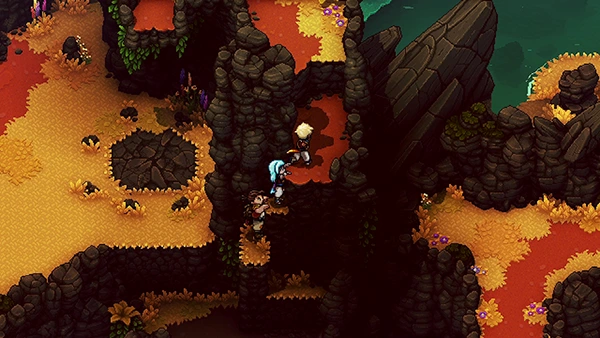
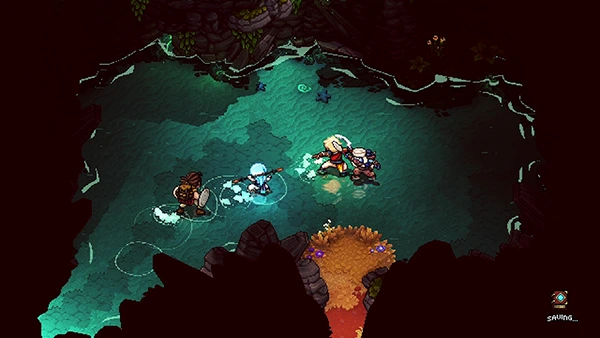
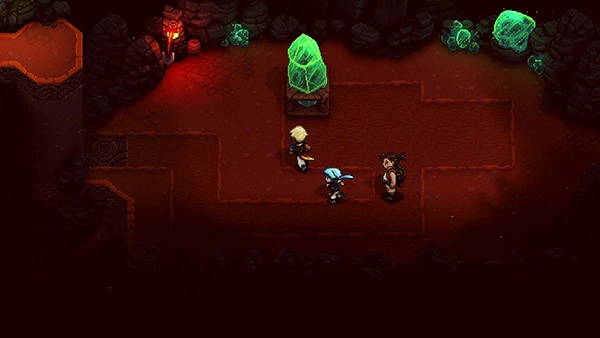
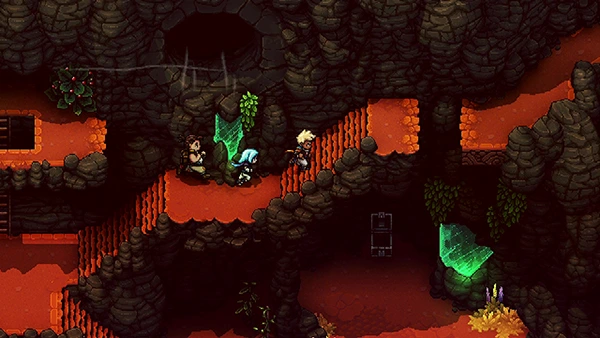
Sleeper Island
This area is quite big and lots of hidden items to discover before we reach Stonemasons Outpost, so bare with us.
Immediately, head to your left and you can find a small cave.
Inside you'll find a new Gold Ring called Solstice Mage Ring, which will allow you to recover 1 MP whenever you make a block.
Exit the cave and make your way right. Head down the path and collect the Treasure Chest on your left containing 90 Gold.
Next head past the cliff with the rope bridge going across and take out the two Wanderers.
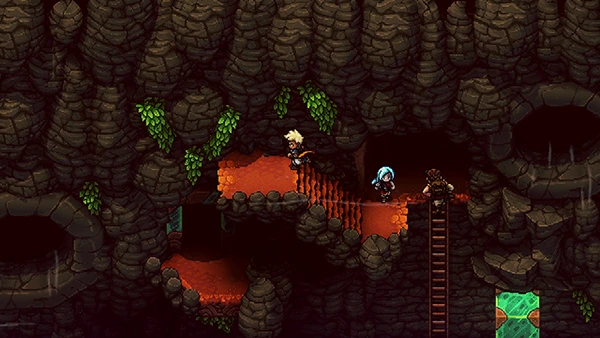
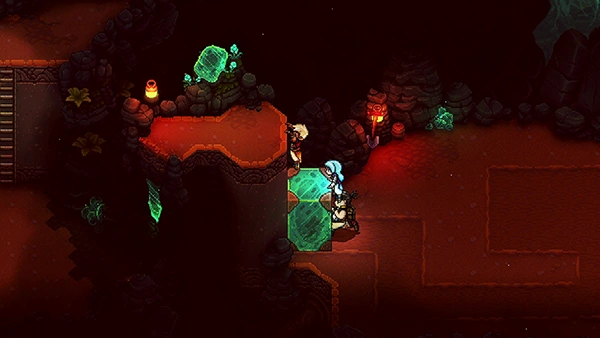
Climb the stone wall north of you, allowing you to then take the rope bridge.
Follow it round, down the steps and you'll see a hidden Treasure Chest containing a Rainbow Conch.
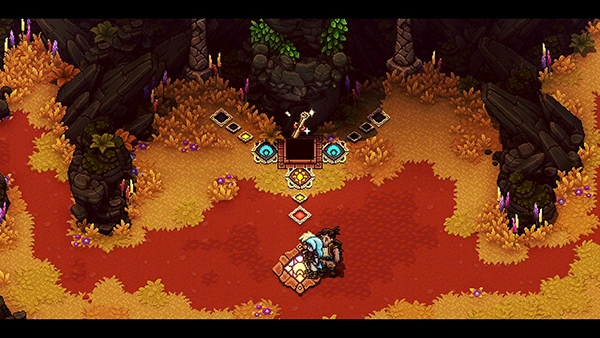
Follow the path and you'll come to a Podium. Interact with it and it will activate a bridge. You can now exit this place.
As you do, a mysterious person seems to be watching over you...
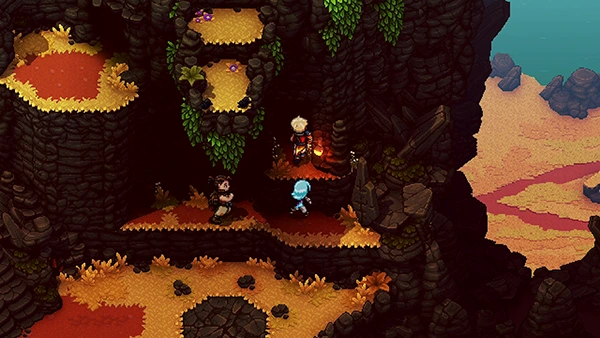
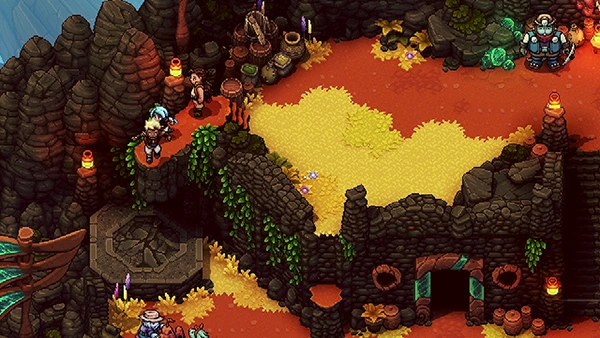
The Moorlands
The Moorlands contains some new mobs you might not have seen so far.
Head down the path past the save book and you'll come across a pair of Ant Bruiser. These guys are pretty annoying; they are resistant to your Physical attacks and one of their abilities is to summon more Ant Bruiser, which if you're not careful, can cause the fight to go on and on! Magic is their weakness, so try to build up powerful attacks to take them out early on.
Head to your right and you'll come across a breakable hole in the floor. If you climb up onto the cliff and drop onto it, it will break and take you to an underground cave.
Here you can pick up some Mushrooms. Climb out of the cave to get back up.
Keep heading right and take out the two Wanderers. Use the cliff on your left and climb up, before crossing over.
You'll pass a rune statue that cannot be read; keep heading right and you'll come across a pair of Ant Bruiser and Wanderer. Once you take them out, you'll notice a blue wall; you can climb up onto the cliffside near it.
Head across and you'll come across a Treasure Chest containing a Power Belt.
Now head down the stairs and you'll come across another breakable hole in the floor. First enter the cave on your right.
Inside is some more mobs to take out; climb the stone wall after and make for the exit.
Now follow the path until you come to the ledge; jump off to break the hole and you'll find yourself in another cave.
Inside, head right until you come to a stone wall that allows you to climb out of the cave.
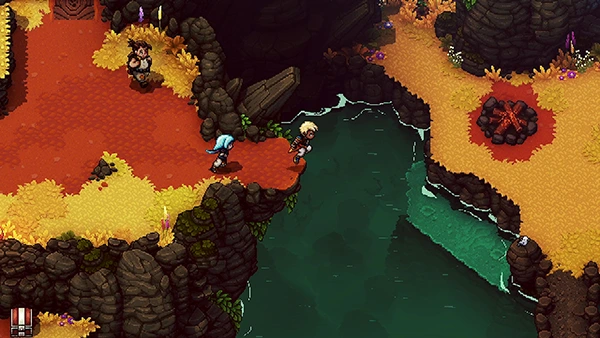
Outside you'll find two Wanderers and Ant Bruiser ready to fight you. Jump off the cliff into the water.
Head to your left and climb the cliffs to find a Treasure Chest containing 4x Teal Amber Ore.
On your right, you'll find a Campfire and a place to save. Once you've rested up, keep heading right until you come across some more mobs to take out.
Once you take them out, head below the breakable hole and you can find a couple of cliffs to climb up. Jump off the ledge to break through the hole.

Inside you'll find another cave with a breakable hole. Head to the right and jump across so you can break through again.
Here you'll come across three Ant Bruisers; be careful, these guys all like to Summon!
Once you manage that fight, head up the stone wall on your right to find a Treasure Chest containing a Silver Sword. Now climb back up out of the caves until you return to the Moorlands.
Head up past the cave you just jumped through until you come across 3 mobs. Dispatch them and head right until you find a pool of water. Jump in and open the Treasure Chest containing Rock Lid.
Keep heading right until you come to a cave. Inside is are three Wanderers to take out. Exit the cave once you take them out.
Head up the mountain top and jump through the hole. You'll land back inside the cave you just left but you can open the Treasure Chest containing Recipe: Mushroom Soup! Exit the cave again.
If you head to your left, you can exit the Moorlands and find a new fishing spot called Windy Loch.
If you head to your right, you'll come across cargo member called Teak.
Teak travels the world and is looking for special artifacts that contain stories within them. You can then talk to Teak at Campfires to listen to these stories. She has one available by default about the pirate ship The Vespertine.
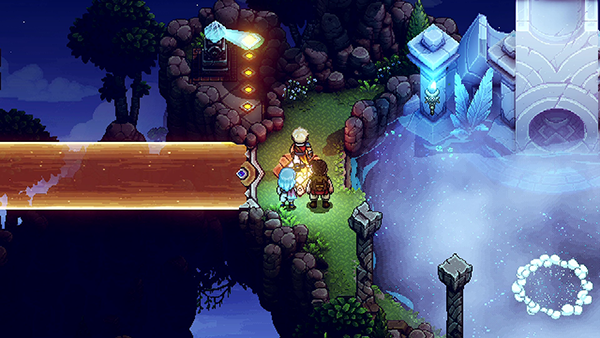
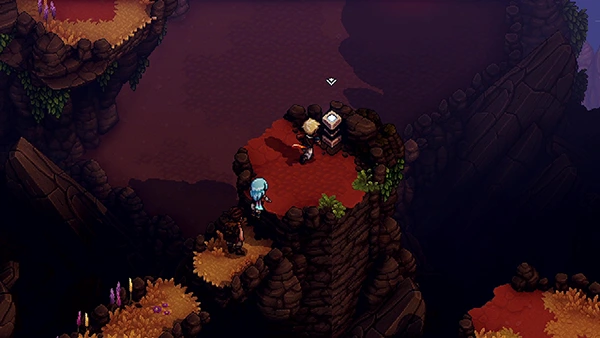
After you've picked up Teak, keep heading right across a bridge. You'll eventually come to a Celestial Rune. Here you need to change the time of day so that it lands on the top-right square first; allow it to power up the rune fully before moving to the top left. Over time, the powered up tiles will fade, so you need to do it quickly.
Once all three are lit, you'll be able to collect a new Combo Skill called Solar Rain.
Keep heading right, past a clifftop and you'll eventually be able to exit the Moorlands and reach the Stonemason's Outpost!
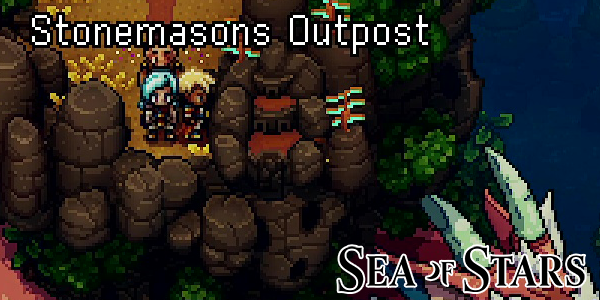
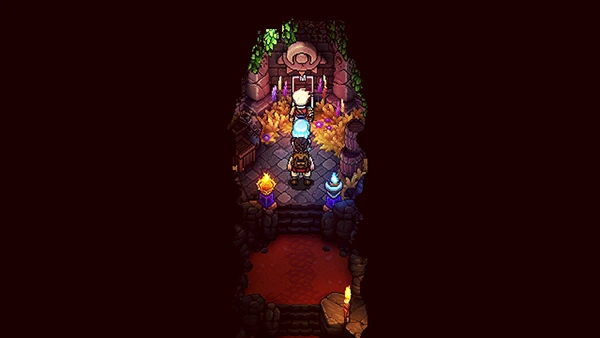
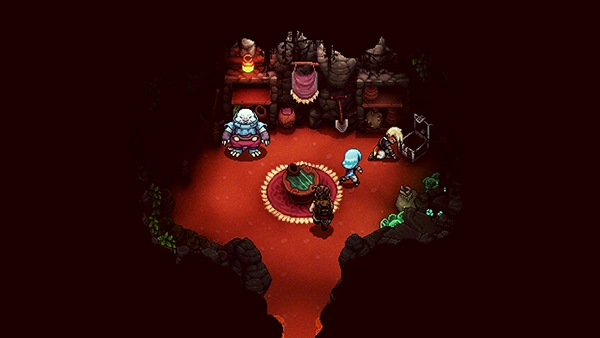
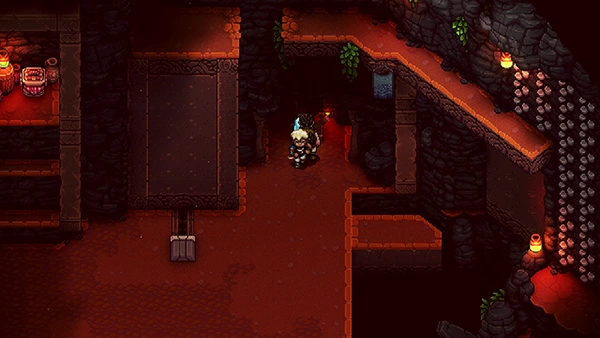
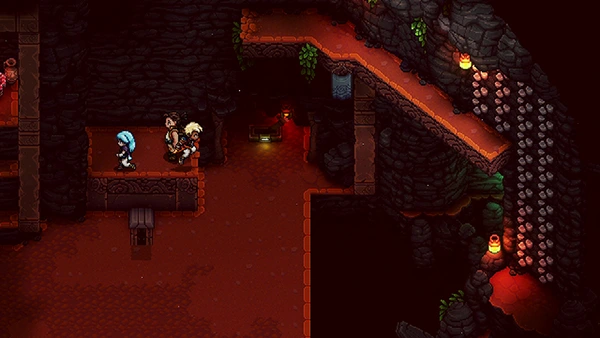
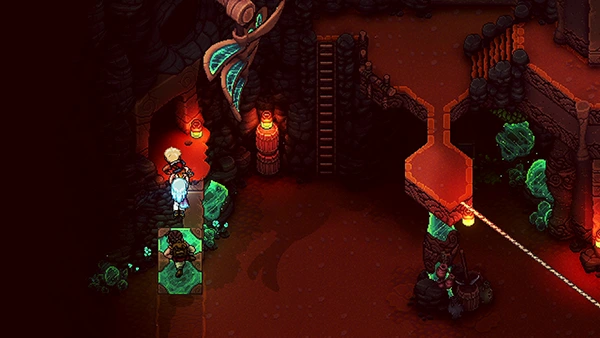
Stonemason's Outpost
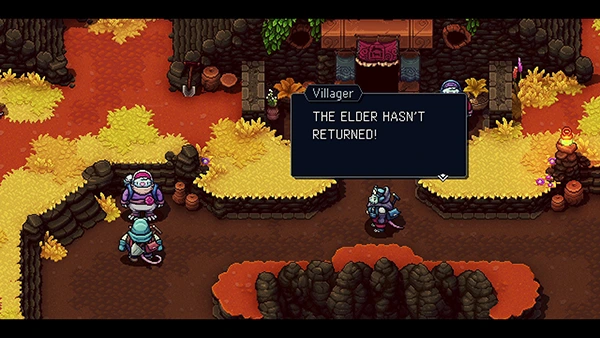
We finally made it! But it looks like there is some trouble going on in the town.
One of the Villagers tells you that a wizard named Malkomud has taken over their mines, causing all sorts of problems. Apparently, the mines are used to keep a dragon called The Sleeper asleep and now all of that is in jeopardy!
Being that you are Solstice Warriors, you decide to help out.
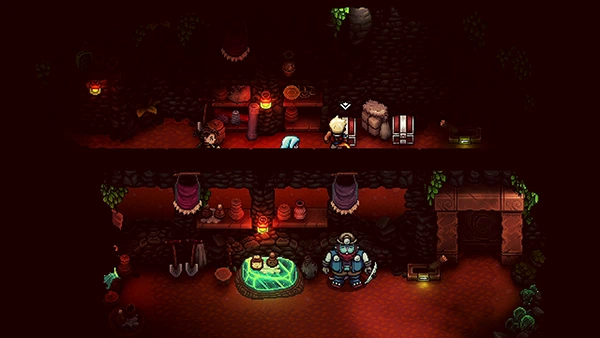
Before you head into the mines, you'll want to pick up a few items first.
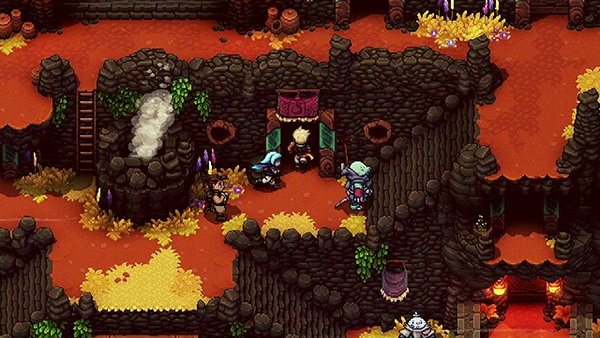
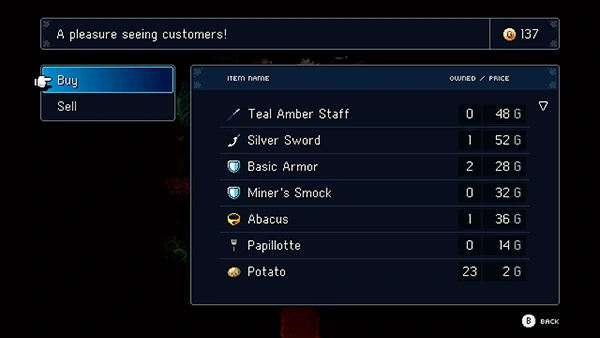
First head up one level and find the entrance to the Merchant. You can buy some new equipment for your party, including:
- Teal Amber Staff (Valere)
- Miner's Smock
On the second level, you can find a house with a Treasure Chest inside containing Ancient Molekin Cloak! This is an artifact that you can give to Teak to read a new story at a campfire.
Head to the top of the outpost and you can find a clifftop of the left. Jump off to break through the breakable hole and you'll find yourself in cave of mushrooms.
Exit and you'll end up in another villager's house where two Treasure Chests are containing Teal Amber Ore and Shiny Pearl.
The rest of the outpost contains items we can't get just yet. Now head up top to the Wind Tunnel Mines.
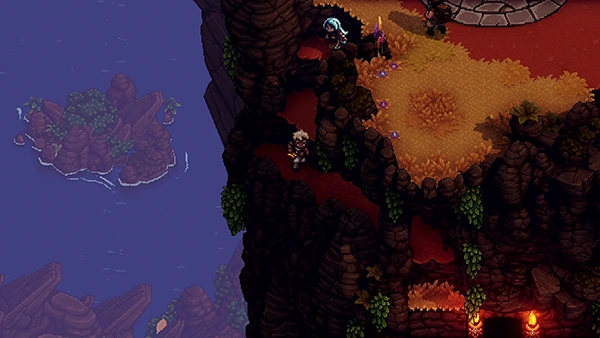
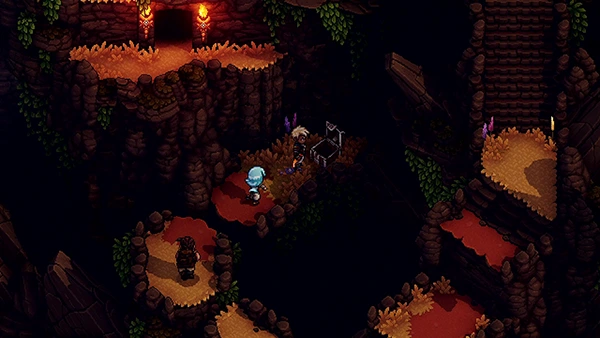
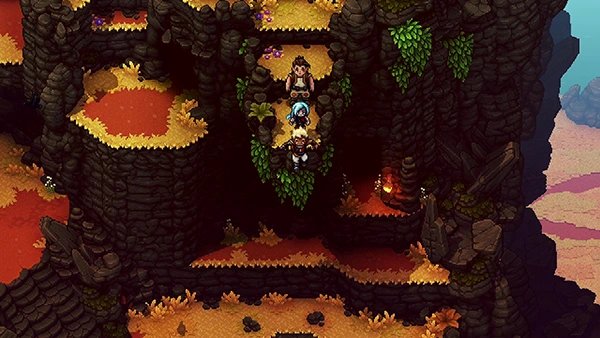
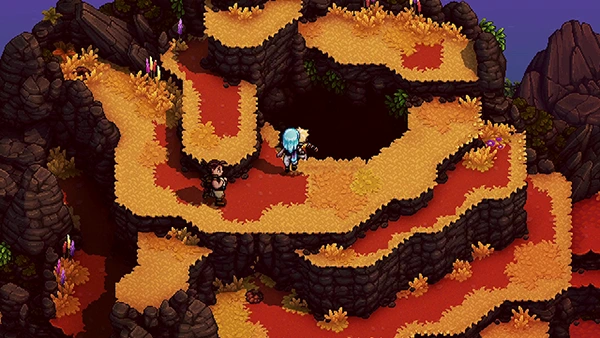
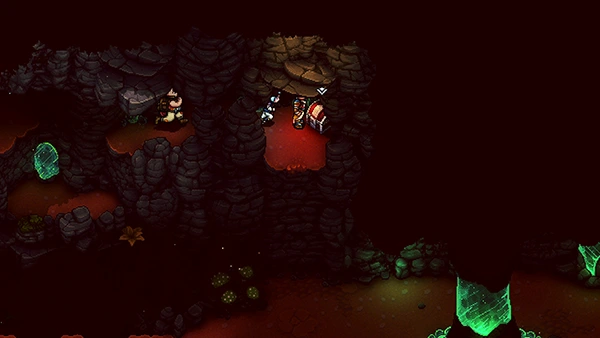
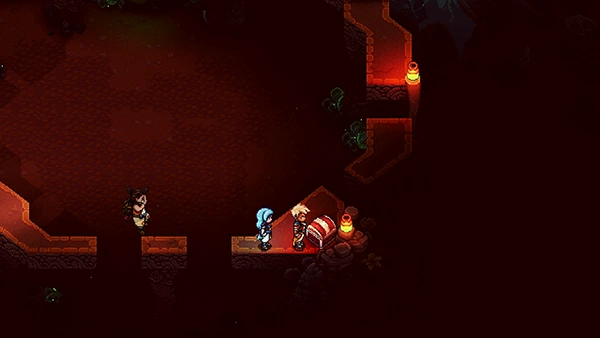
Wind Tunnel Mines
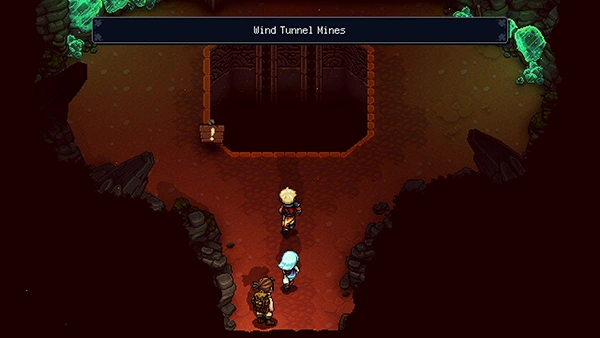
The Wind Tunnel Mines is a bit of a puzzle to solve but it's also quite straightforward. Luckily you've got this amazing guide to help you out!
Jump down the elevator shaft to get started. You'll come across the Molekin Elder, who seems to have gotten himself stranded.

On your right, you'll find a cave entrance that contains a Campfire and a Merchant that sells you some items.
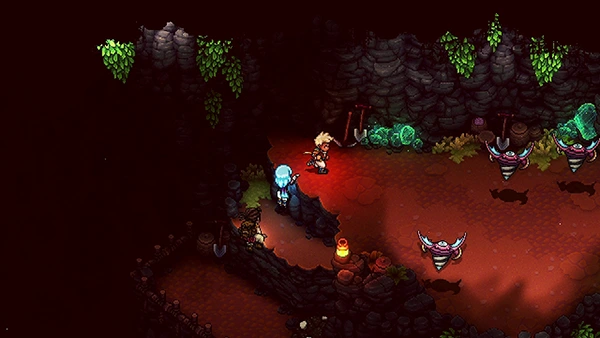
Once sorted, climb up the ladder nearby and you'll enter a room with a new mob: Drillbat. These guys resist magic attacks, so you'll want to use your normal attack to take them out.
In the top left of this room is a Picnic basket containing 3x Eggs.
In this room, the first thing you need to do is pull the lever at the top. This will cause a platform on your right to move down. Jump onto that platform and climb the wall, making your way around to the tower block.
Jumping on it will cause it to sink and also unlock a hidden wall. Pull the lever again.

This time you can cross through the hidden wall that was just removed.
Head right, and climb up the cliff; pick the mushrooms and jump right until you come across a Treasure Chest containing a Green Leaf.
Keep heading right until you come across some more mobs. Take them out and climb up the wall north (on your left or right) and follow it around until you come to the Treasure Chest containg a Teal Amber Ore.
Now head right, picking up the Dairy x3 from the basket. Climb up the ladder and take the cave exit on your right (ignore the middle ones for now).
EXTRA: When you pickup the Mines Key later on, you can return to this area and unlock the middle door.
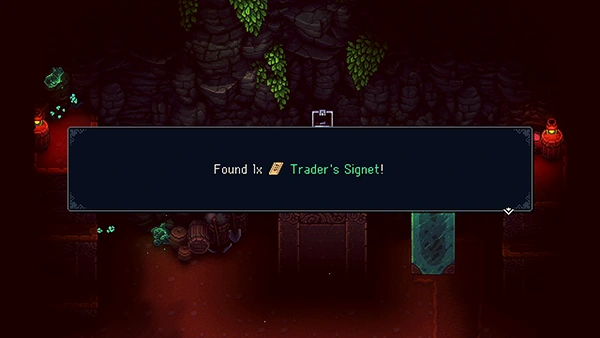
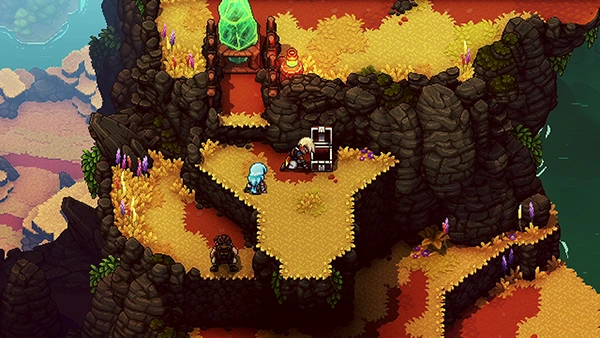
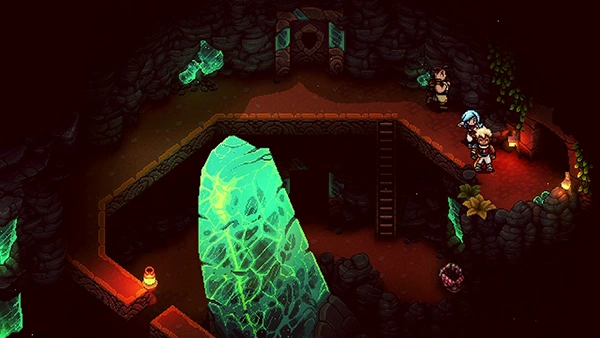
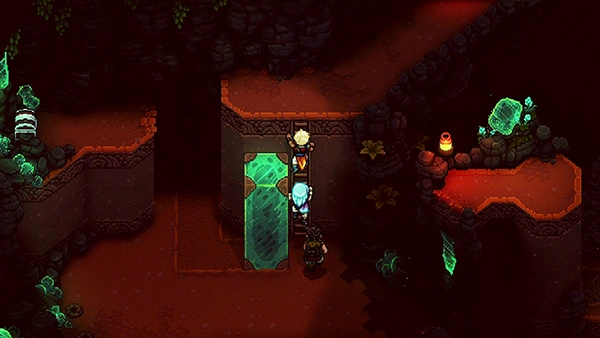
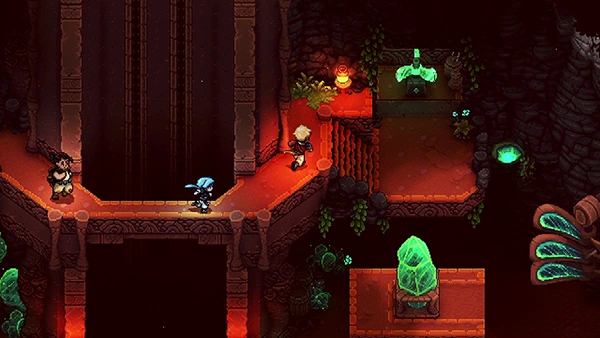
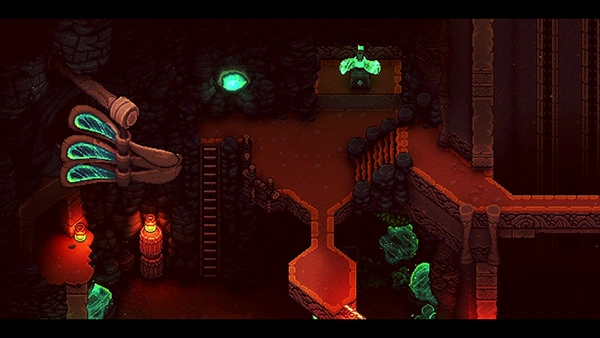
Inside you'll find a small little puzzle when you can use your Air Pushing ability to move the green tower blocks. This will eventually allow you grab the Treasure Chest in the room below containing a Trader's Signet!
Follow through the cave until you come to a room with three mobs. Take out the Drillbat first and then focus on the new mob Bushtroo, which has quite a bit of HP! Once you take it out, you'll release one of the wind tunnels and activate the second floor!
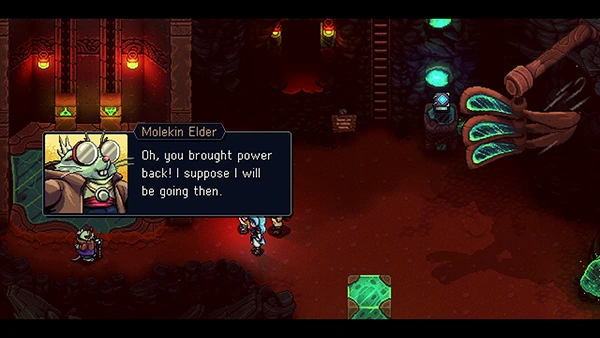
Head through the wind tunnel and you'll return to the first floor entrance. The Molekin Elder takes his leave, and you can now jump down to the second floor.
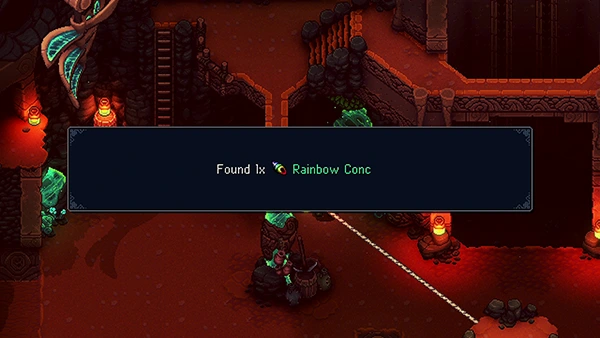
On the second floor, you'll find three mobs on your left. Take them out. Don't forget to open the Treasure Chest hidden behind a stone pillar containing a Rainbow Conch!
Now climb up the ladder on your left and take the rope bridge allowing you to exit the cave.
Here you can climb across the cliffside and up until you reach another cave entrance on your left.
Inside you'll find a tall green tower and a ladder next to it. Climb the ladder and head further up to your right.
Climb across the walls and rope bridge until you come to Campfire. Jump off the cliff on your right and then up the stone wall to a new cave entrance.
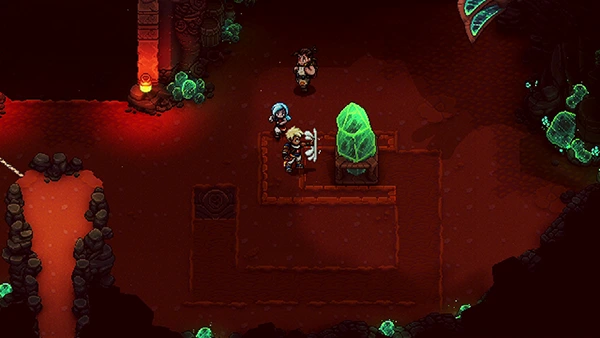
Inside here you'll find a huge Treasure Chest containing a Mistral Bracelet. This will allow you to move around those giant green tower blocks by pushing X.
Exit the cave and push the green tower block out of your way and then to your left.
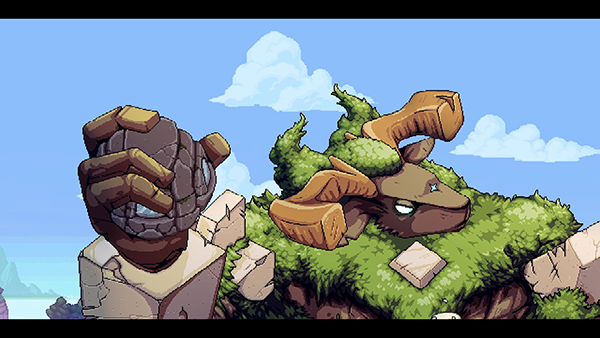
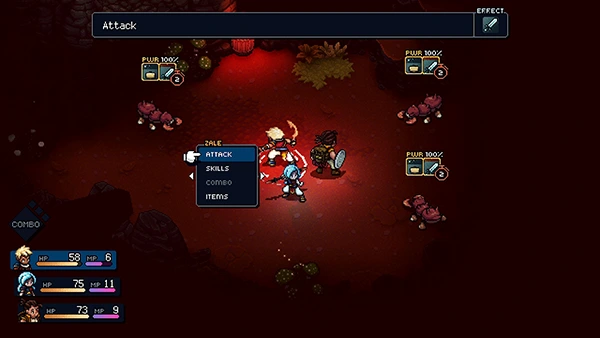
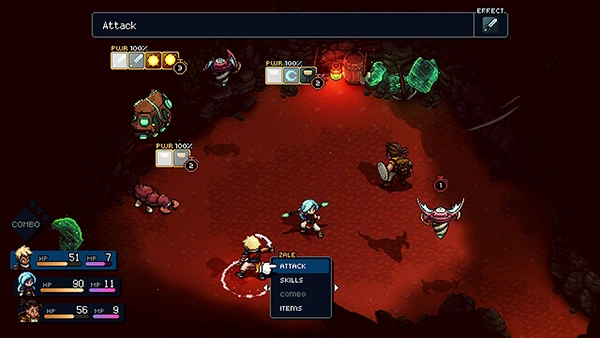
Salamander - Boss Fight

This is a mini boss fight. The Salamander doesn't have much HP so you should be able to dispatch it quite easily.
The Salamander is vulnerable to magic attacks so keep hitting him with those. Just be wary of his main attack, which you should be able to stop by hitting the right elemental types.
You don't get any EXP for defeating it :(
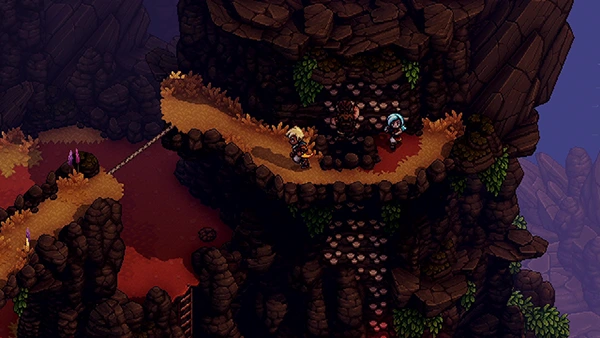
Now that you have your new air push ability you'll come across quite a few puzzles with green towers. Your first one is on your left; you'll want to push the green block to the top left and then across so you can then push it down along the path to the left.
Once you reach the tile, it will activate another green tower block allowing you to climb up onto the cliff wall.
You can now use your air push ability to move the green tower block so you can cross over to open a Treasure Chest containing Mines Key. (If you head back to the first floor, you can use this key to unlock a room we previously couldn't.)
Exit the cave and jump down. On your right is a tall green tower you can push.
Keep heading right until you come to three mobs. Take them out, then open the Treasure Chest to find Teal Amber Ore.
Now head up the stairs to the right until you come to a cliff with a cave entrance.
Inside you'll have another battle with a Bushtroo; once you take it out it will activate the next Wind Tunnel! Enter the Wind Tunnel to return to the second level main entrance.
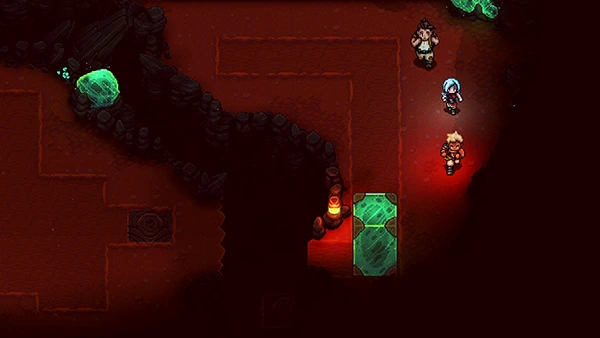
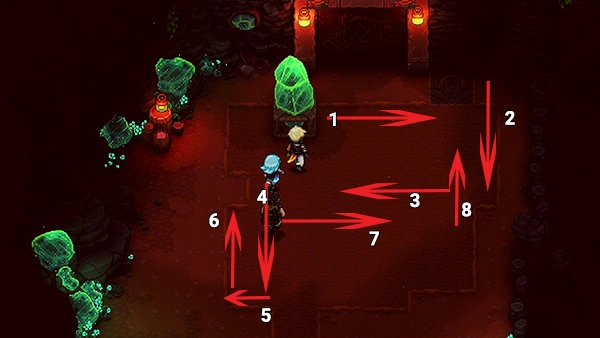
You should notice the wind revealing a Green Propeller; head to your left and climb up the wall; follow it round until you reach this Green Propeller. Use your air push ability on it and it will activate the platform below you, causing the green crystal to reach the floor.
Now you just need to move the green crystal to it's brown square.
This in turn activates another green tower; push that on the left side of the cave so you can then use it to climb up to the left hand exit.
Follow this cave all the way left, climb up the cliff until you reach three Drillbat. Take them out, pick up the Mushroom Soup from the Picnic Basket and keep heading right.
You'll come to another fight with a Bushtroo. Defeat it to activate another Wind Tunnel. Enter the Wind Tunnel and you'll return to the second level main entrance.
You should notice another Green Propeller being revealed. Climb up onto the wall and activate it using your Air Push ability. This reveals a ladder on your right. Head up it.
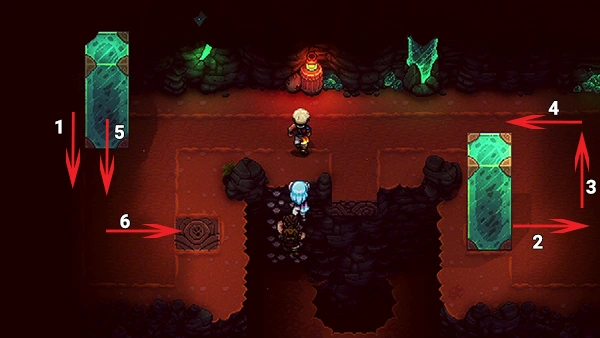
Now use your Air Push ability to move the green tower block to the bottom of the map. This will allow you to reach two green crystals.
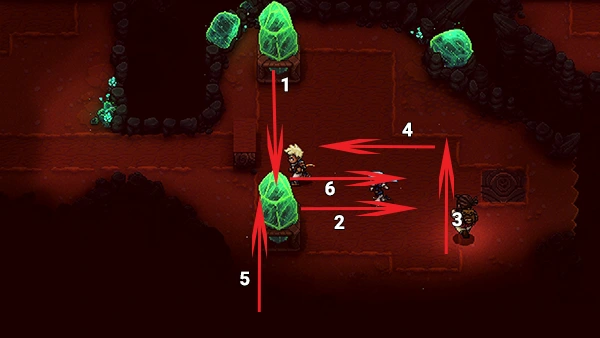
First you need to push the top most crystal down (1) and then to the right (2). Then push it up (3) and then back across to the left (4).
You can then push the second green crystal up against it (5) and then to the right (6) so it slots into the brown tile.
Now push the second green crystal to the left. You'll come to another big opening and need to push the crystal into the brown tile.
This will cause a green tower to appear; climb up it and then activate the Green Propeller to open up the door.
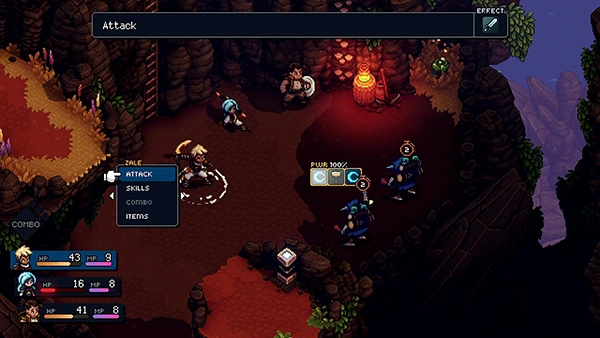
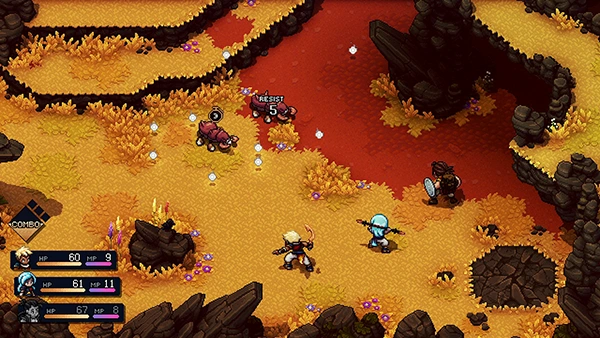
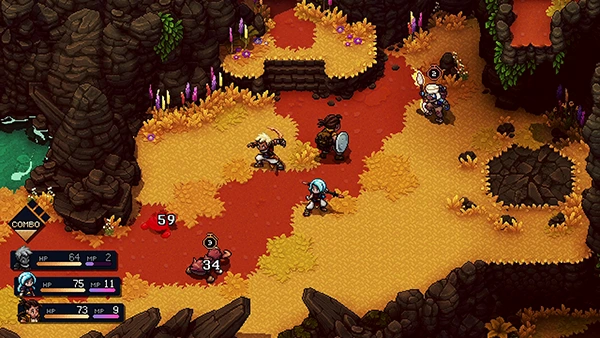
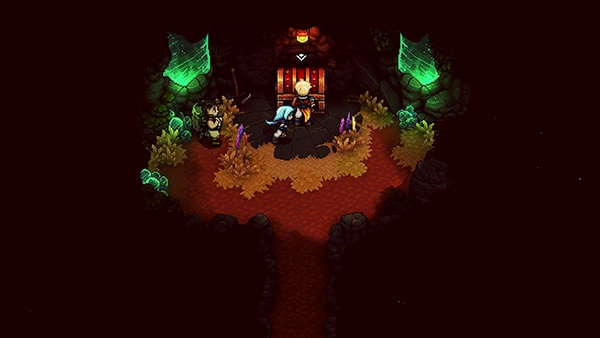
Malkomud and Salamander - Boss Fight
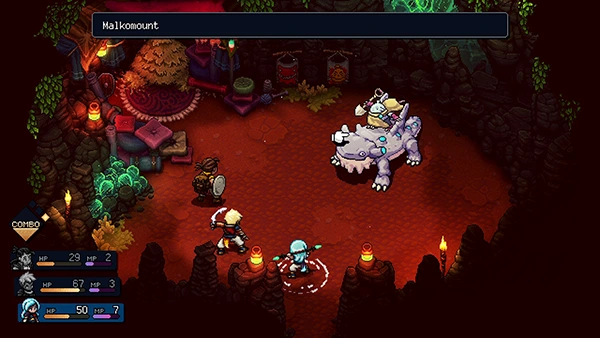
The Malkomud and Salamander has two phases; the first phase you'll have to fight both of them separately.
You should focus your damage on the Salamander as Malkmud resists alot of your damage.
Malkomud's elemental attack is Shovel Might, which hits a single character three times.
Remember that Salamander is weak to magic attacks, so blast away when you get full MP. You can use Garl's healing ability Nourishment when you get low on HP.
The second phase of the fight, Malkomud and Salamander combine as one target. They also get a new powerful move called Geobress, which hits for a hefty 50+ damage to a single target. They also have a normal move, which hits all three for low damage.
When they combine, they are still weak to magic attacks. If you can prevent the Geobree attack by blasting it's elemental icons, this fight is a lot easier. You should also save your combo Mending Light for when things get dire.
Check out the video for more tips:
Reward: 800 EXP
Afterwards, Malkomud decides to be nice and stop messing with the villagers. This will now allow you to scale down the mountain and continue with your adventure.
And that wraps up part three of the Sea Of Stars Walkthrough! Let us know if we missed anything in the comments below!

Discussion